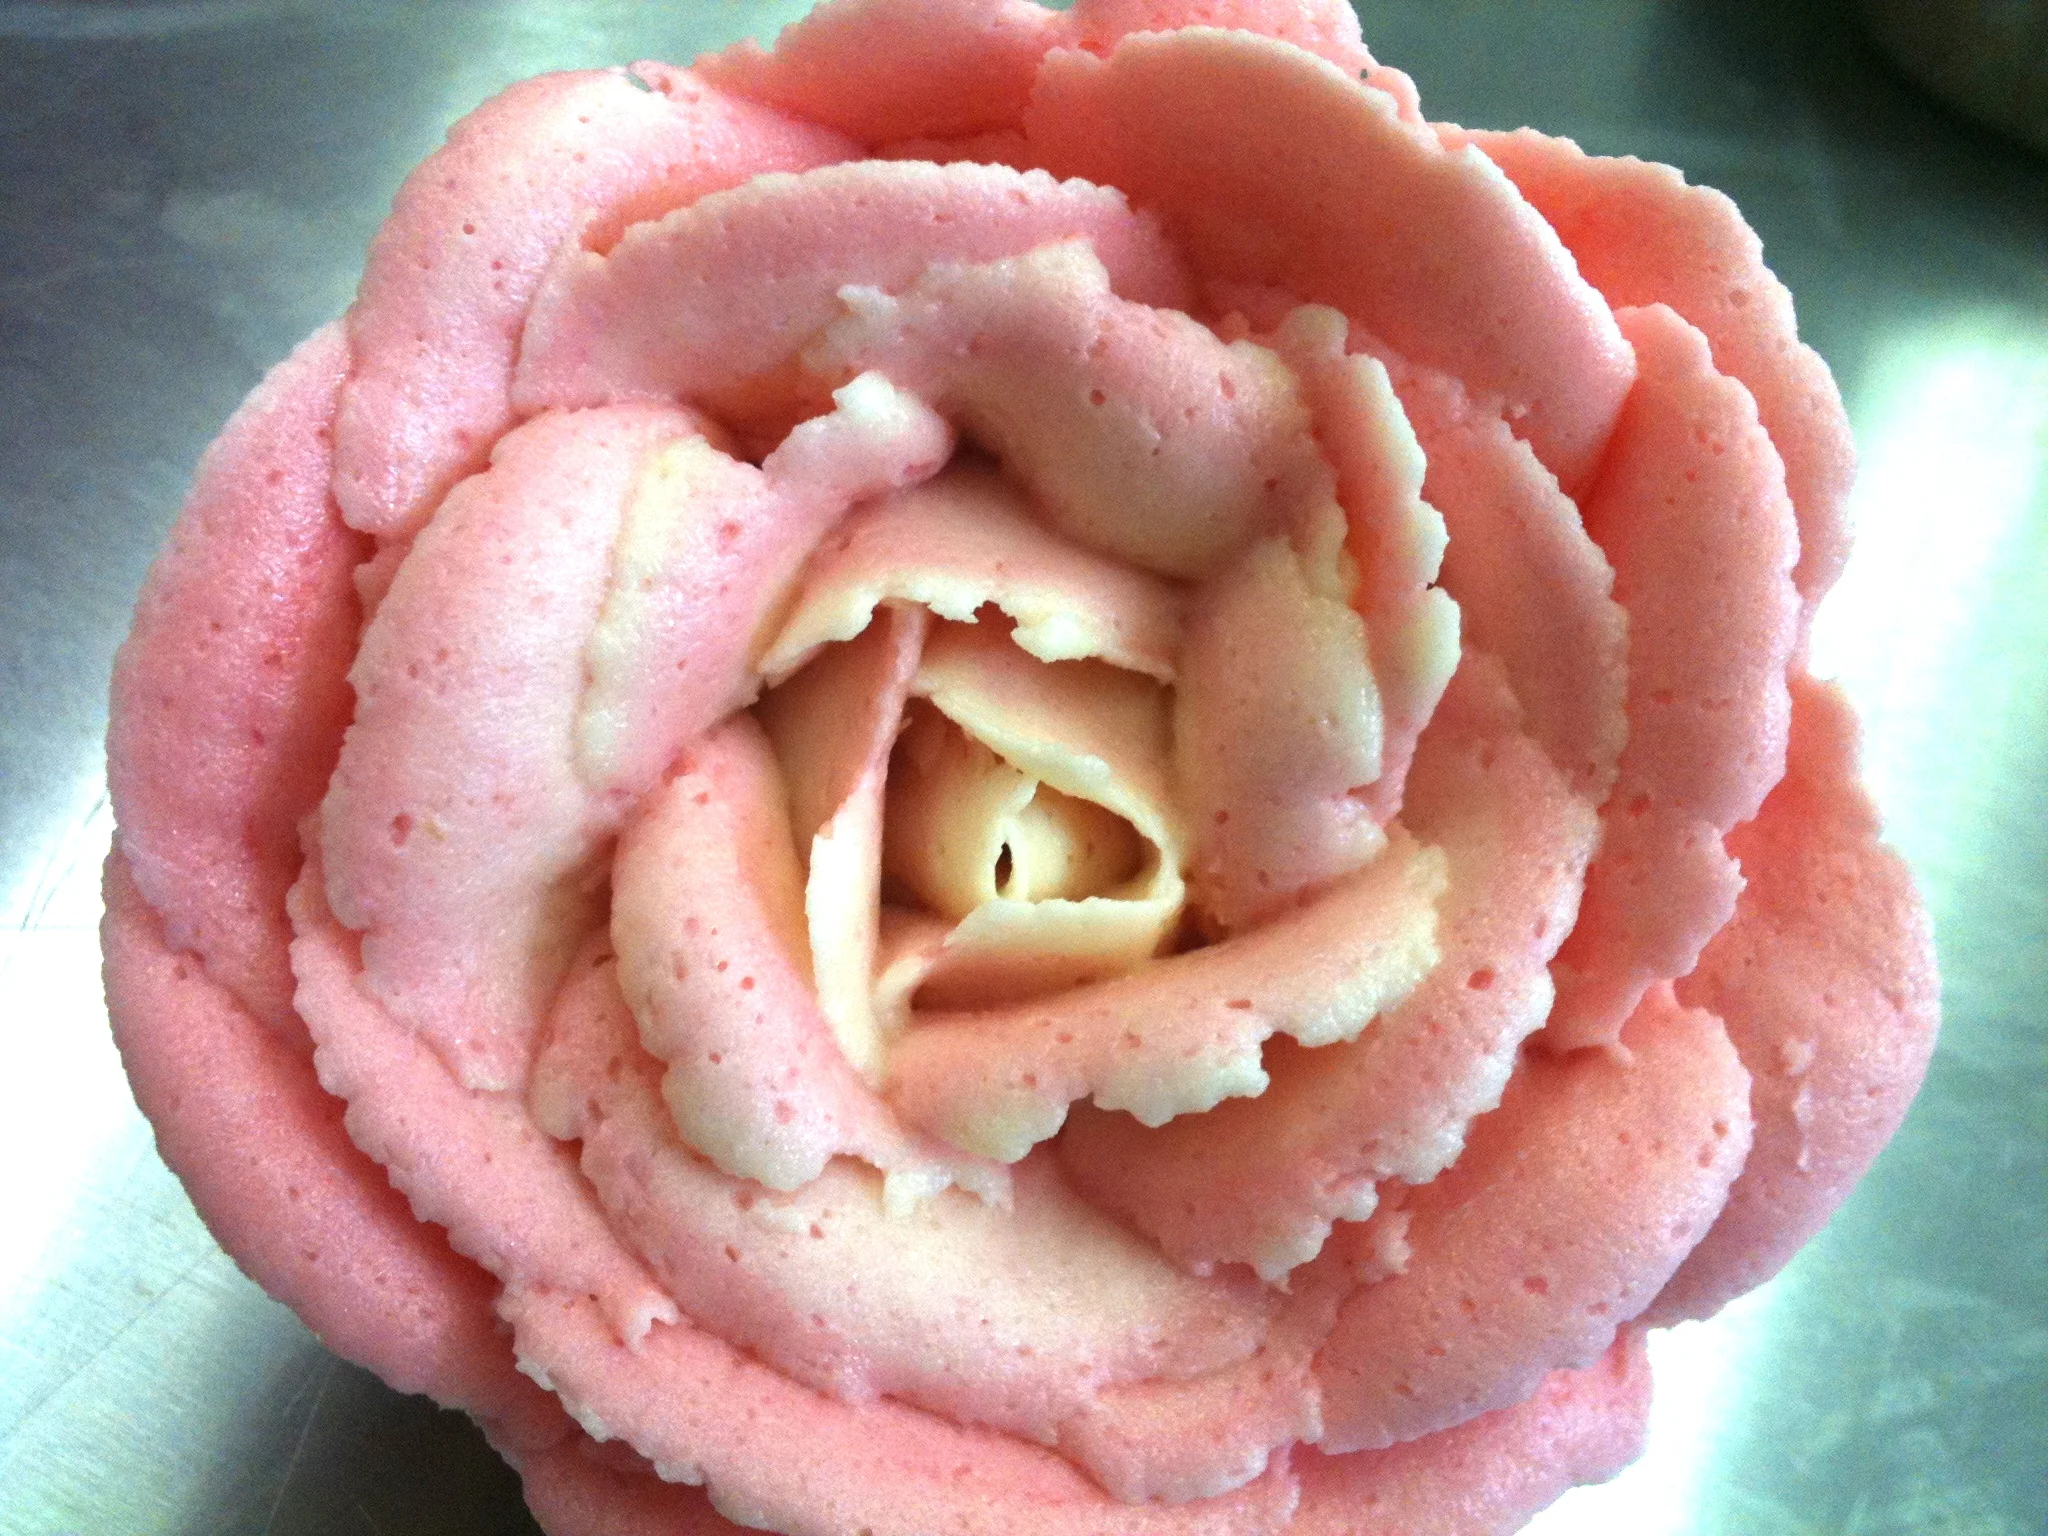
Sugar Free Carrot Cake
Sugar Free Carrot Cake
Ingredients:
100g dried apicots
300g grated carrot
3 eggs
100mls sunflower oil
2 tbsp water
50g sultanas
50g walnuts
2 tsp cinnamon
2 tsp all spice
1 baking powder
100g ground almonds
150g self-raising flour
Icing:
200g cream cheese (full fat)
100g butter
2 tbsp coconut flour (not desiccated)
2-3 tbsps maple syrup
Preheat oven to 170 degrees
Method:
Put the apricots in a pan with enough water to cover them.
Bring to the boil and then simmer for around 20 mins or until very soft.
Puree in a blender with a couple of tablespoons of the cooking liquid. Set aside.
Add the lightly beaten eggs to the carrots along with the oil, water and apricot puree.
Stir in the sultanas and walnuts.
Add the spices, baking powder and ground almonds to the flour. Stir to combine before folding into the carrot mixture.
Line the base of 2 x 6” tins with grease proof paper. Equally divide the mixture between the tins.
Bake in the oven for 30-40 mins, until a skewer comes out clean.
Place on a cooling rack to cool before trimming the tops and splitting each cake in half to give you 4 layers.
Icing:
Using an electric whisk beat together the cream cheese, butter and coconut flour. Add the maple syrup until you have a consistency of whipped cream. Then use a palette knife to spread the icing between each layer and on the top of the cake.
Decorate with walnut halves or slithers of dried apricot.
Vegan Banana Cake
This banana cake is absolutely delicious and it contains no wheat, dairy, sugar or eggs. As you can see mine caught slightly on top but that added to it weirdly!
Ingredients:
8 Medjool dates, 6 very ripe bananas, 120mls sunflower oil, 120mls date syrup, 100g roughly chopped walnuts, 100g coconut flour, 1/2 tsp baking powder, 1/2 tsp xanthan gum
Method:
Bring the dates to the boil in enough water to cover. Turn them down to a simmer for around 20 mins until very soft. Remove the stones and mash along with the bananas. Beat in the pil and date syrup. Add the baking powder and xantham gum to the coconut flour. Fold in the walnuts followed by the coconut flour. Tip the mixture into a loaf tin and bake at 170 degrees for between 50 and 80mins (depending on how hot your oven is, they all vary!) and take it out when a skewer or knife comes out clean.
Allow to cool or not, I like all my cake straight from the oven!
BTW I haven't cheated and sprinkled icing sugar on top that's actually coconut flour.
Office Event at Olympia
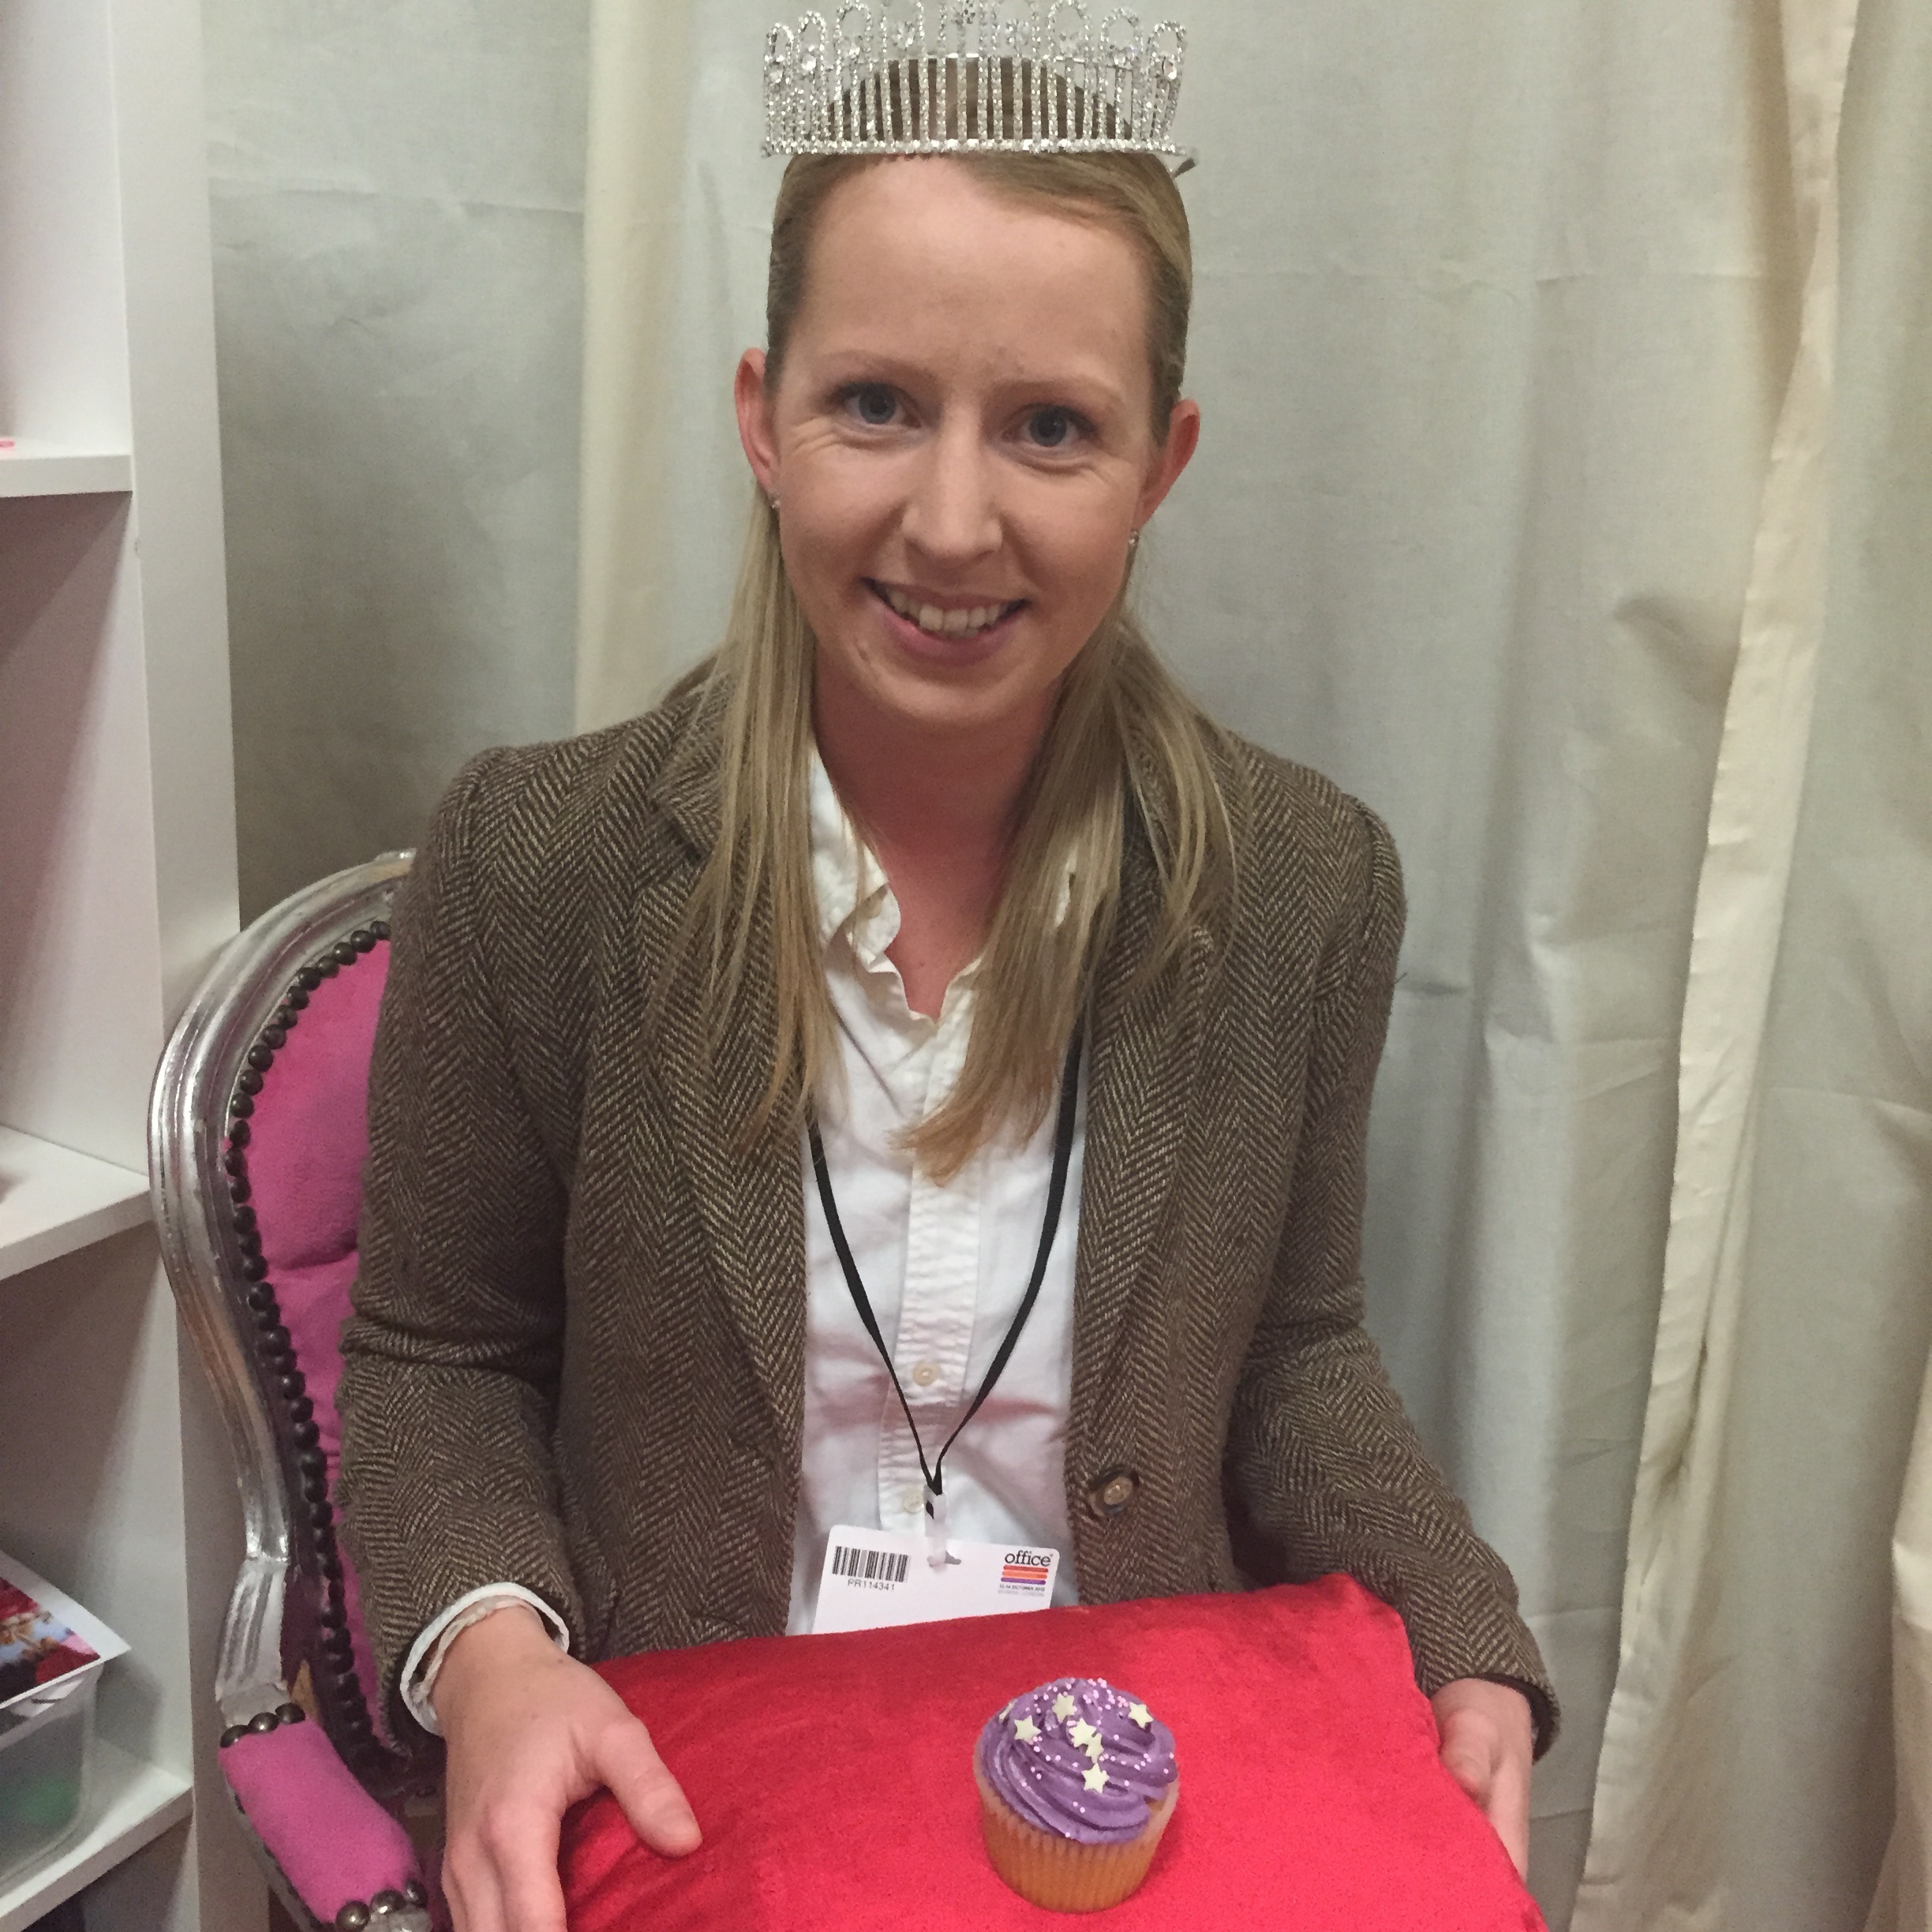
Just don't mention the drapes! (I spent the whole time having to re attach them which is why I look so serious!)
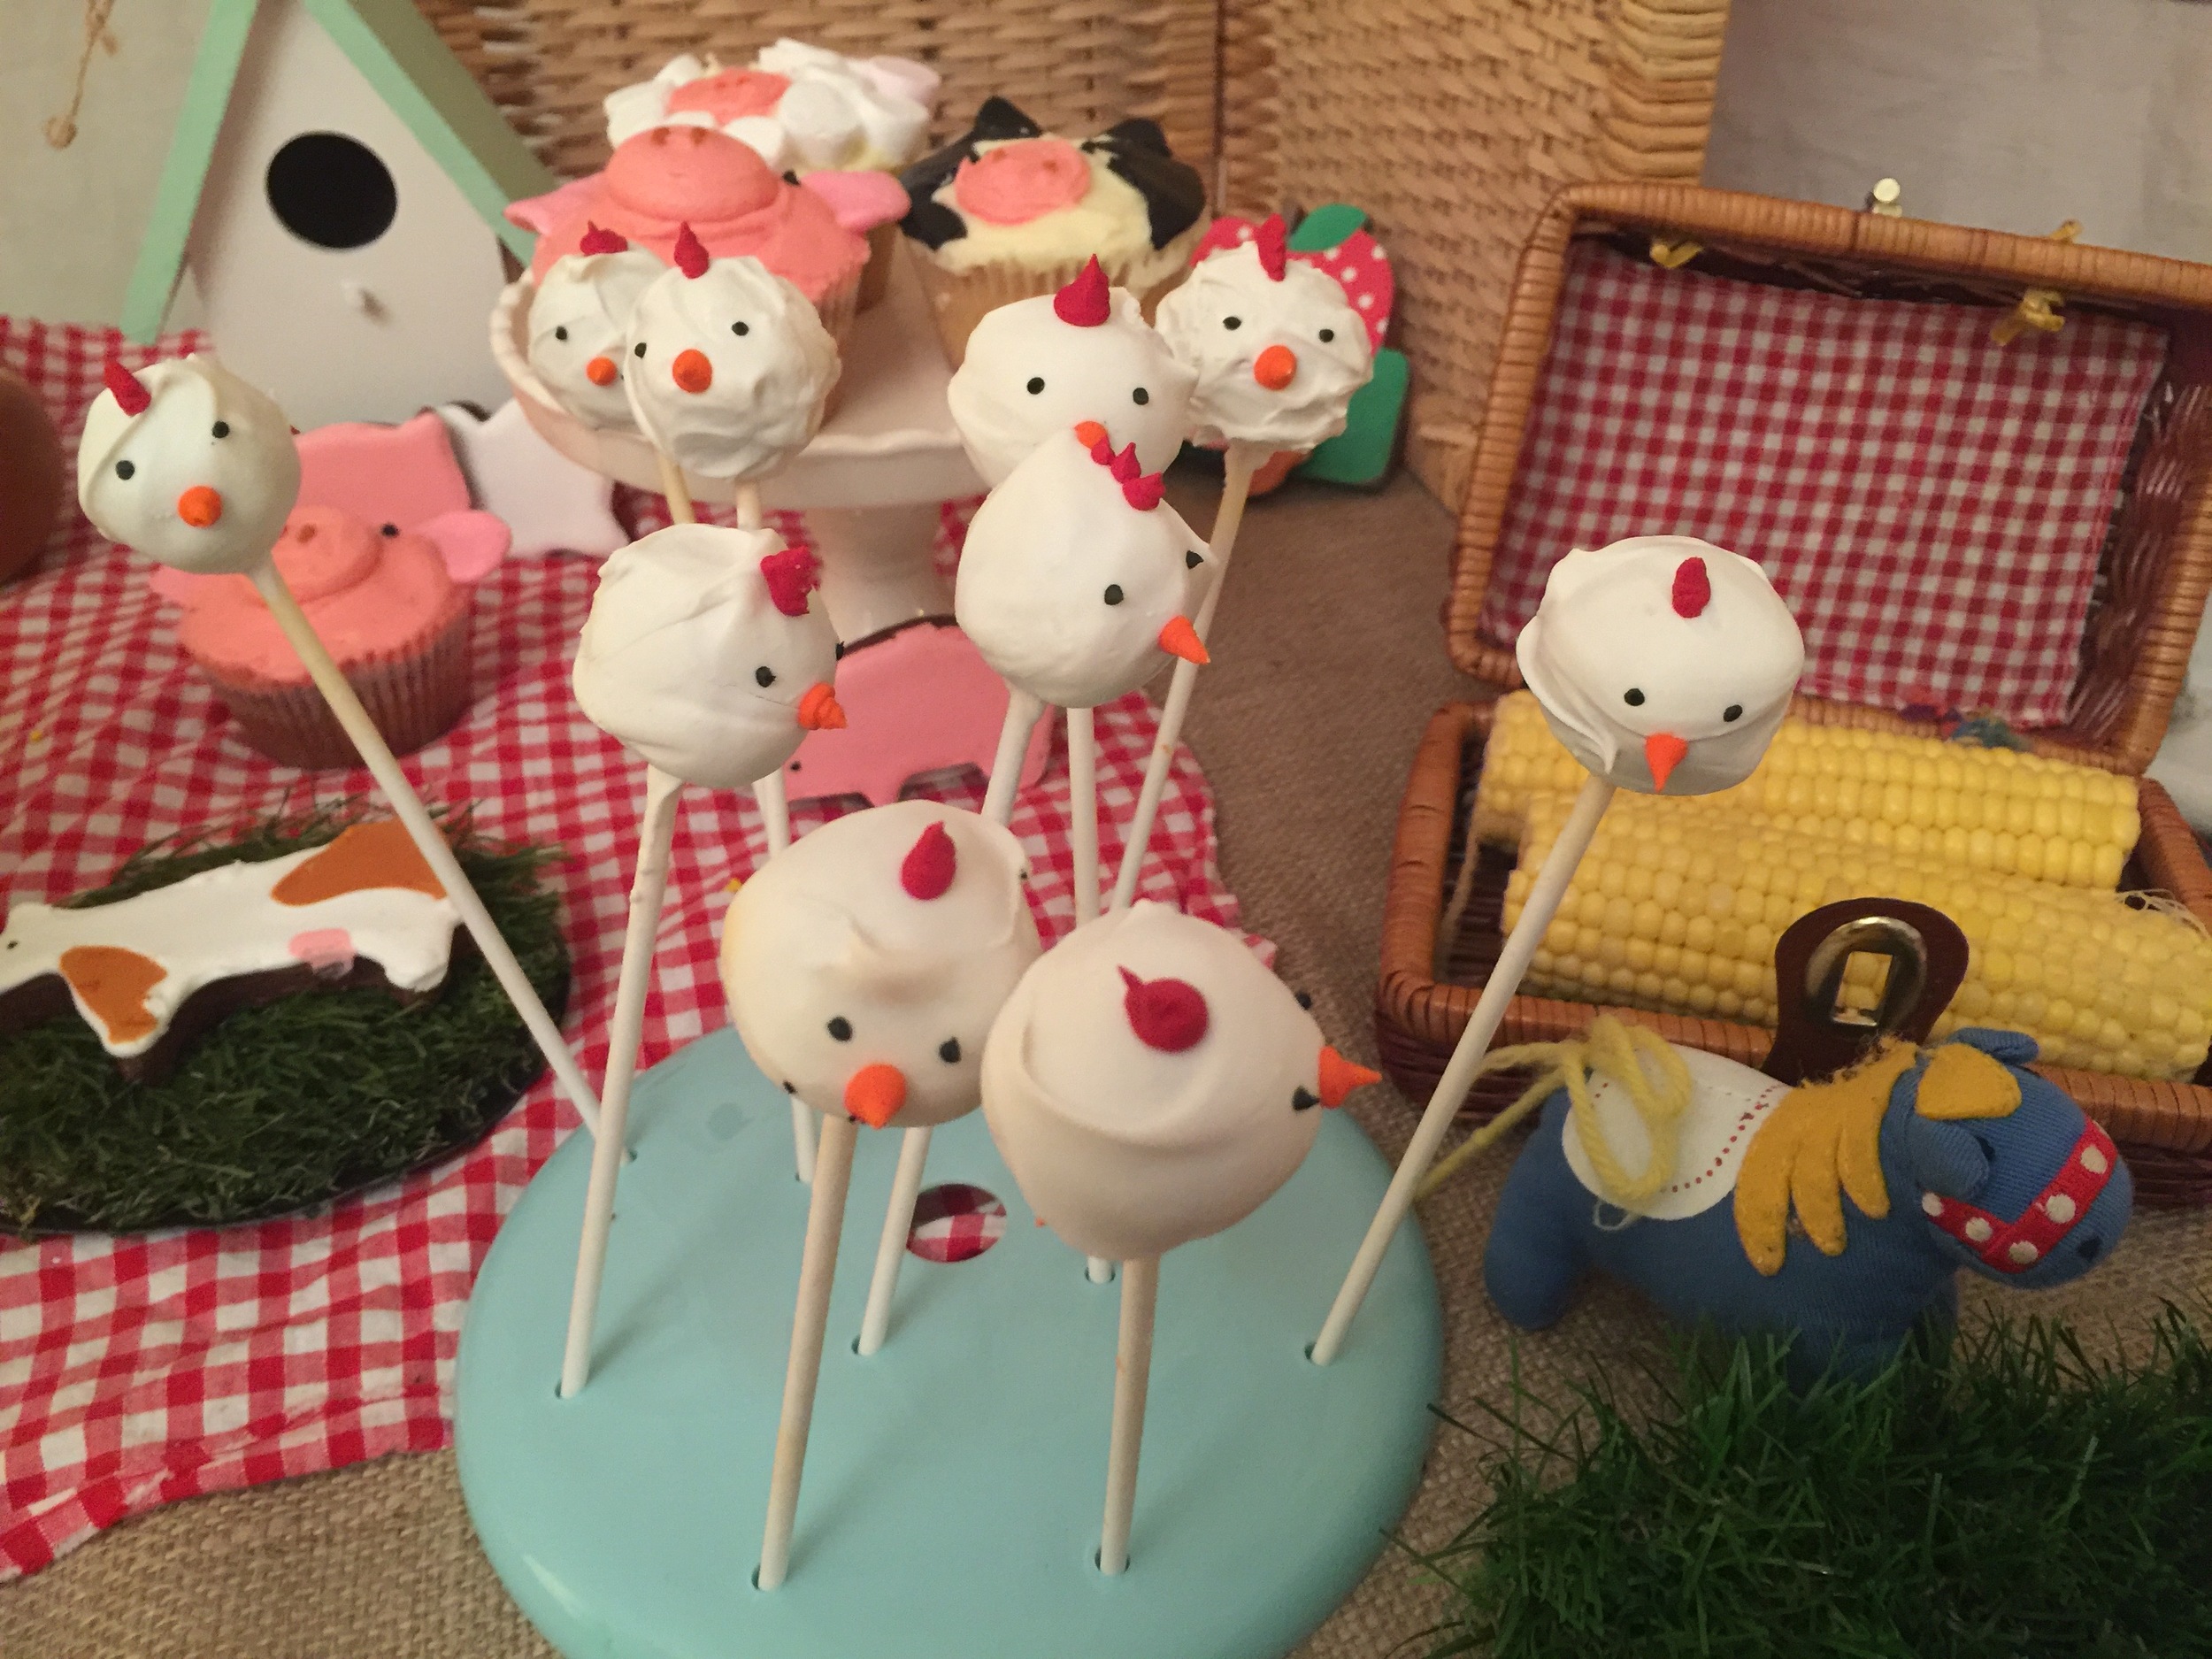
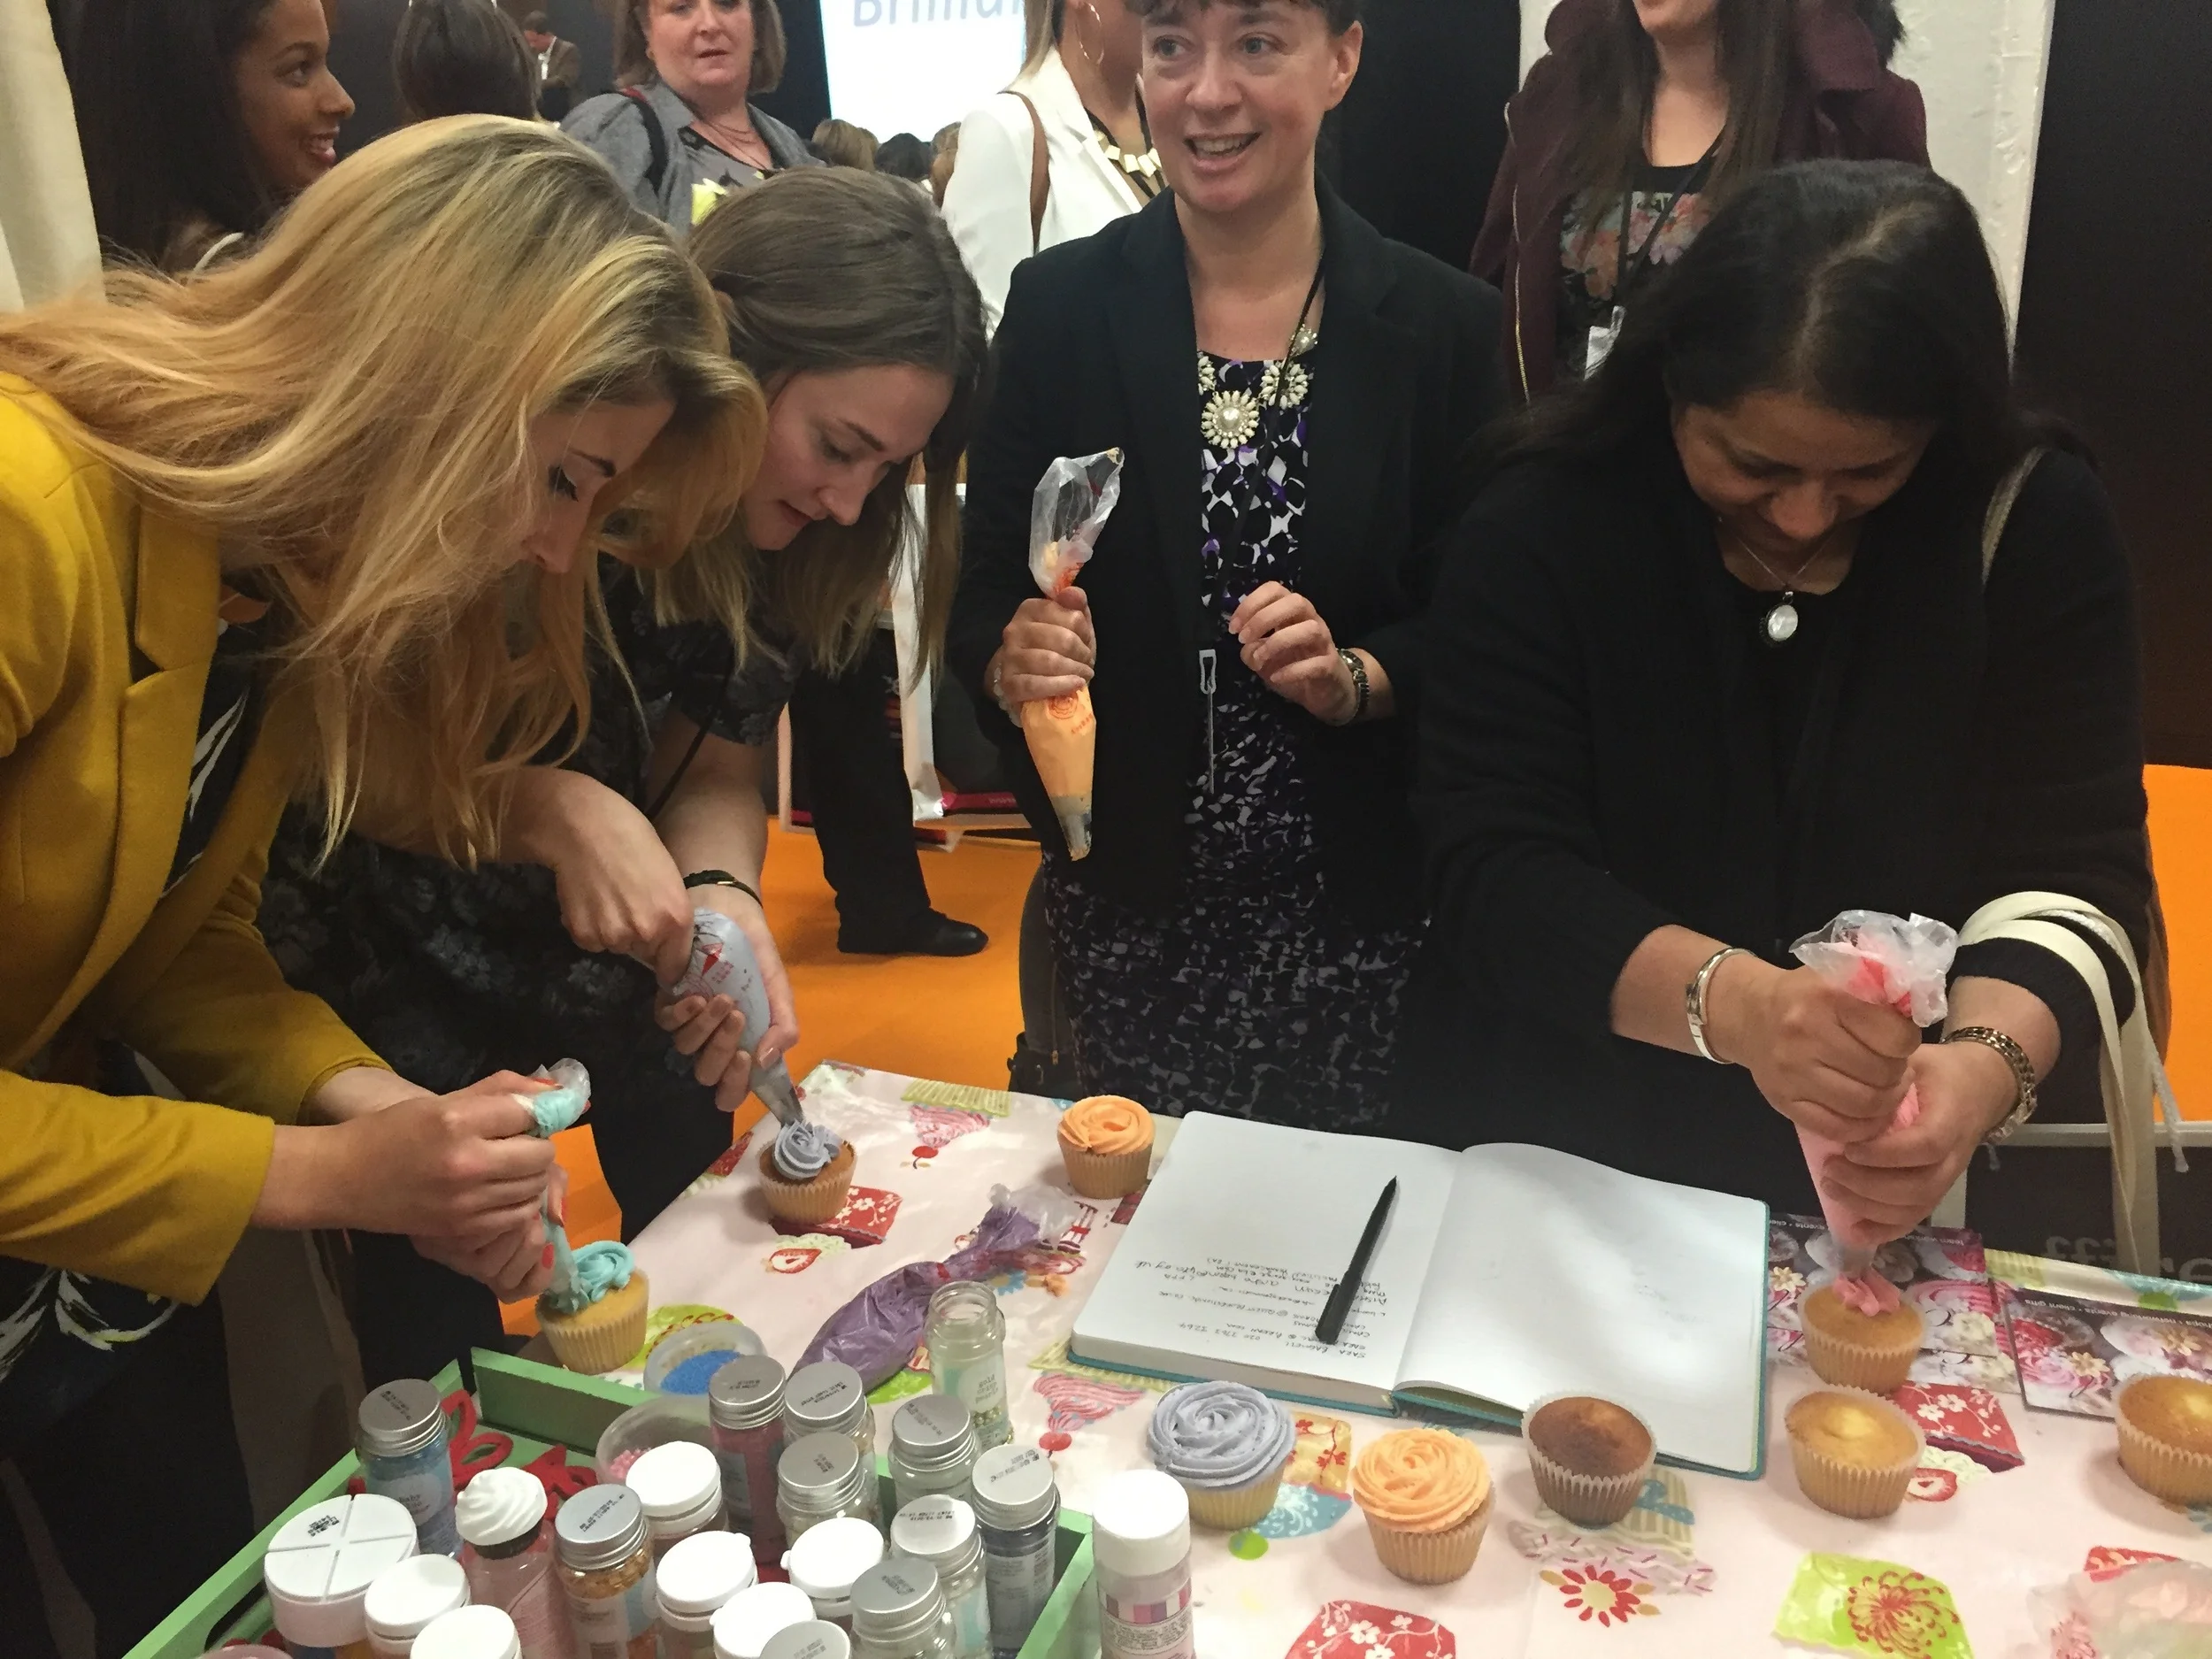
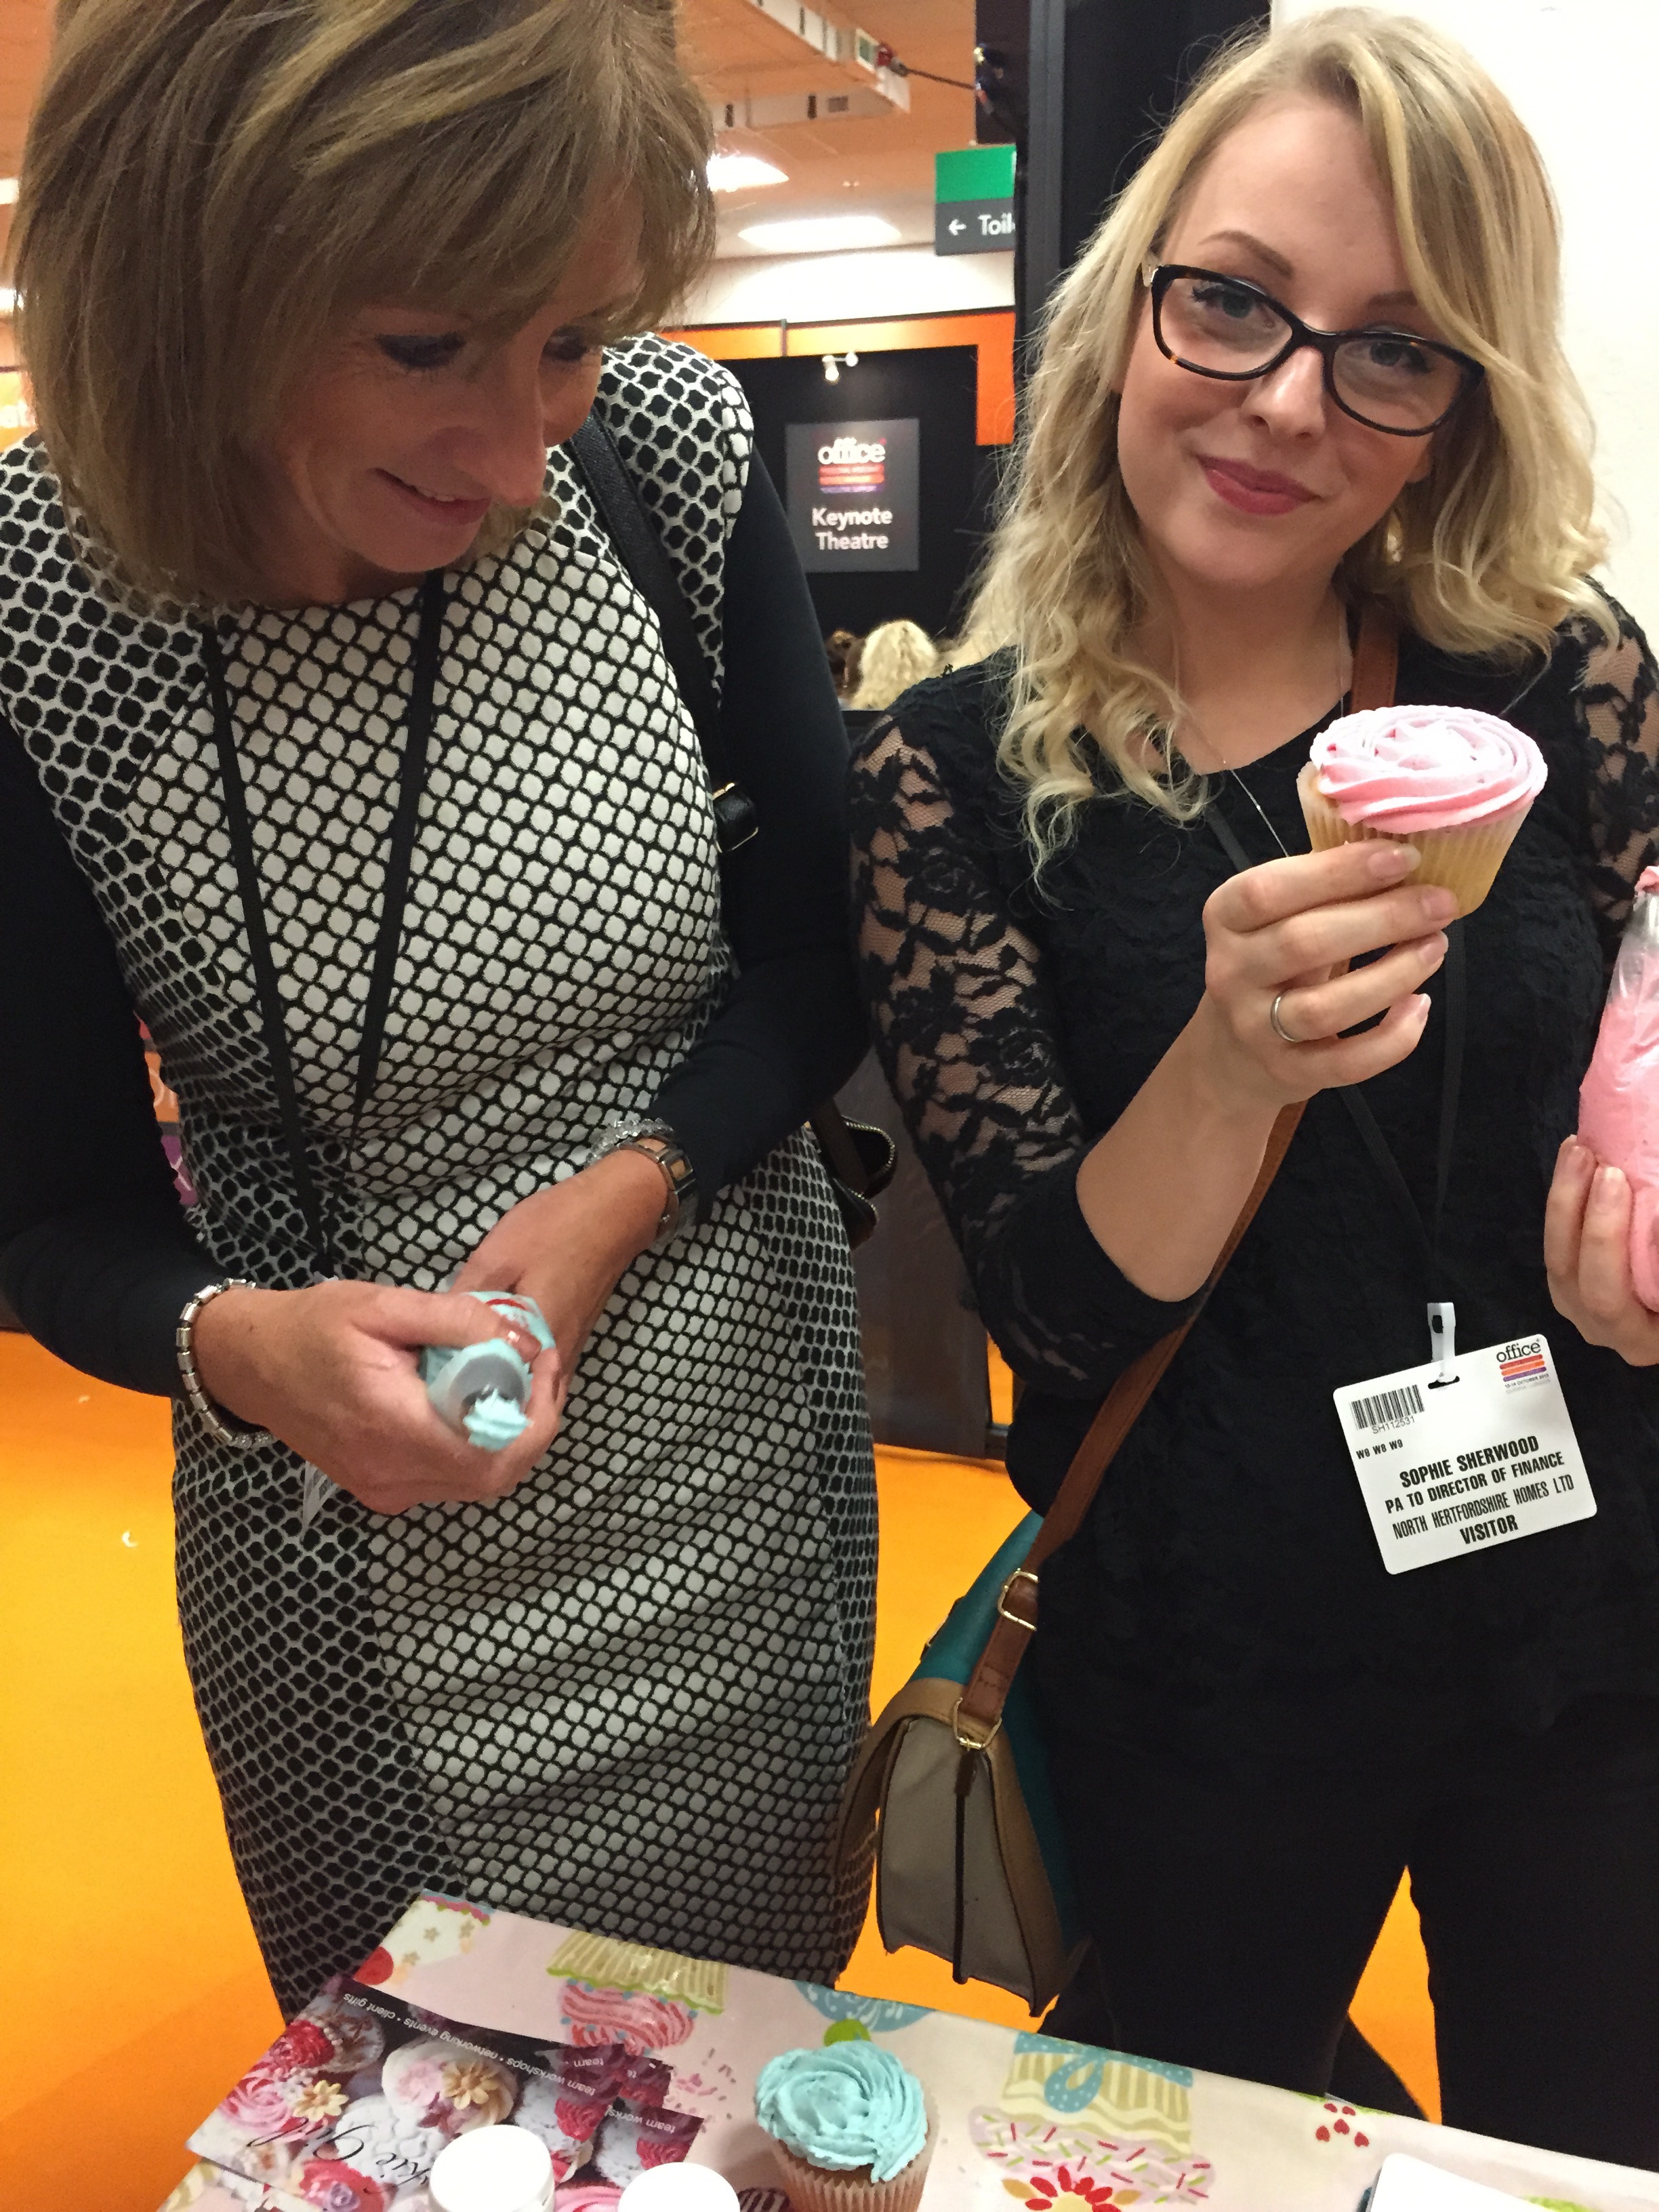
As you can see the ' Cookie Girl's Cottage' stand that we created for the Office Show at Olympia was a huge hit. Attendees had a fab time creating beautiful cupcakes that they then showed off in a number of different 'scenes'. We had an Alice in Wonderland miniature room. A teddy bear's picnic and you could even be crowned the 'Cupcake Queen'. Unsurprisingly this proved to be very popular, proving that none of us ever really grow up. Having so many people getting involved 'hands on' gave us a great opportunity to explain to them that although the activity is a huge amount of fun there are also great benefits to a company when the offer their employees this experience. Read 'Improving Success....' to find out more.
Teddy Birthday Cake
I can’t believe that it is already a year since little Ted arrived to join our family.
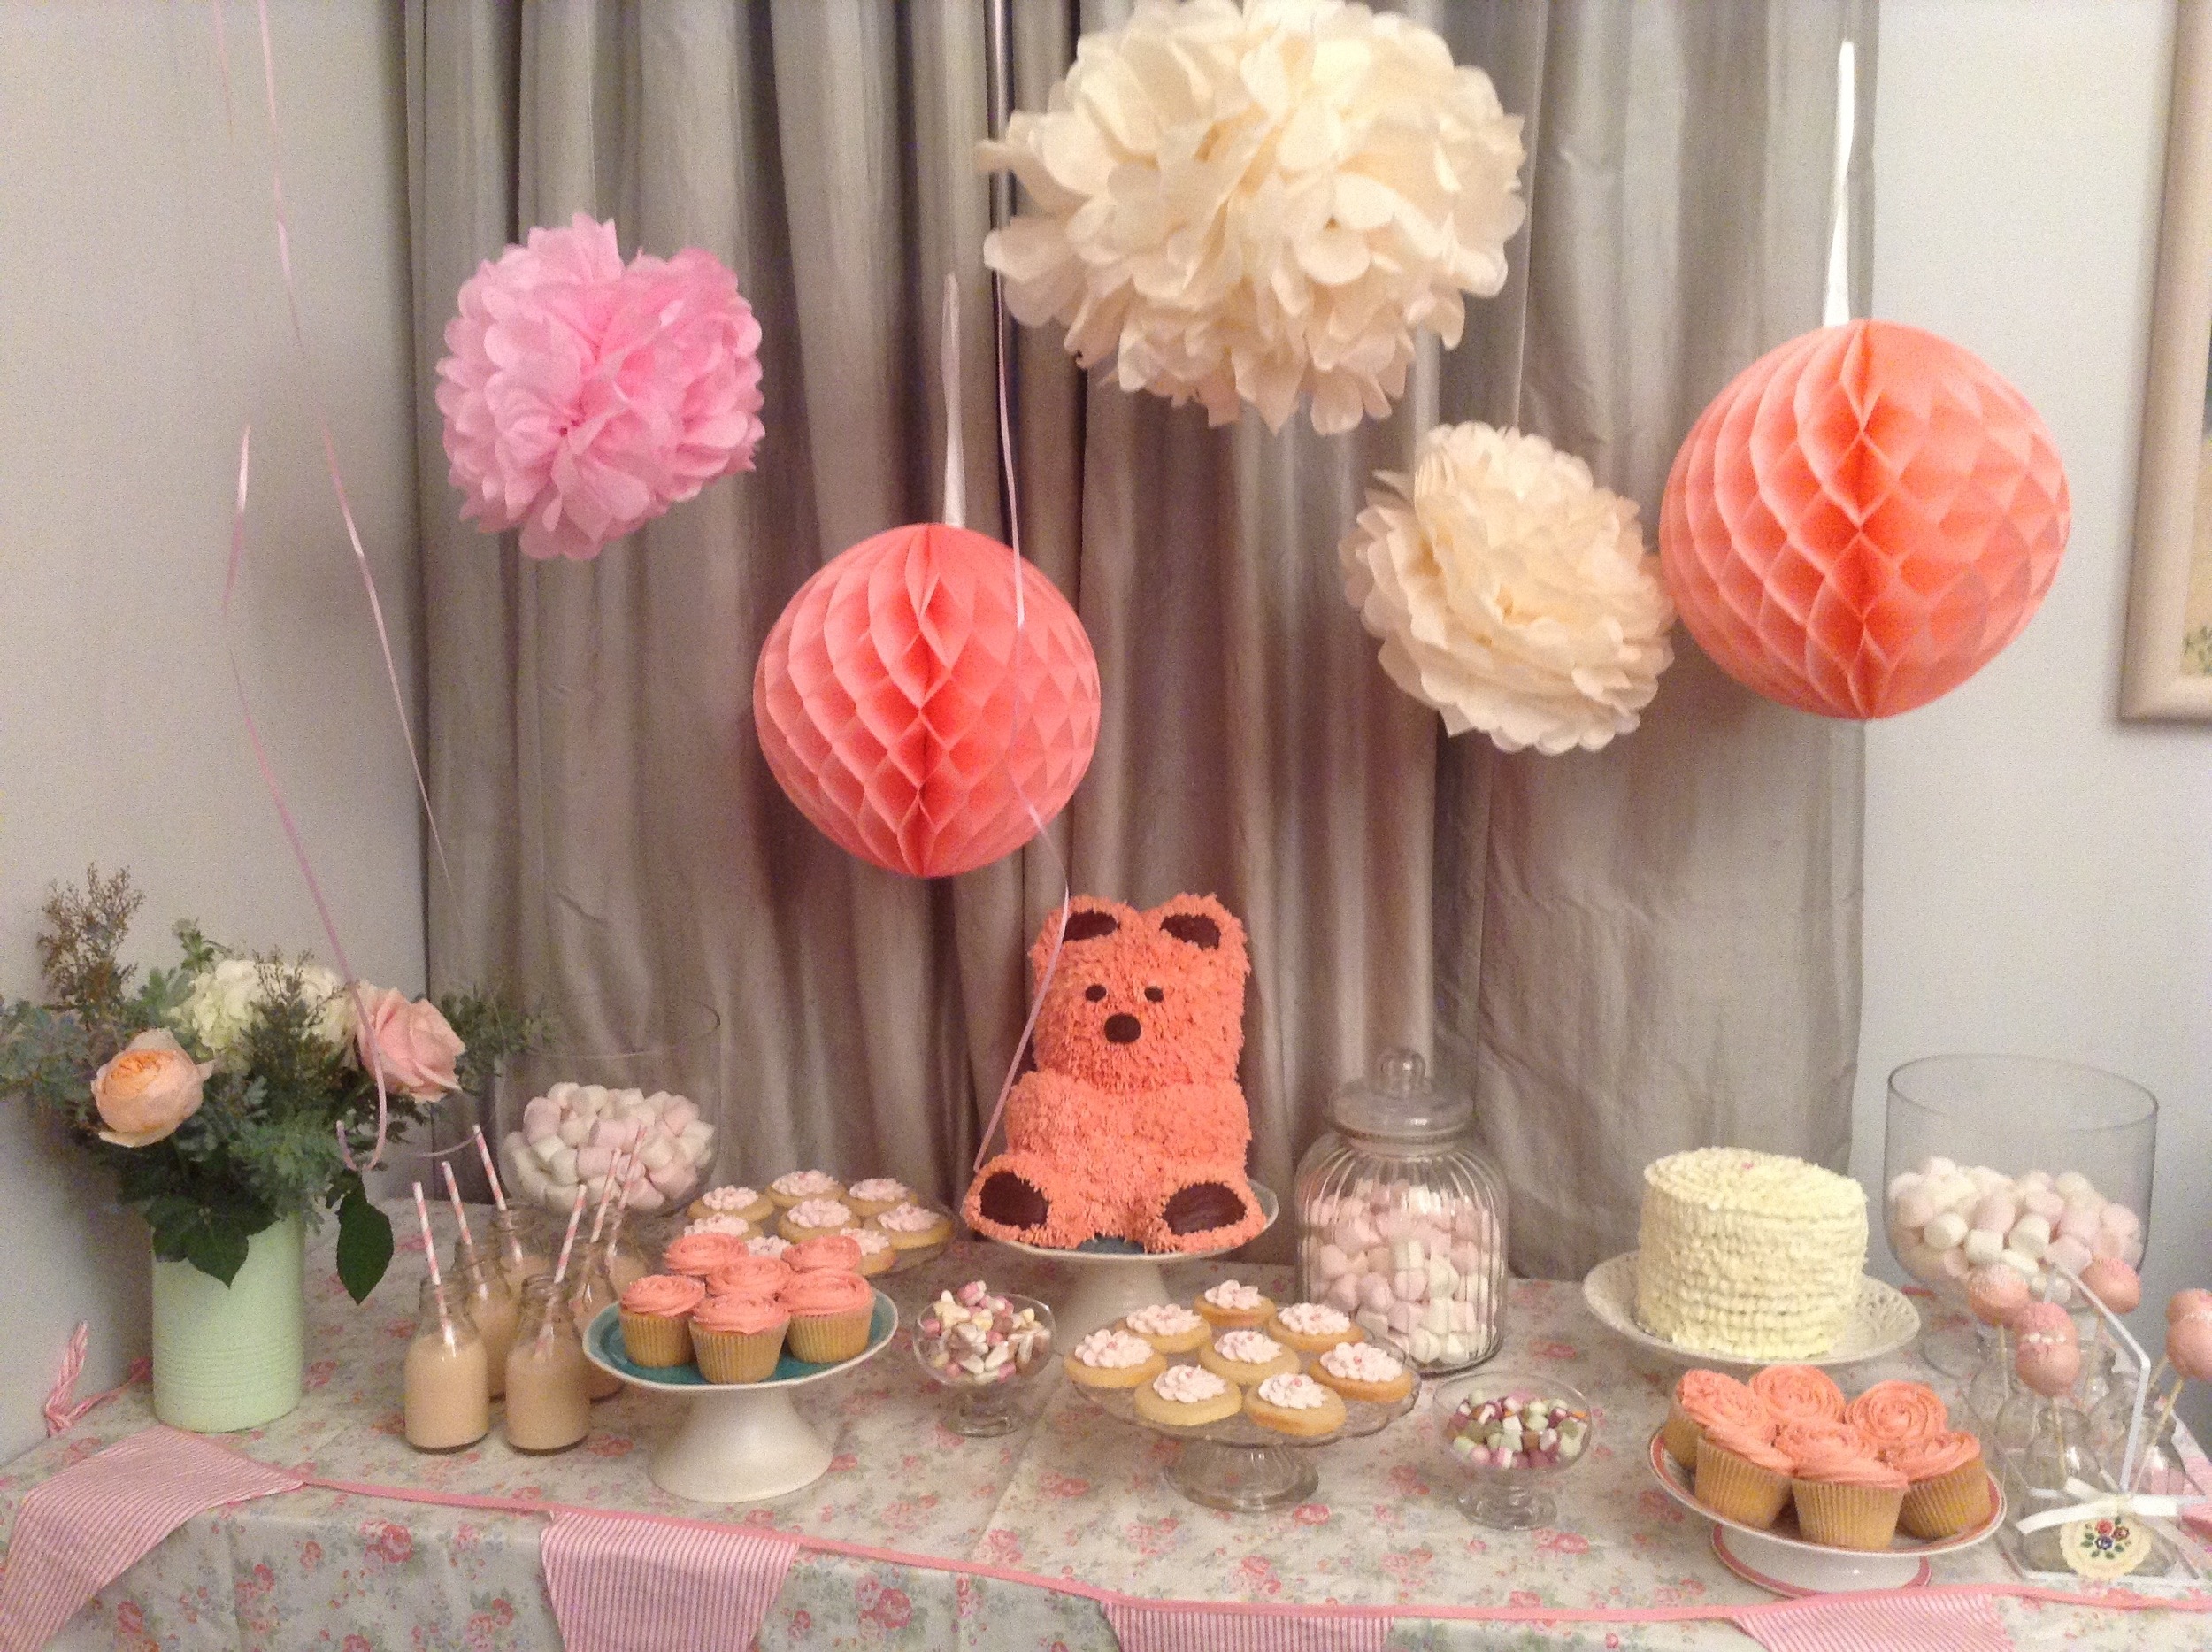
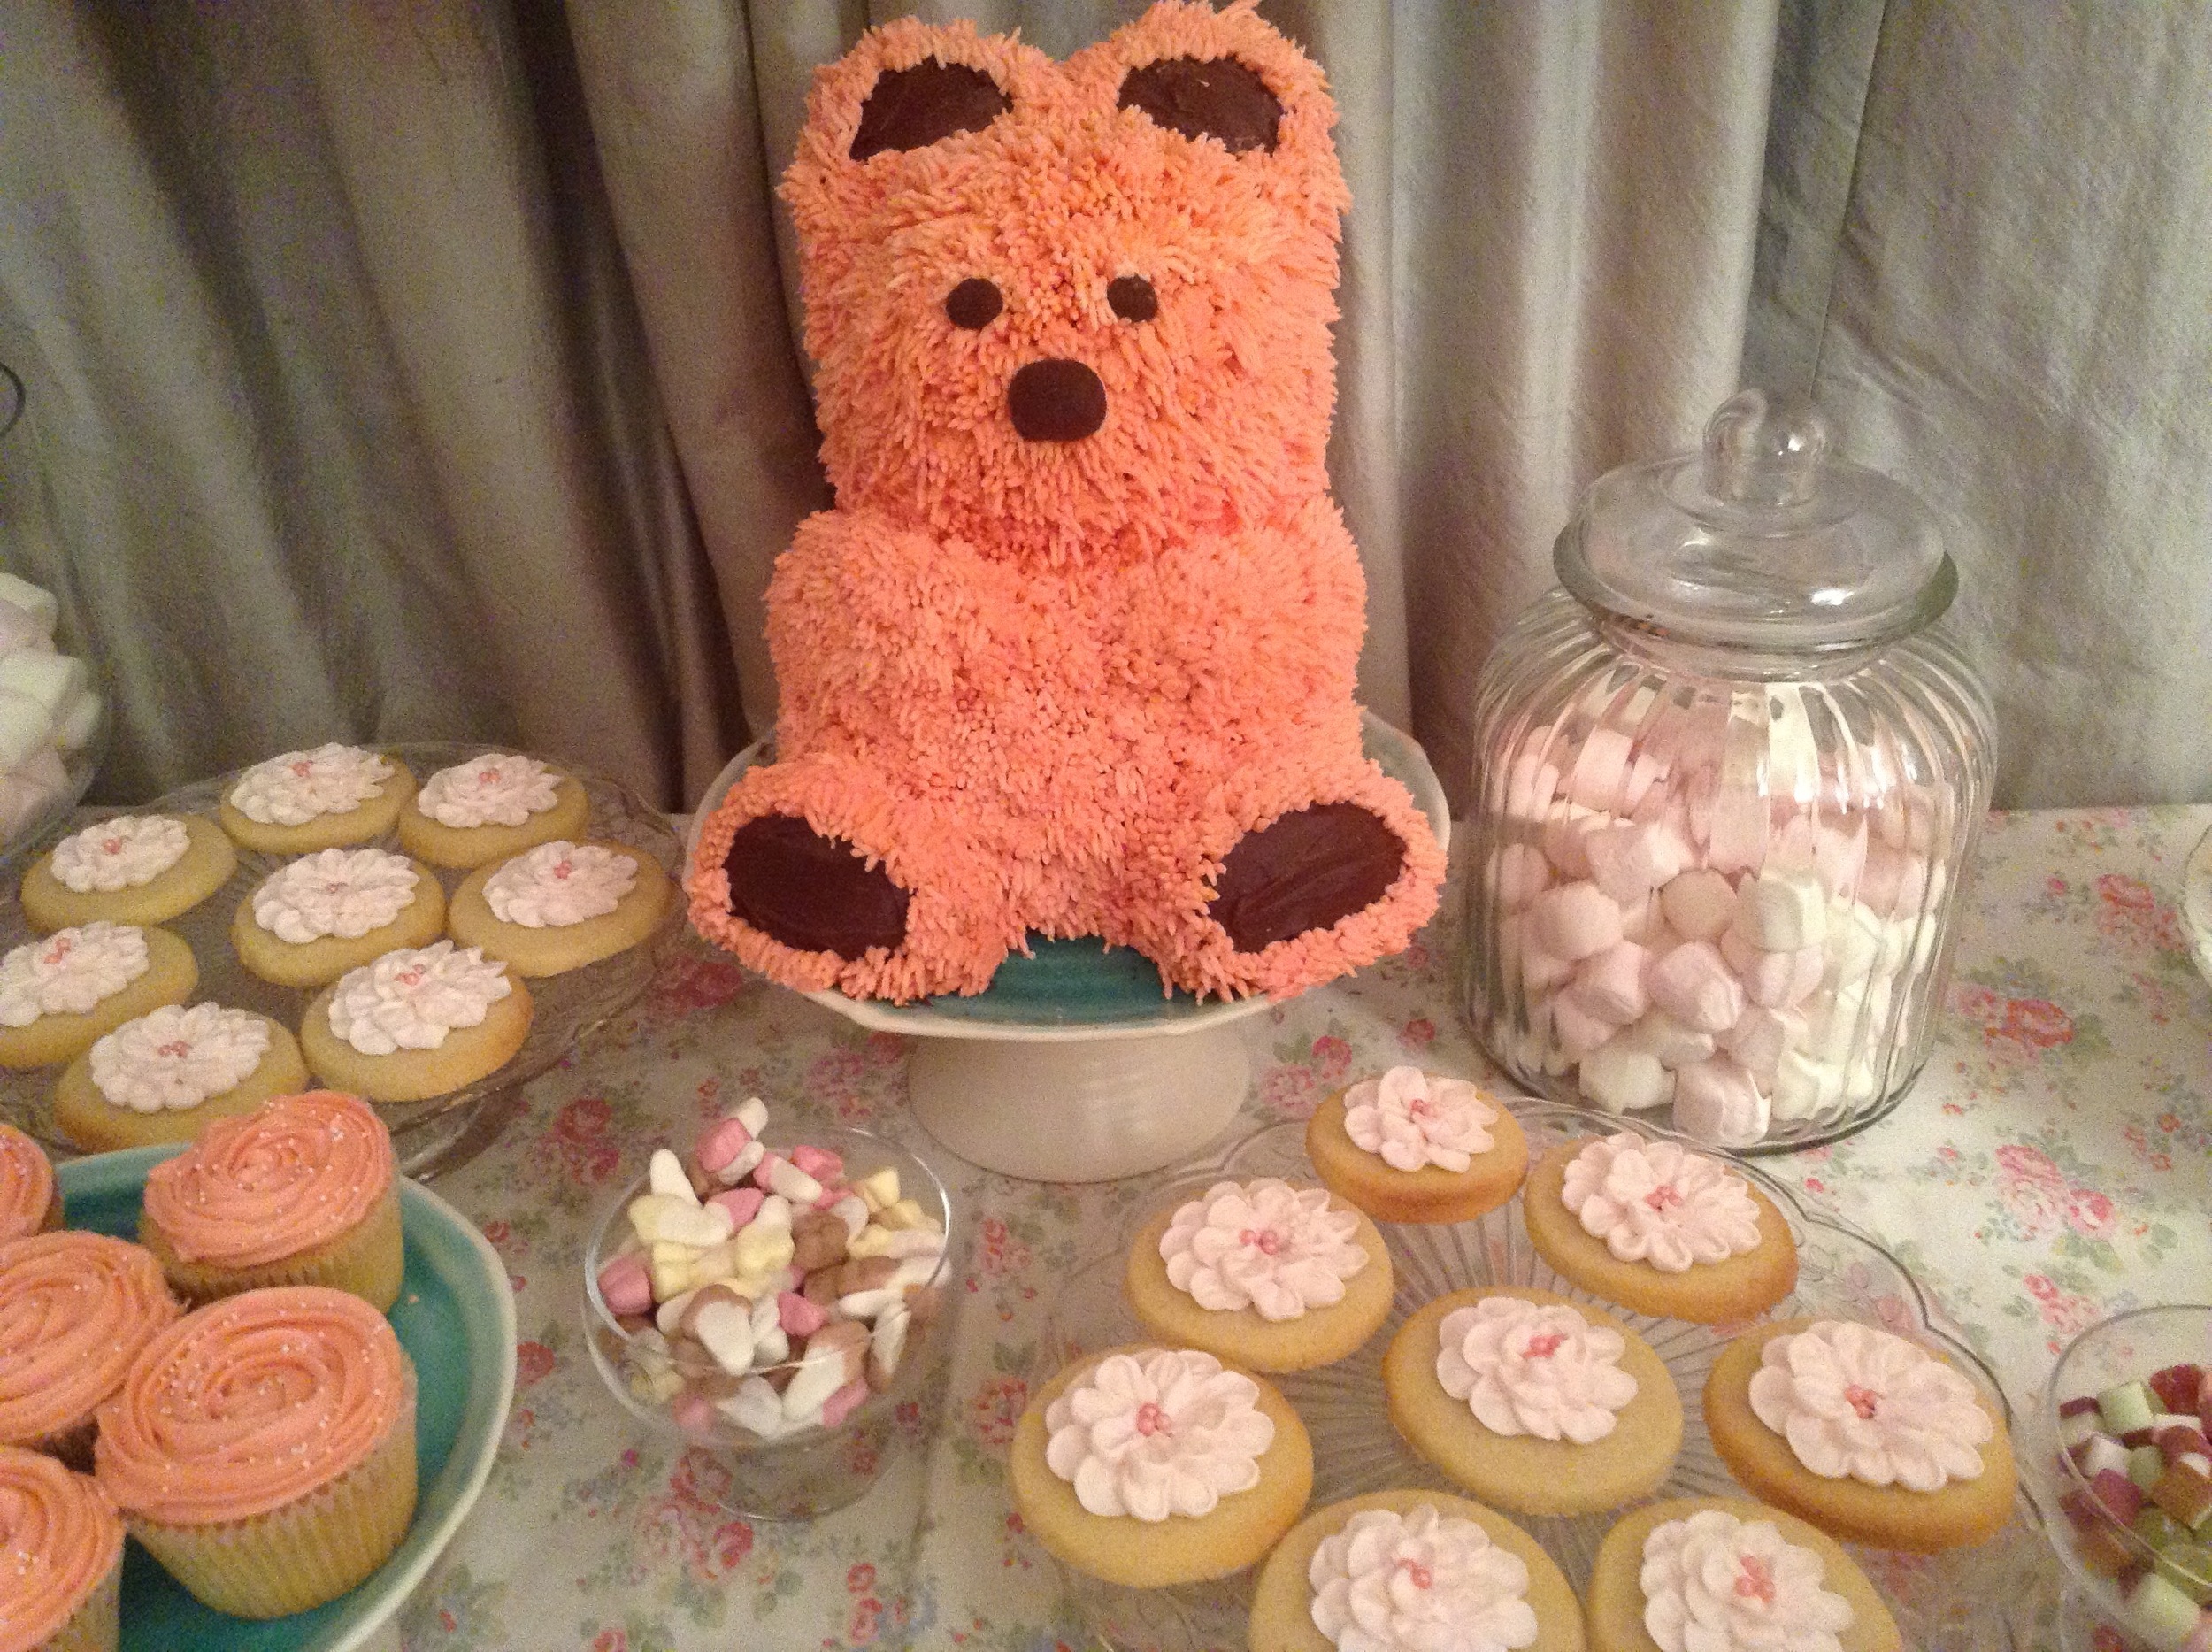
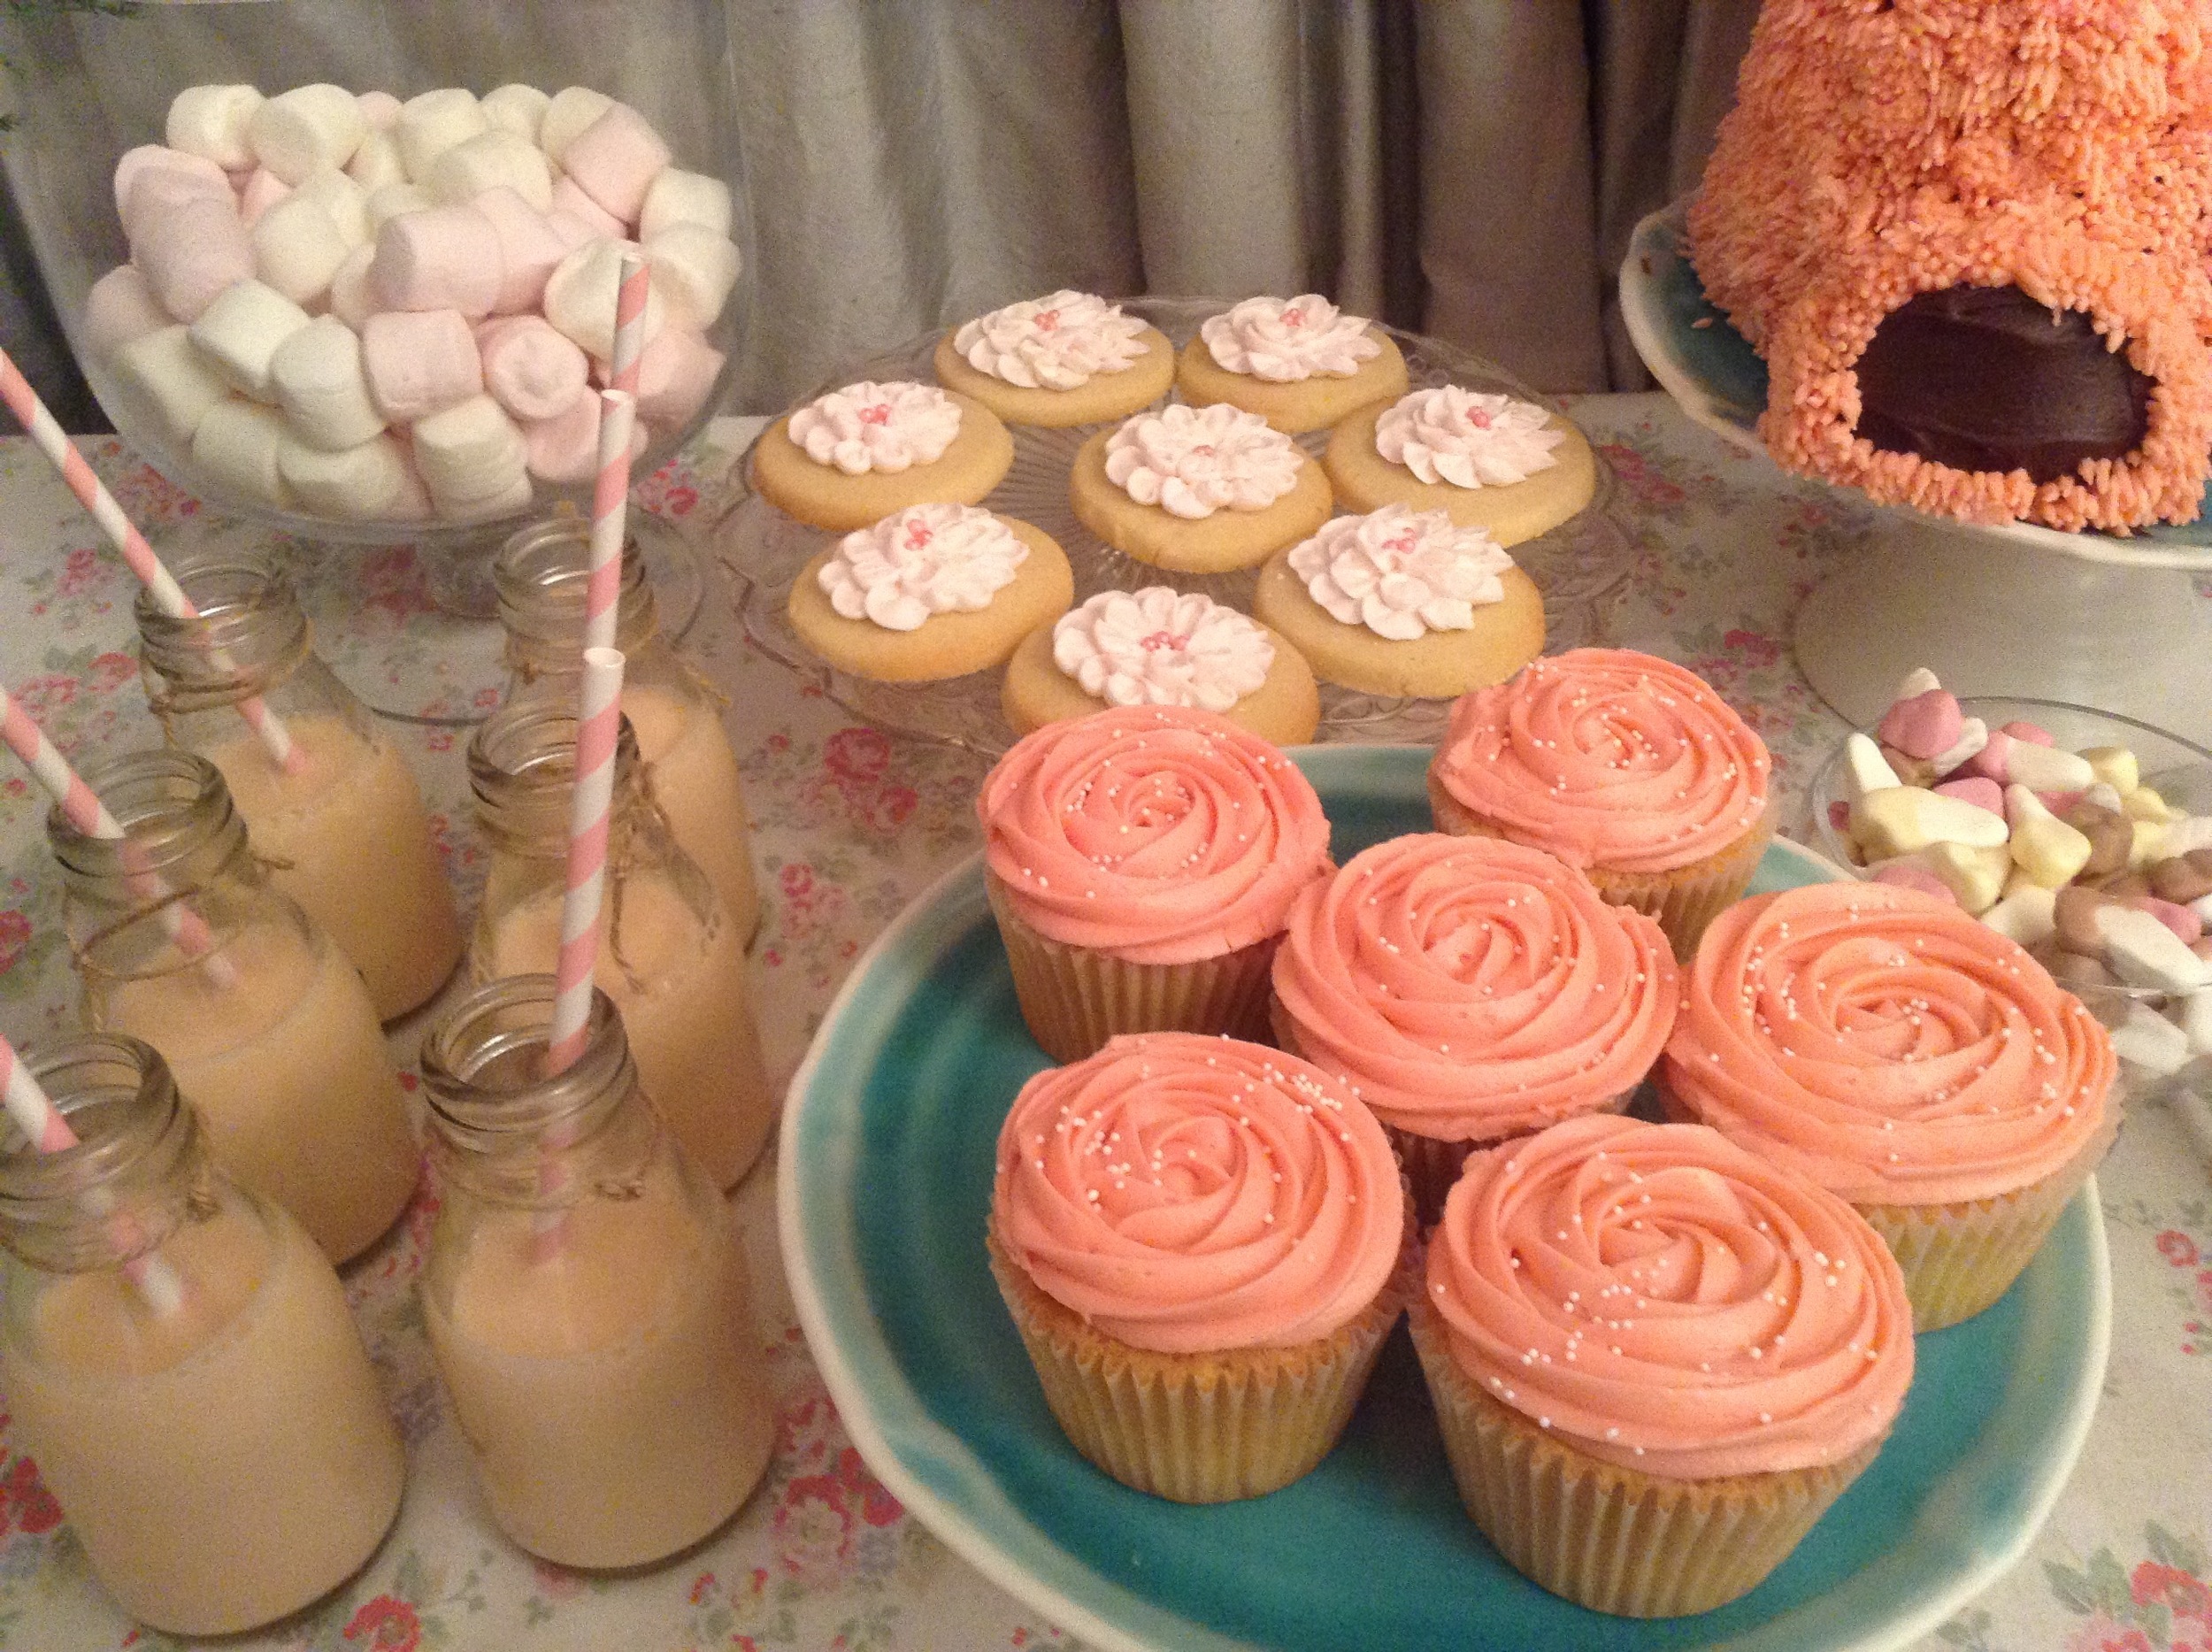
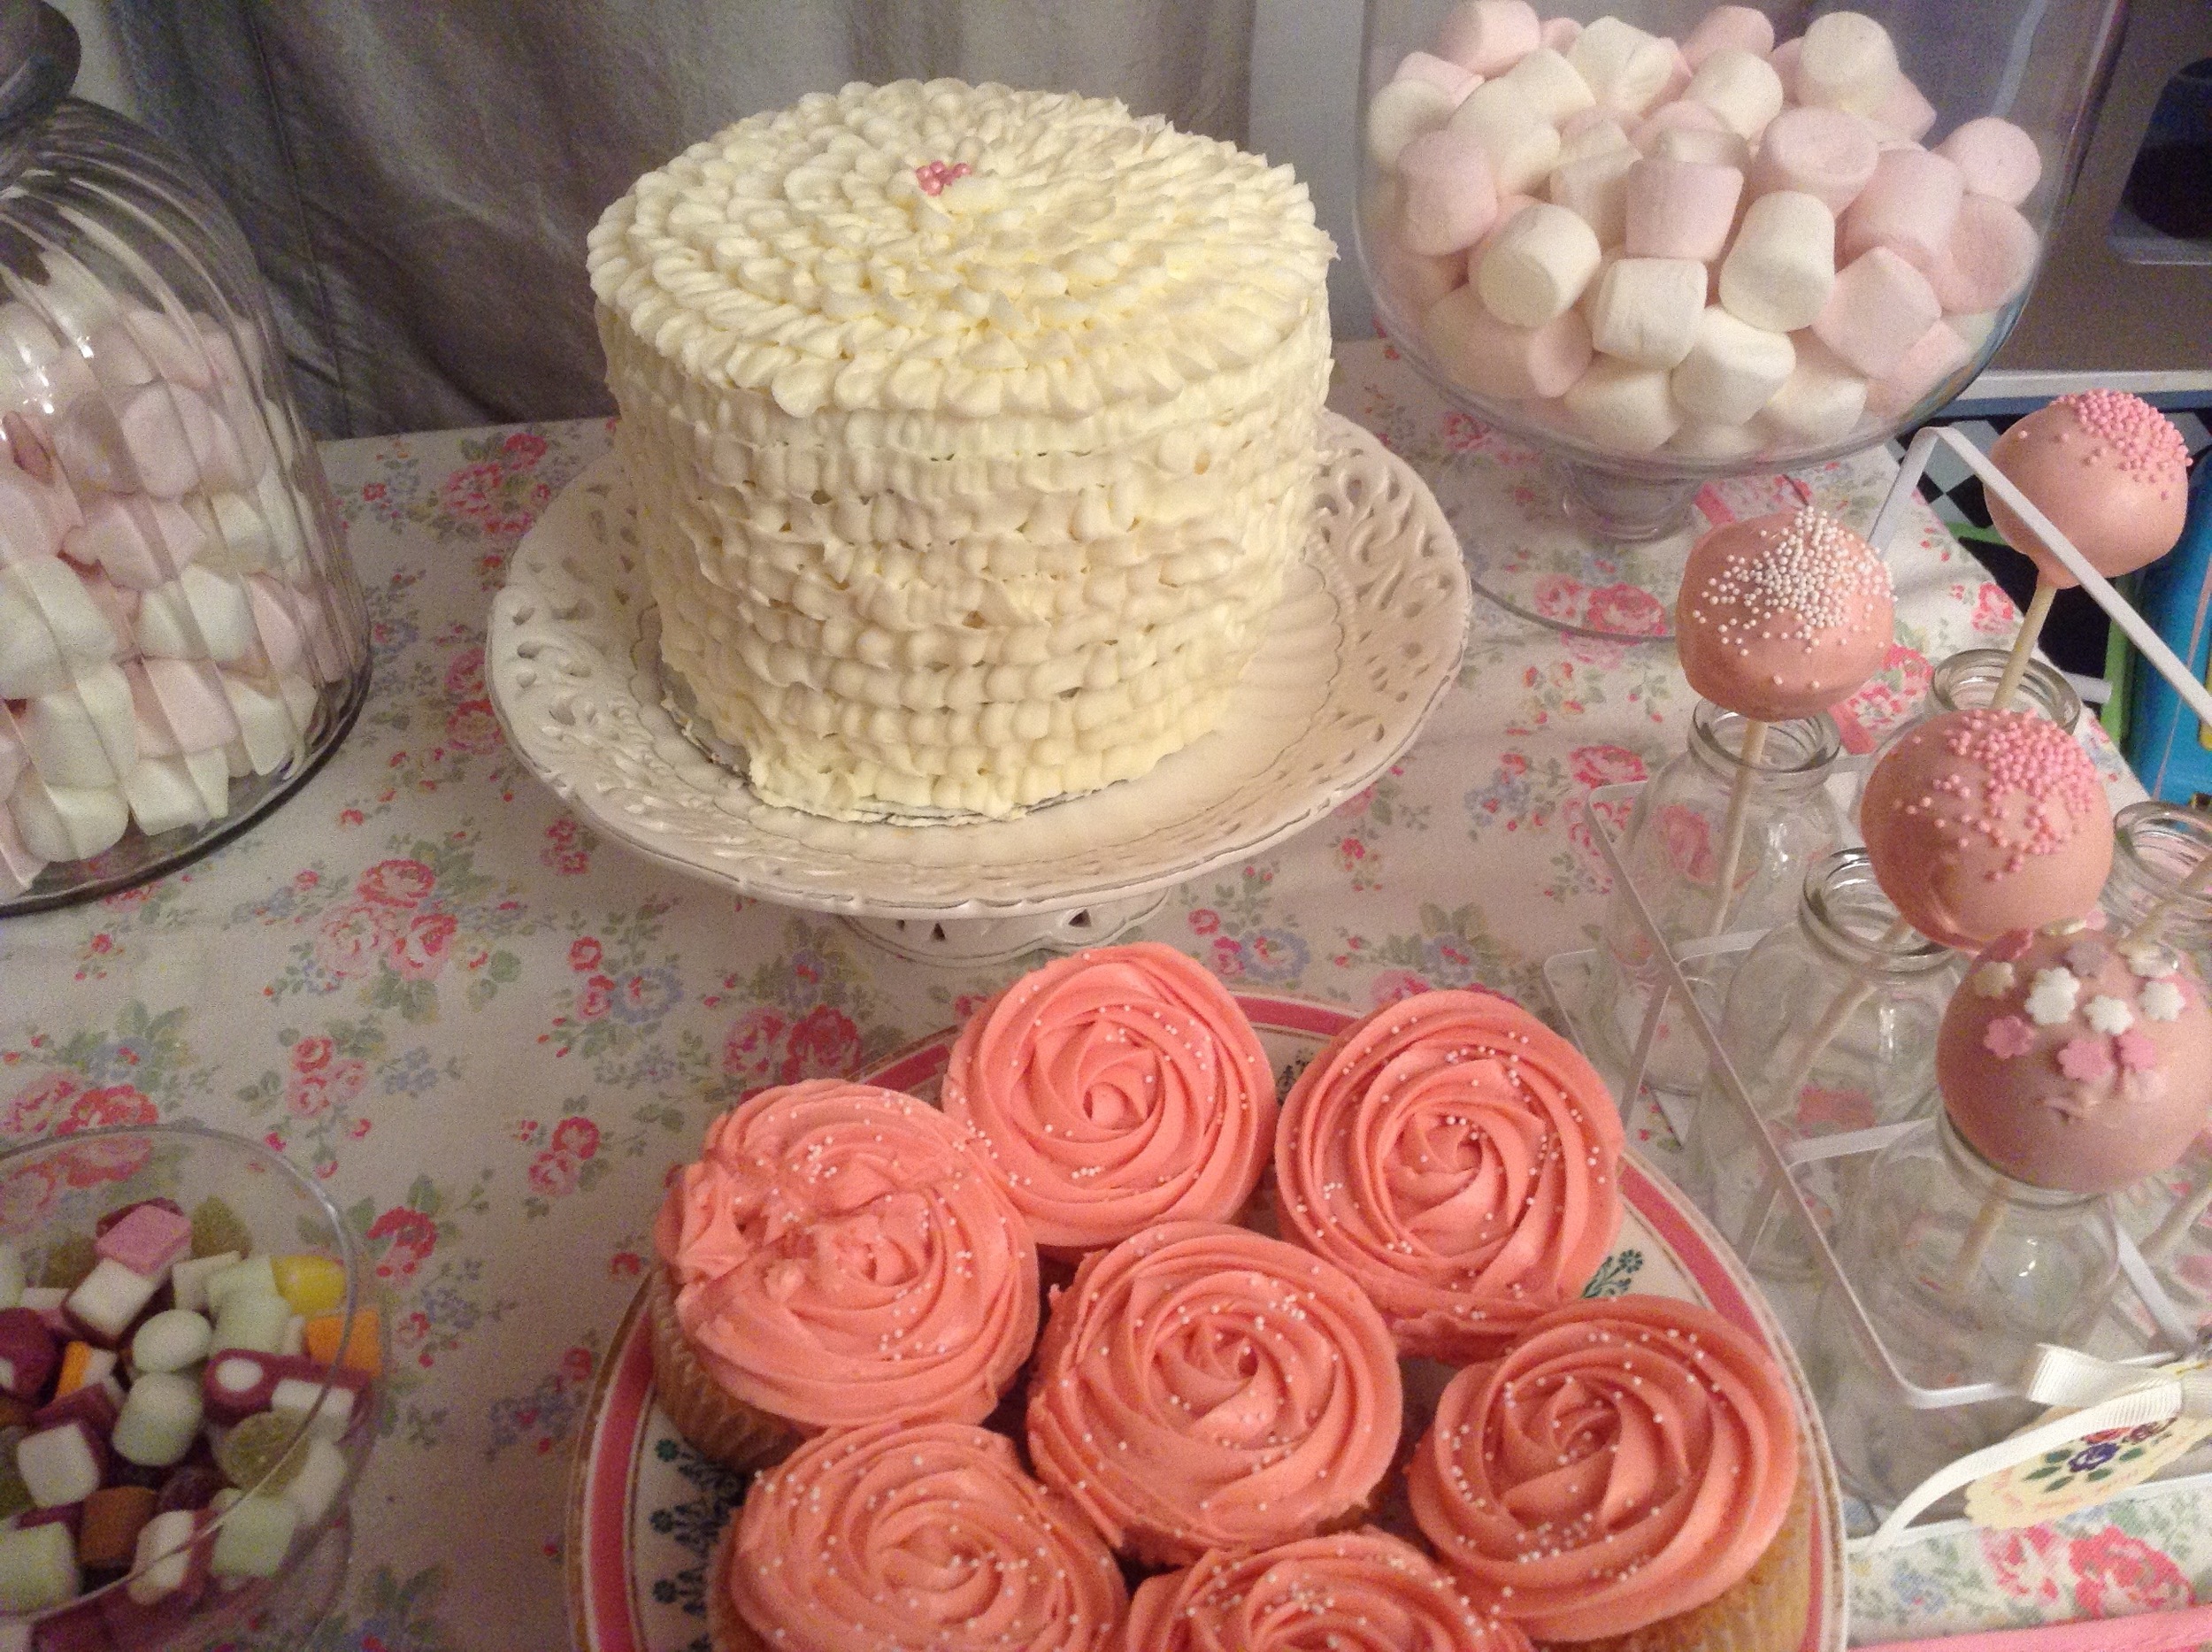
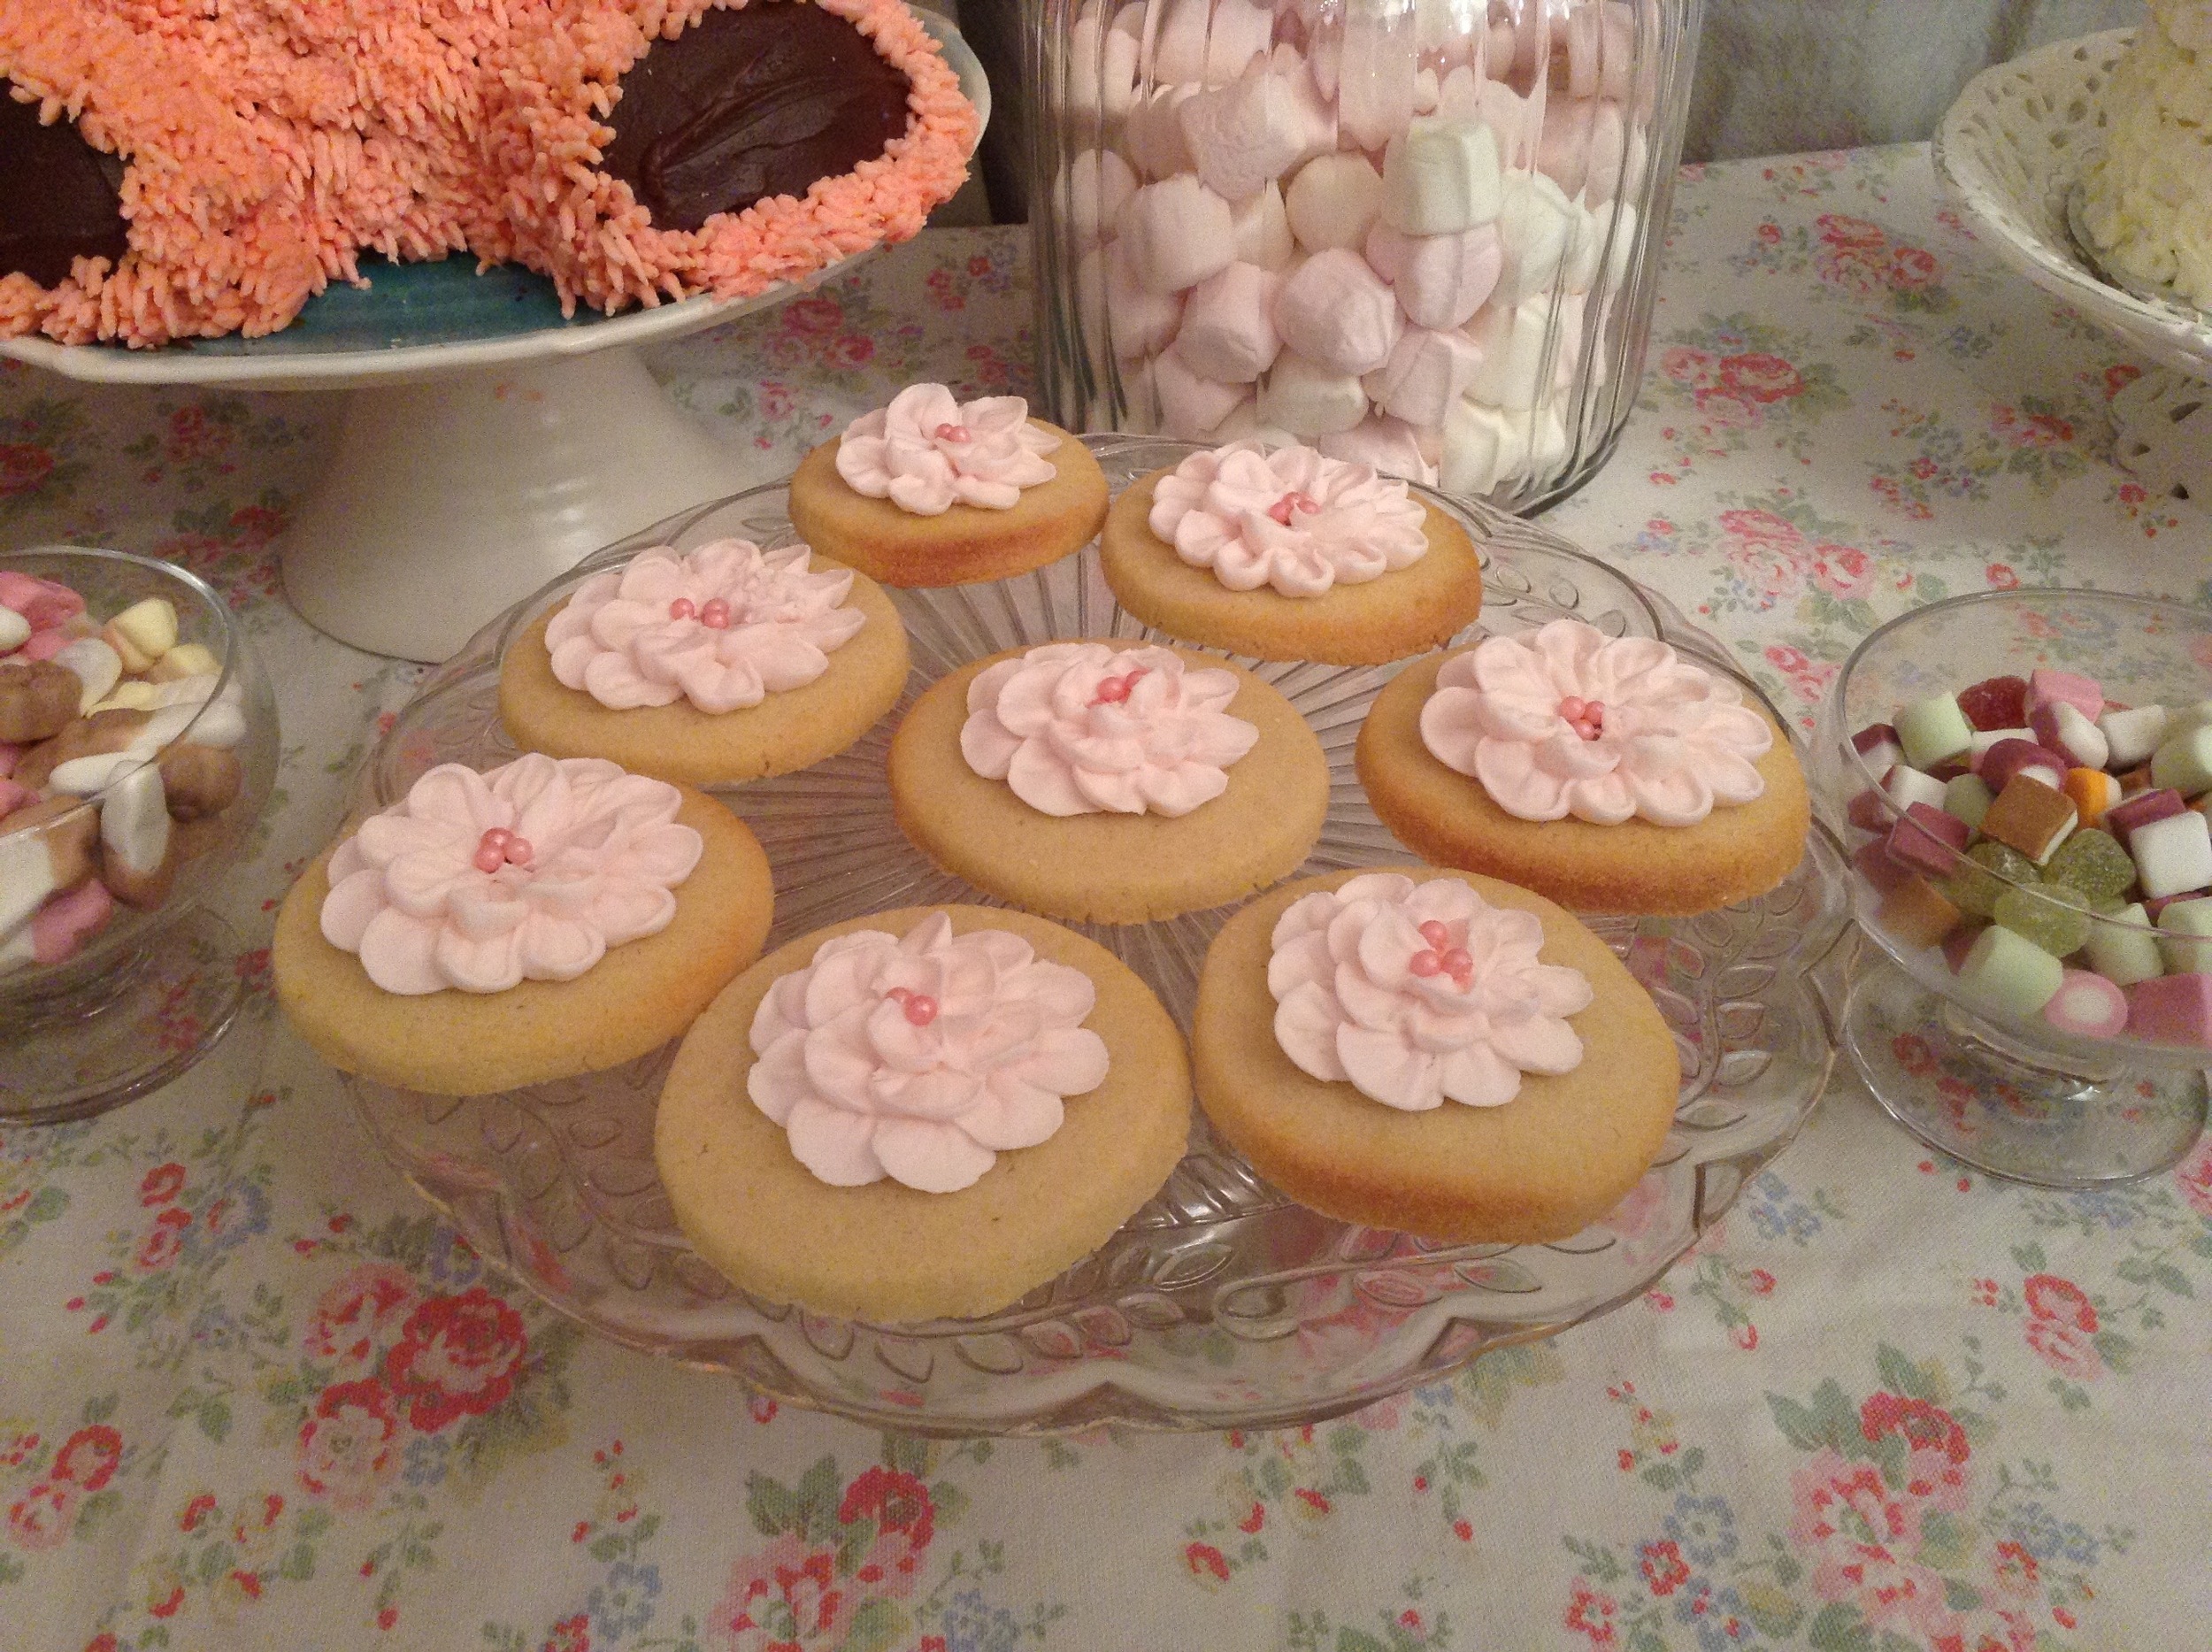
I can’t believe that it is already a year since little Ted arrived to join our family.
I also can’t believe I spent time trying to work out what to bake to celebrate this auspicious day. You’d think it would be obvious from the start. Teddy would have a 3D Teddy Bear Birthday Cake. I knew that this would be time consuming so I baked the cakes (chocolate mud cake in 2 x pudding bowls, one 1pt and one 2 pt) on Wednesday. I made the cake pops on Thursday, molding some of the mix to create arms, legs, feet, ears, nose and eyes. On Friday afternoon I assembled it and covered it in ganache. Once this had set I covered the whole thing in pink buttercream using a large grass nozzle to create a rough, almost fleecy fur effect. I think this took me around an hour to hour and a half. To be honest I’m not quite sure as we were skyping my sis and her family in Oz at the time. So all rather distracting!
It was fairly plain sailing apart from when my 3yr old Cosy insisted on helping. I let her help stir the pop mix and as I turned my back for a mo she picked up the bowl and dropped it losing half the mix on the floor. I managed to keep my composure and decided to top up with 4 tbsps Nutella which in retrospect really added to the flavour. I explained to Cosy that she musn’t pick the bowl up when she was helping me.
Then I let her crack the eggs for the coconut layer cake I was preparing. She has a great one-handed technique, which works well as long as it is over a separate bowl so I can fish the shell out. She had cracked the 8 eggs I needed. I was just leaning behind her to grab a spatula when she tried to tip the egg bowl into the Kitchen Aid. 1 of the eggs went into that bowl whilst the other 7 slid down the kitchen cupboards before pooling in a puddle on the floor. Once again I told her that she was NOT allowed to pick up the bowl. I let her crack the eggs once again but left doing anything else until after she had gone to bed.
Sometimes it’s difficult because I really want to encourage her passion for baking but it does always make so much work for me and I am running a business. I try not to get cross though as it is always well intentioned.
In the end the layer cake turned out fine and I also piped some simple flower cookies and some pink rose cupcakes. I also filled a couple of glass trifle bowls with pink and white marshmallows.
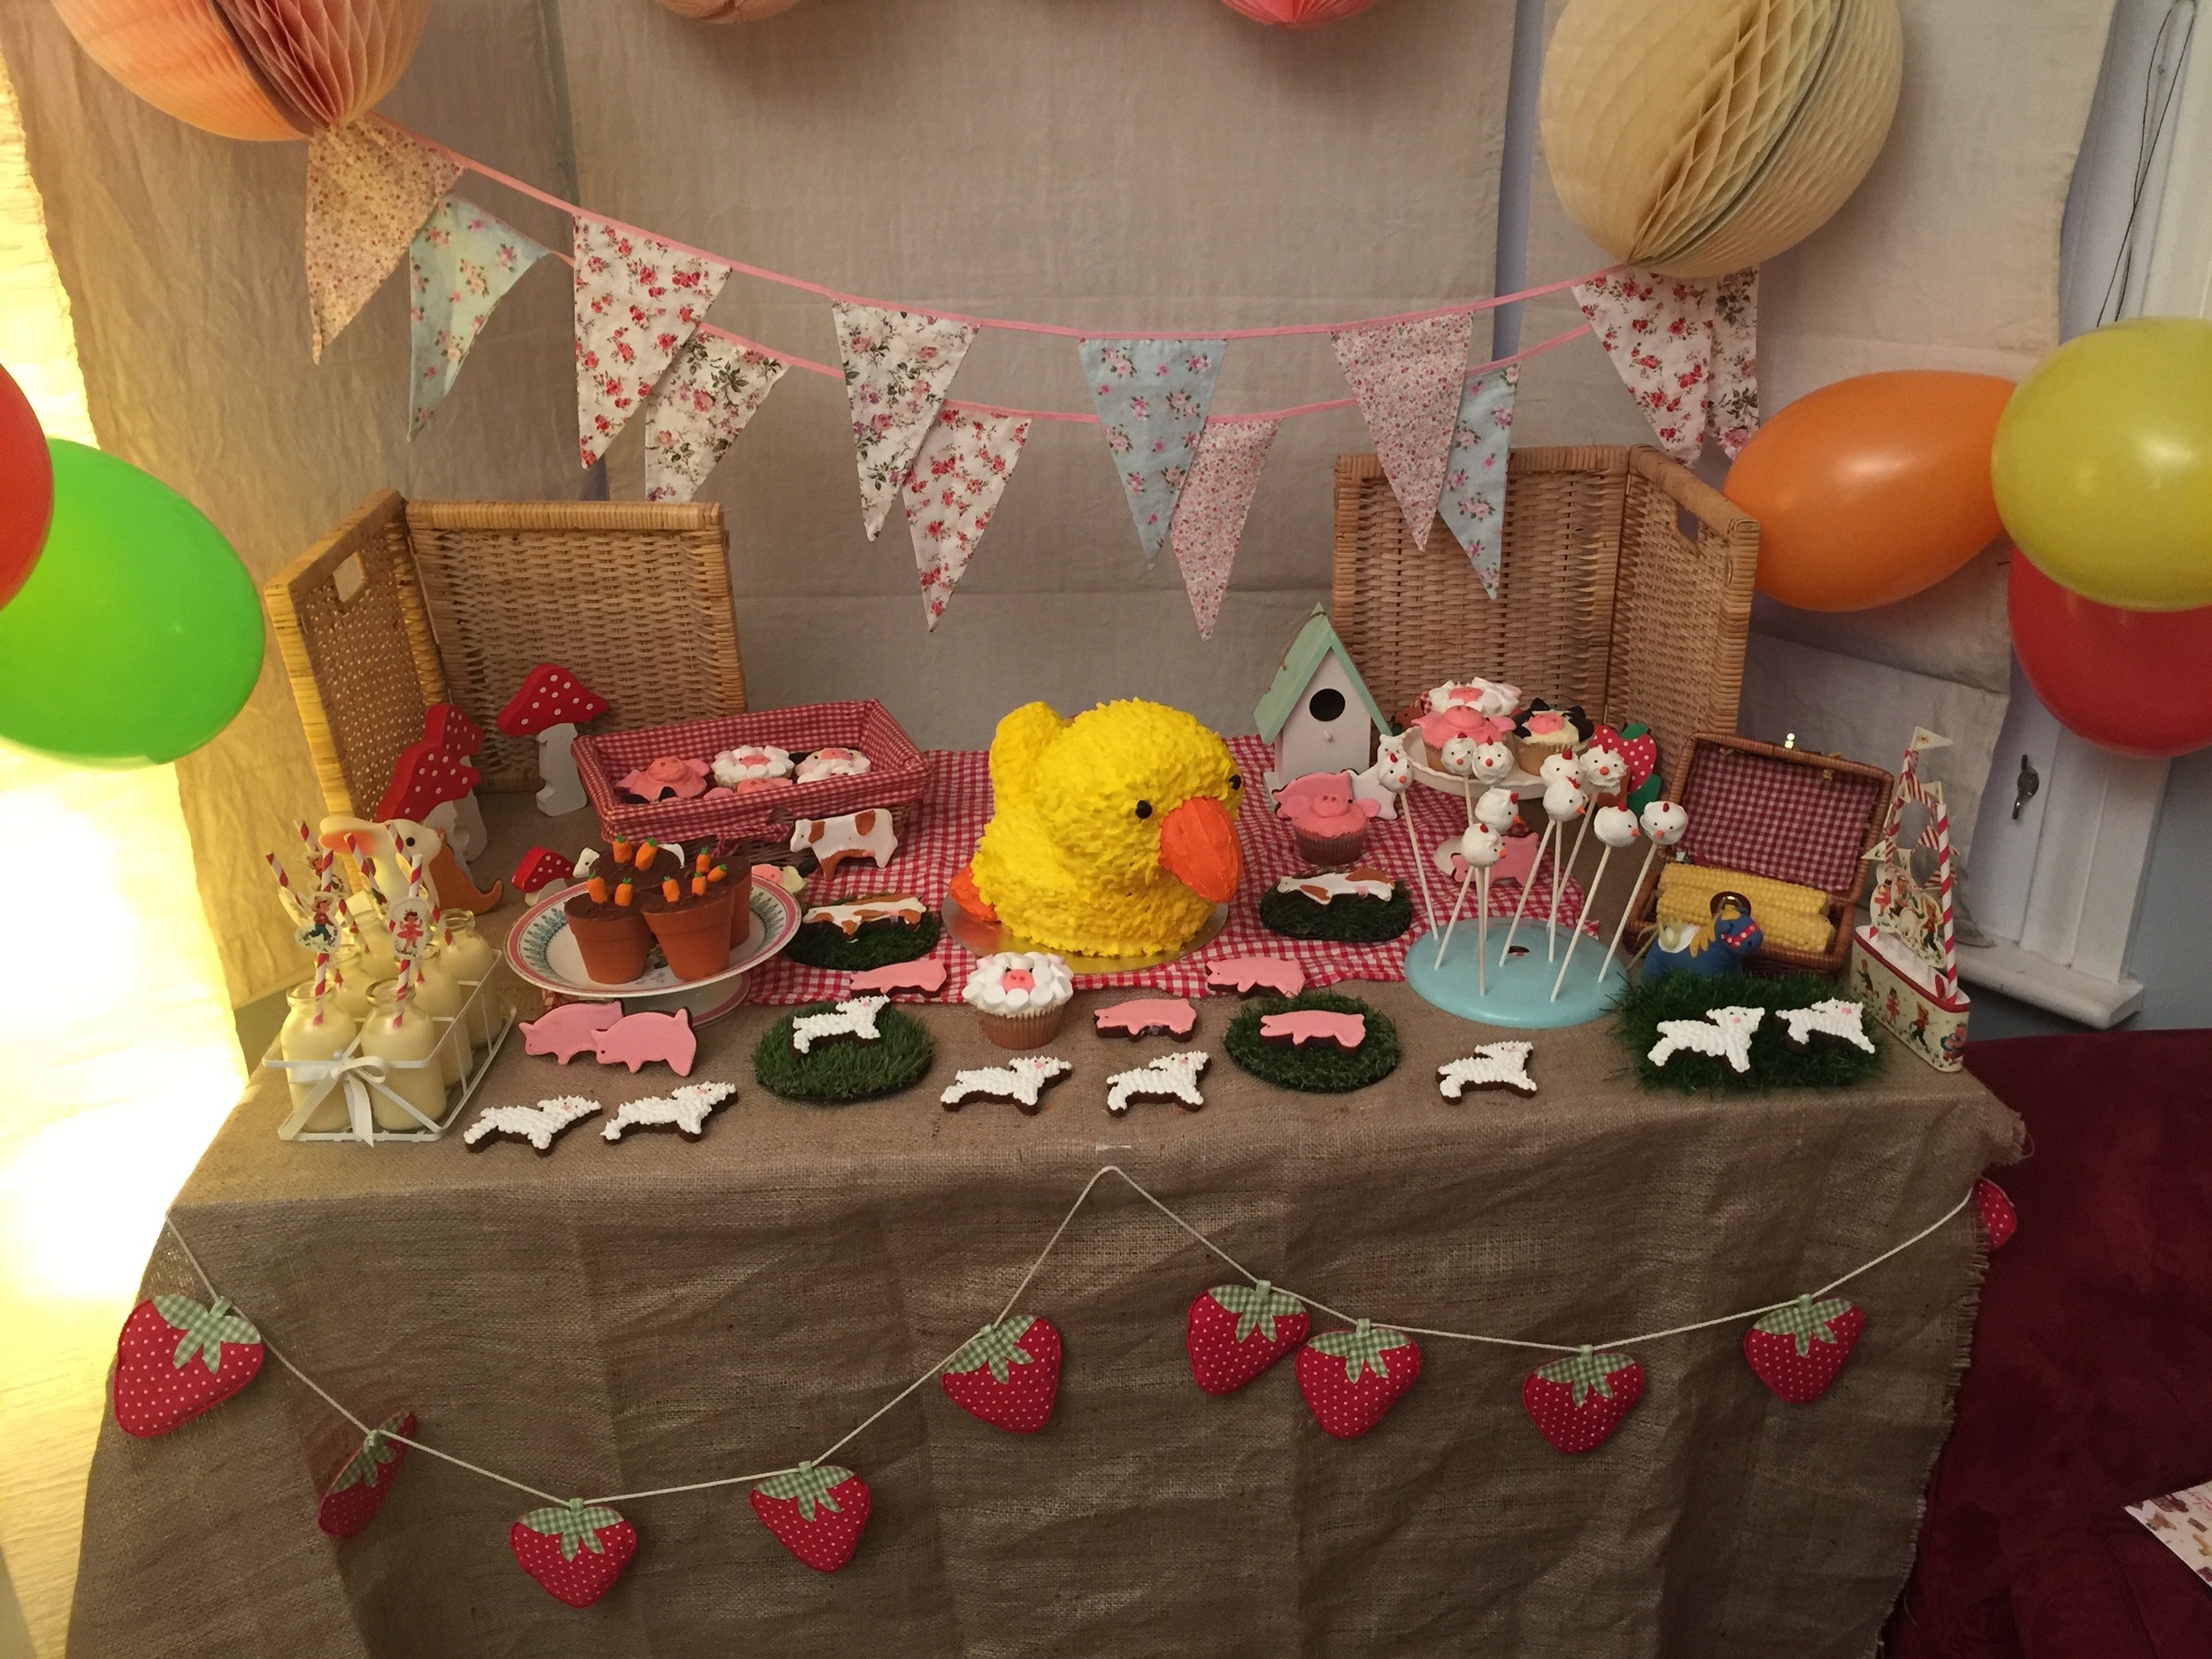
I was really pleased with how the cake table turned out with a few simple decorations.
Princess Castle Cake
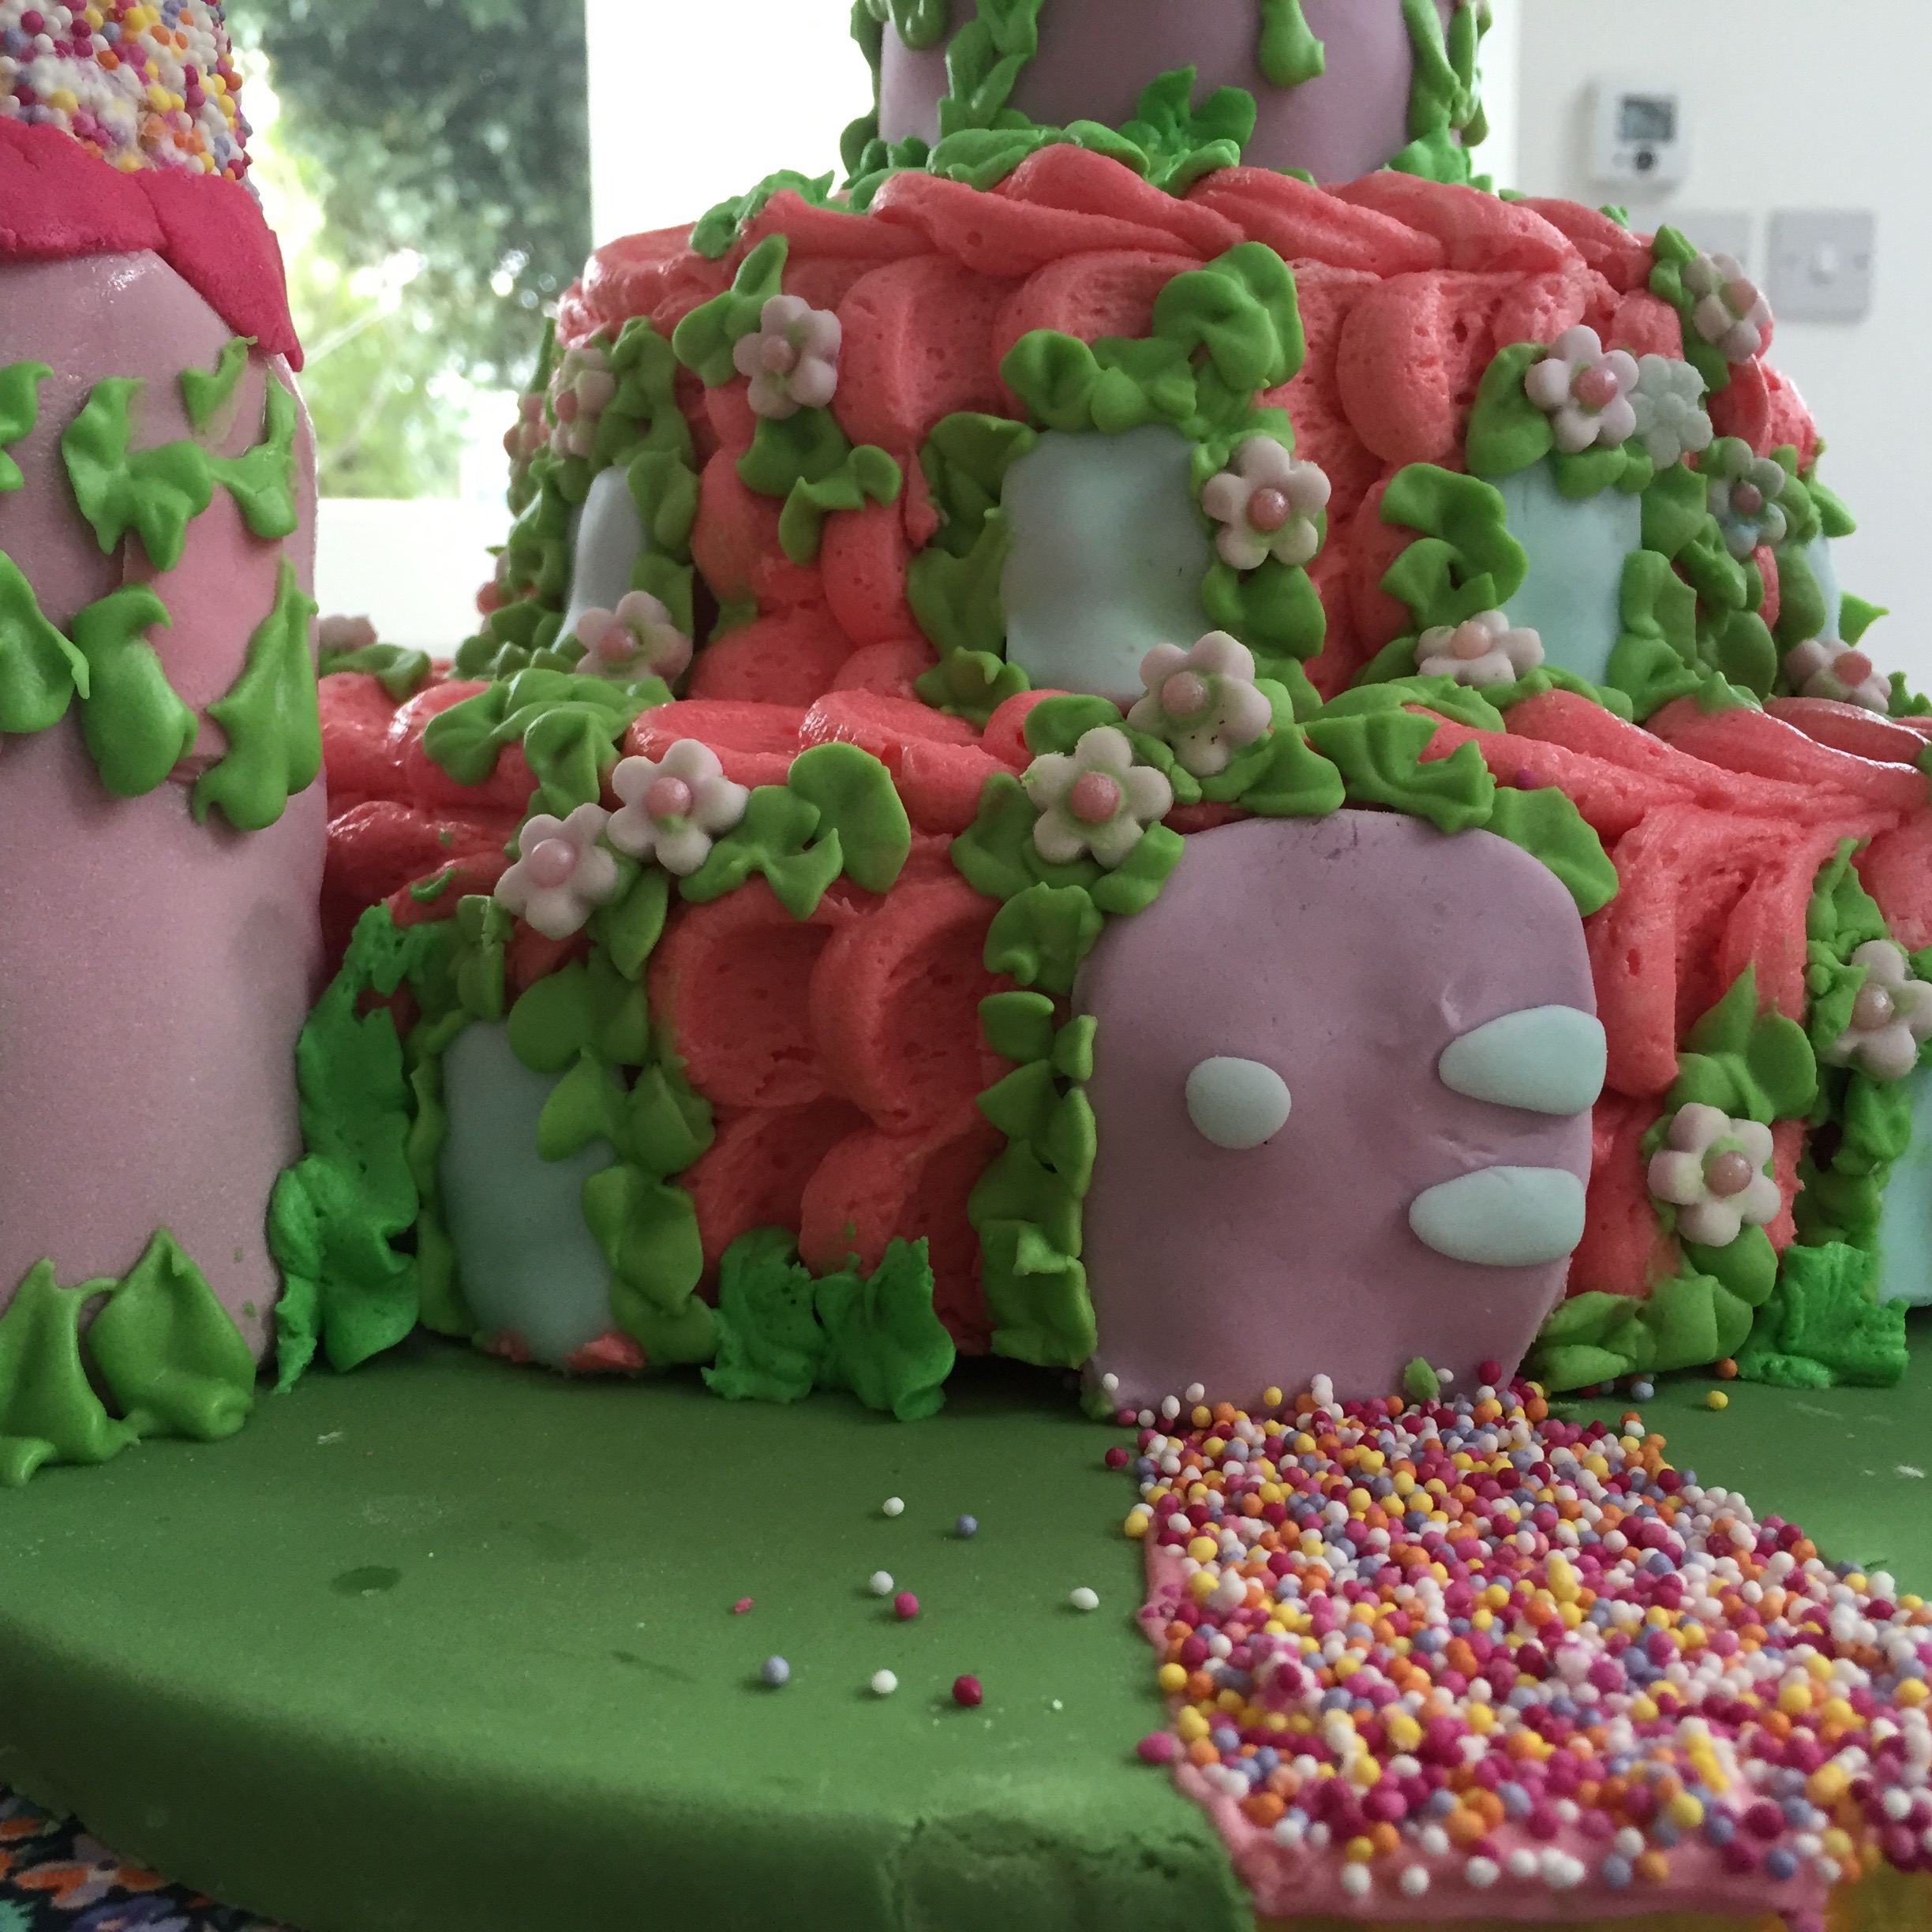
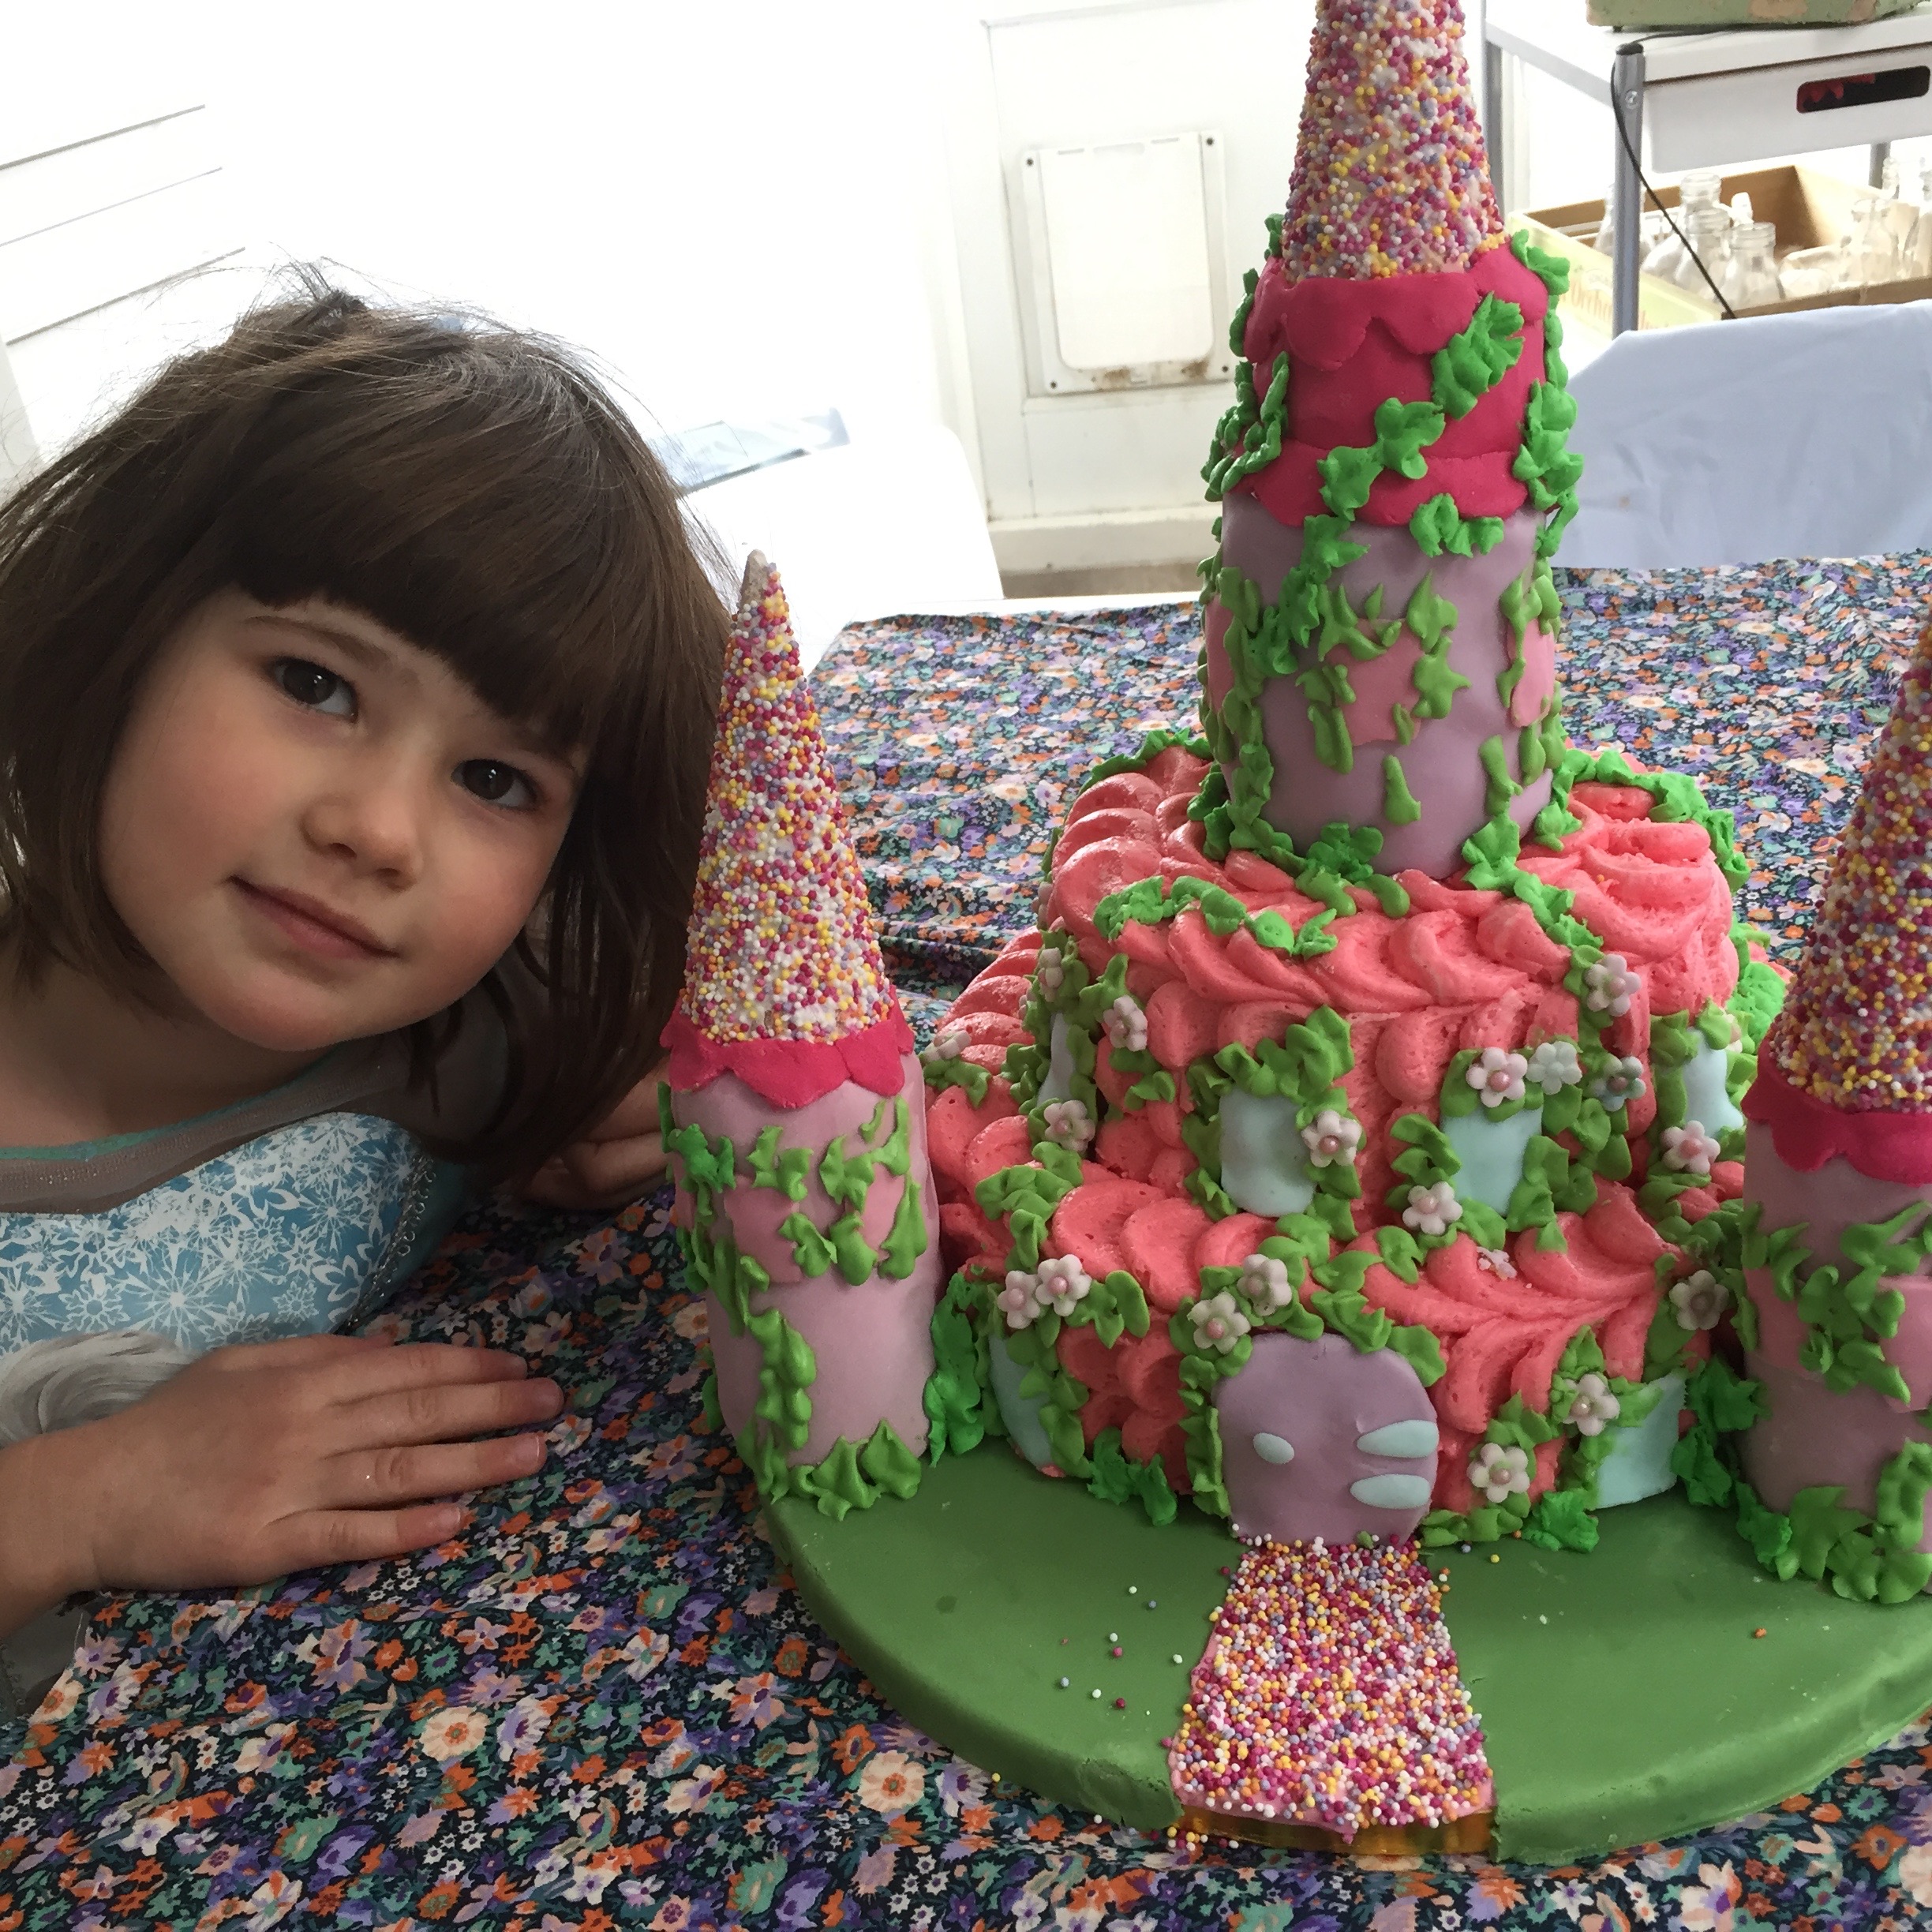
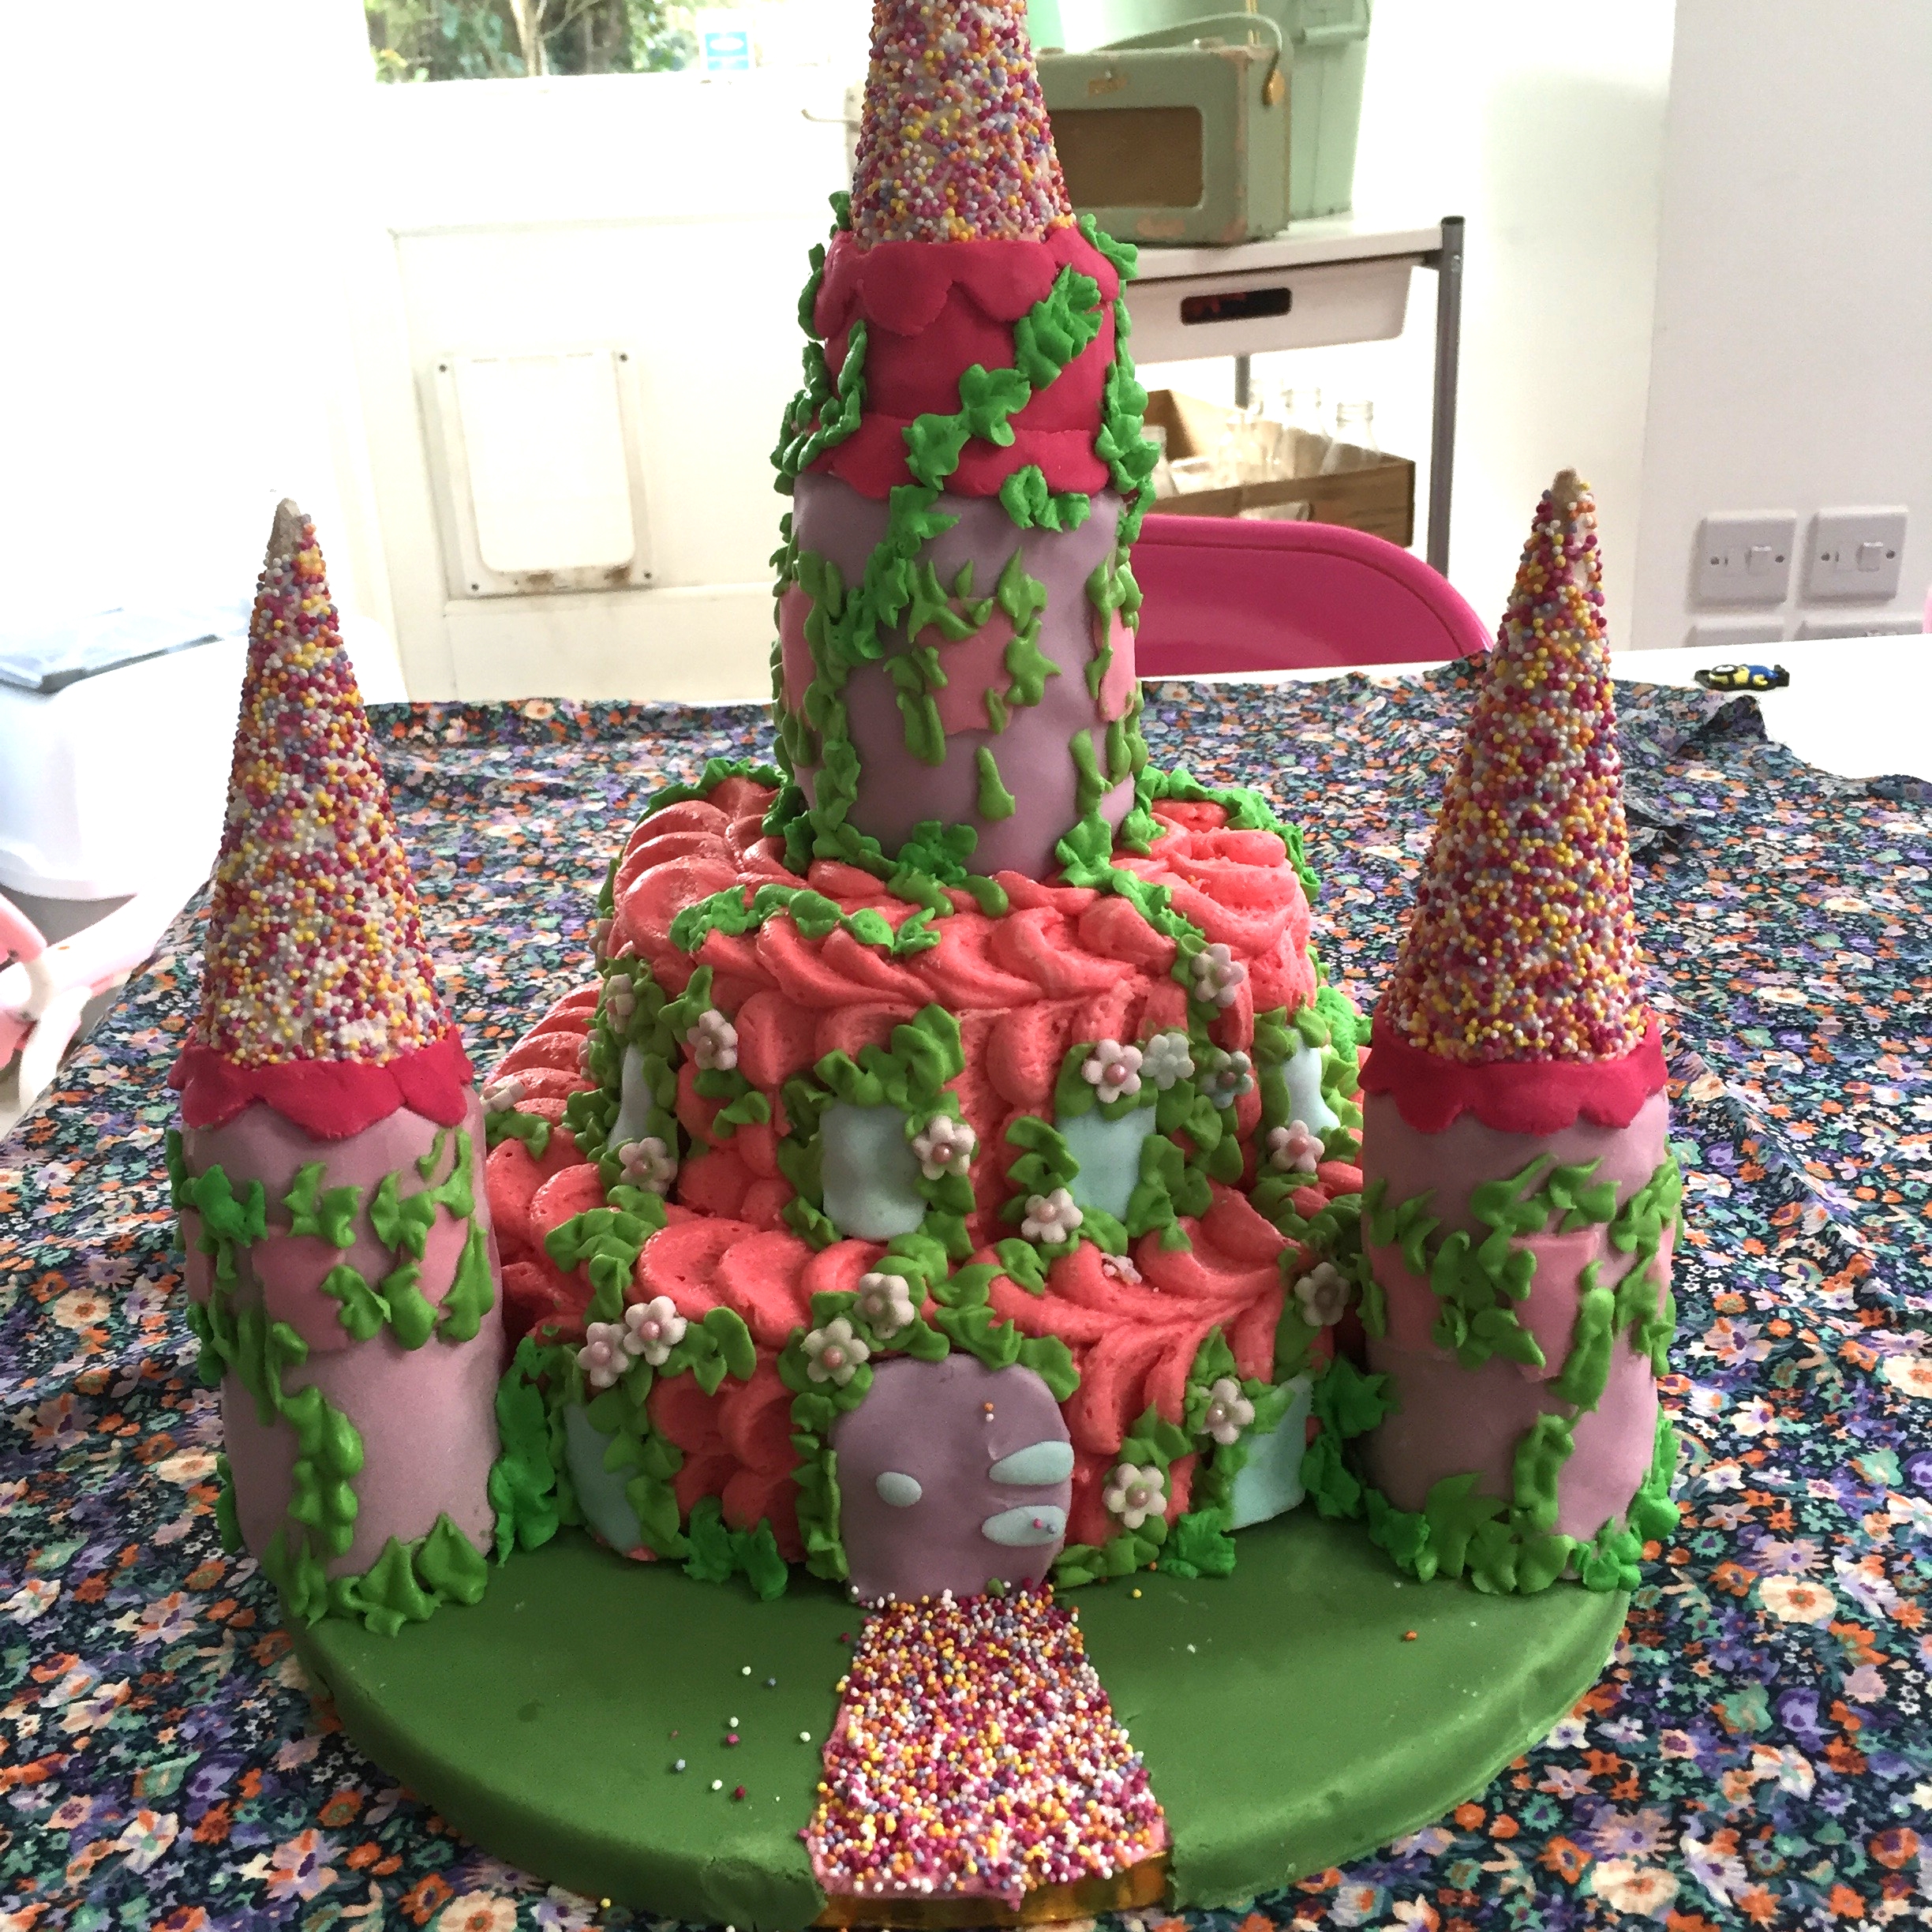
This is the Princess castle that I made for my Goddaughter’s 3rd party.
Princess Cake
This is the Princess castle that I made for my Goddaughter’s 3rd party. It was a lot of fun to make and a real labour of love.
Although from time to time I work in fondant I try as much as possible to use buttercream or cream cheese frosting as to me it tastes much better. I also love the textural affect that it brings to your creation.
You will need:
Cake batter
Buttercream
Royal Icing
Fondant icing (Green and any other colour)
Italian wafer cones
Blossom Cutters
Hundreds and Thousands
Castle:
I started 3 days in advance by baking 2 round, Victoria sponge cakes (butter, sugar, eggs, SR flour, vanilla) ; one 6” and one 10’. I used a 6 oz(of each ingredient) and 10 oz of each ingredient) recipe for each tin.
Once they were cooled I crumb coated them with buttercream, placed the small on top of the large (in the centre) and put them on a turntable (cake not record!). I made up a quantity of 500g of unsalted softened butter and 1kg of icing sugar (3/4 I coloured pink, the rest green).
Cover the cake with icing. I used a petal affect where I piped a line of blobs then used a spatula to drag them to the right before piping another line of blobs and doing the same again (This is often used on Ombre cakes).
Turrets:
To make the turrets I made up a mix of rice crispy cakes and wrapped it in cling film then pushed it into the cardboard centre of kitchen rolls. You need to make sure you compact it down to make the shapes solid. I left mine over night and then used a rolling pin to push them out.
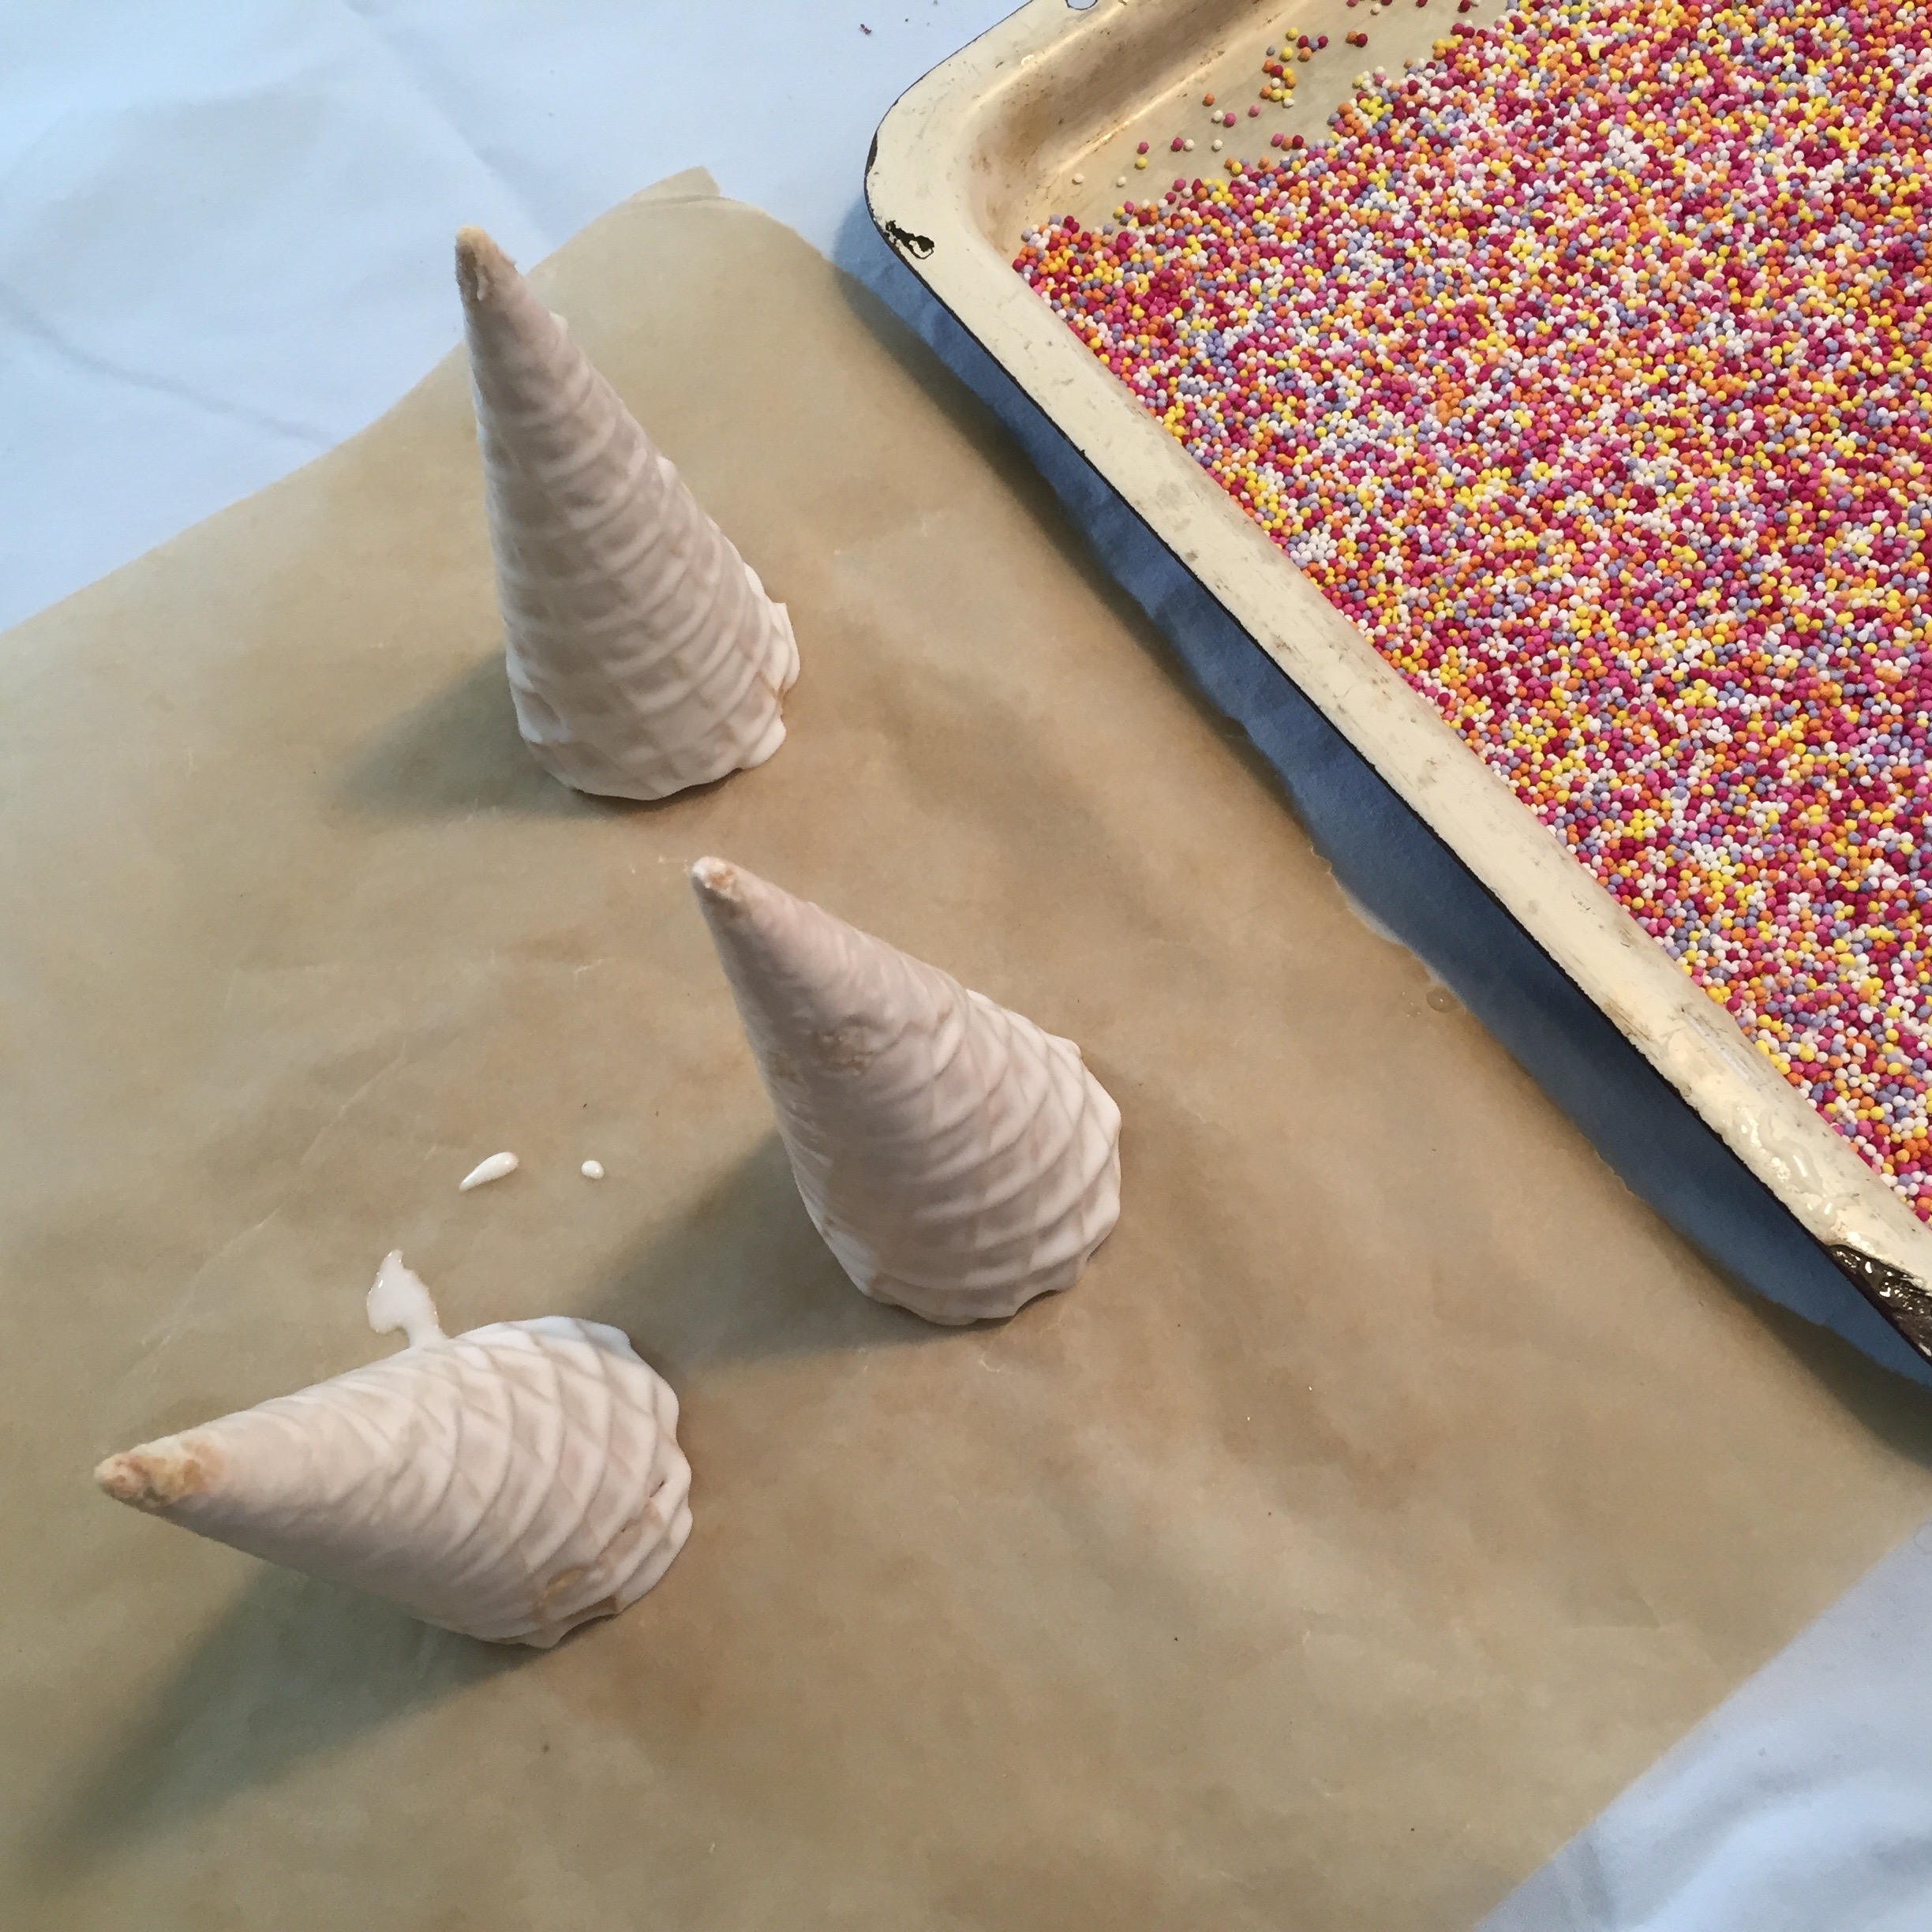
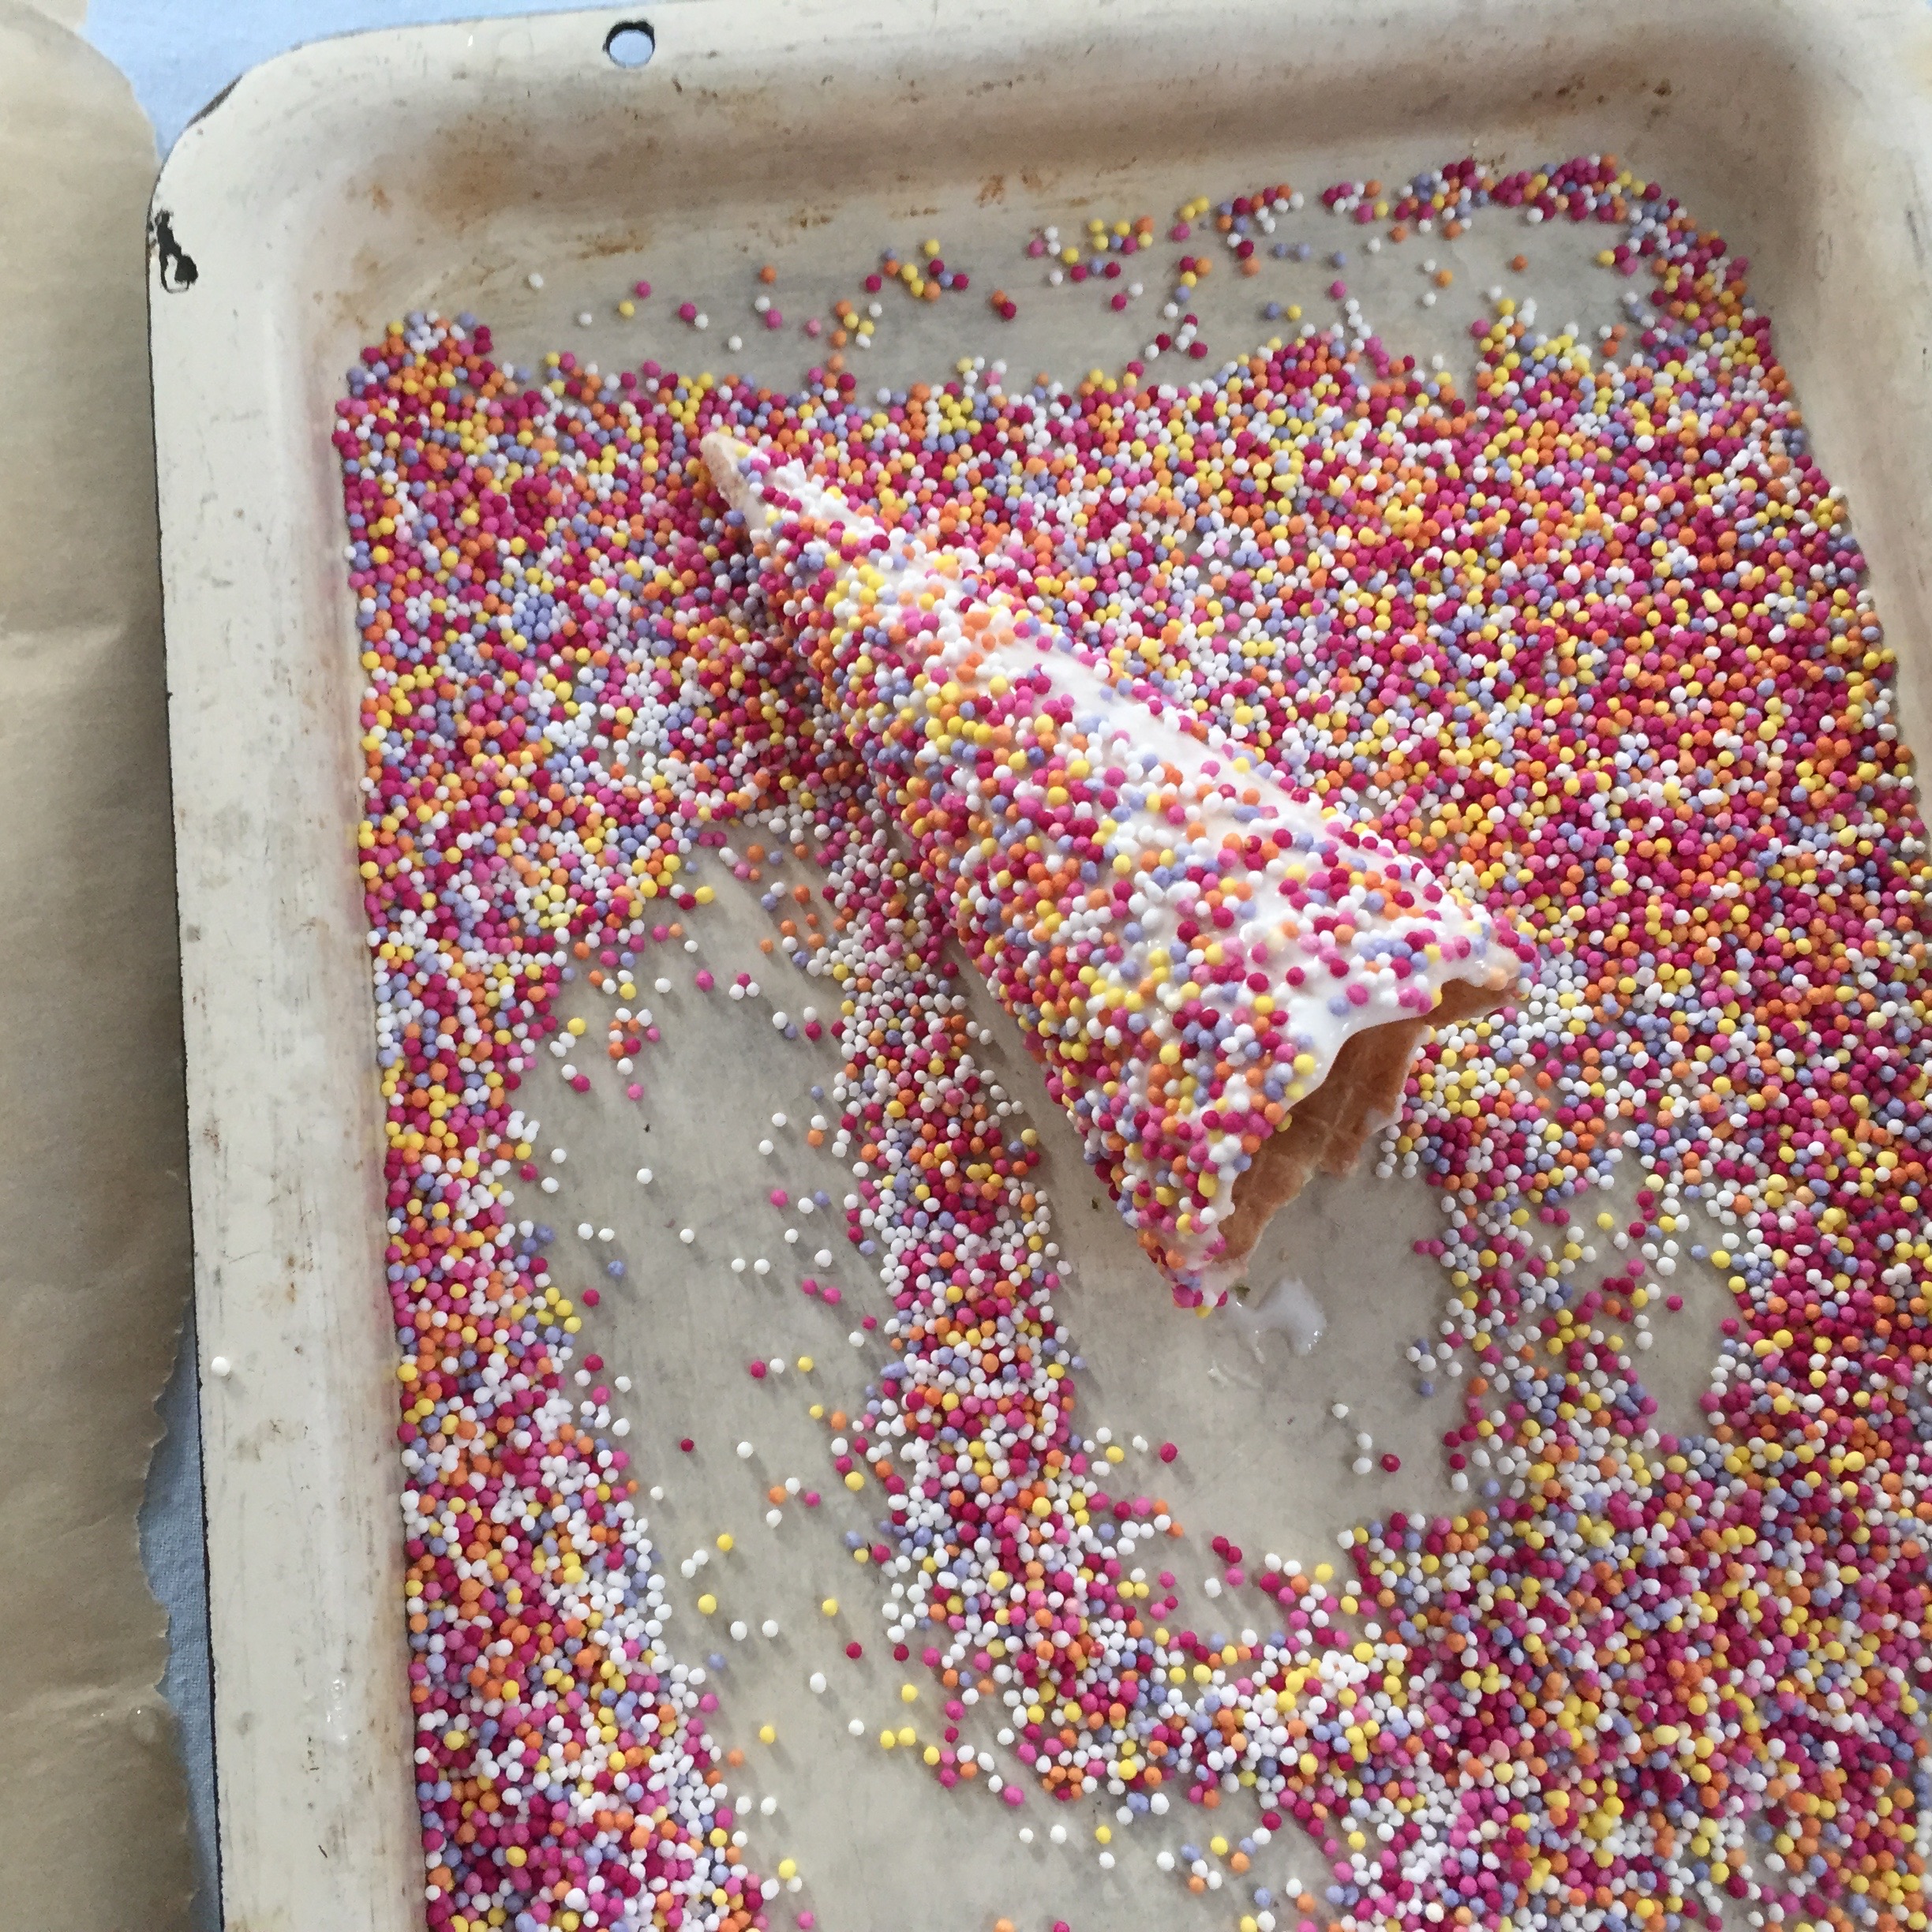
To make the roof: Make up a ¼ of a pack of royal icing with water. Dip your Italian wafer ice cream cones in the icing to cover then roll in hundreds and thousands that you have covered a plate with. Definitely make extra of these as they are very fragile. Leave to dry overnight.
Windows, Doors & Flowers:
Roll out some fondant and cut into rectangles that are large enough to cover the turret bases. Use water to ‘glue’ the fold at the back. Roll out more fondant and cut out smaller rectangles to be windows and an arched shape to be the door.
Use a cutter to create lots of small ‘blossom’ flowers. Place an edible pearl in the centre of each one using icing to secure it.
Garden:
Roll out a piece of fondant big enough to cover the cake base. Cut out a strip to be the drive. Cover this with left over Royal icing and cover with remaining hundreds and thousands.
To Assemble:
Place the cake on the centre of the green covered cake board. Place the turrets on the side and use icing to fix on the board. Use more icing to fix the ice cream cones on top.
Add the windows and doors.
Take a disposable piping bag and cut the end keeping to the shape of the tip of the bag. Fill with green buttercream. Use this to pipe your vines over the cake. This works particularly well to soften and hide the edges of the windows and doors. Now randomly place your flowers on the icing whilst it is still wet.
This cake was definitely one of my favourites to make. What have been yours?
If you would like to create this or something similar in a one to one private lesson with me then call- 020 3573 9135
Creating Successful Conferences
Recent studies have proved that delegates who take part in an immersive event as part of their training days and conferences are able to absorb and retain a far greater amount of information than if they are merely listening to speakers and watching a powerpoint presentation.
The key is to offer an activity that utilises all 5 of their senses. As touch, sound, sight, taste and smell each activate a different brain portal it’s essential that you engage each sense in order to ensure that your staff are working to their maximum capacity before, during and after an event.
Our cookie, cake and cupcake baking and decorating activities engage all 5 senses simultaneously. What’s even better is that your delegates, staff or clients will be having so much fun during the class that no one will suspect that the event they are taking part in will also improve their productivity!
Our events focus on effective communication and team work to achieve a common goal which means that your employees improve their working relationships and you can forge deeper bonds with your clients. We are also able to craft a bespoke package to ensure the desired business outcome for your event.
Healthy’ Peanut Butter Chocolate Treats
These are literally the easiest recipe I have ever made!
These are literally the easiest recipe I have ever made!
If you love Reese’s Peanut Butter Cups but you would like a healthier alternative then this is for you.
Ingredients:
100g Plain Chocolate (70/85%), melted
2 tbsp peanut butter, pref sugar free
Makes 12
Spoon half the chocolate into individual chocolate molds.
Drop in about a tsp of peanut butter.
Cover with the remaining chocolate.
Place in the freezer.
You can eat these in less than an hour if you like the centre to be soft.
Personally I prefer them to be rock solid all the way through so try and
do it the night before (still always end up eating at least 2-3 before they are
set though) what can I tell you? I’m a pig!
I also do these using cacao butter and powder with agave instead of sugar.
Will do a demo on Youtube and post when I next have the ingredients….
What are your (comparatively) ‘guilt free’ recipes?
Cookie Girls Chocolate Truffles
Chocolate Truffles
Chocolate Truffles
300ml double cream
20g butter
300g dark chocolate (min 70%)
a pinch of salt
Cocoa powder for rolling
Optional; dessert spoon of brandy, rum etc
Heat the cream in a pan over a medium heat but don’t let it boil. Add the knob of butter when tiny bubbles appear and stir until it has melted. Pour this hot mixture over the chocolate pieces, whisking as you go until the chocolate melts. If the mixture splits slightly you can bring itby adding a splash of boiling water.
Add a pinch of salt to the mixture, followed by the alcohol if using (personally I like my chocolate unadulterated!)
Once completely melted and smooth, put the saucepan in the fridge for a couple of hours to set. Take the mixture out of the fridge half an hour before you want to make the truffles. Use a teaspoon to take out truffle size amounts of the chocolate mixture. Lightly roll them in your hands (I quite like them not being too round) and then roll them in the cocoa powder.
If you want the keep them for three or four days you can keep them in the fridge covered with cling film.
Take them out at least half an hour before you want to eat them.


