Princess Castle Cake
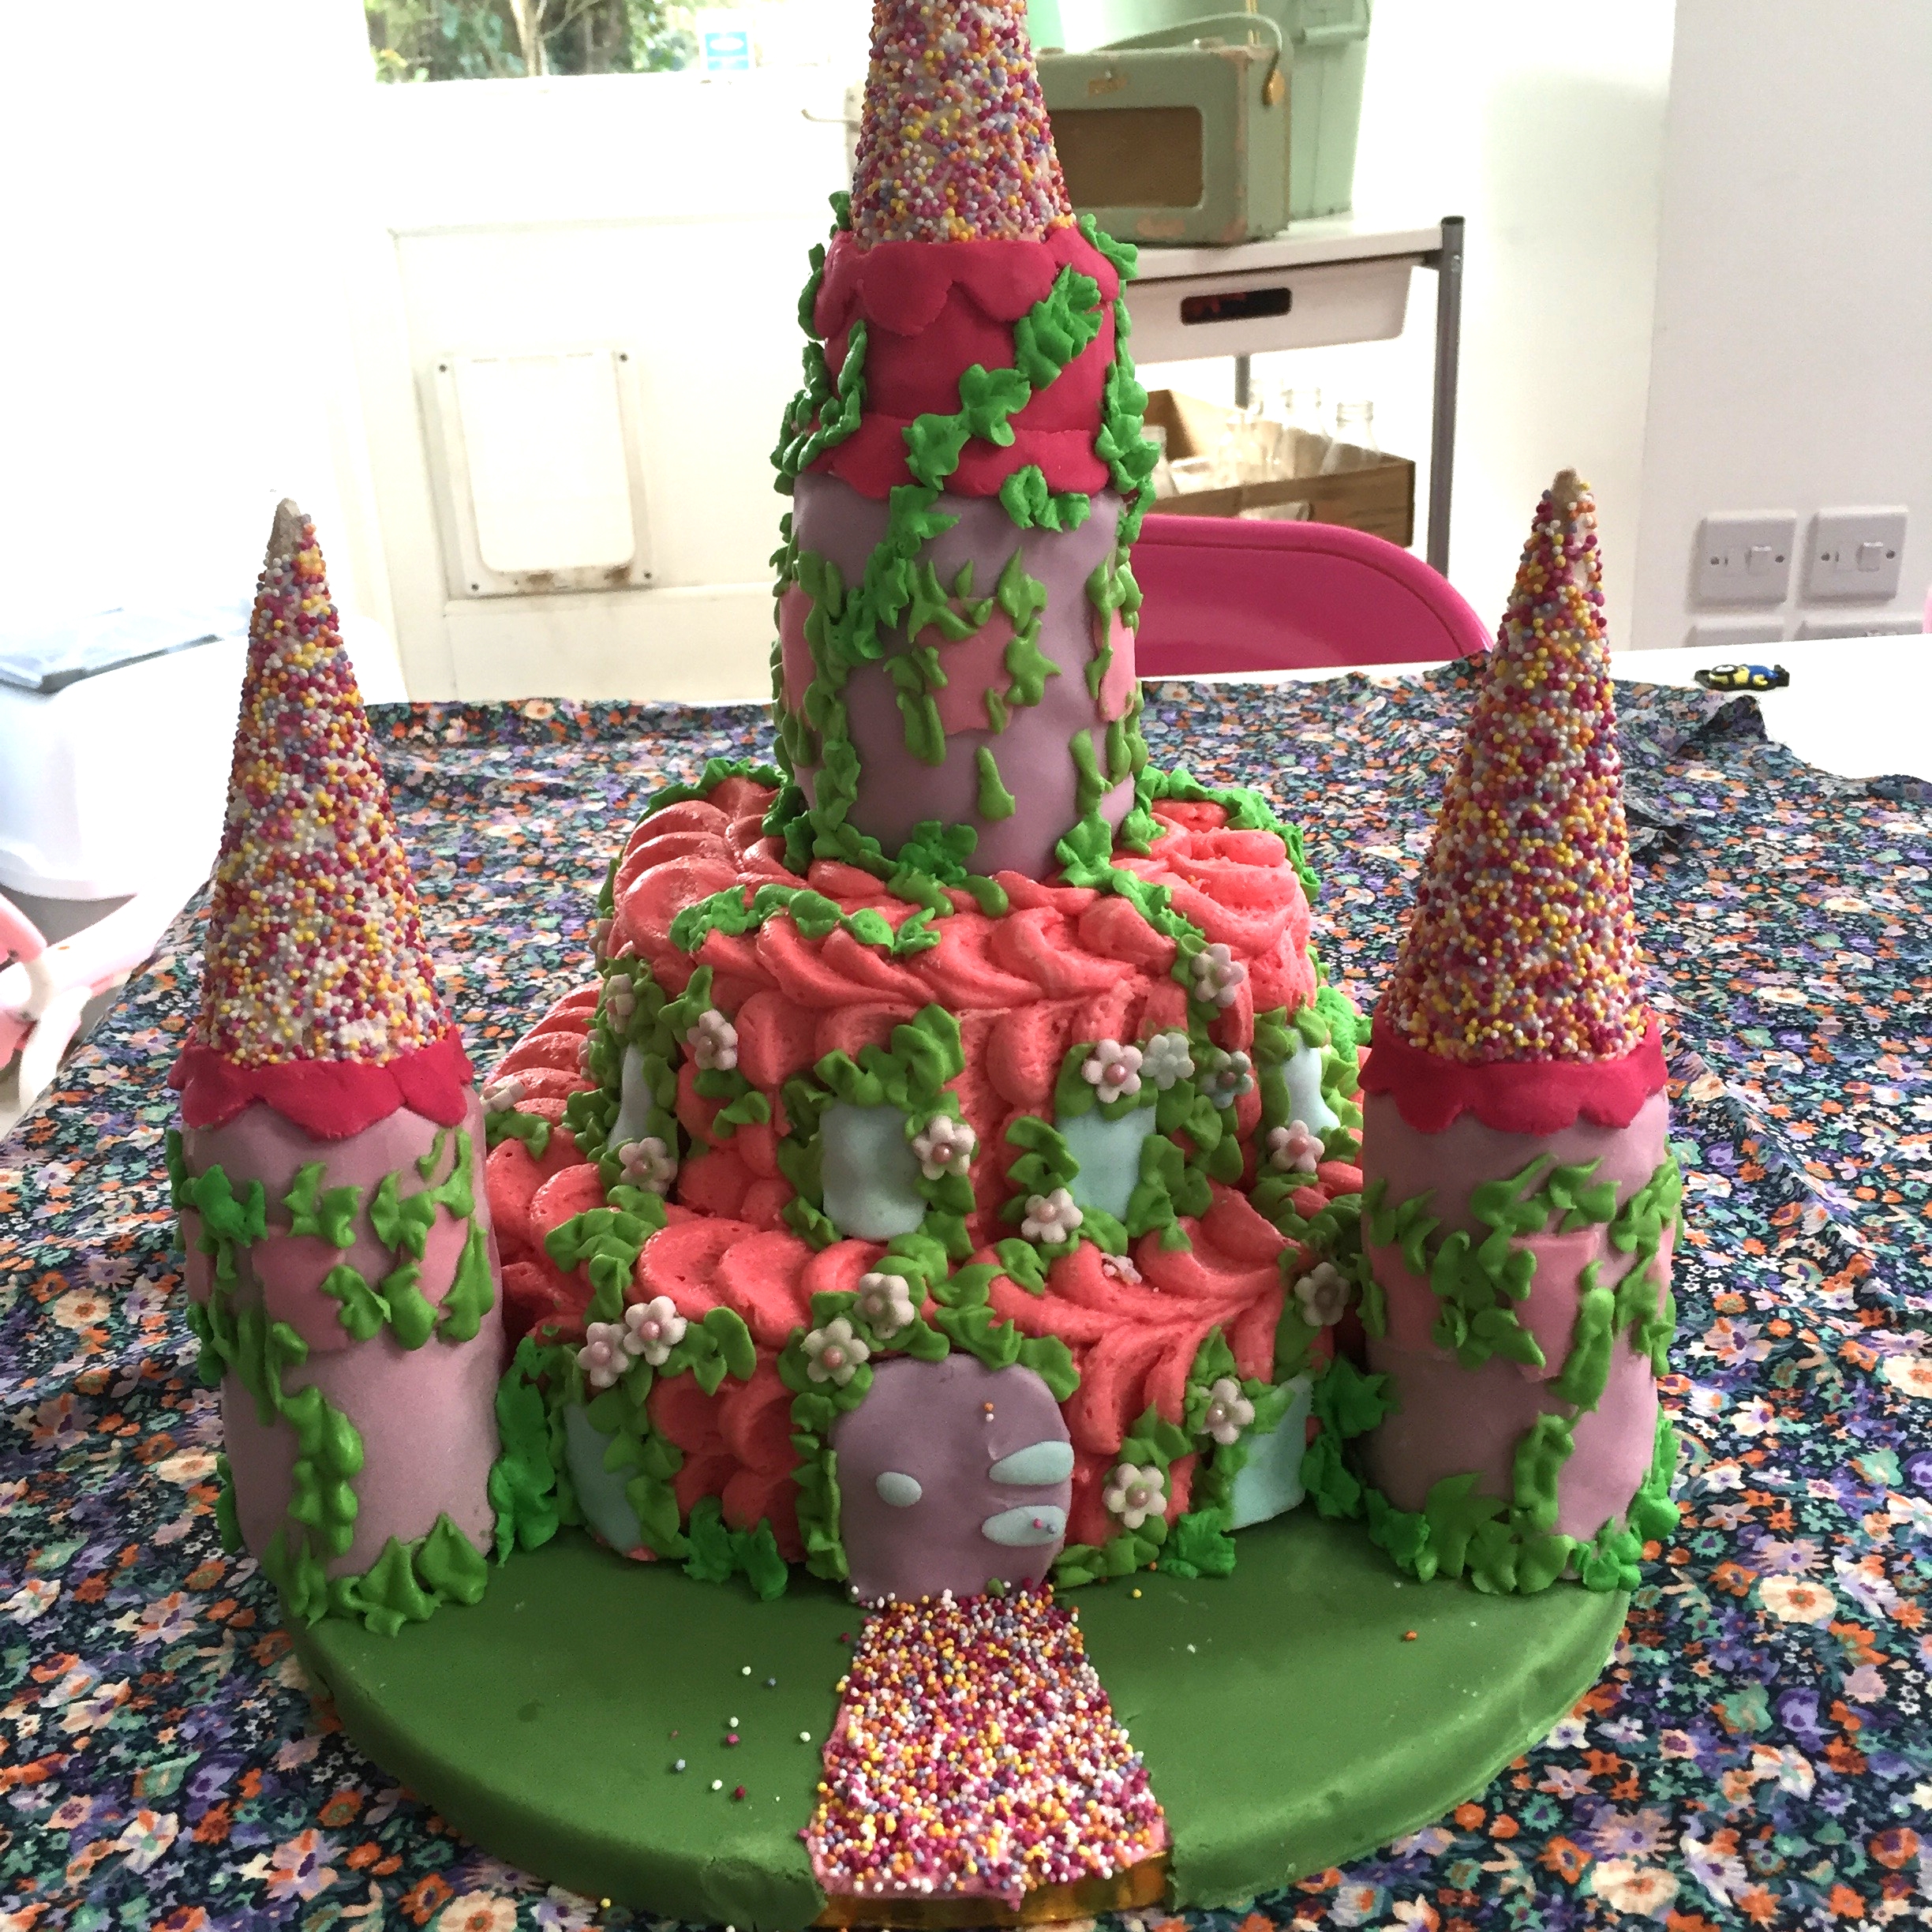
Princess Cake
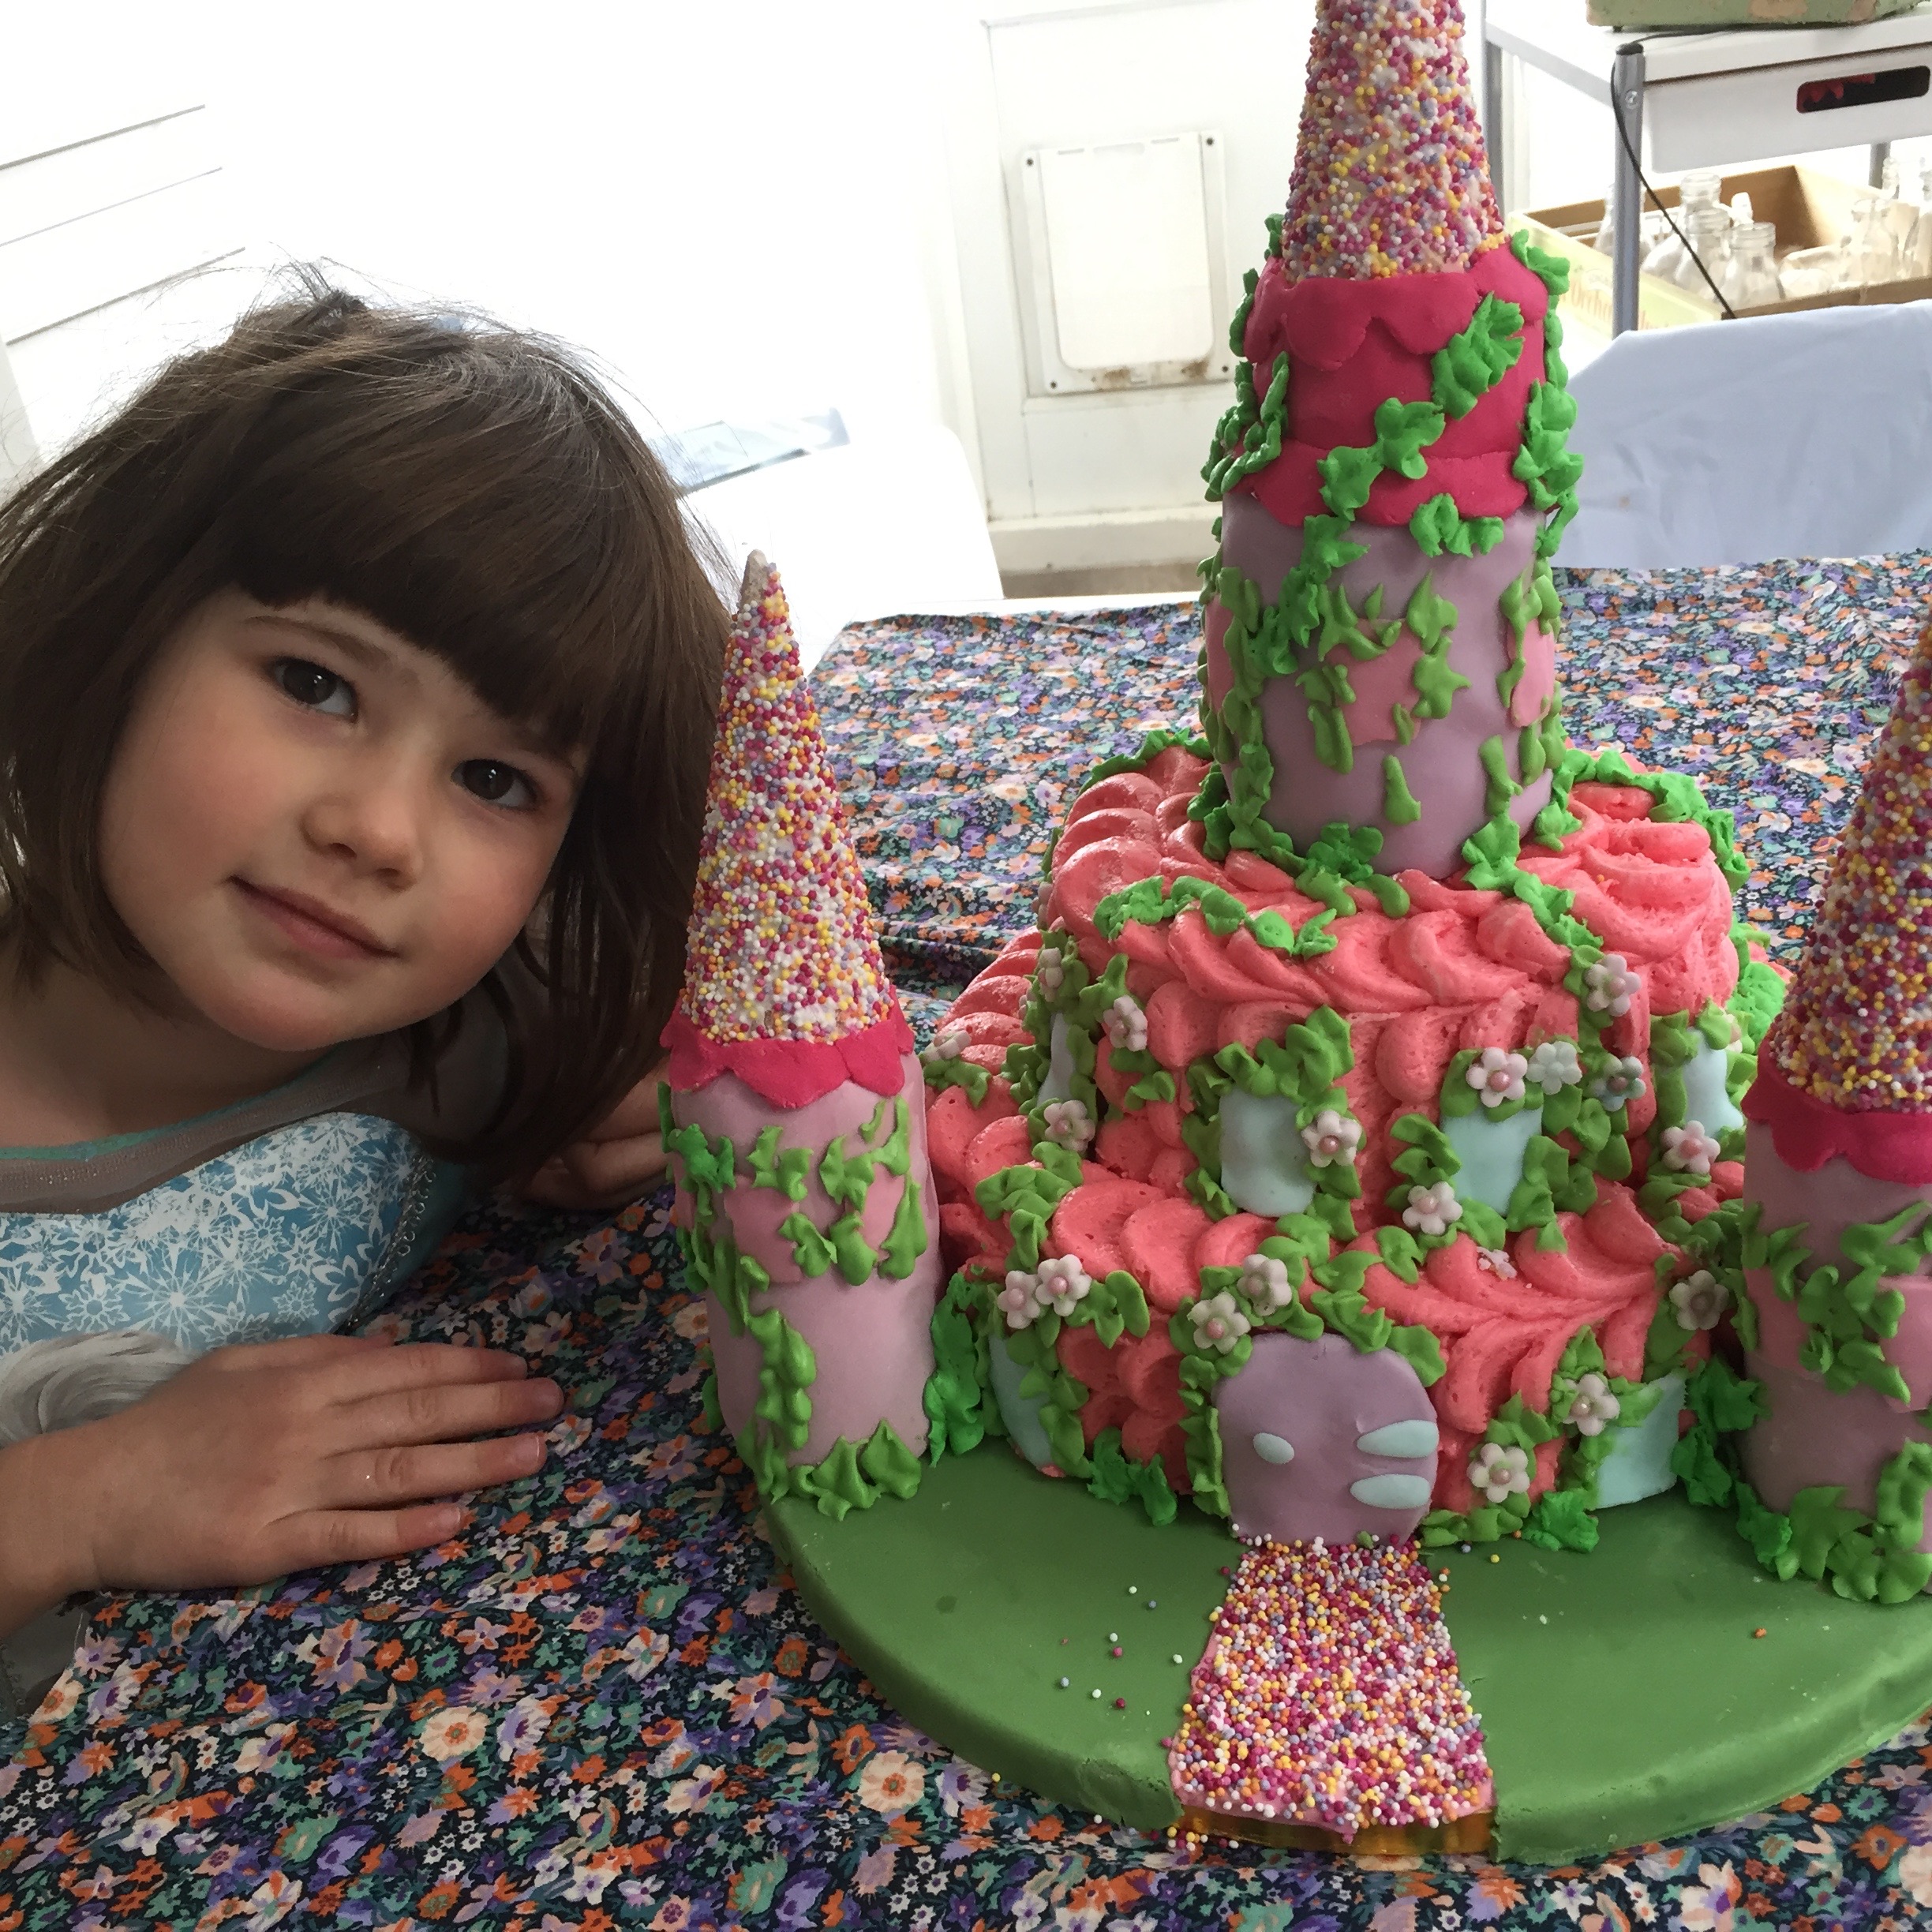
This is the Princess castle that I made for my Goddaughter’s 3rd party. It was a lot of fun to make and a real labour of love.
Although from time to time I work in fondant I try as much as possible to use buttercream or cream cheese frosting as to me it tastes much better. I also love the textural affect that it brings to your creation.
You will need:
Cake batter
Buttercream
Royal Icing
Fondant icing (Green and any other colour)
Italian wafer cones
Blossom Cutters
Hundreds and Thousands
Castle:
I started 3 days in advance by baking 2 round, Victoria sponge cakes (butter, sugar, eggs, SR flour, vanilla) ; one 6” and one 10’. I used a 6 oz(of each ingredient) and 10 oz of each ingredient) recipe for each tin.
Once they were cooled I crumb coated them with buttercream, placed the small on top of the large (in the centre) and put them on a turntable (cake not record!). I made up a quantity of 500g of unsalted softened butter and 1kg of icing sugar (3/4 I coloured pink, the rest green).
Cover the cake with icing. I used a petal affect where I piped a line of blobs then used a spatula to drag them to the right before piping another line of blobs and doing the same again (This is often used on Ombre cakes).
Turrets:
To make the turrets I made up a mix of rice crispy cakes and wrapped it in cling film then pushed it into the cardboard centre of kitchen rolls. You need to make sure you compact it down to make the shapes solid. I left mine over night and then used a rolling pin to push them out.
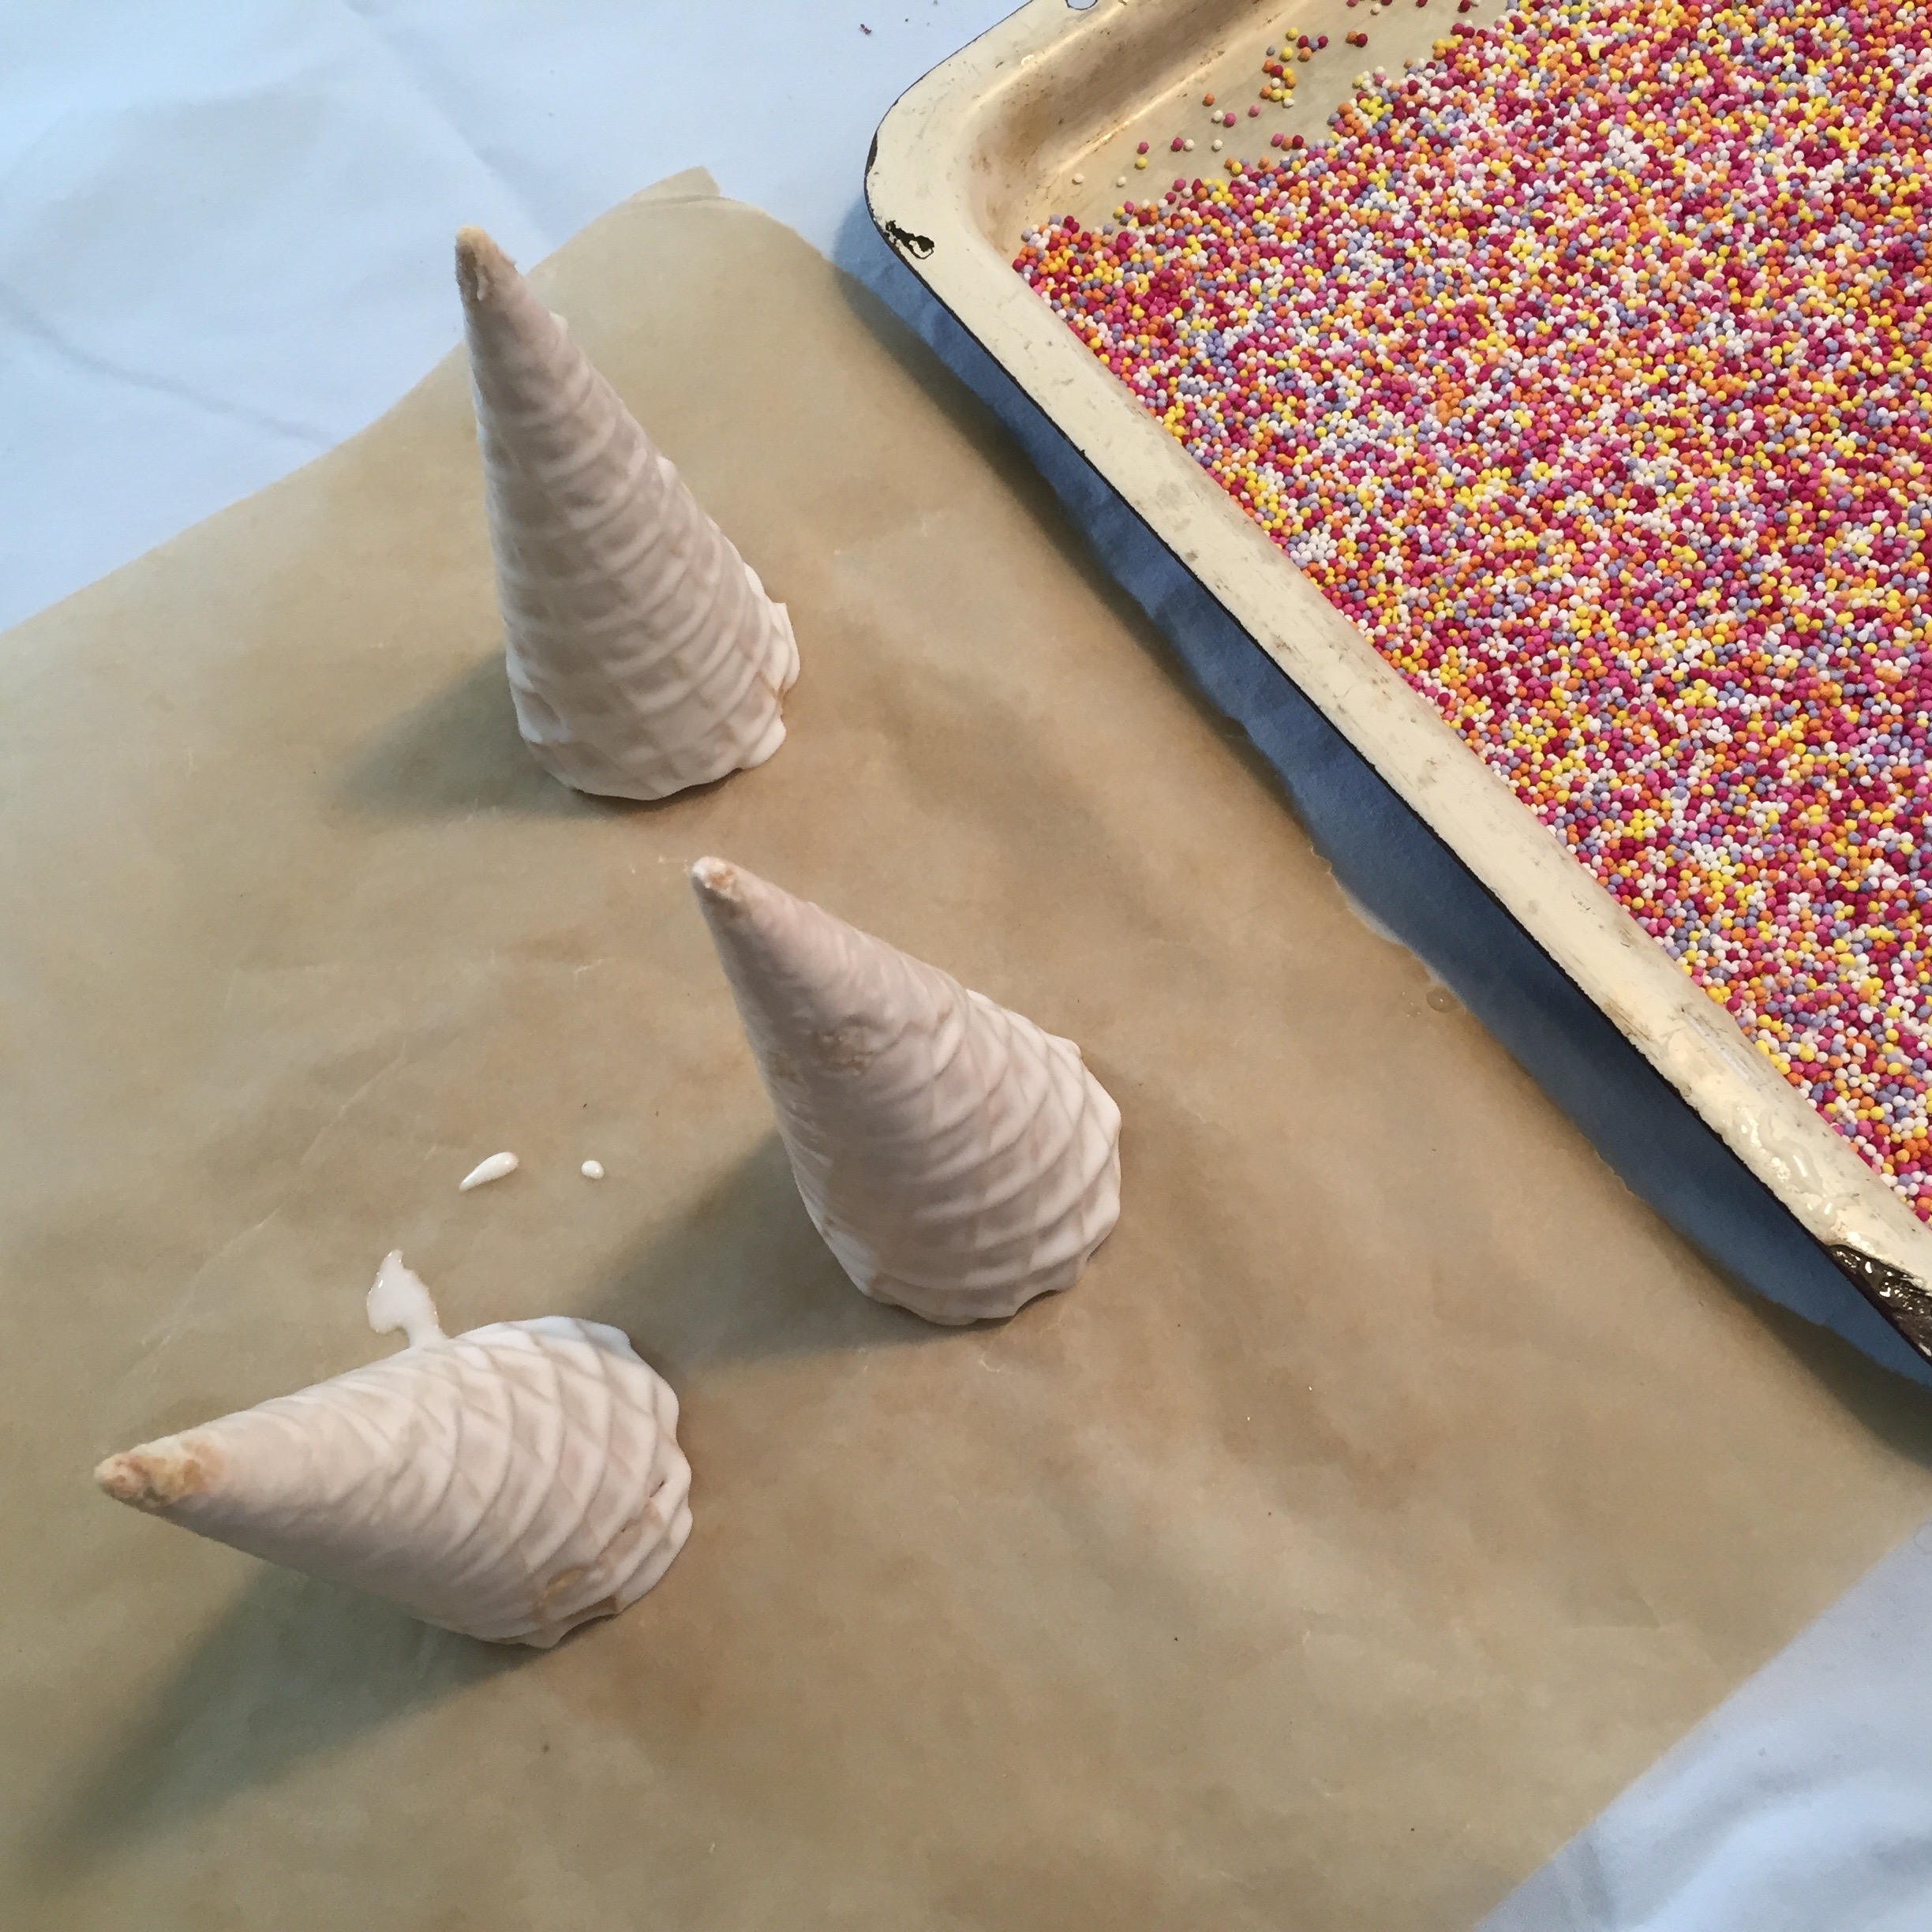
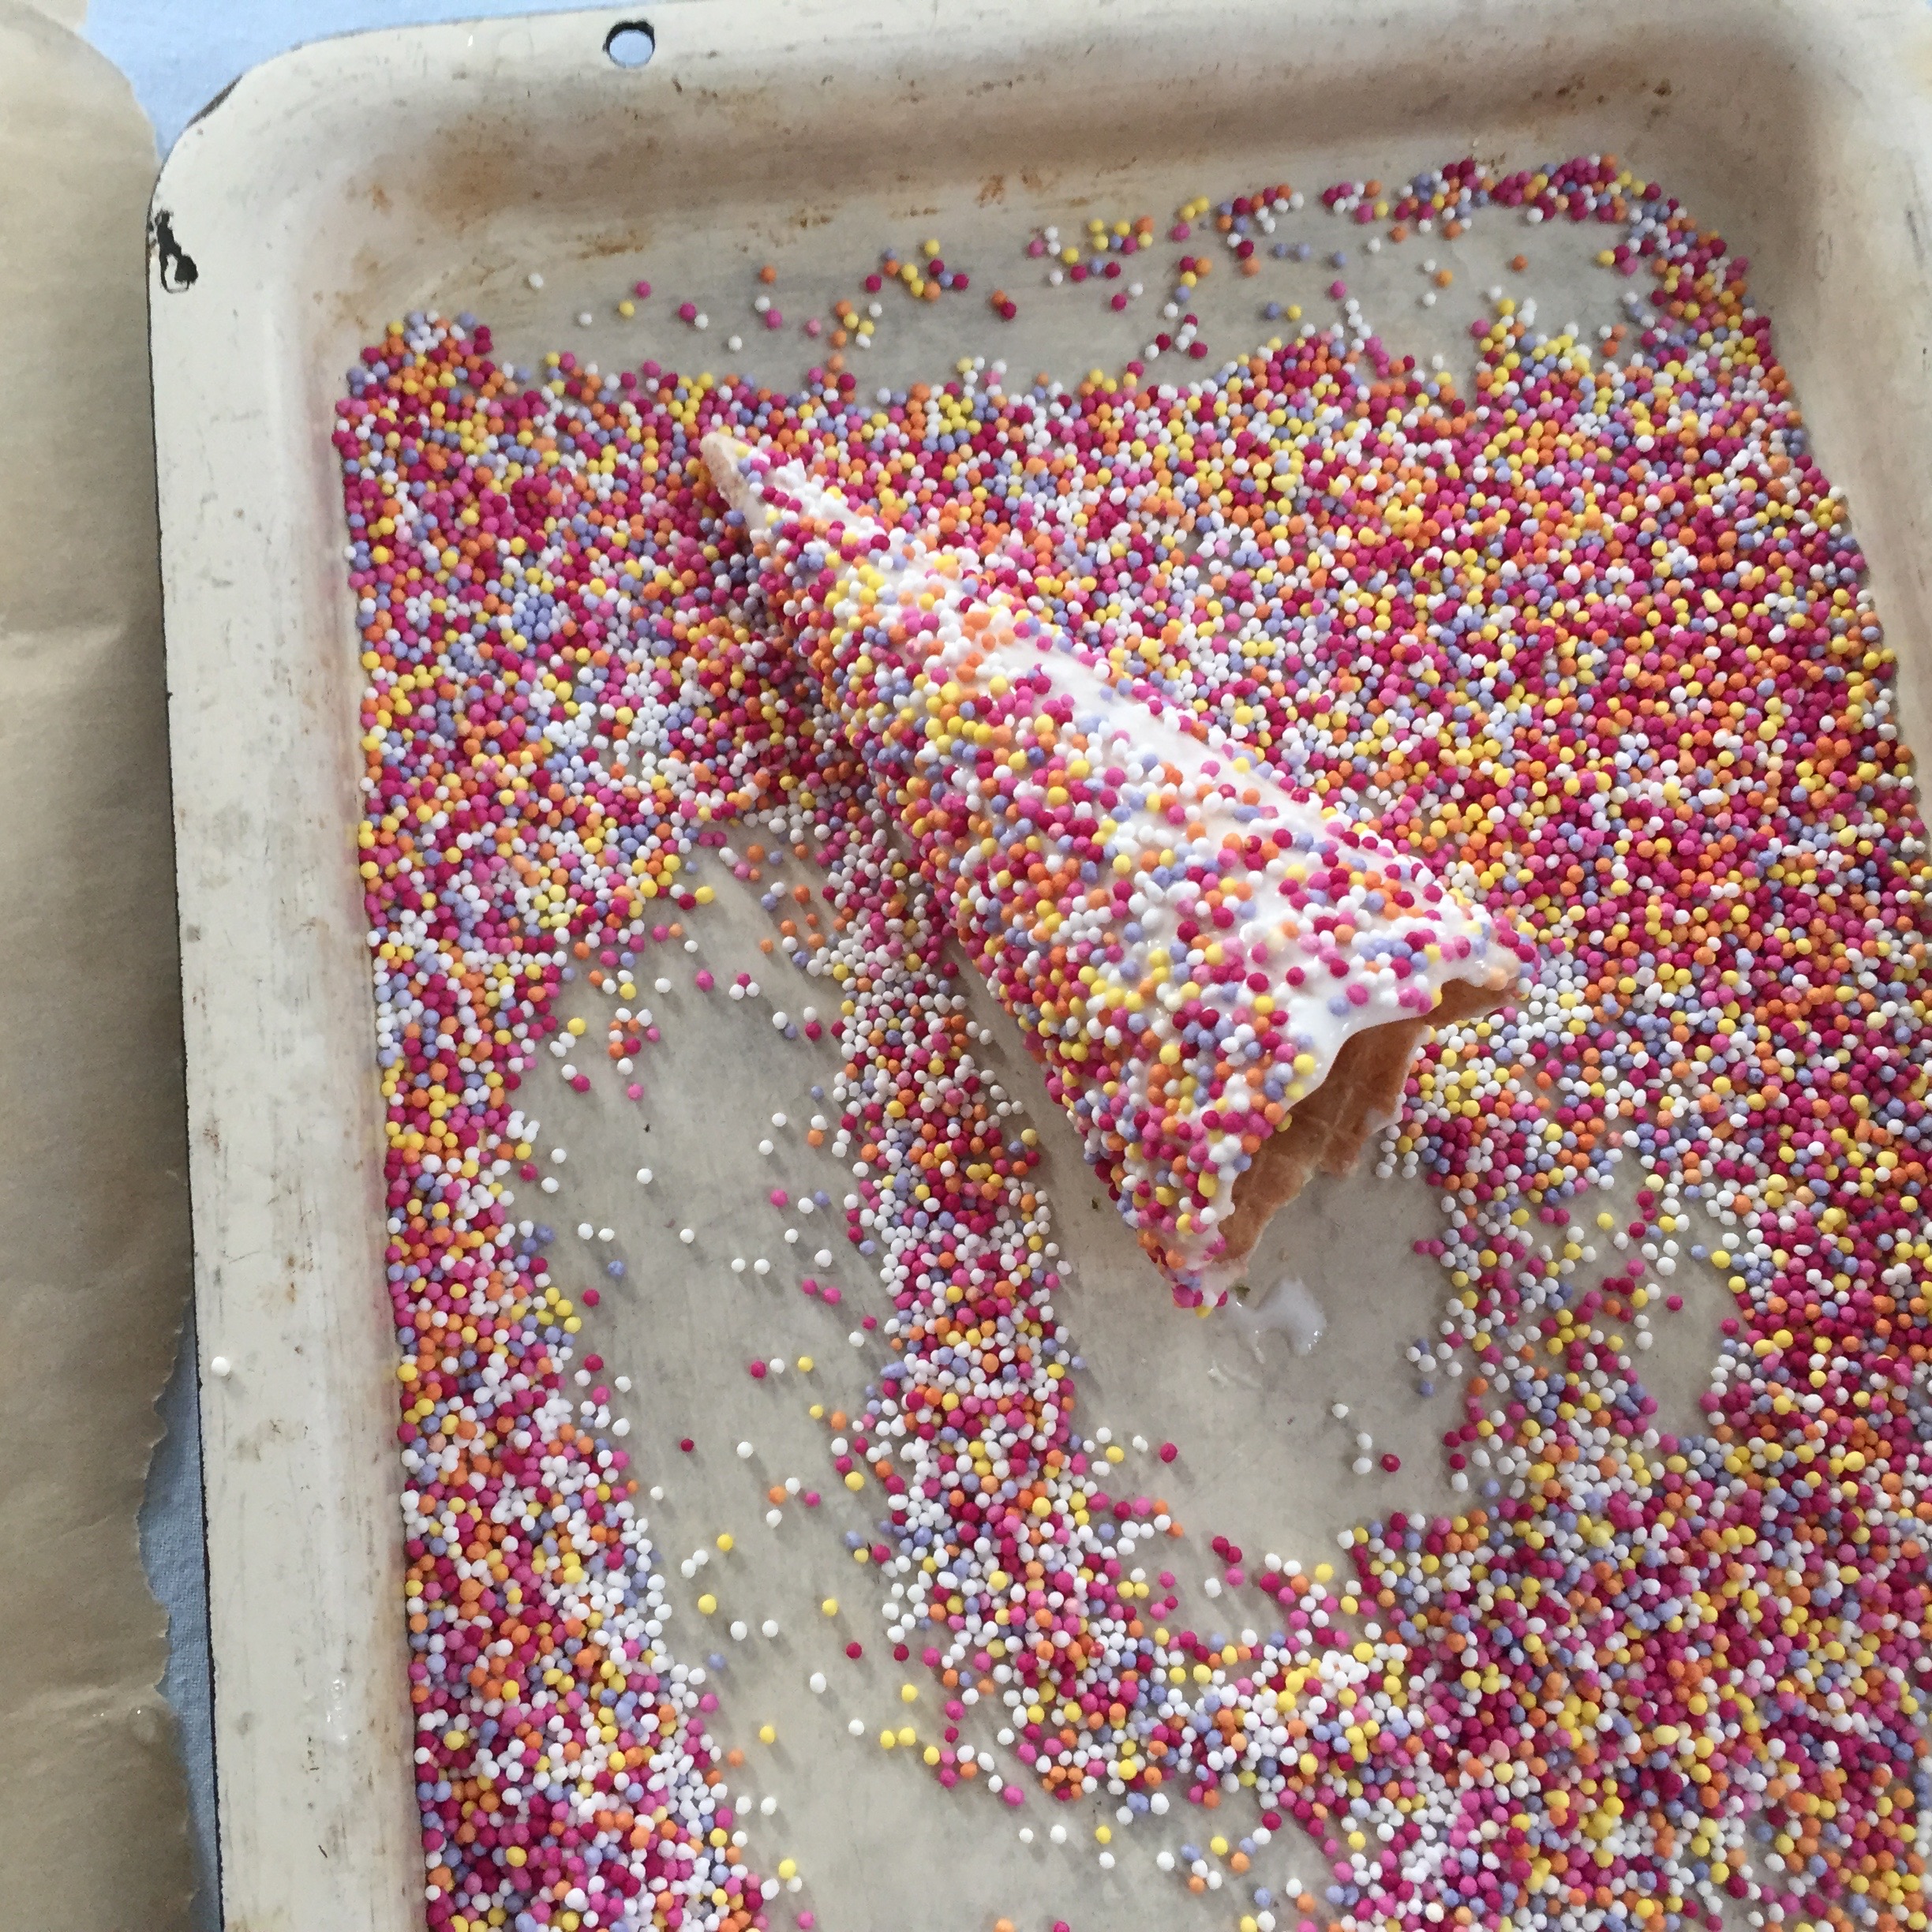
To make the roof: Make up a ¼ of a pack of royal icing with water. Dip your Italian wafer ice cream cones in the icing to cover then roll in hundreds and thousands that you have covered a plate with. Definitely make extra of these as they are very fragile. Leave to dry overnight.
Windows, Doors & Flowers:
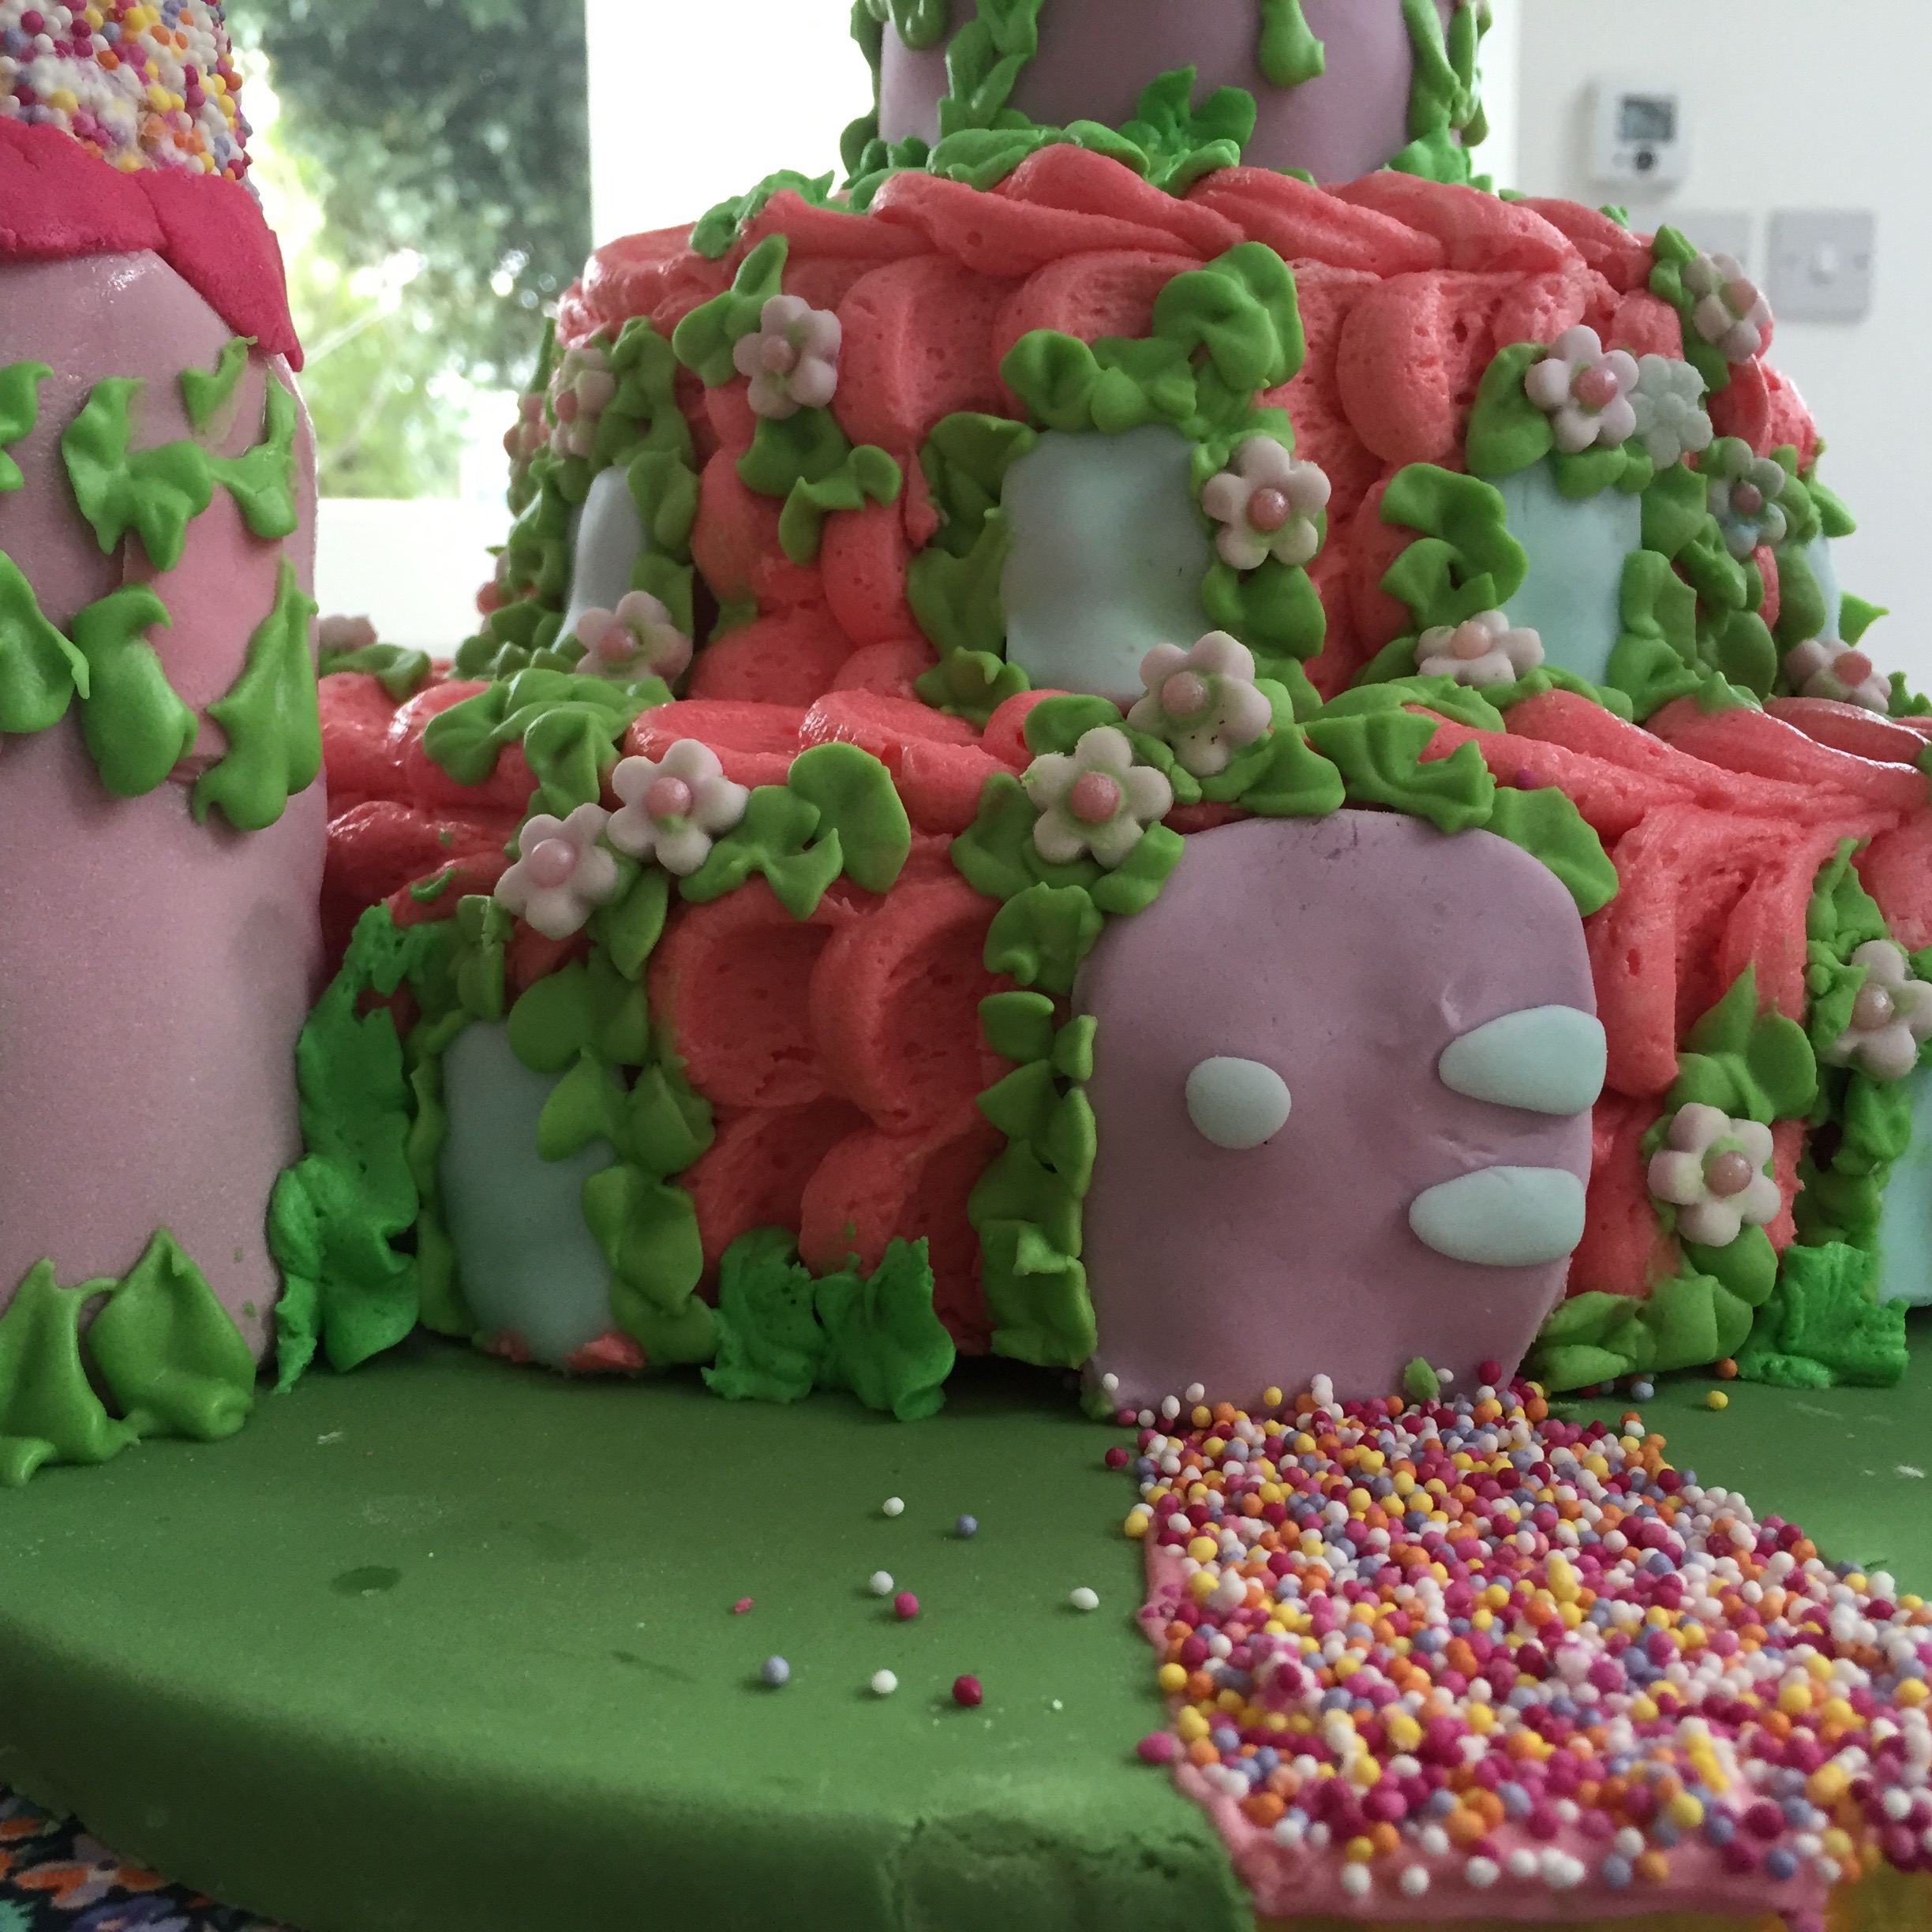
Roll out some fondant and cut into rectangles that are large enough to cover the turret bases. Use water to ‘glue’ the fold at the back. Roll out more fondant and cut out smaller rectangles to be windows and an arched shape to be the door.
Use a cutter to create lots of small ‘blossom’ flowers. Place an edible pearl in the centre of each one using icing to secure it.
Garden:
Roll out a piece of fondant big enough to cover the cake base. Cut out a strip to be the drive. Cover this with left over Royal icing and cover with remaining hundreds and thousands.
To Assemble:
Place the cake on the centre of the green covered cake board. Place the turrets on the side and use icing to fix on the board. Use more icing to fix the ice cream cones on top.
Add the windows and doors.
Take a disposable piping bag and cut the end keeping to the shape of the tip of the bag. Fill with green buttercream. Use this to pipe your vines over the cake. This works particularly well to soften and hide the edges of the windows and doors. Now randomly place your flowers on the icing whilst it is still wet.
This cake was definitely one of my favourites to make. What have been yours?
If you would like to create this or something similar in a one to one private lesson with me then call- 020 3573 9135
