Dinosaur Cake
As you may have noticed there are a few signature details with my kids cakes.
1. I like to create 3d cakes, rather than flat so I work with pudding basins. One 1.5 ltr & one 0.5 ltr.
2. I work in buttercream as I prefer the texture and I much prefer the taste to fondant.
3. As I'm so busy I generally only create a cake once. I don't sell them so they are just for my kids/Godkids. The prototype, which I make up as I go along, is the one in the photos. This means that they are not perfect but I like that the look hand made. Hopefully that also encourages non professional bakers/decorators to give them a go.
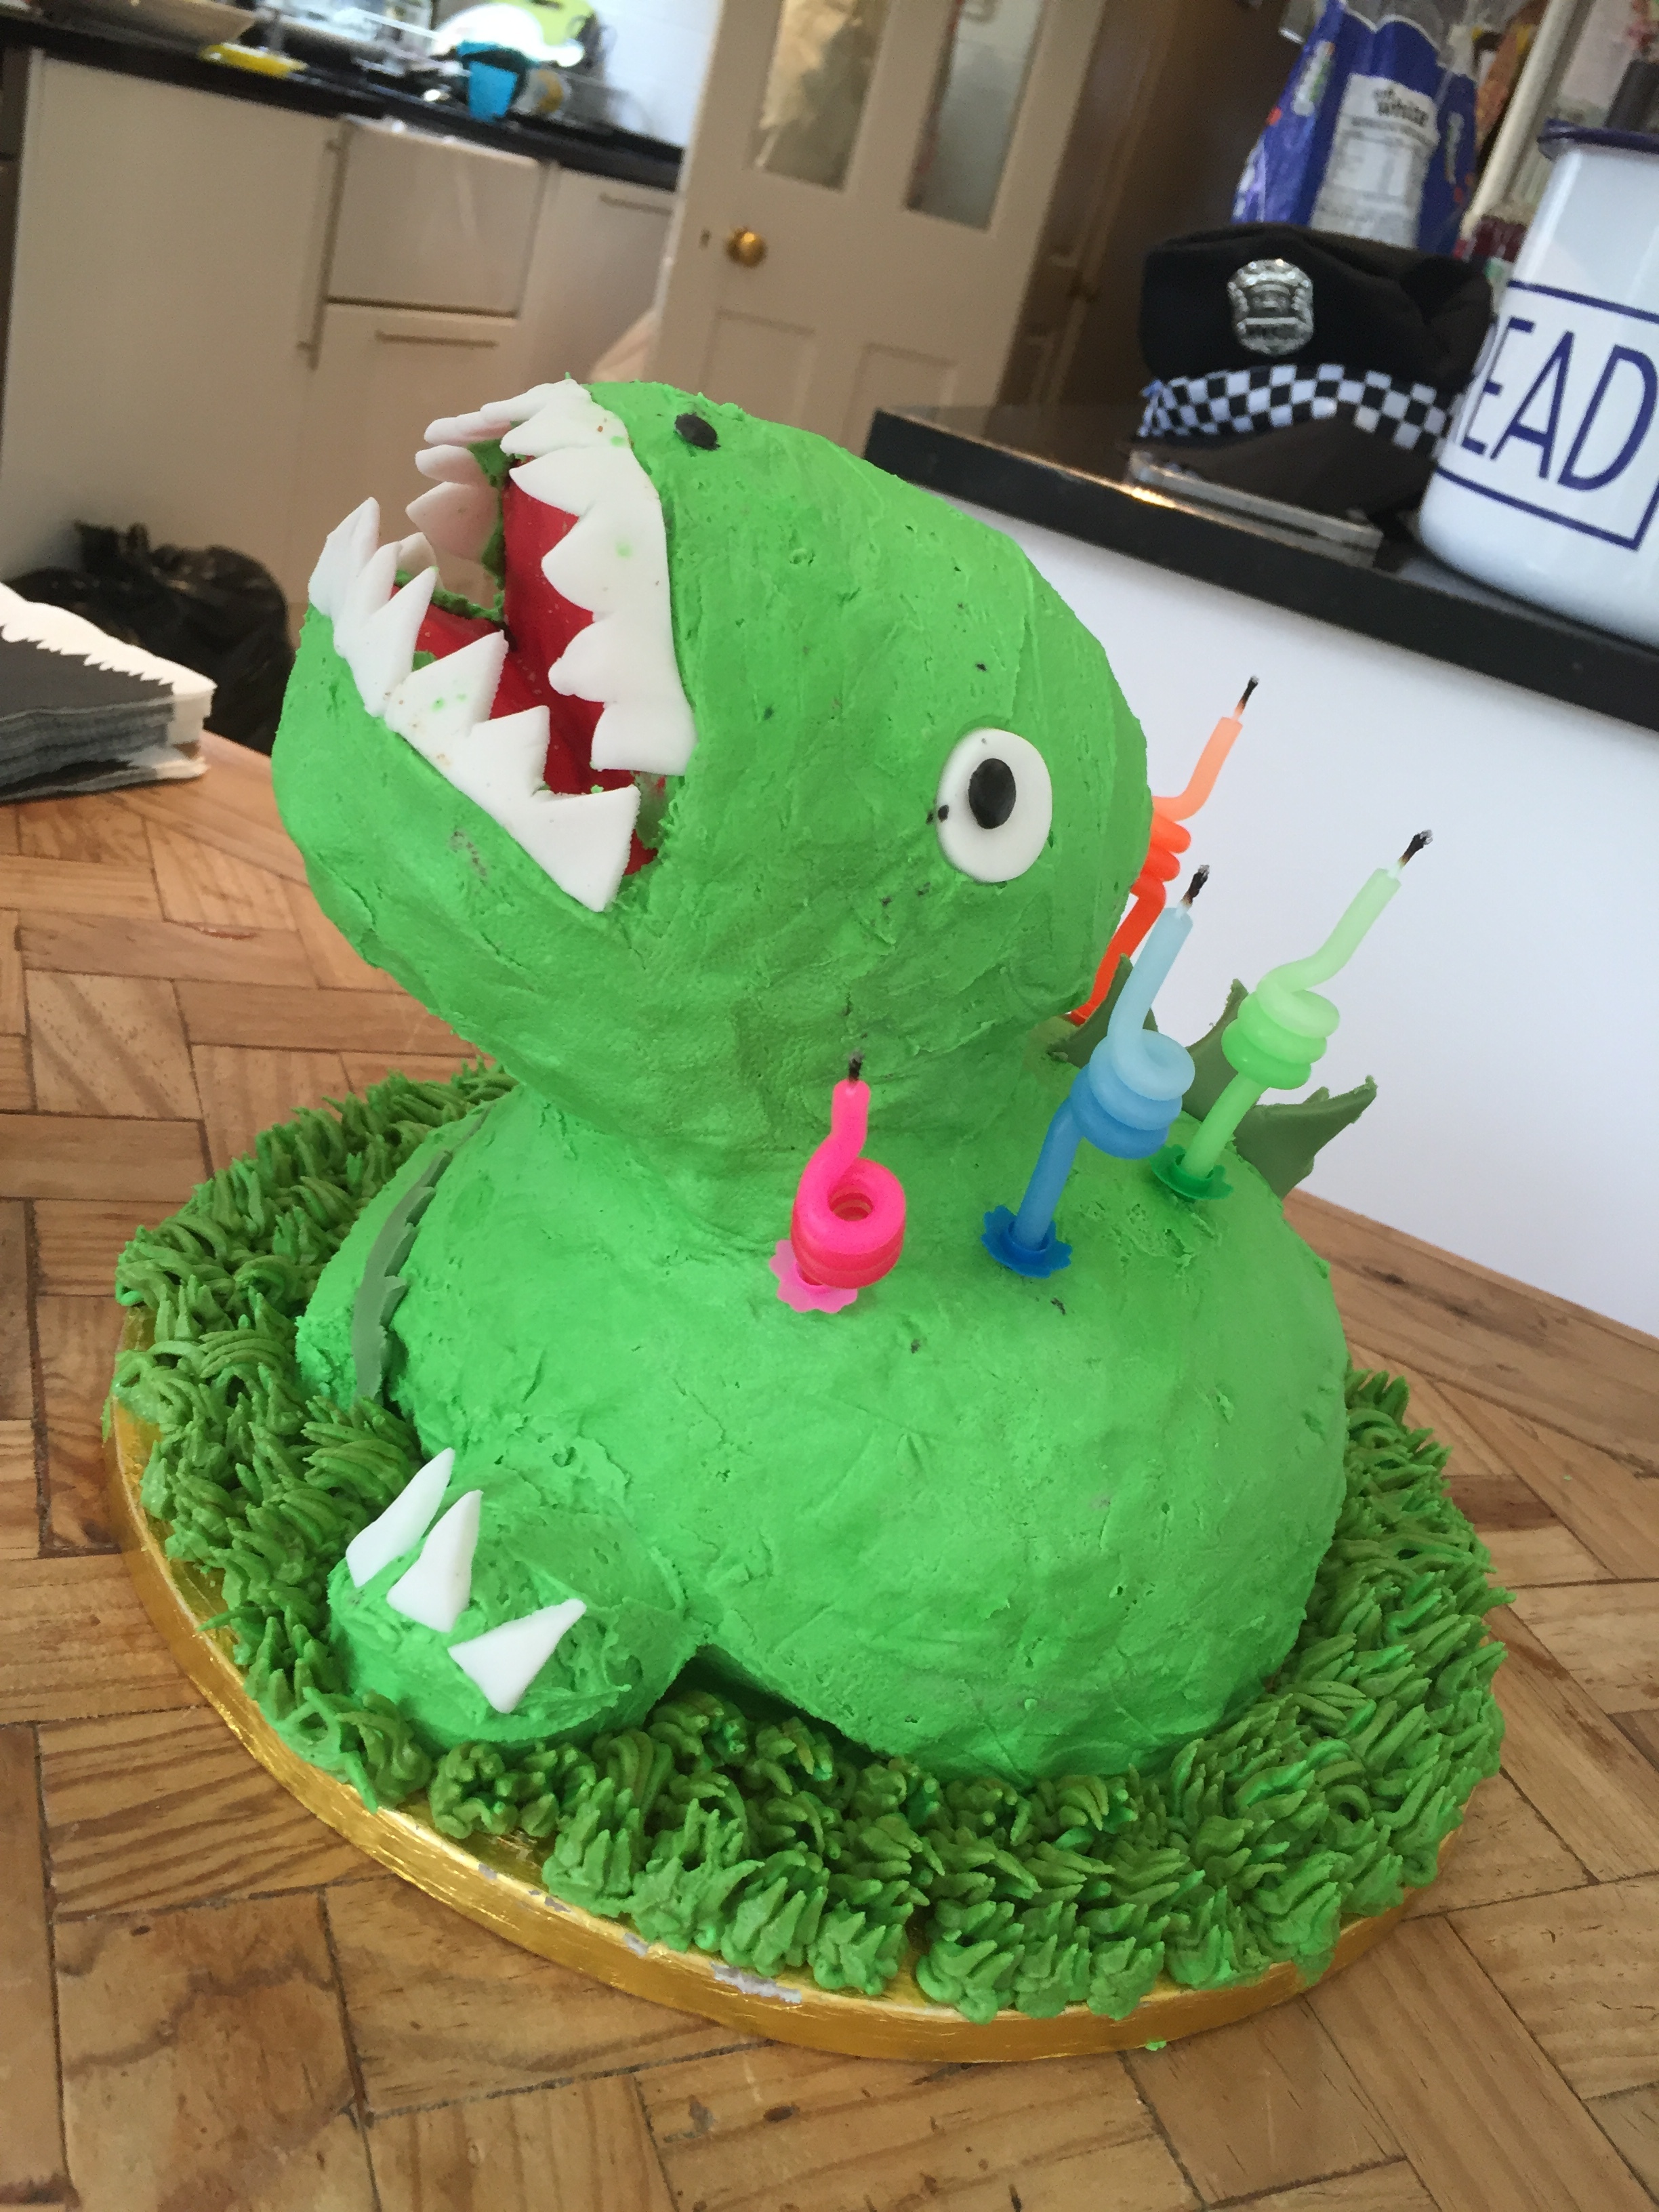
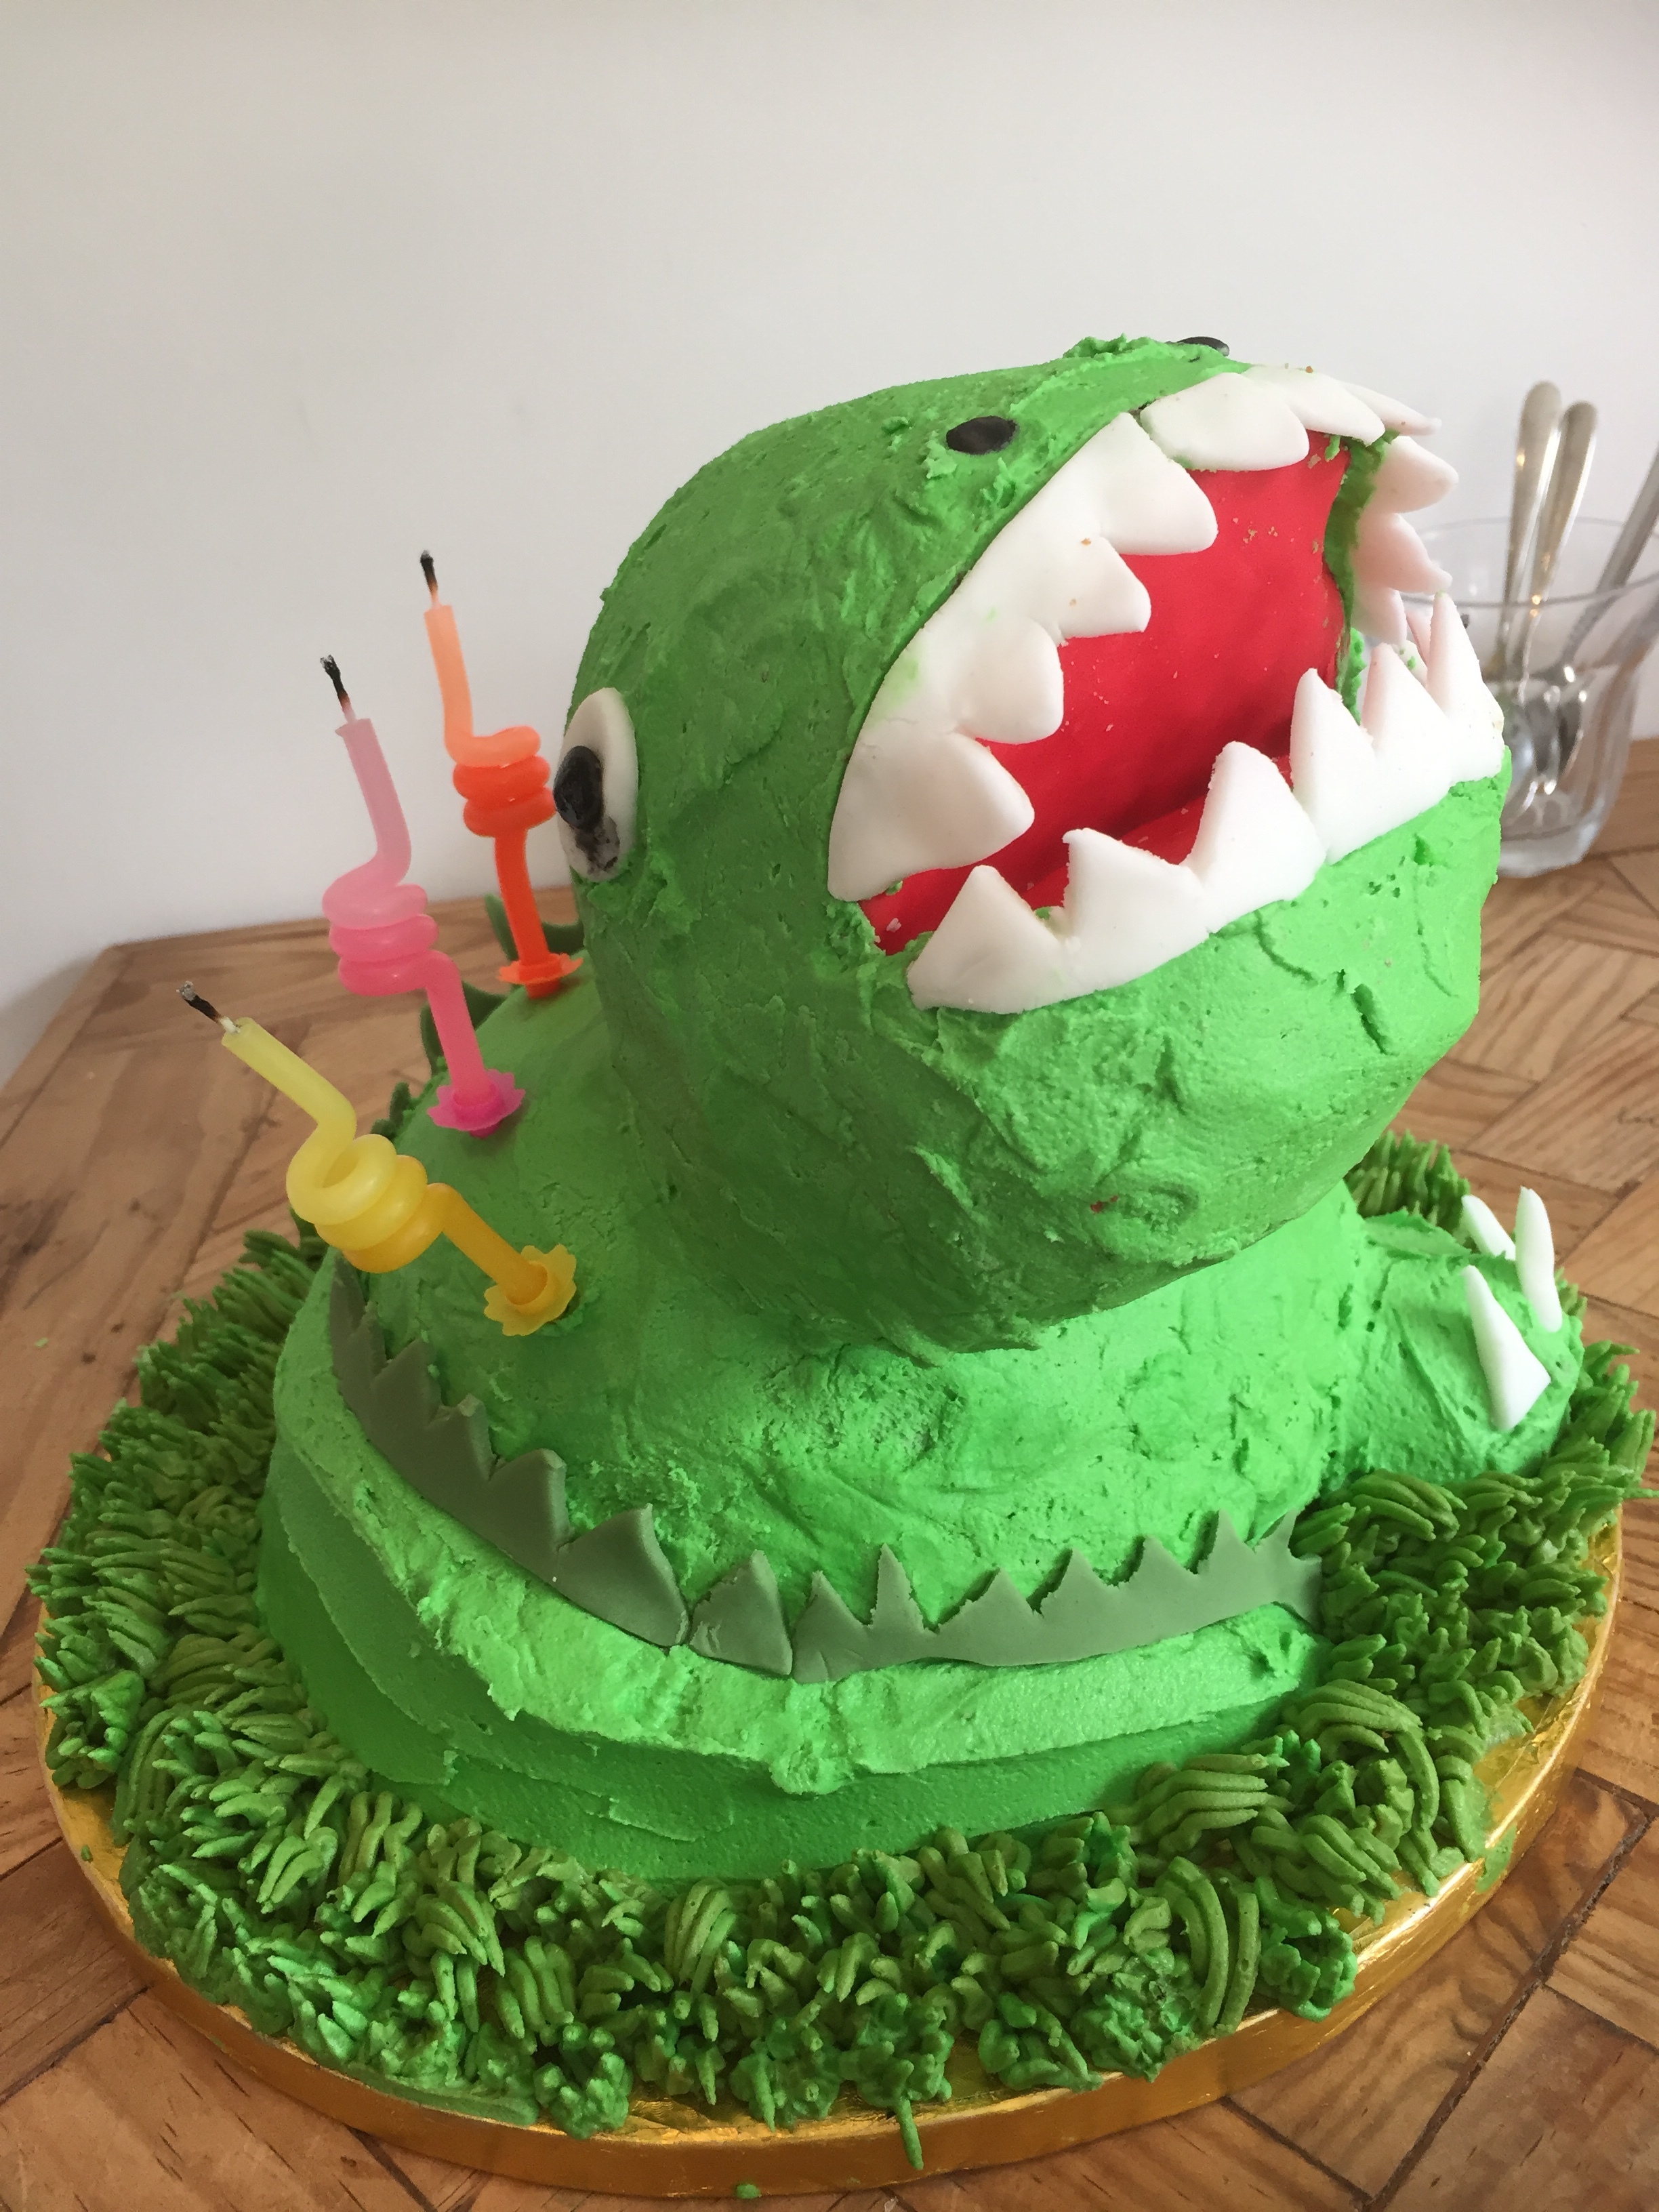
This was an idea I had for a dinosaur cake for my Godson Archies 6th birthday party.
It is a victoria sponge recipe which is what I mostly use for this kind of cake. I used a 10oz mix. It takes around 30-40 mins for the small cake to bake and 1hr to 80 mins for the large one. Remember that all oven temperatures vary whatever they say on the outside!
You will need to make around 1.5 kg buttercream. It is best to have too much rather than too little. You can keep any leftovers in a sealed container in the fridge for 3 weeks or the freezer for 3 months.
You will need
Green food colour, Wooden Skewers, White fondant icing, Green fondant icing, Red fondant icing, Black Fondant, Jam, Grass nozzle, Piping bag,
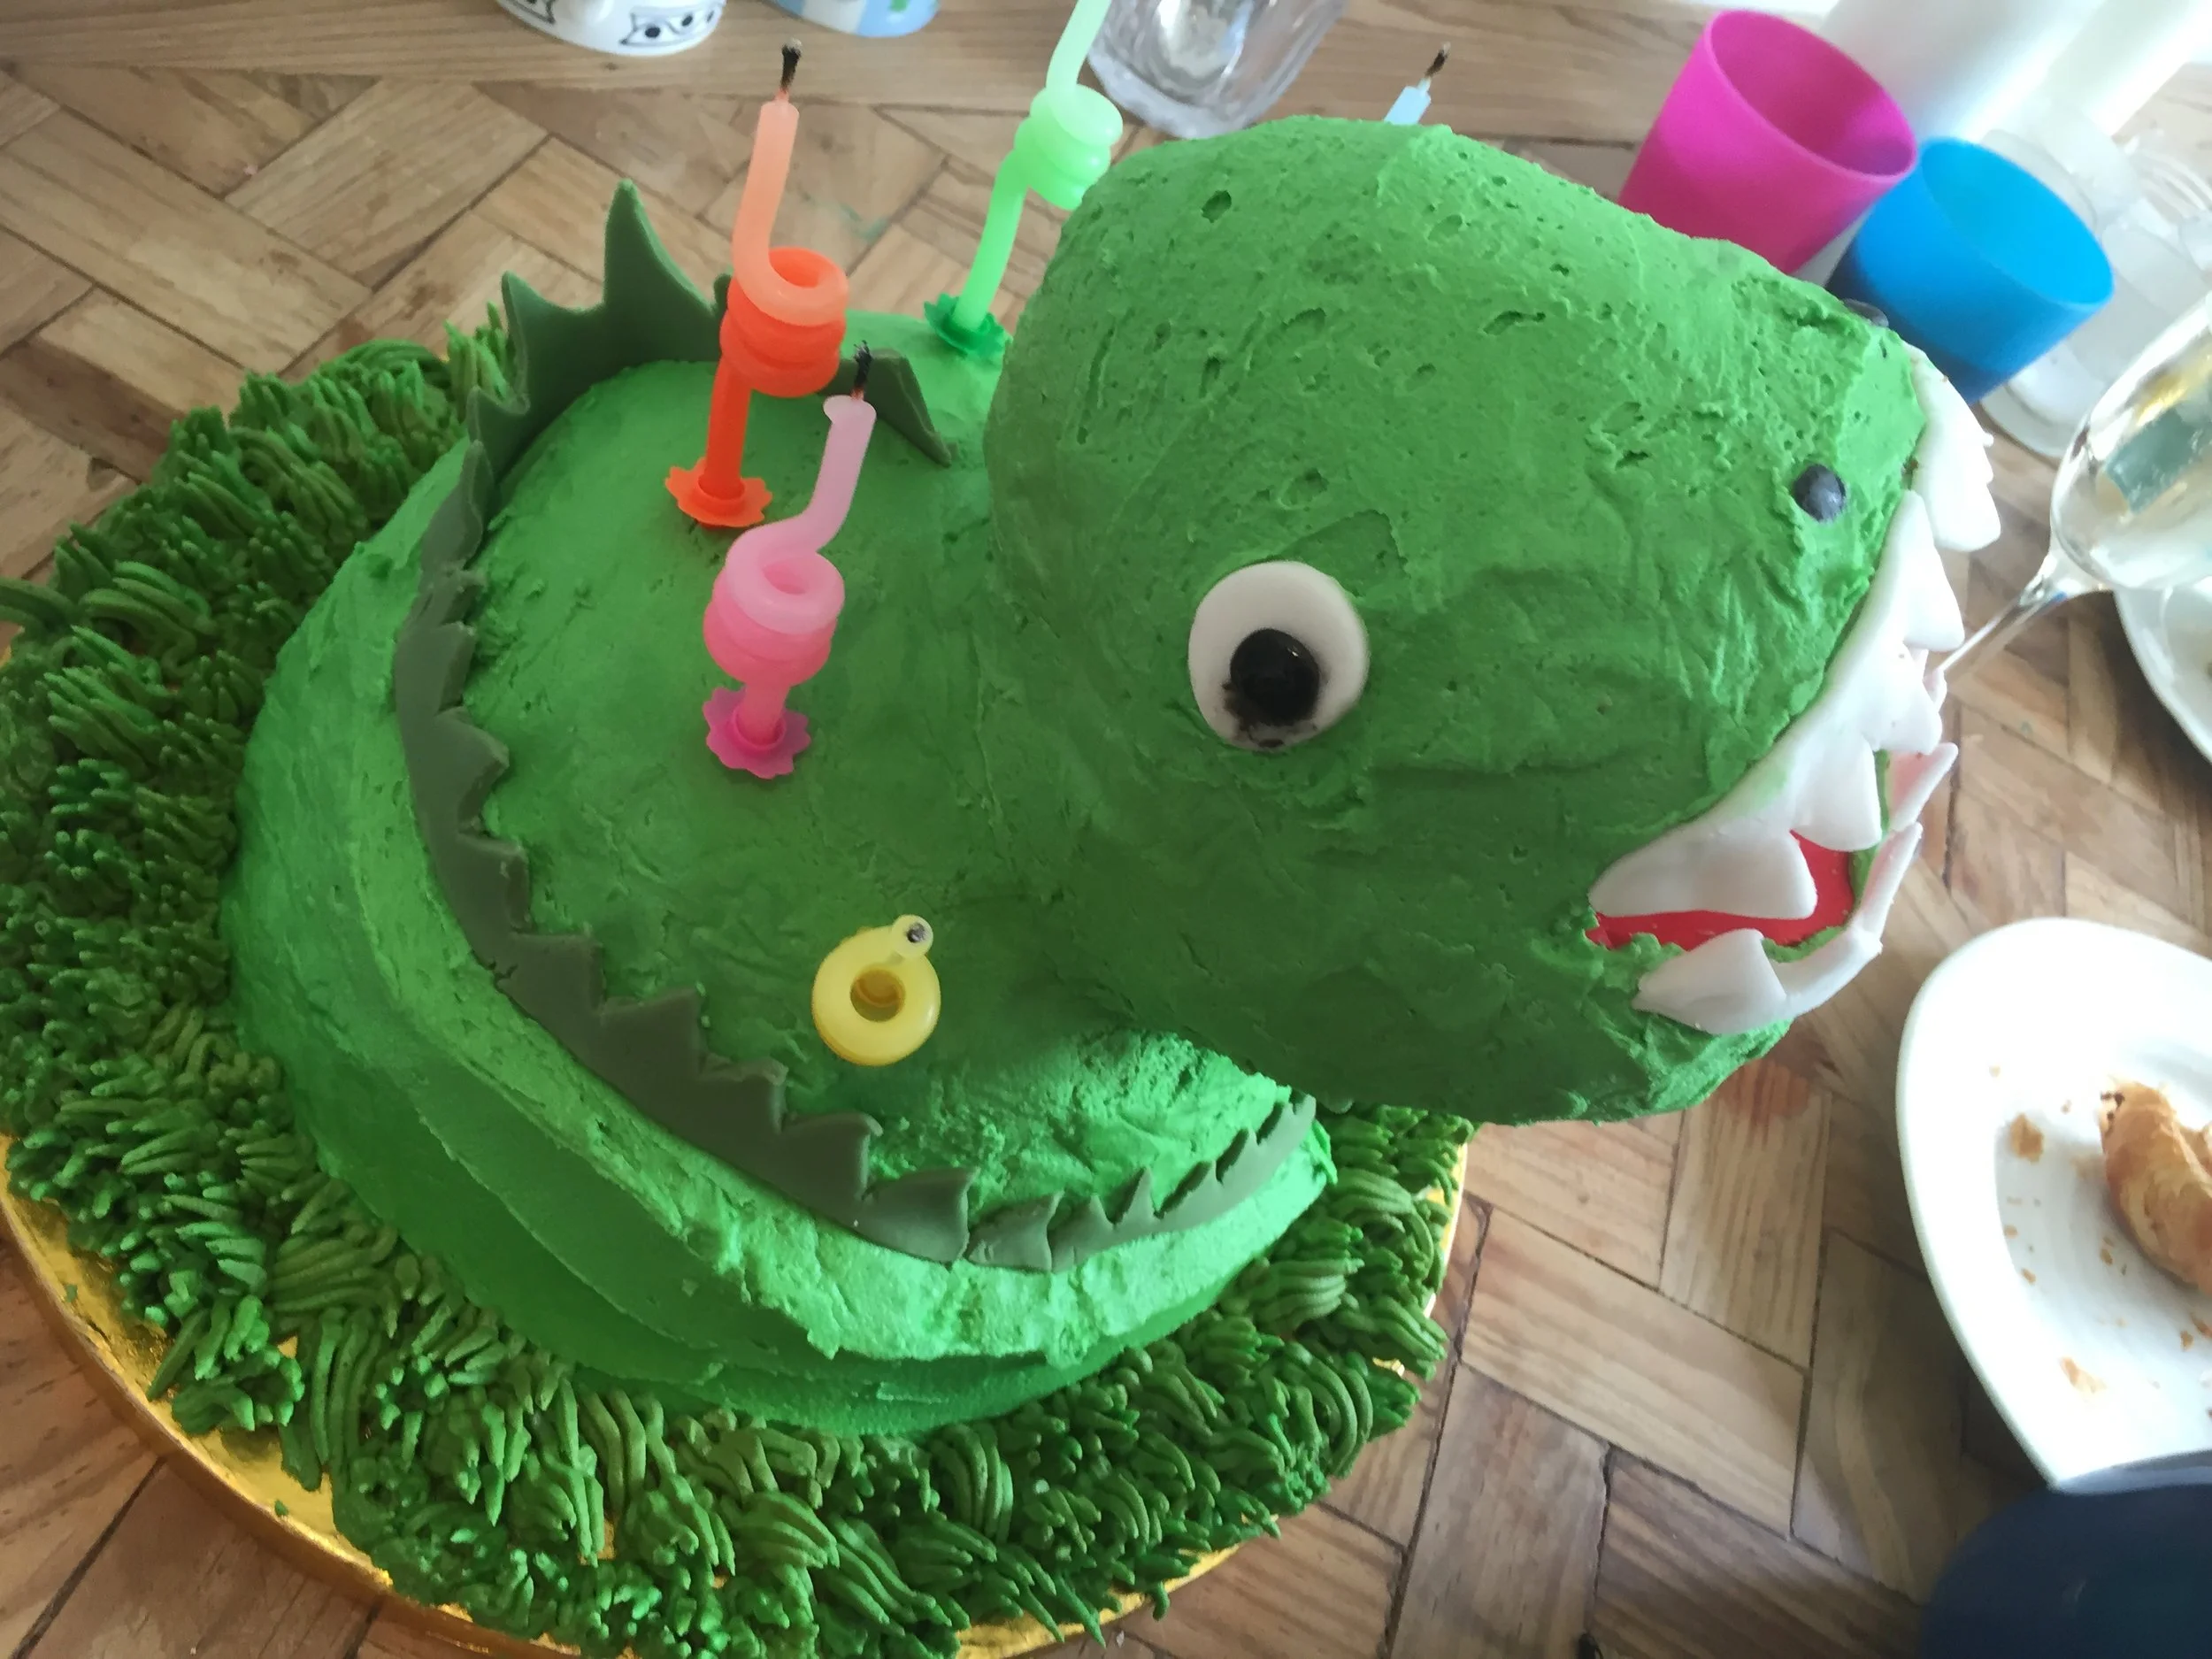
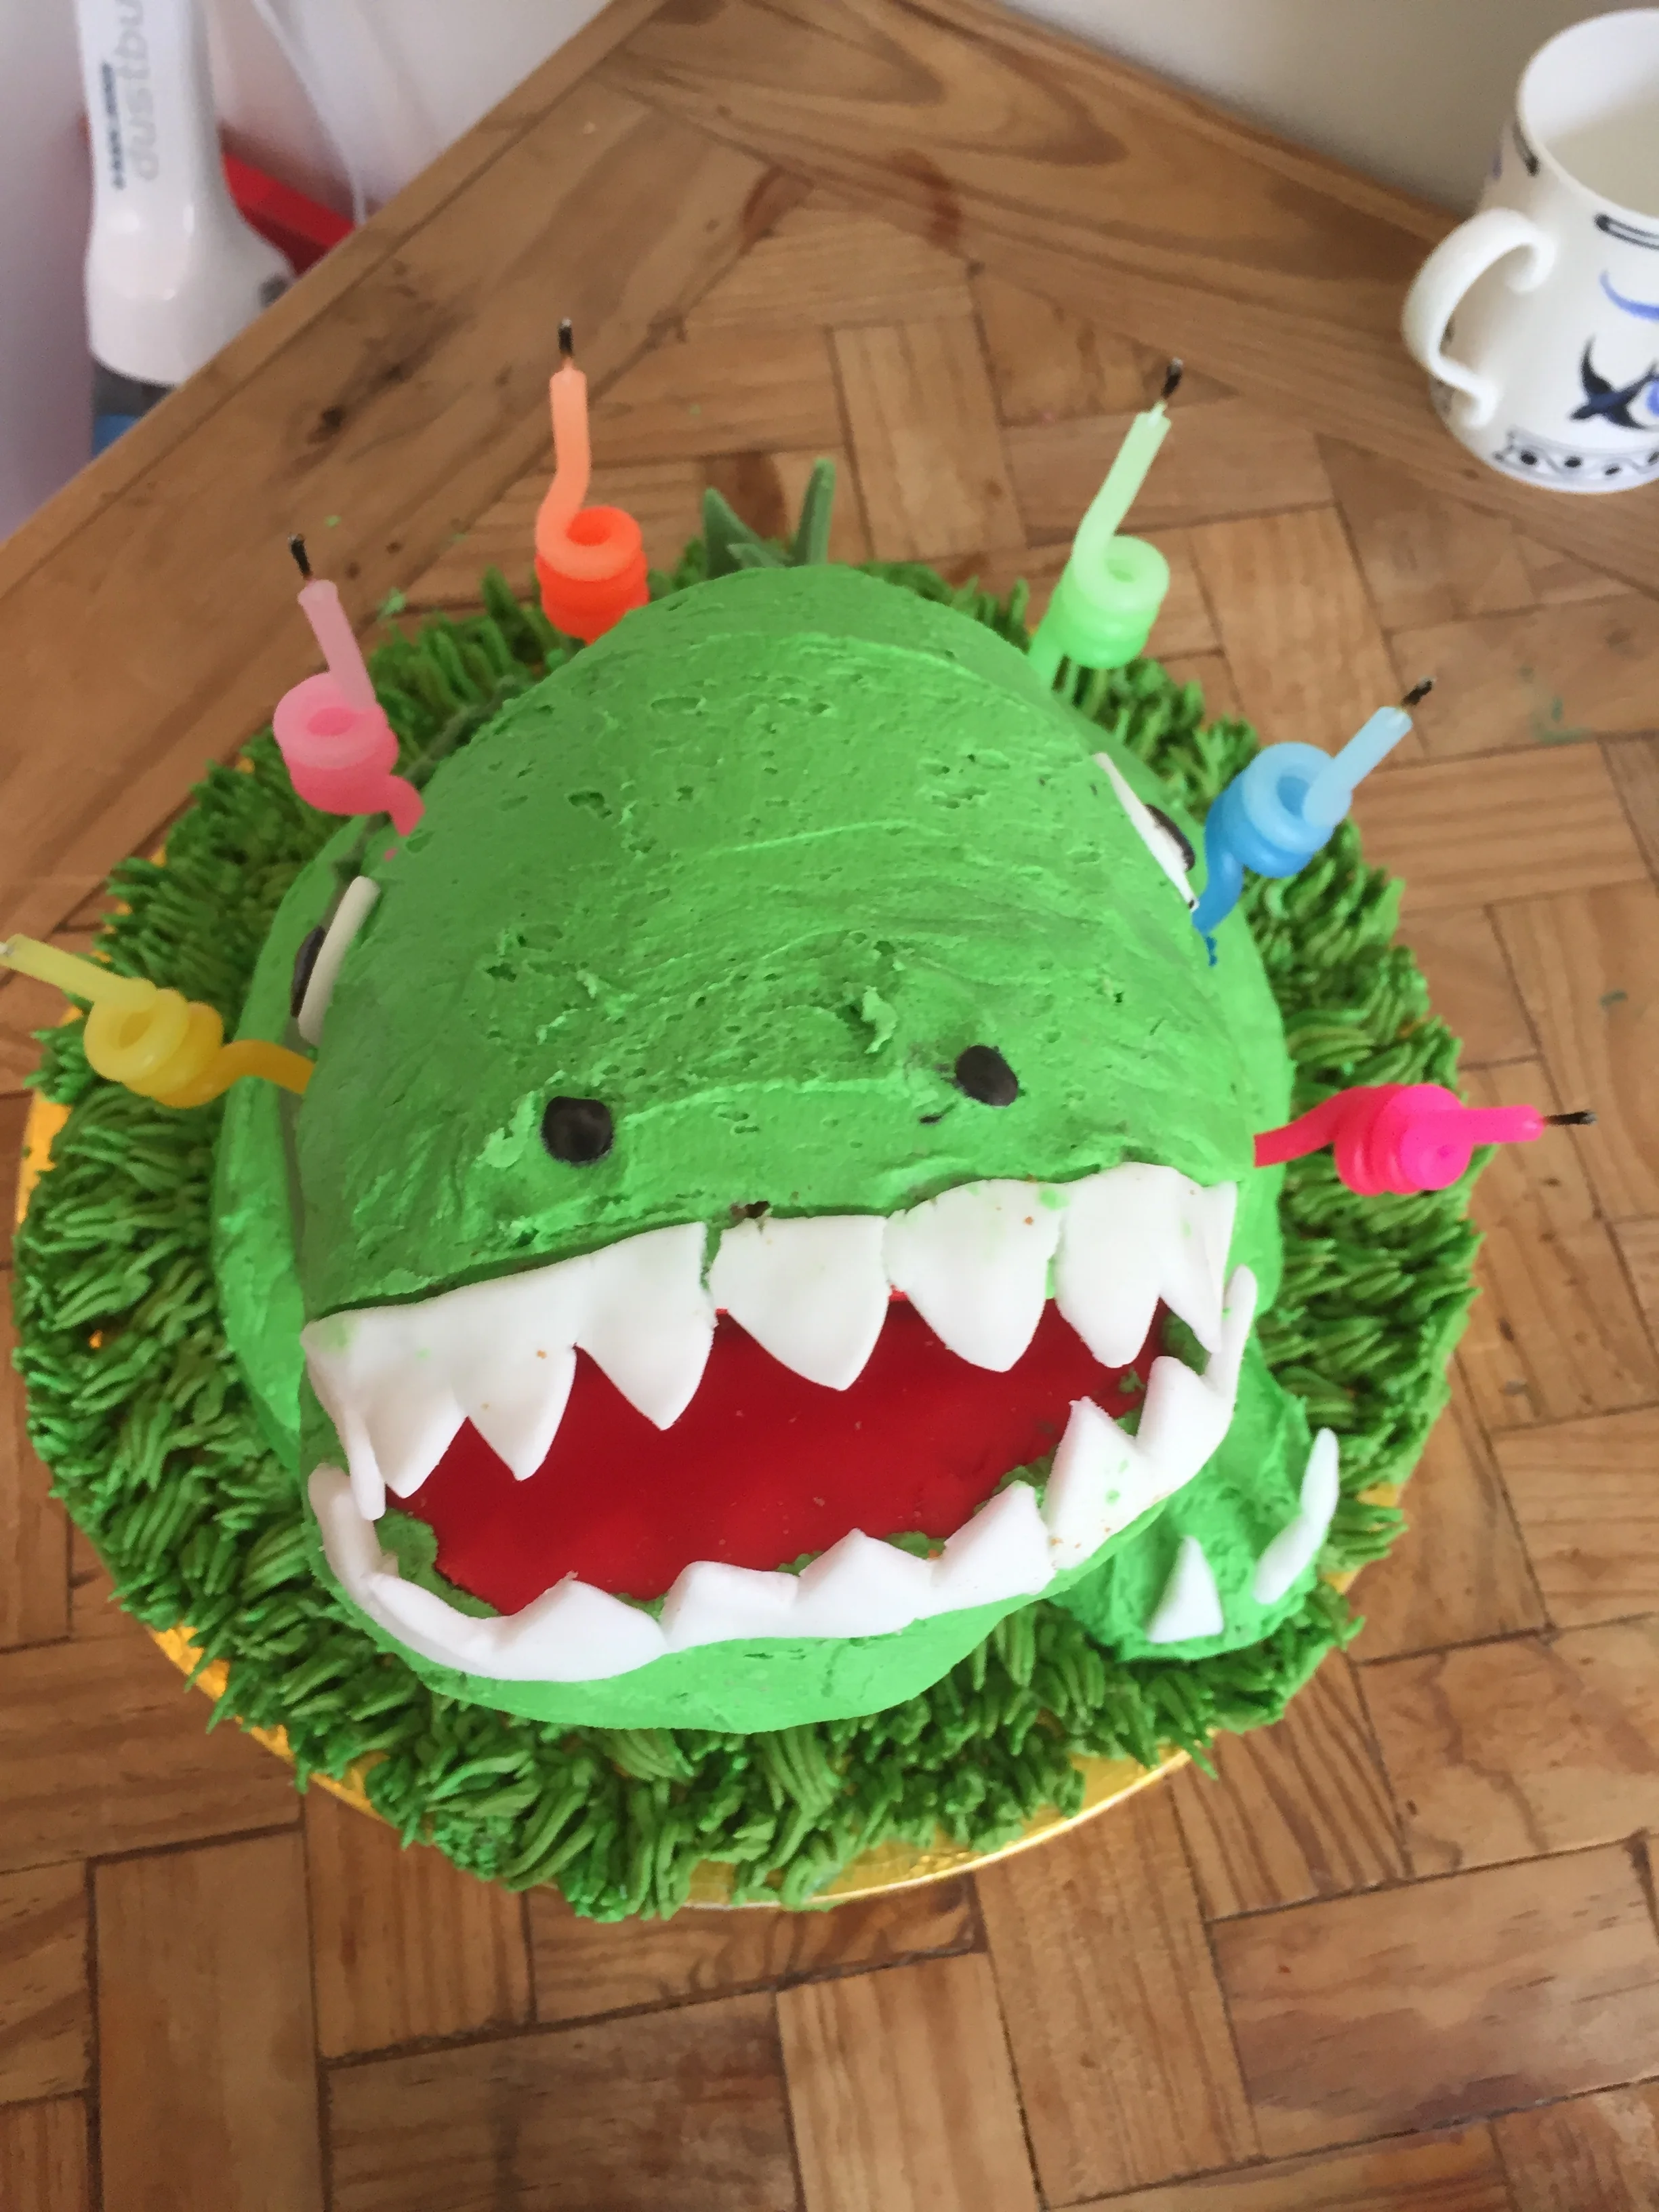
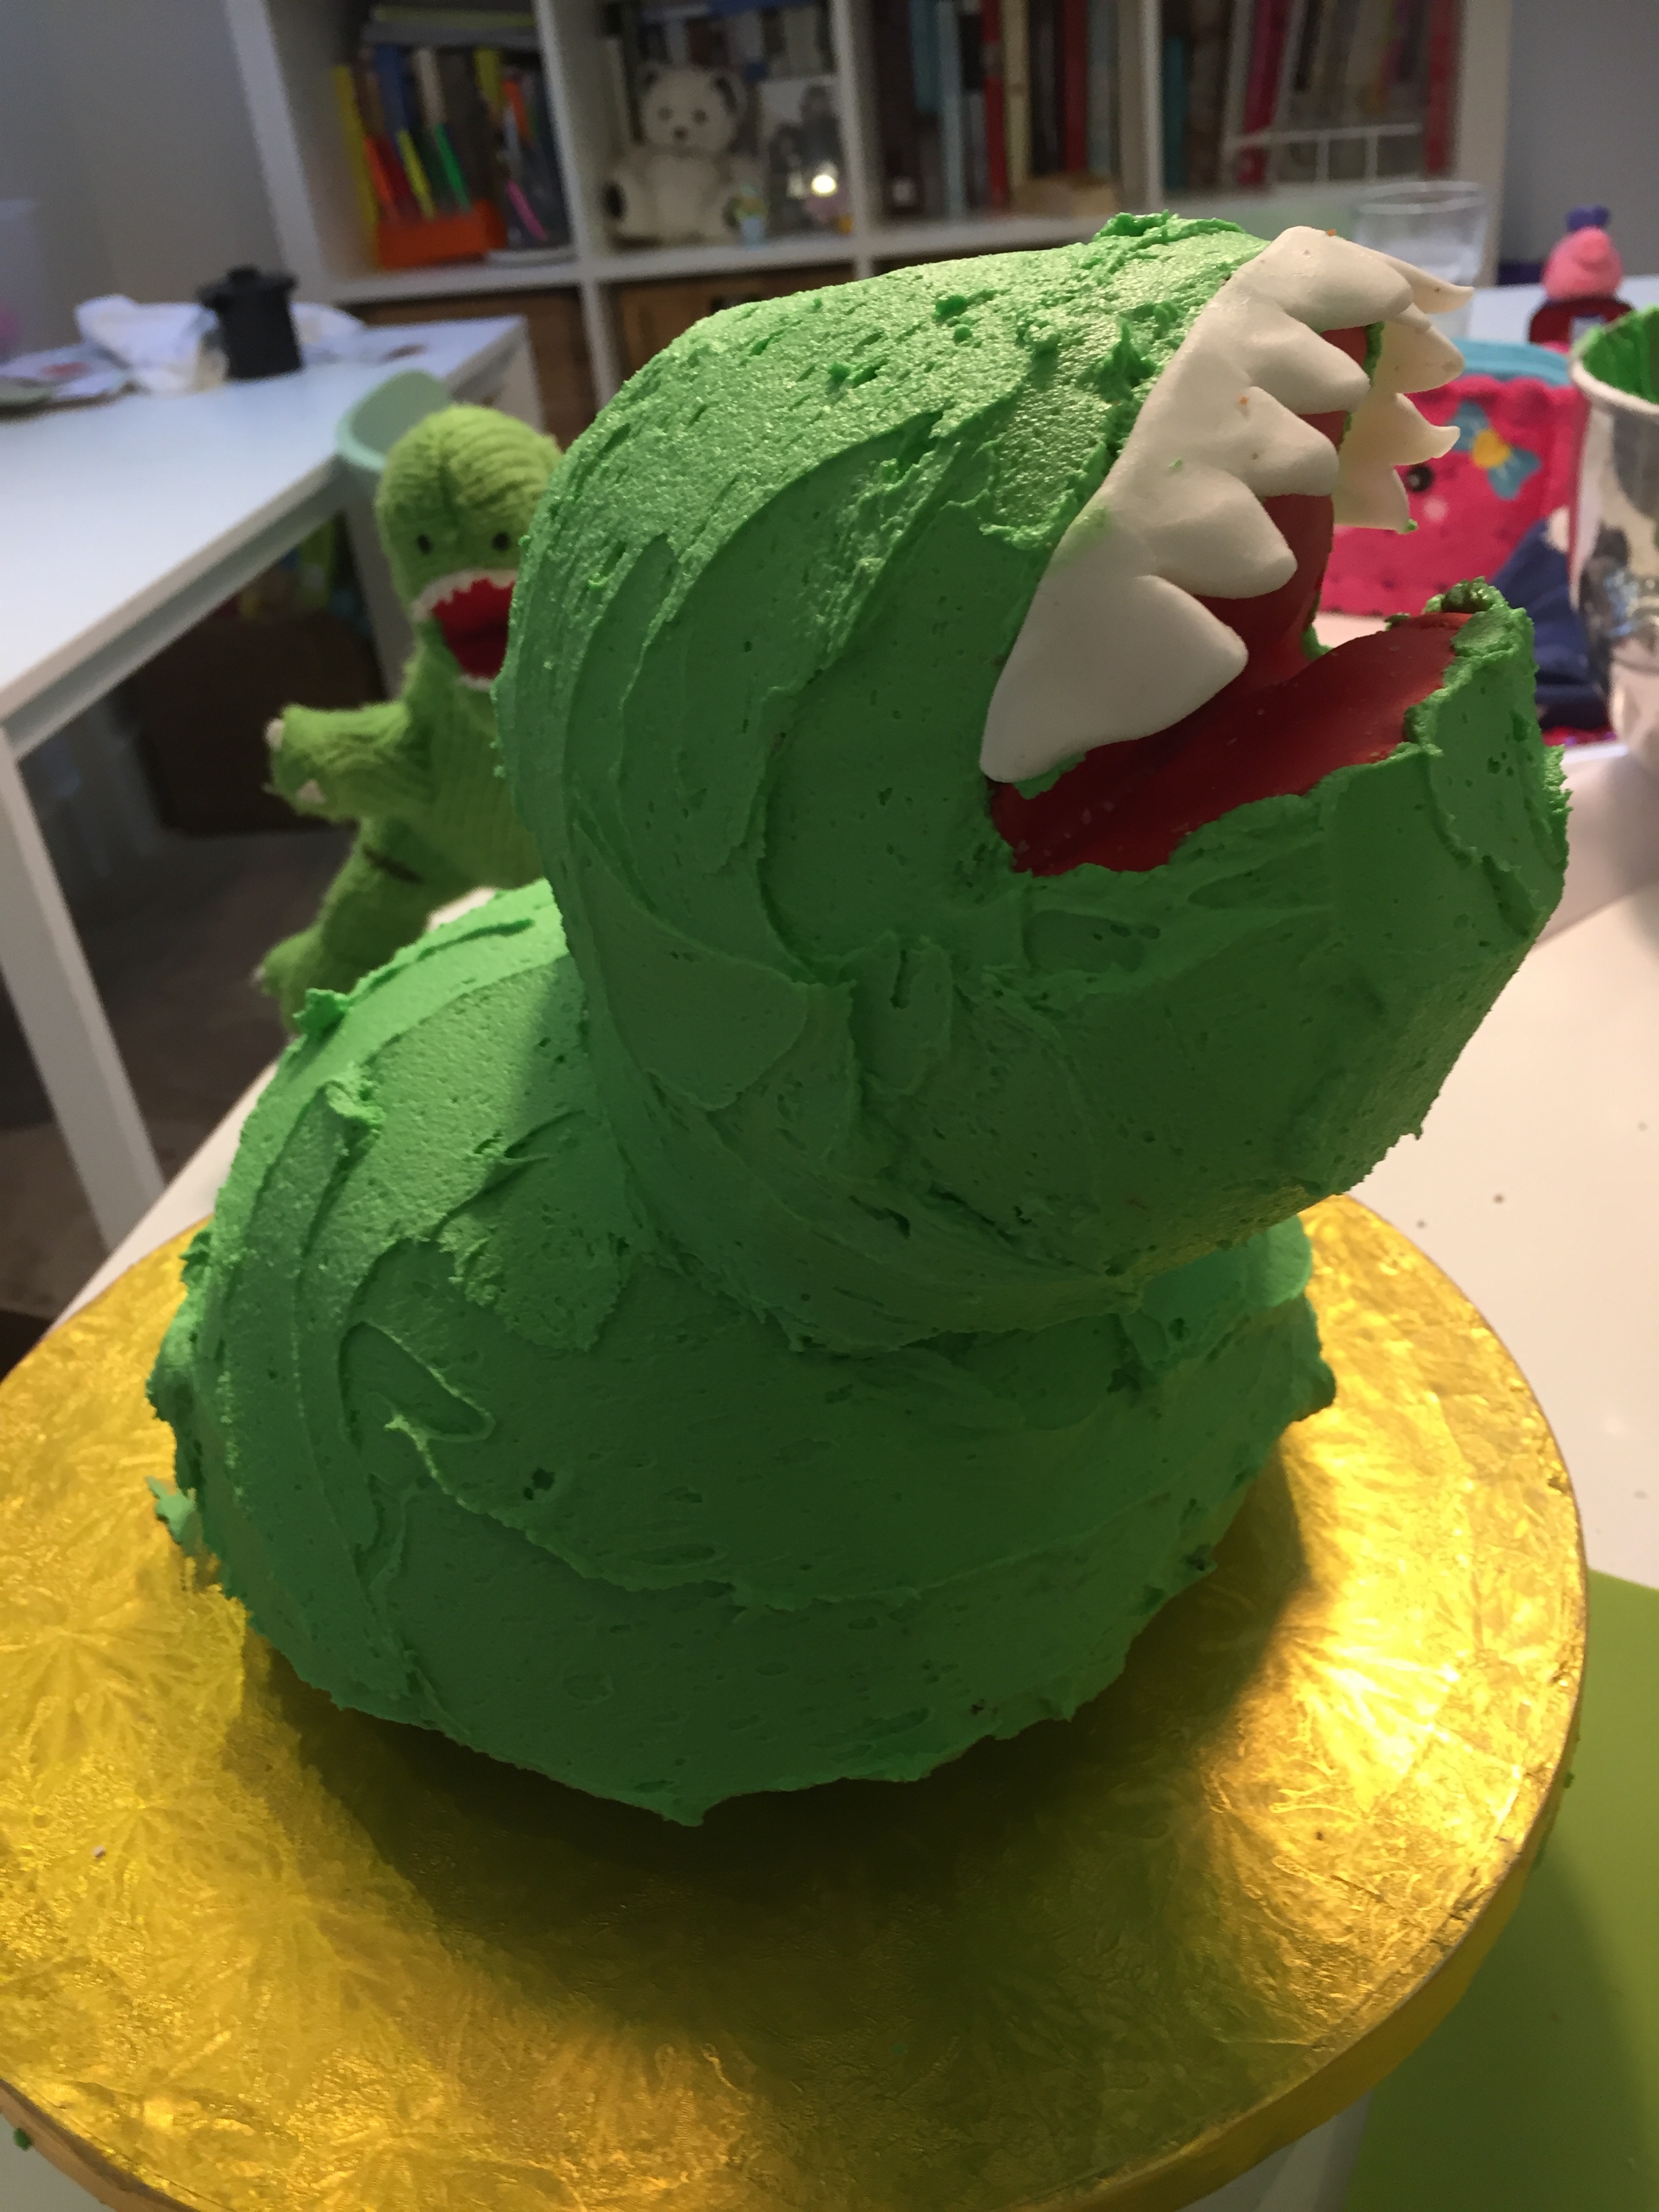
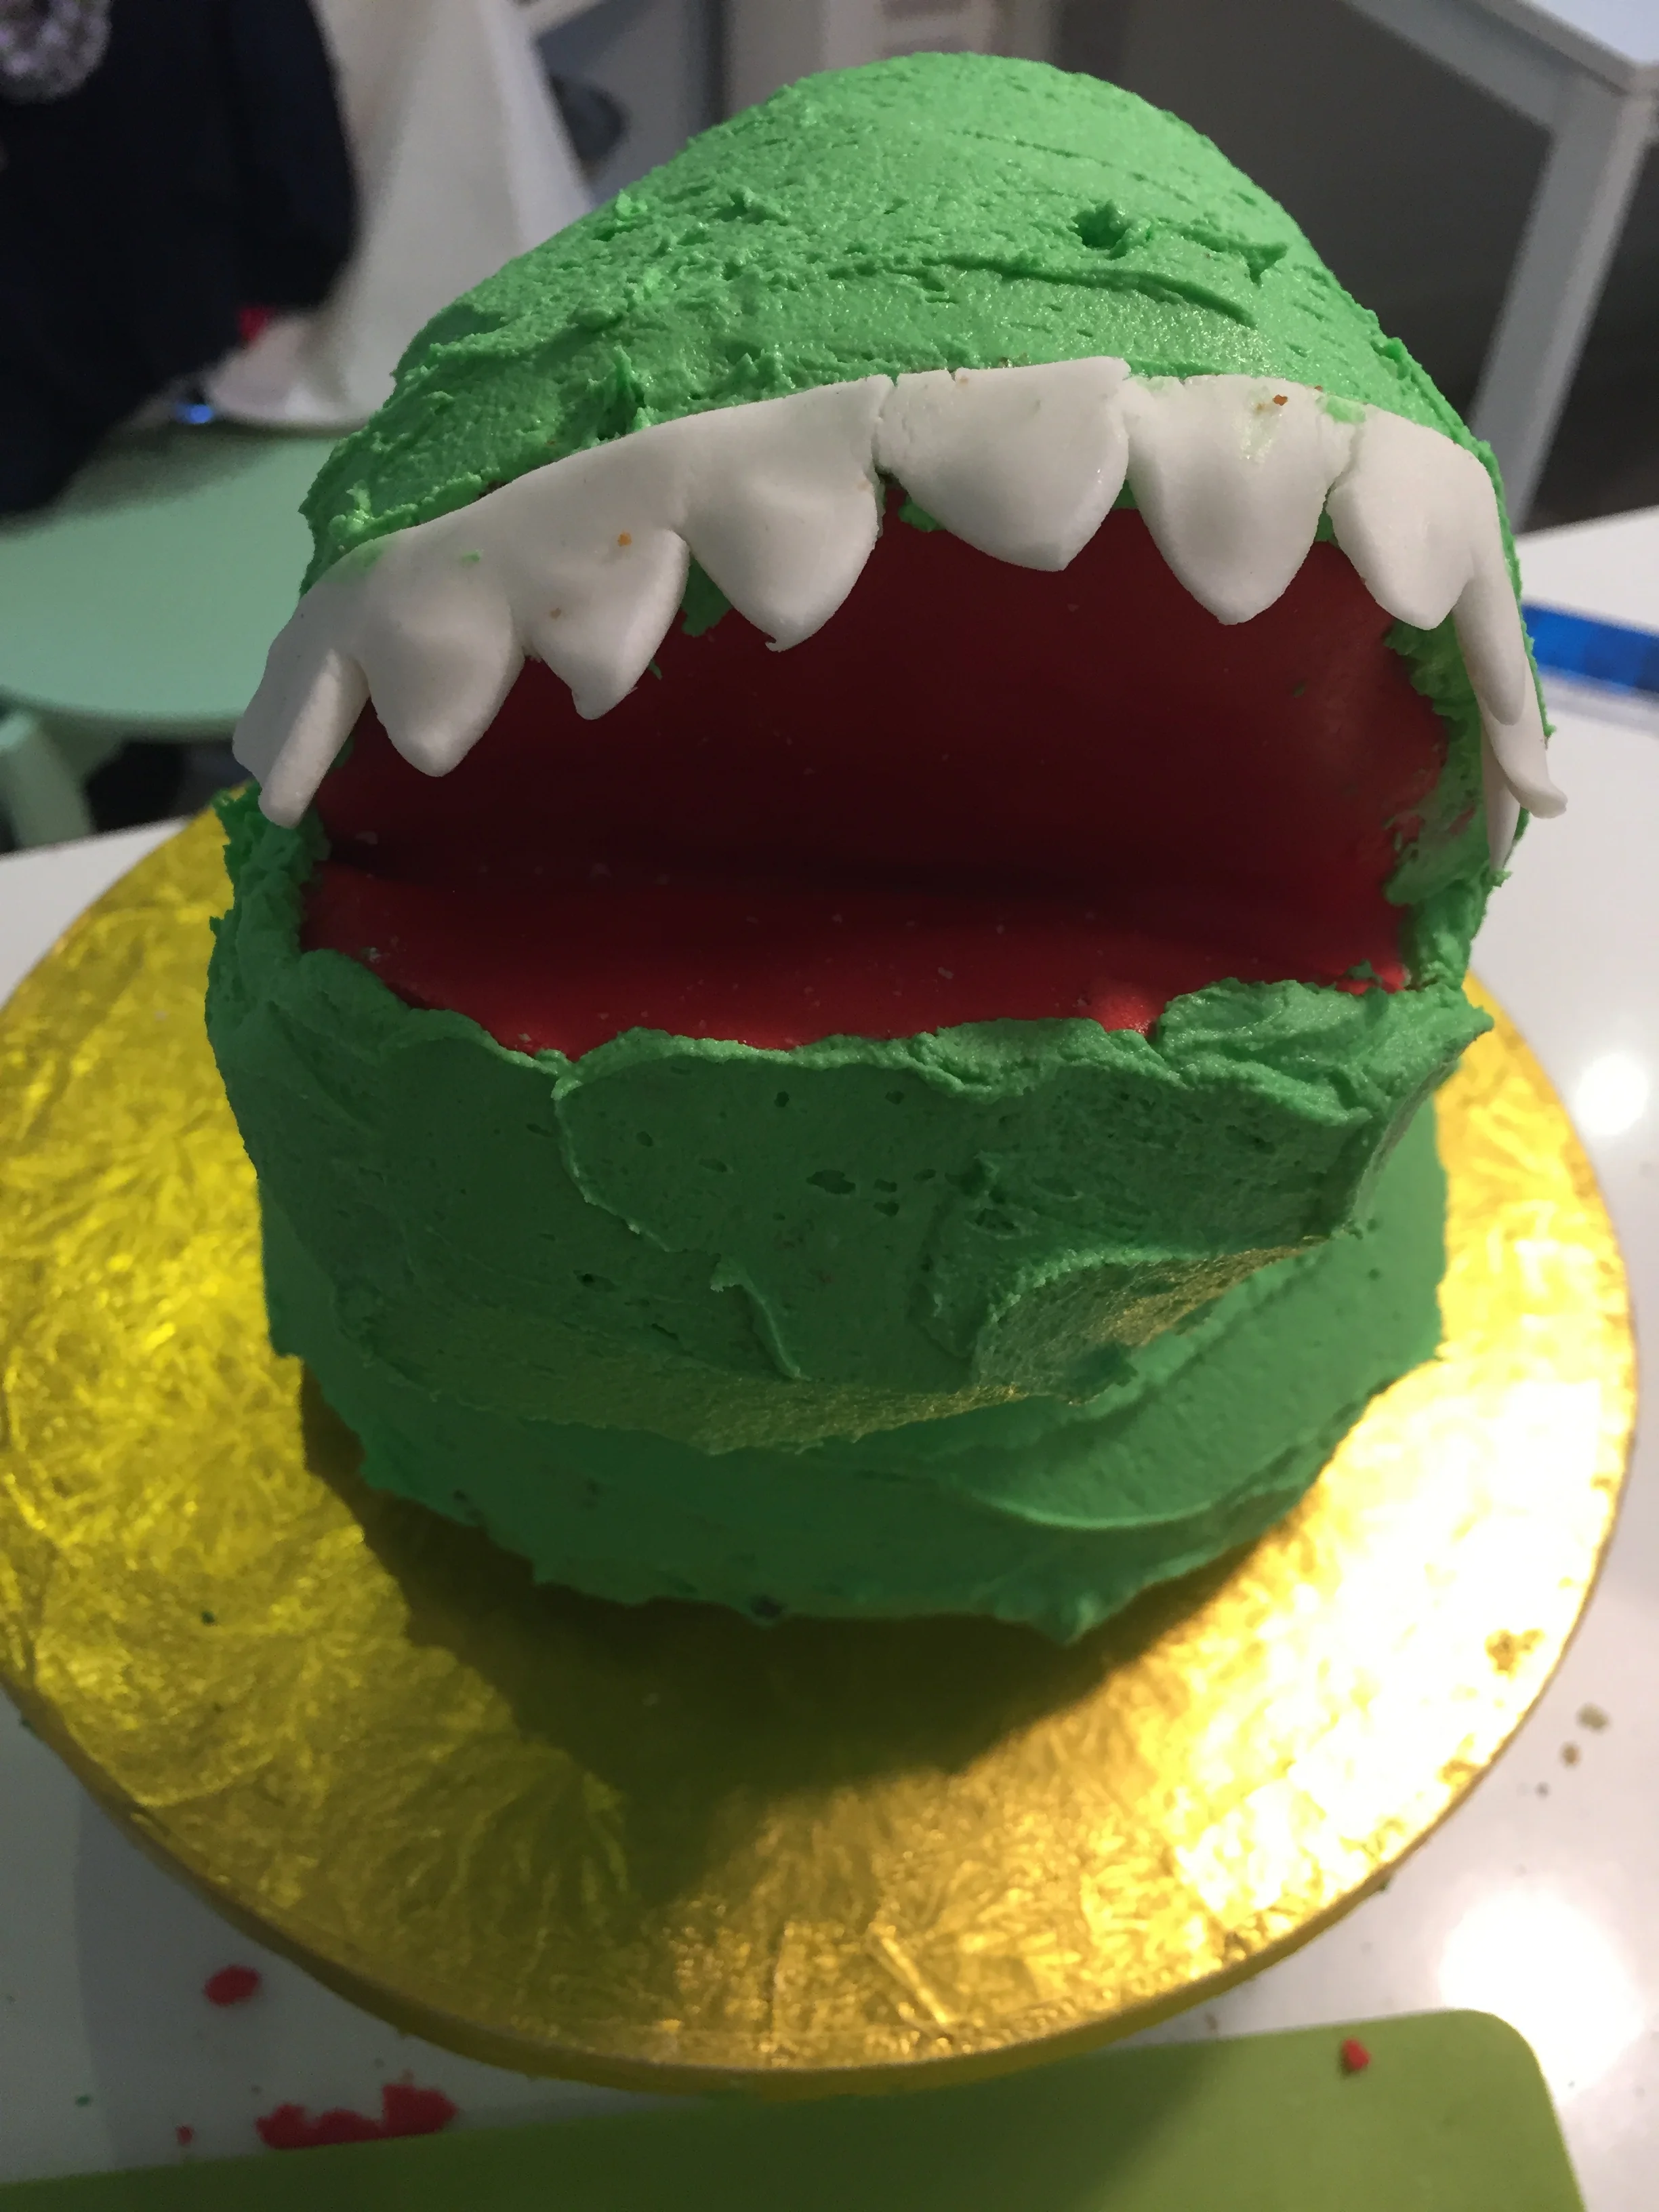
Once the cakes are baked and fully cooled secure the large one, flat side down (you may need to trim it) to a cake board with a dollop of buttercream. Now cut out a wedge from the smaller cake about 2 inches from the flat side. This will be the mouth. Cut an oval of rolled red fondant to the rough size of the wedge. Brush the inside of the wedge with warm jam and then press the oval piece of fondant into it. Trimming if necessary. Then attach the 'head' to the 'body of the dinosaur using wooden skewer applied at different angles to secure it. You will now need to build up the top of the head to create a dome shape. Use the buttercream to do this. Then, using a palette (or butter) knife, cover the whole thing with the green buttercream. You should create a kind of ridge on one side of the 'body' as this is where the tail will be.
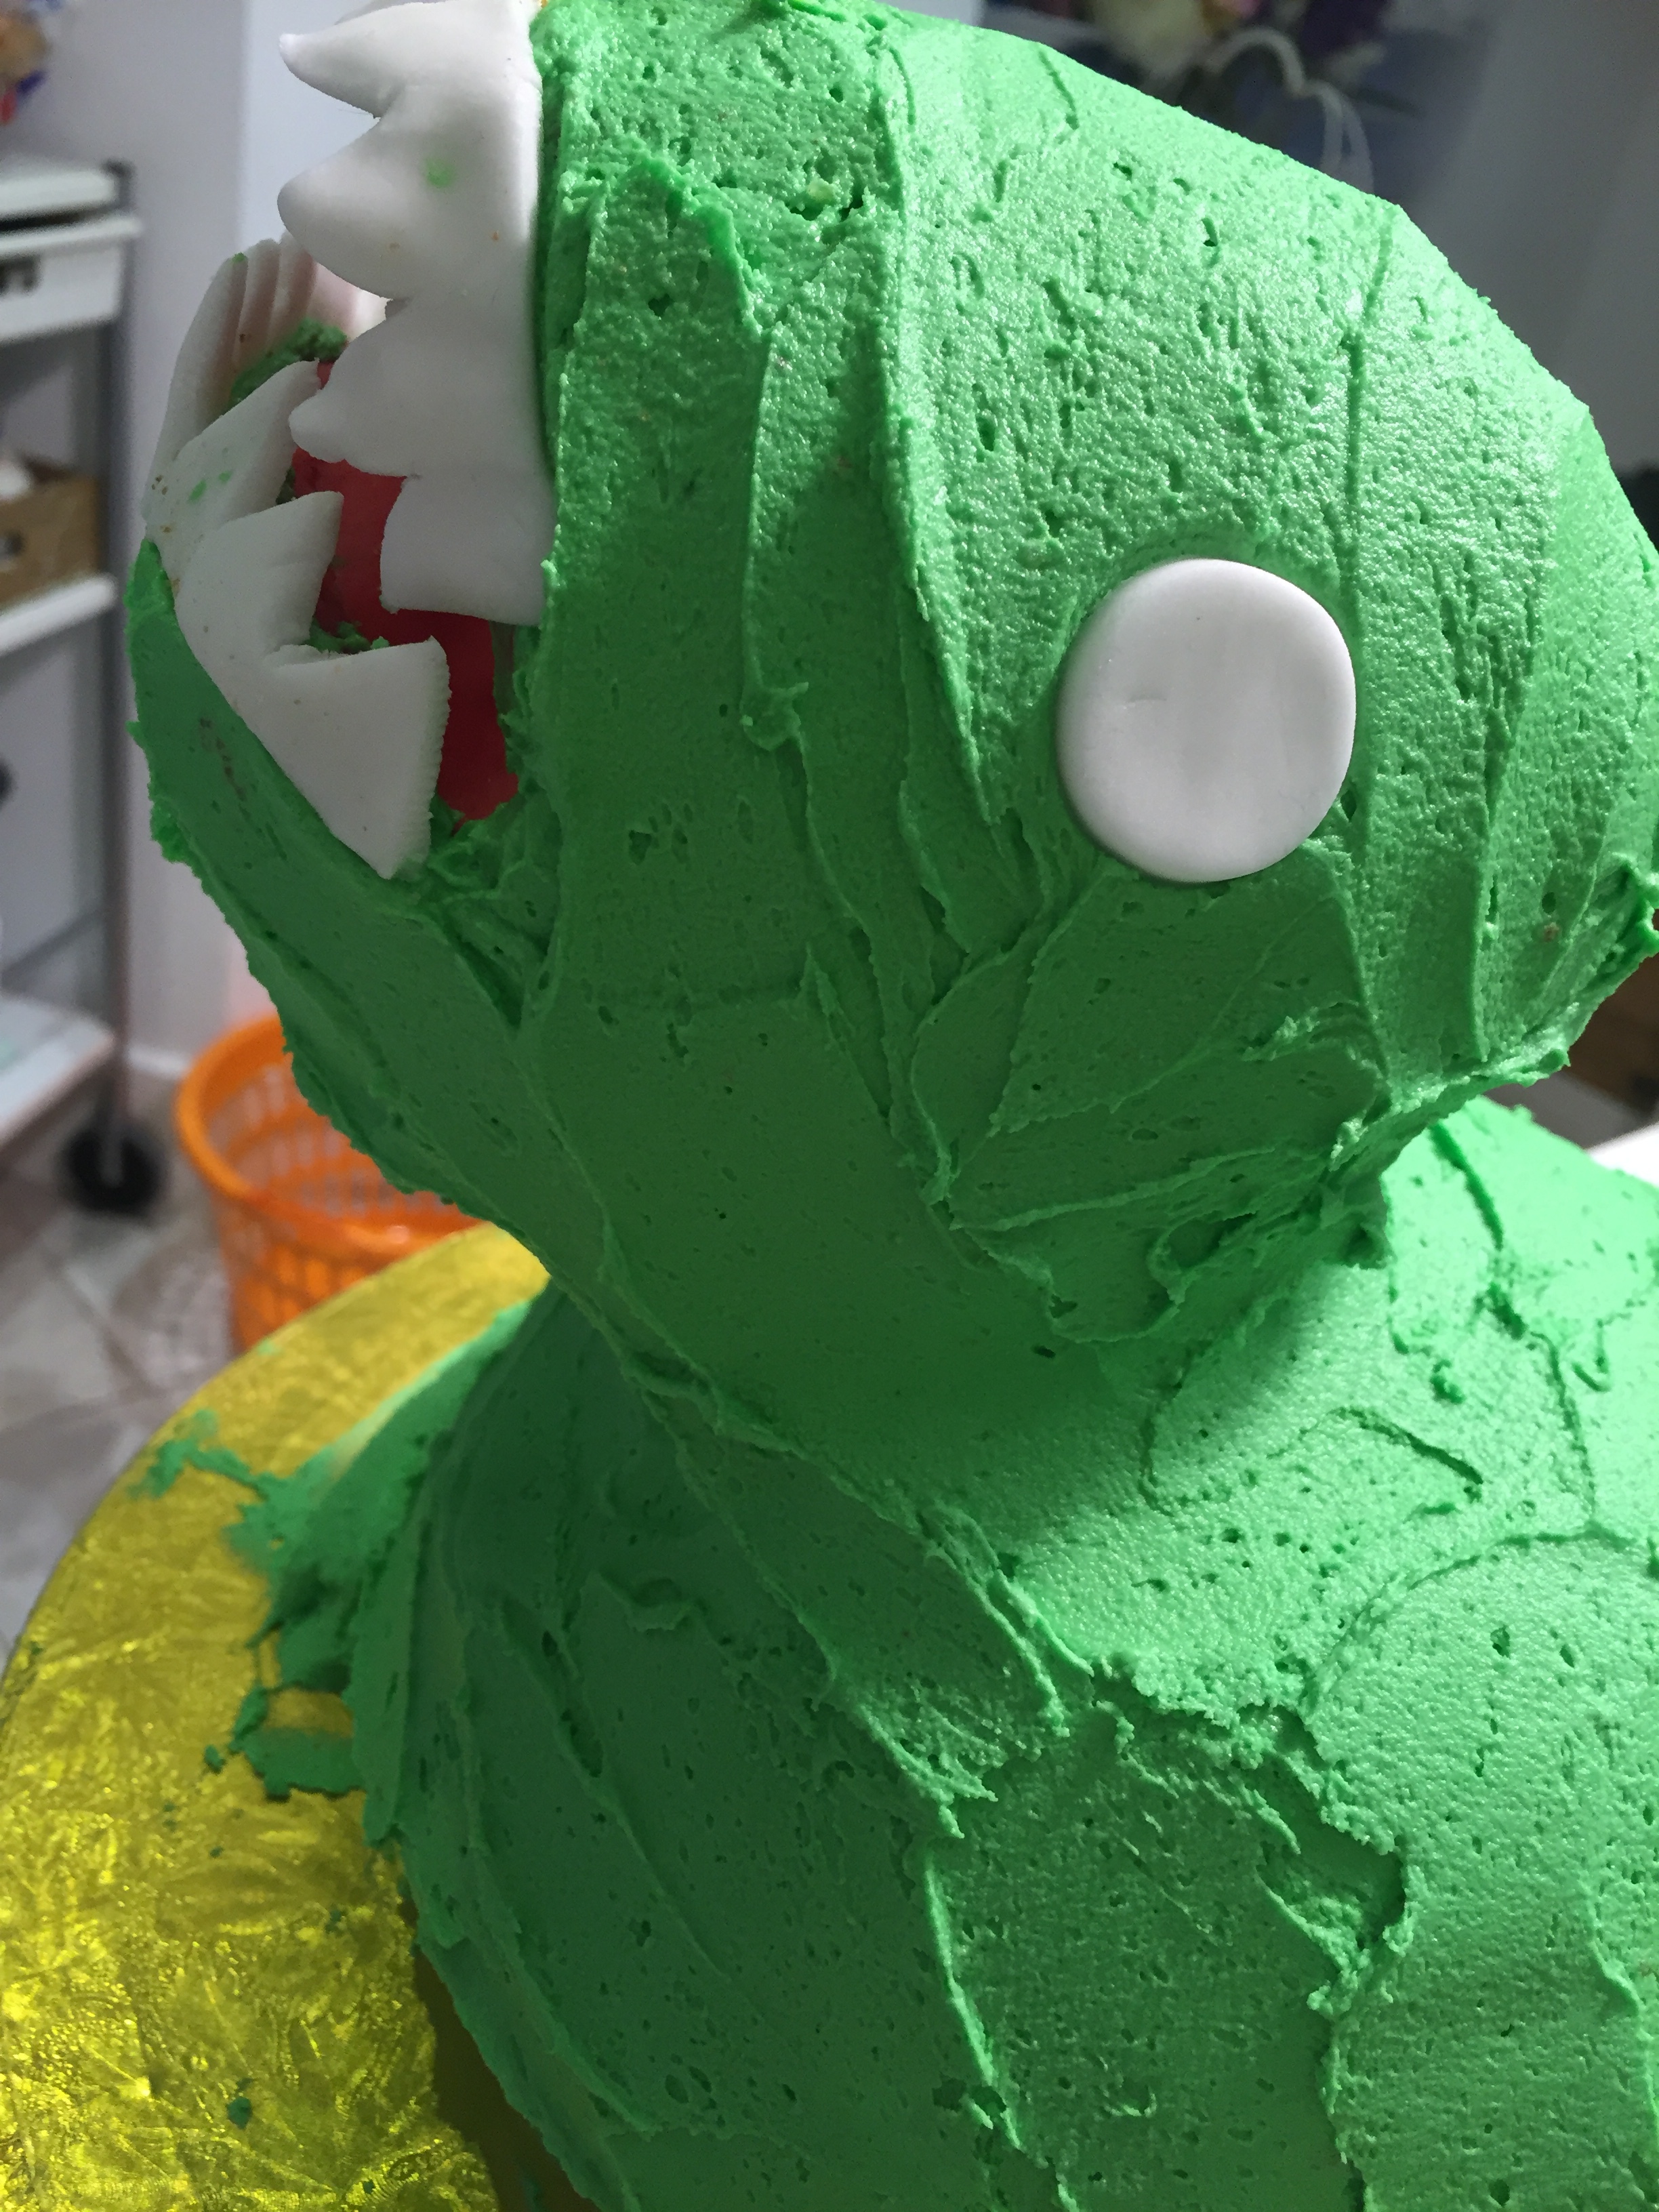
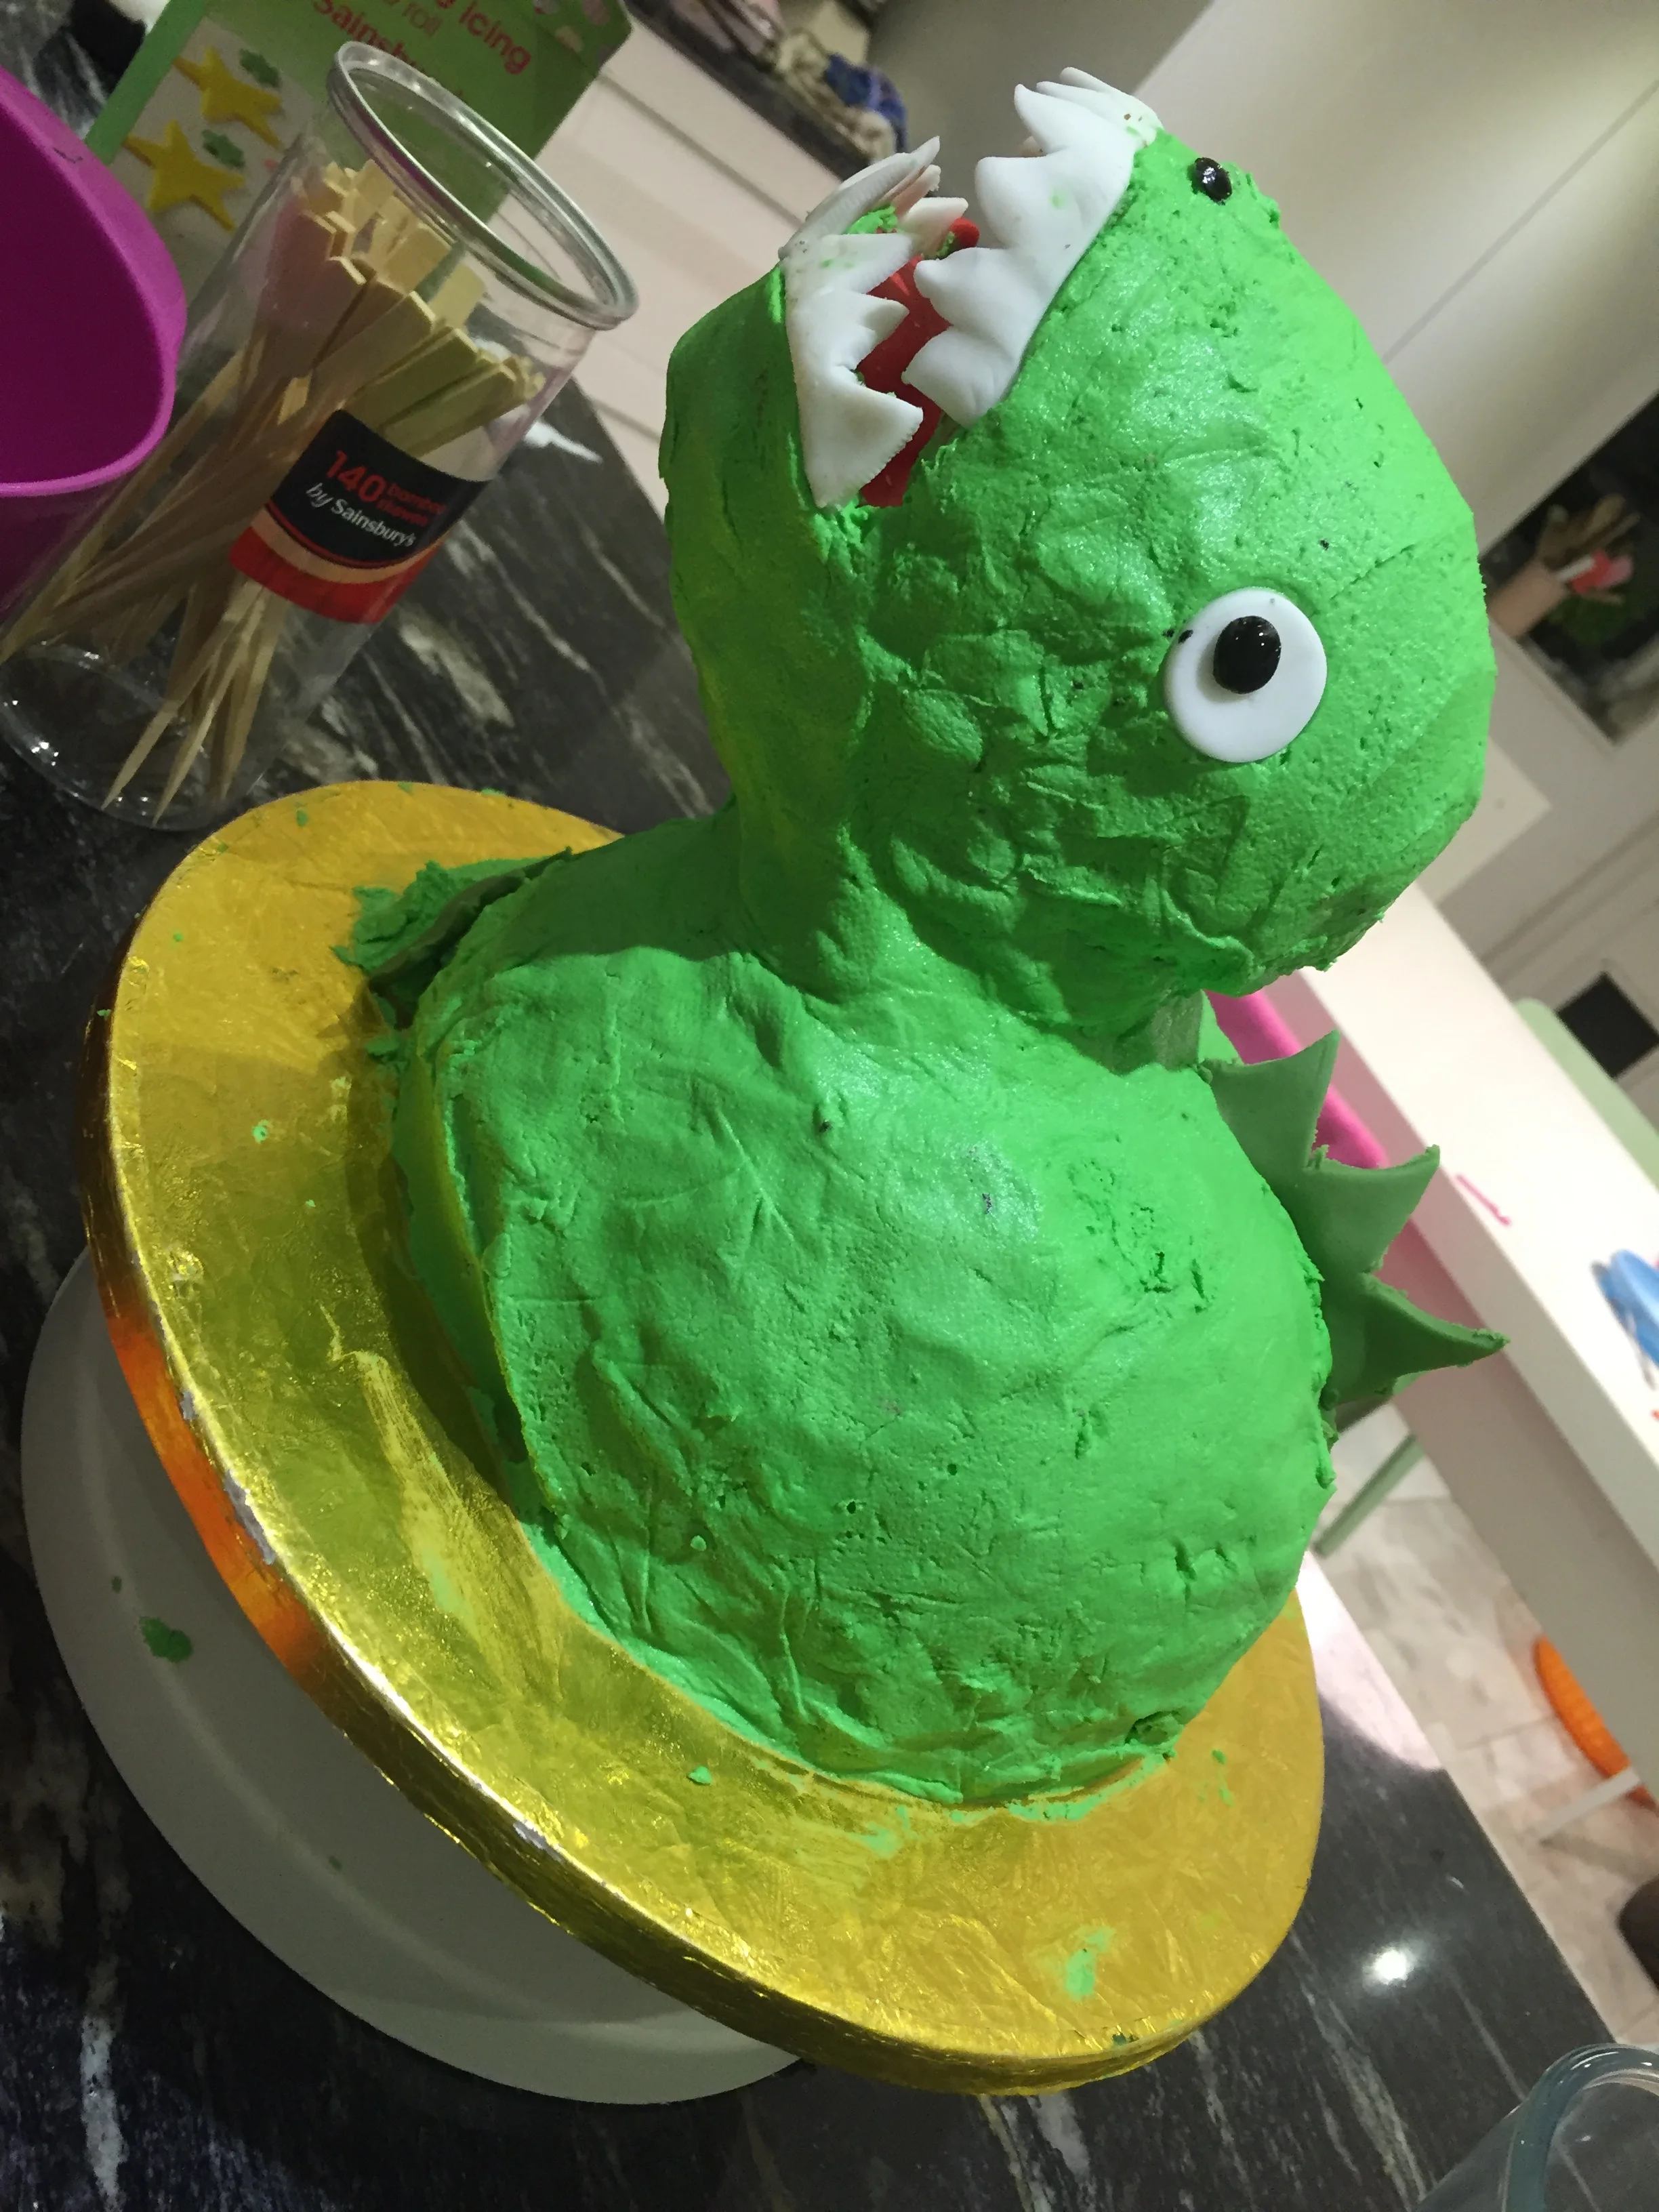
Cut out a jagged strip from some rolled out green fondant (I did this freehand) and wrap round one side of the body to make the tail. Then do the same with the white fondant to make a set of teeth. These should stick onto the buttercream. Lastly make the white eyes and black irises using small round cutters (or the bottom of piping nozzles) and stick these in place. If you want you can also add a little red icing to look like blood on the teeth.
To finish of the cake I piped some green buttercream 'grass' onto the cake board to add some more texture.
Let me know how you get on or if you have any questions.
If you would like to create this or something similar in a one to one private lesson with me then call- 020 3573 9135

