Fairy Cake
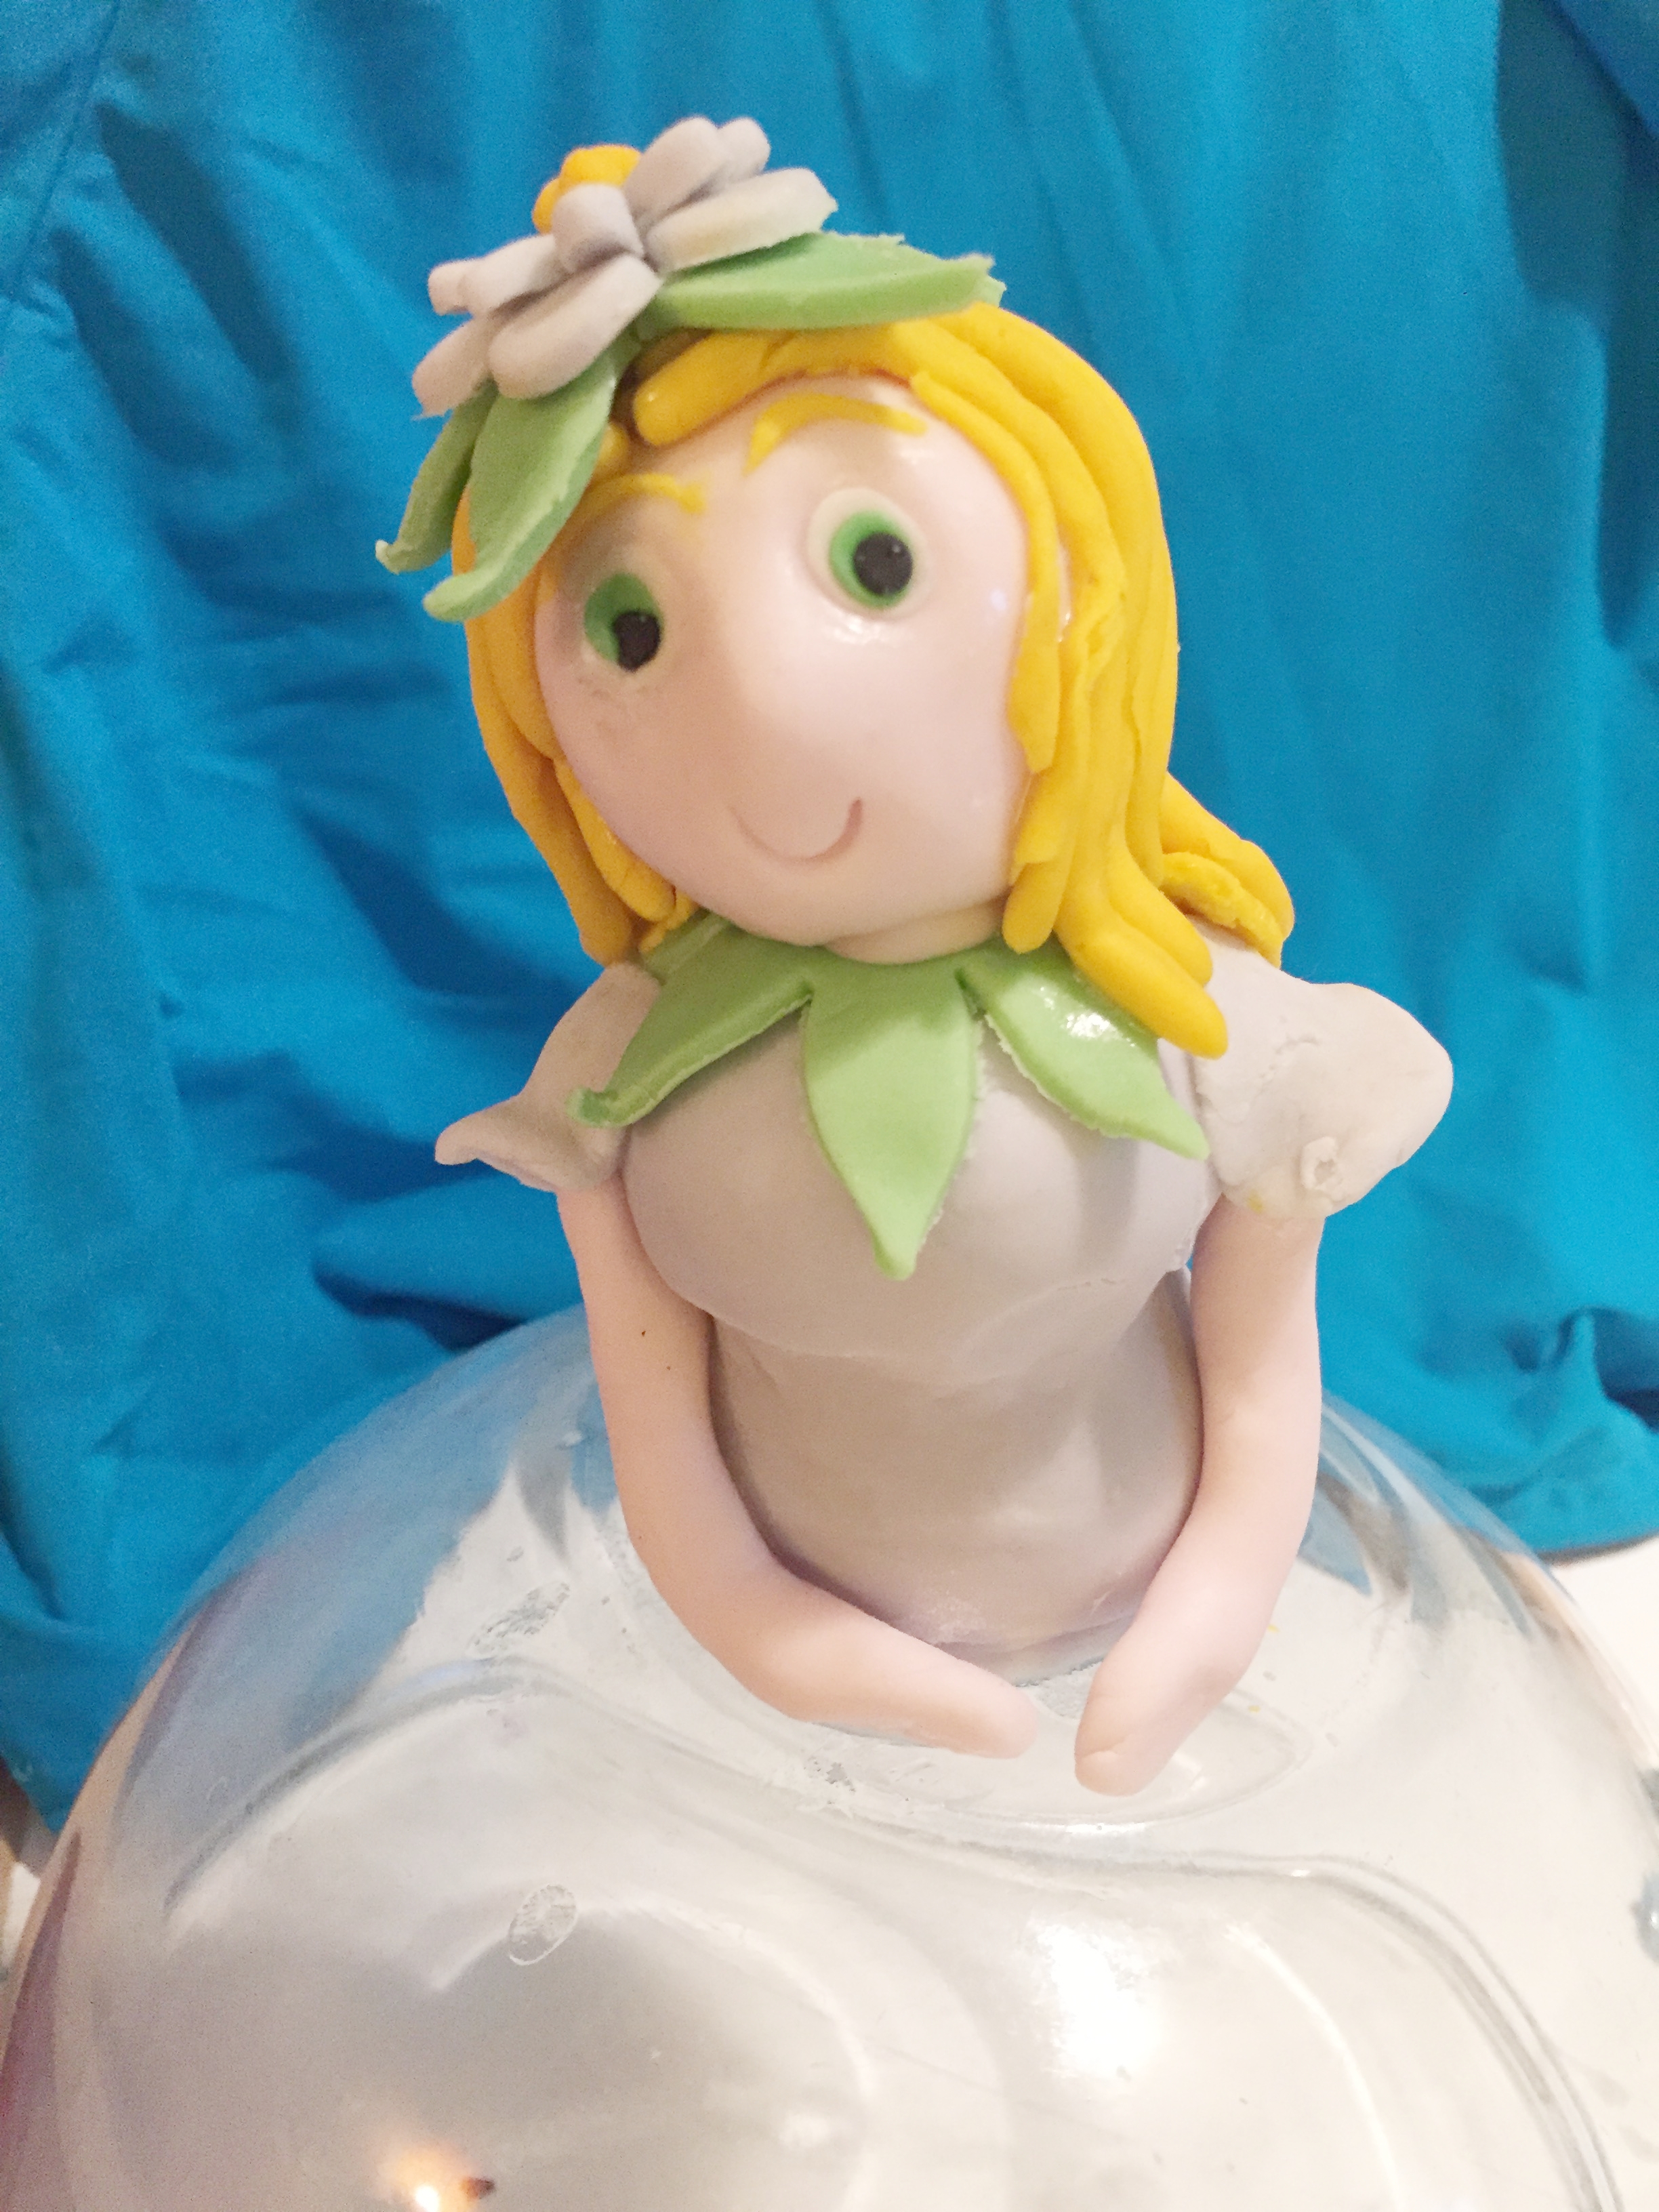
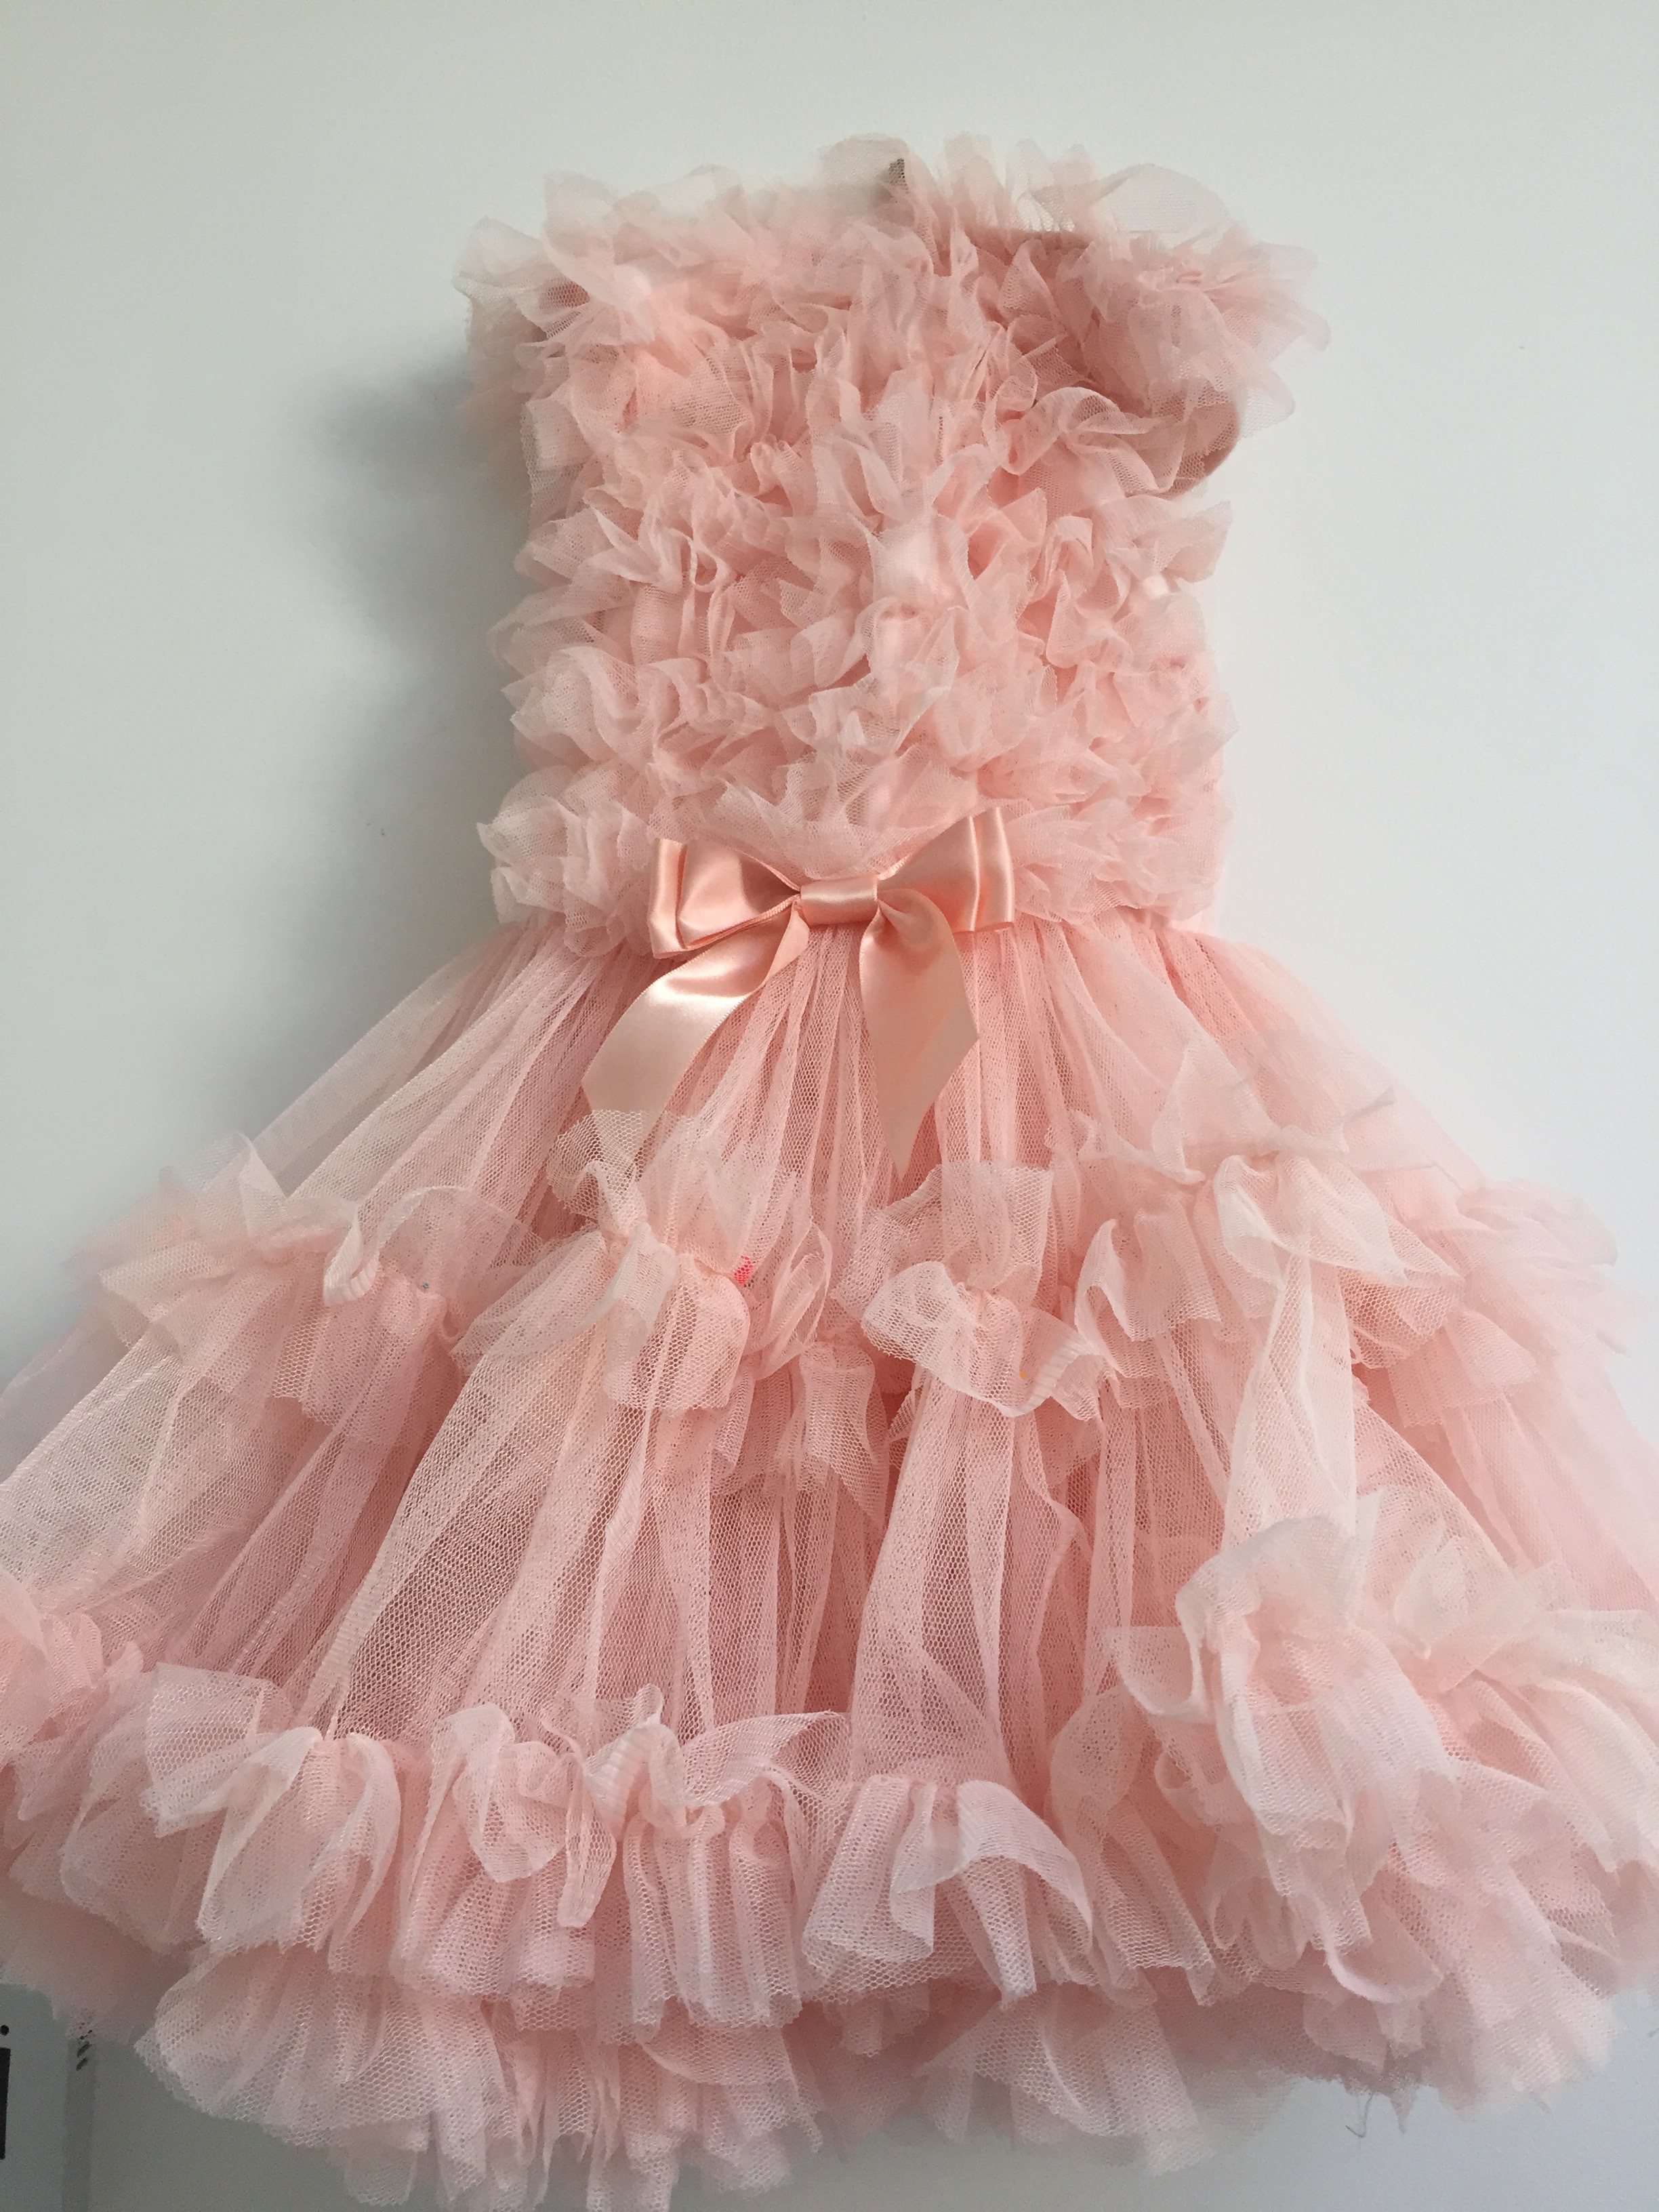
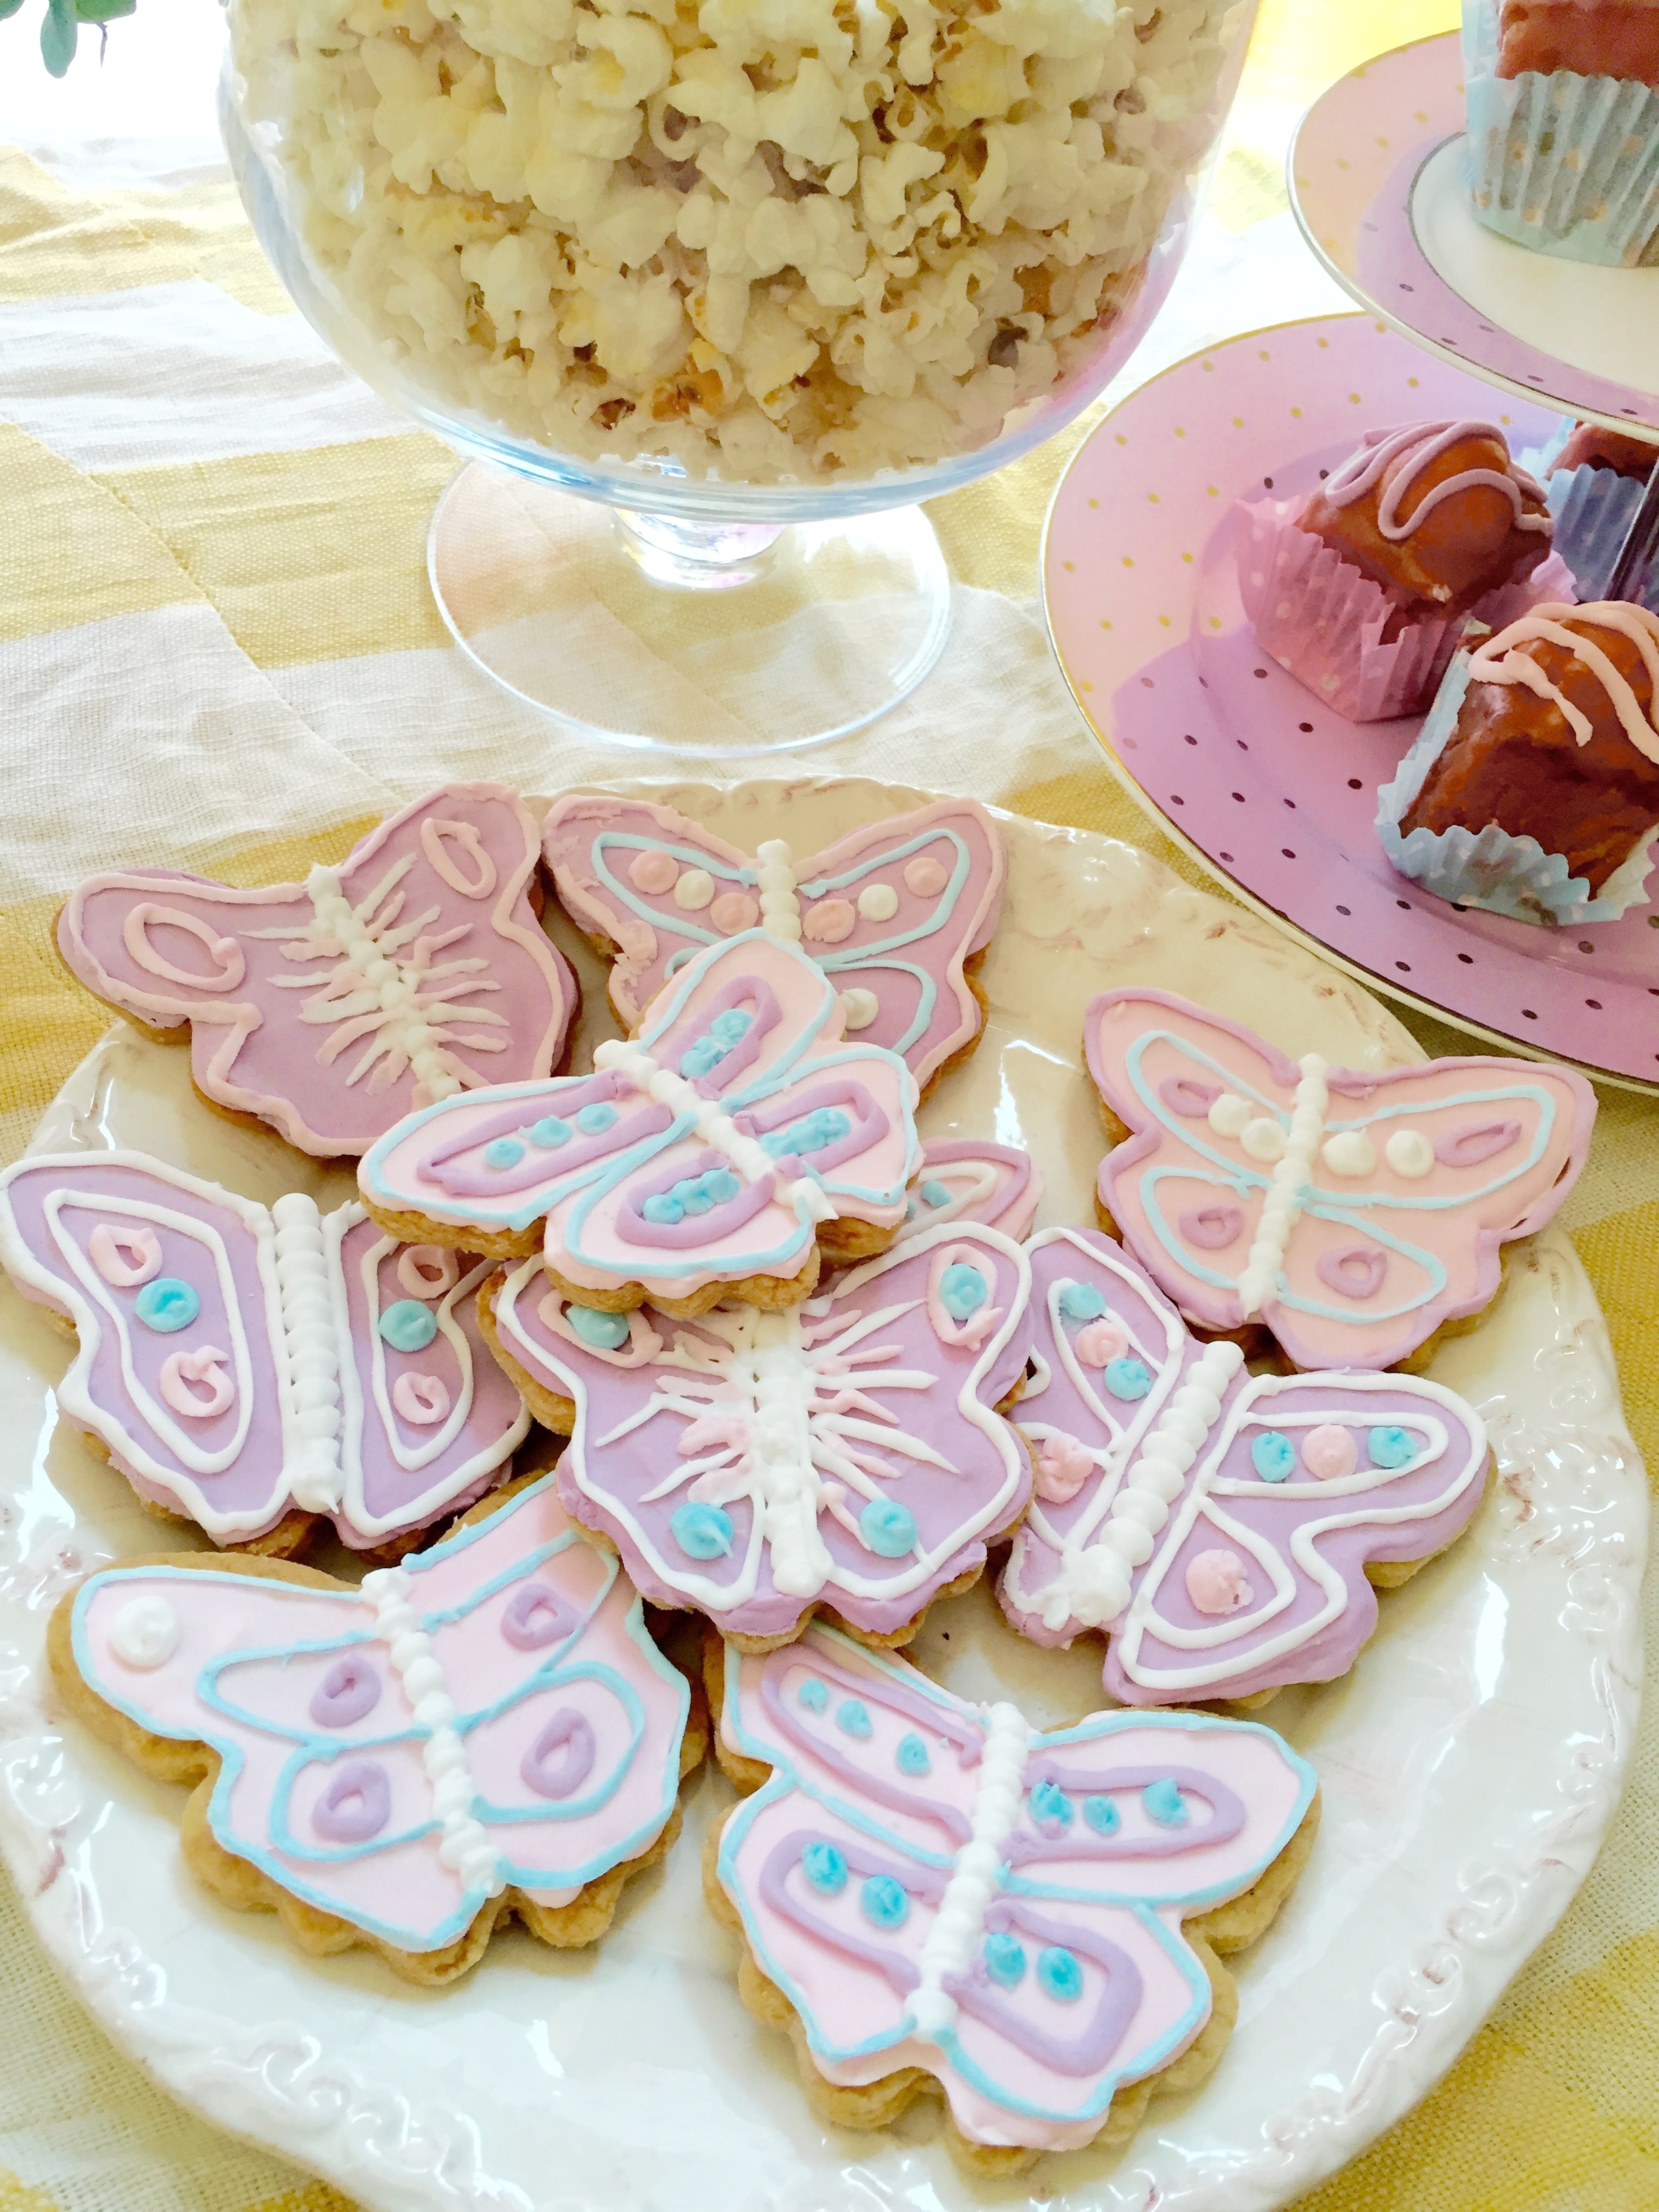
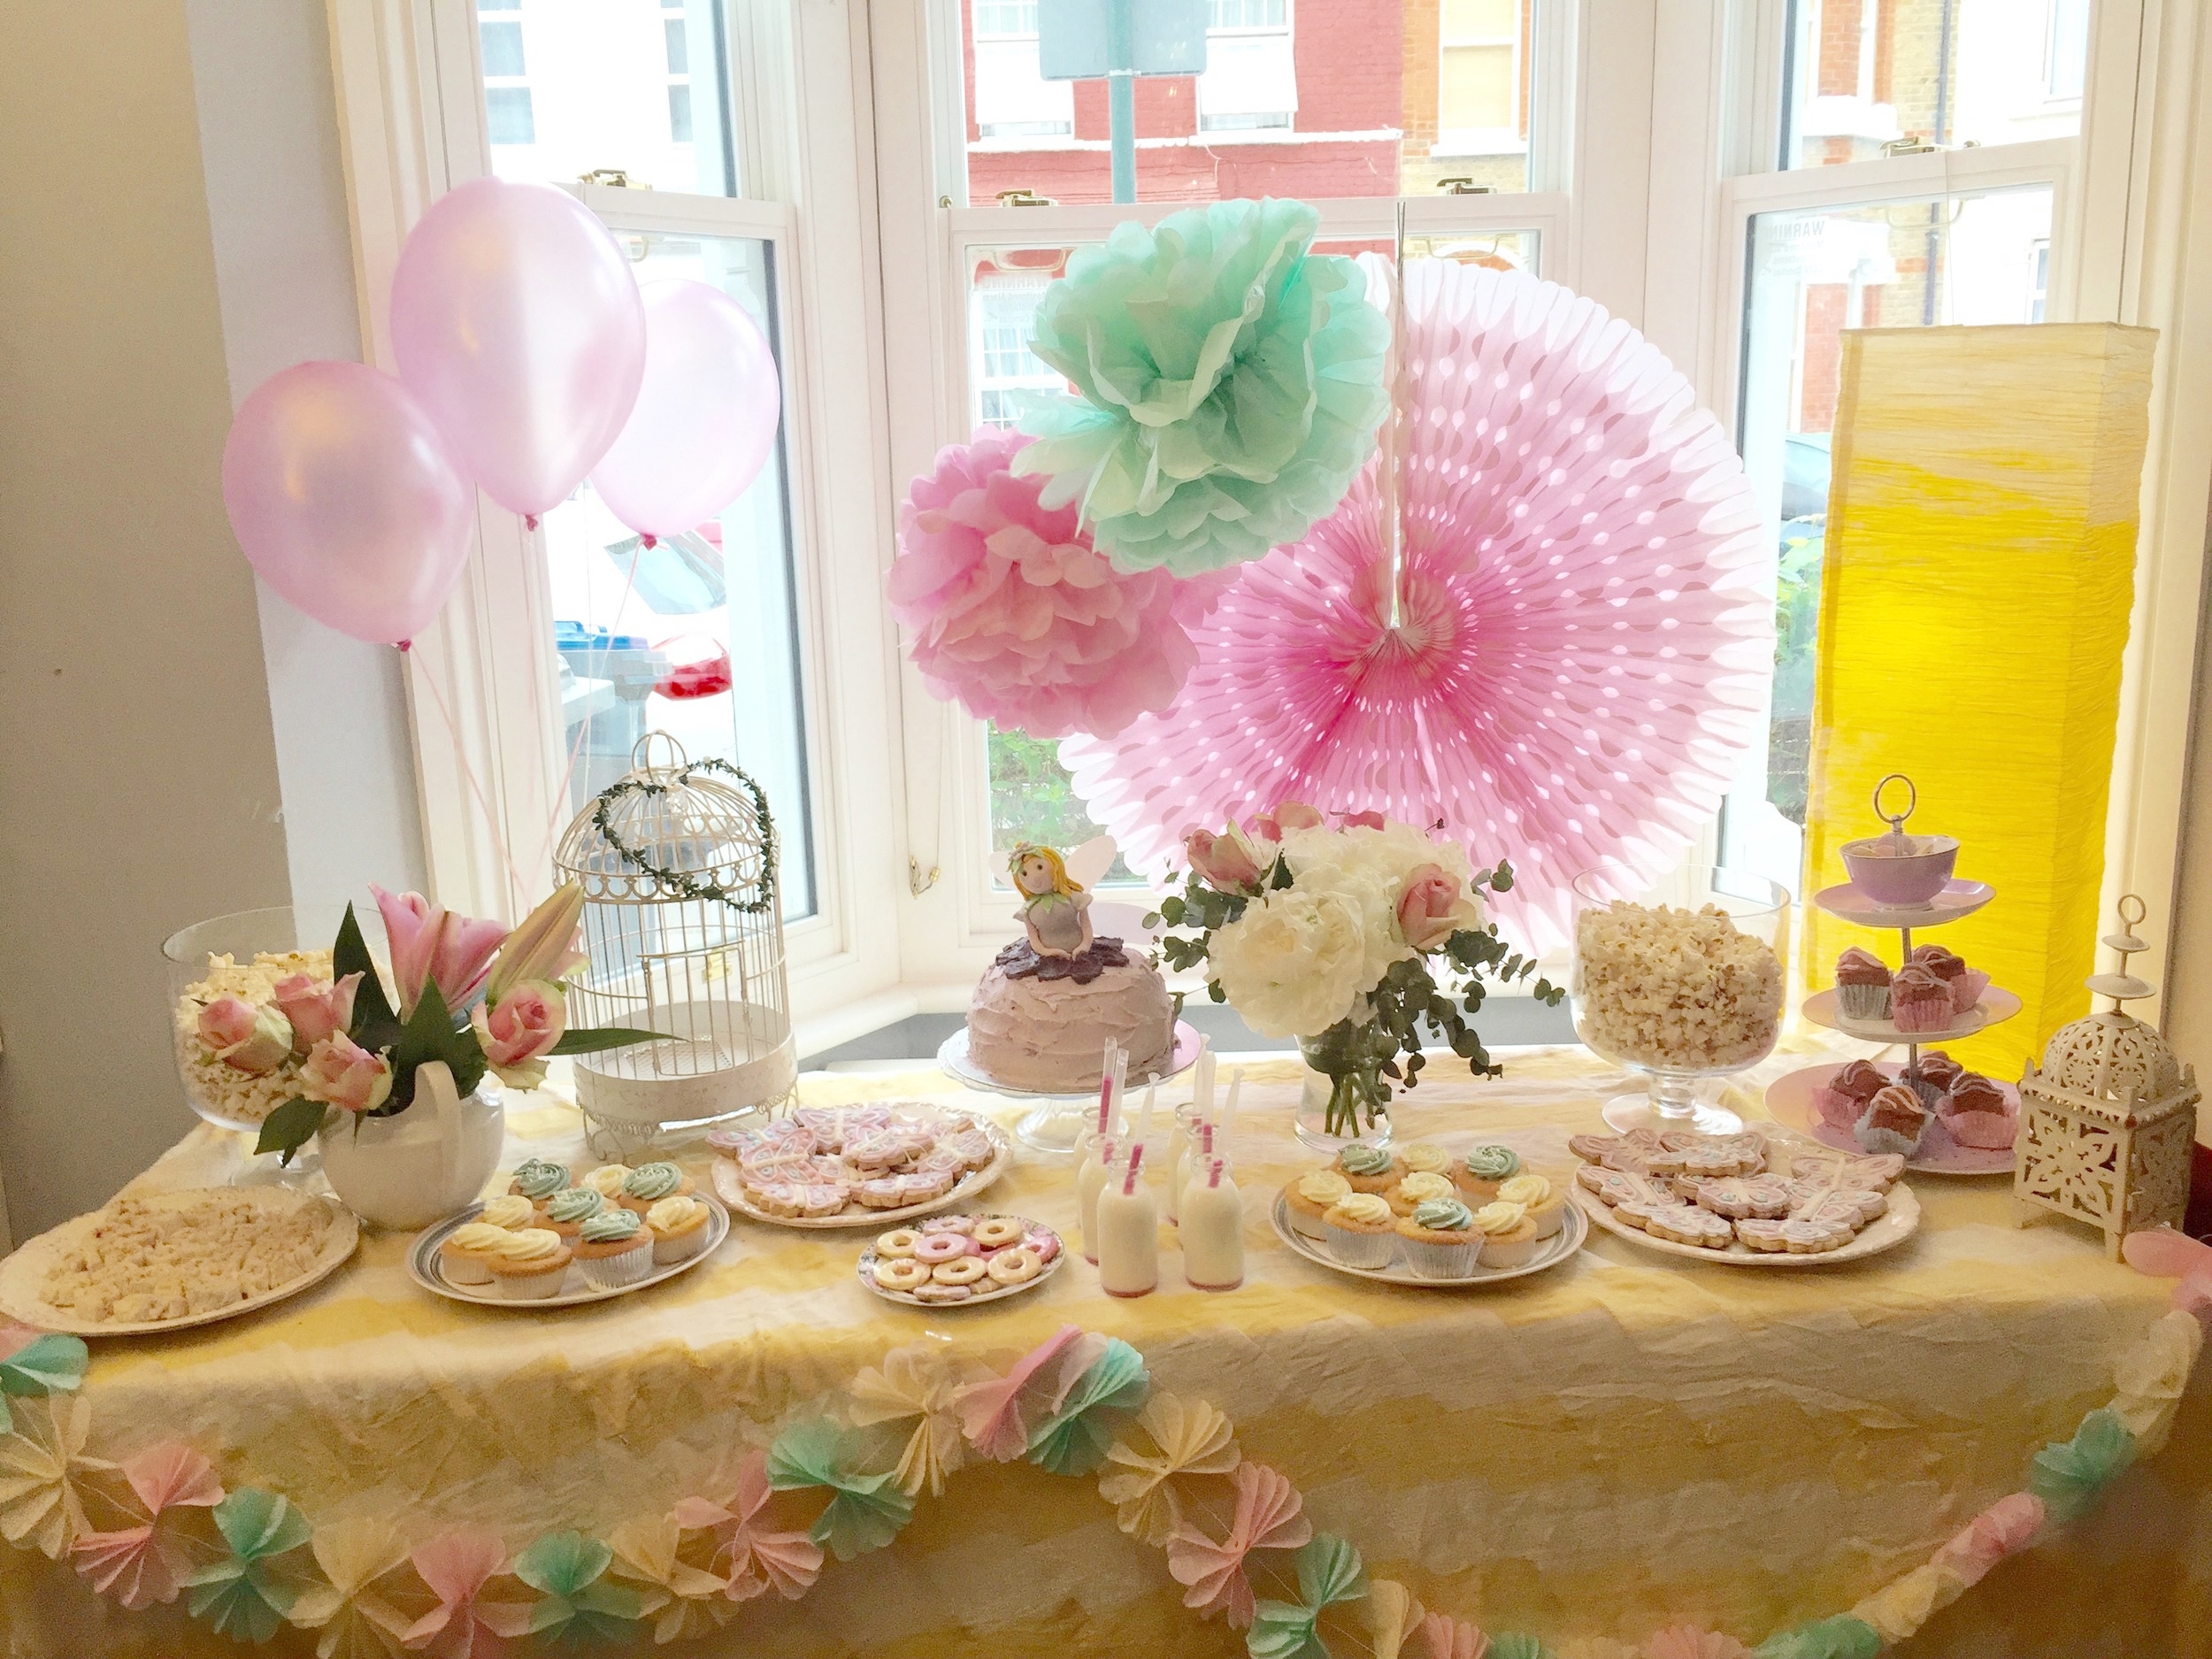
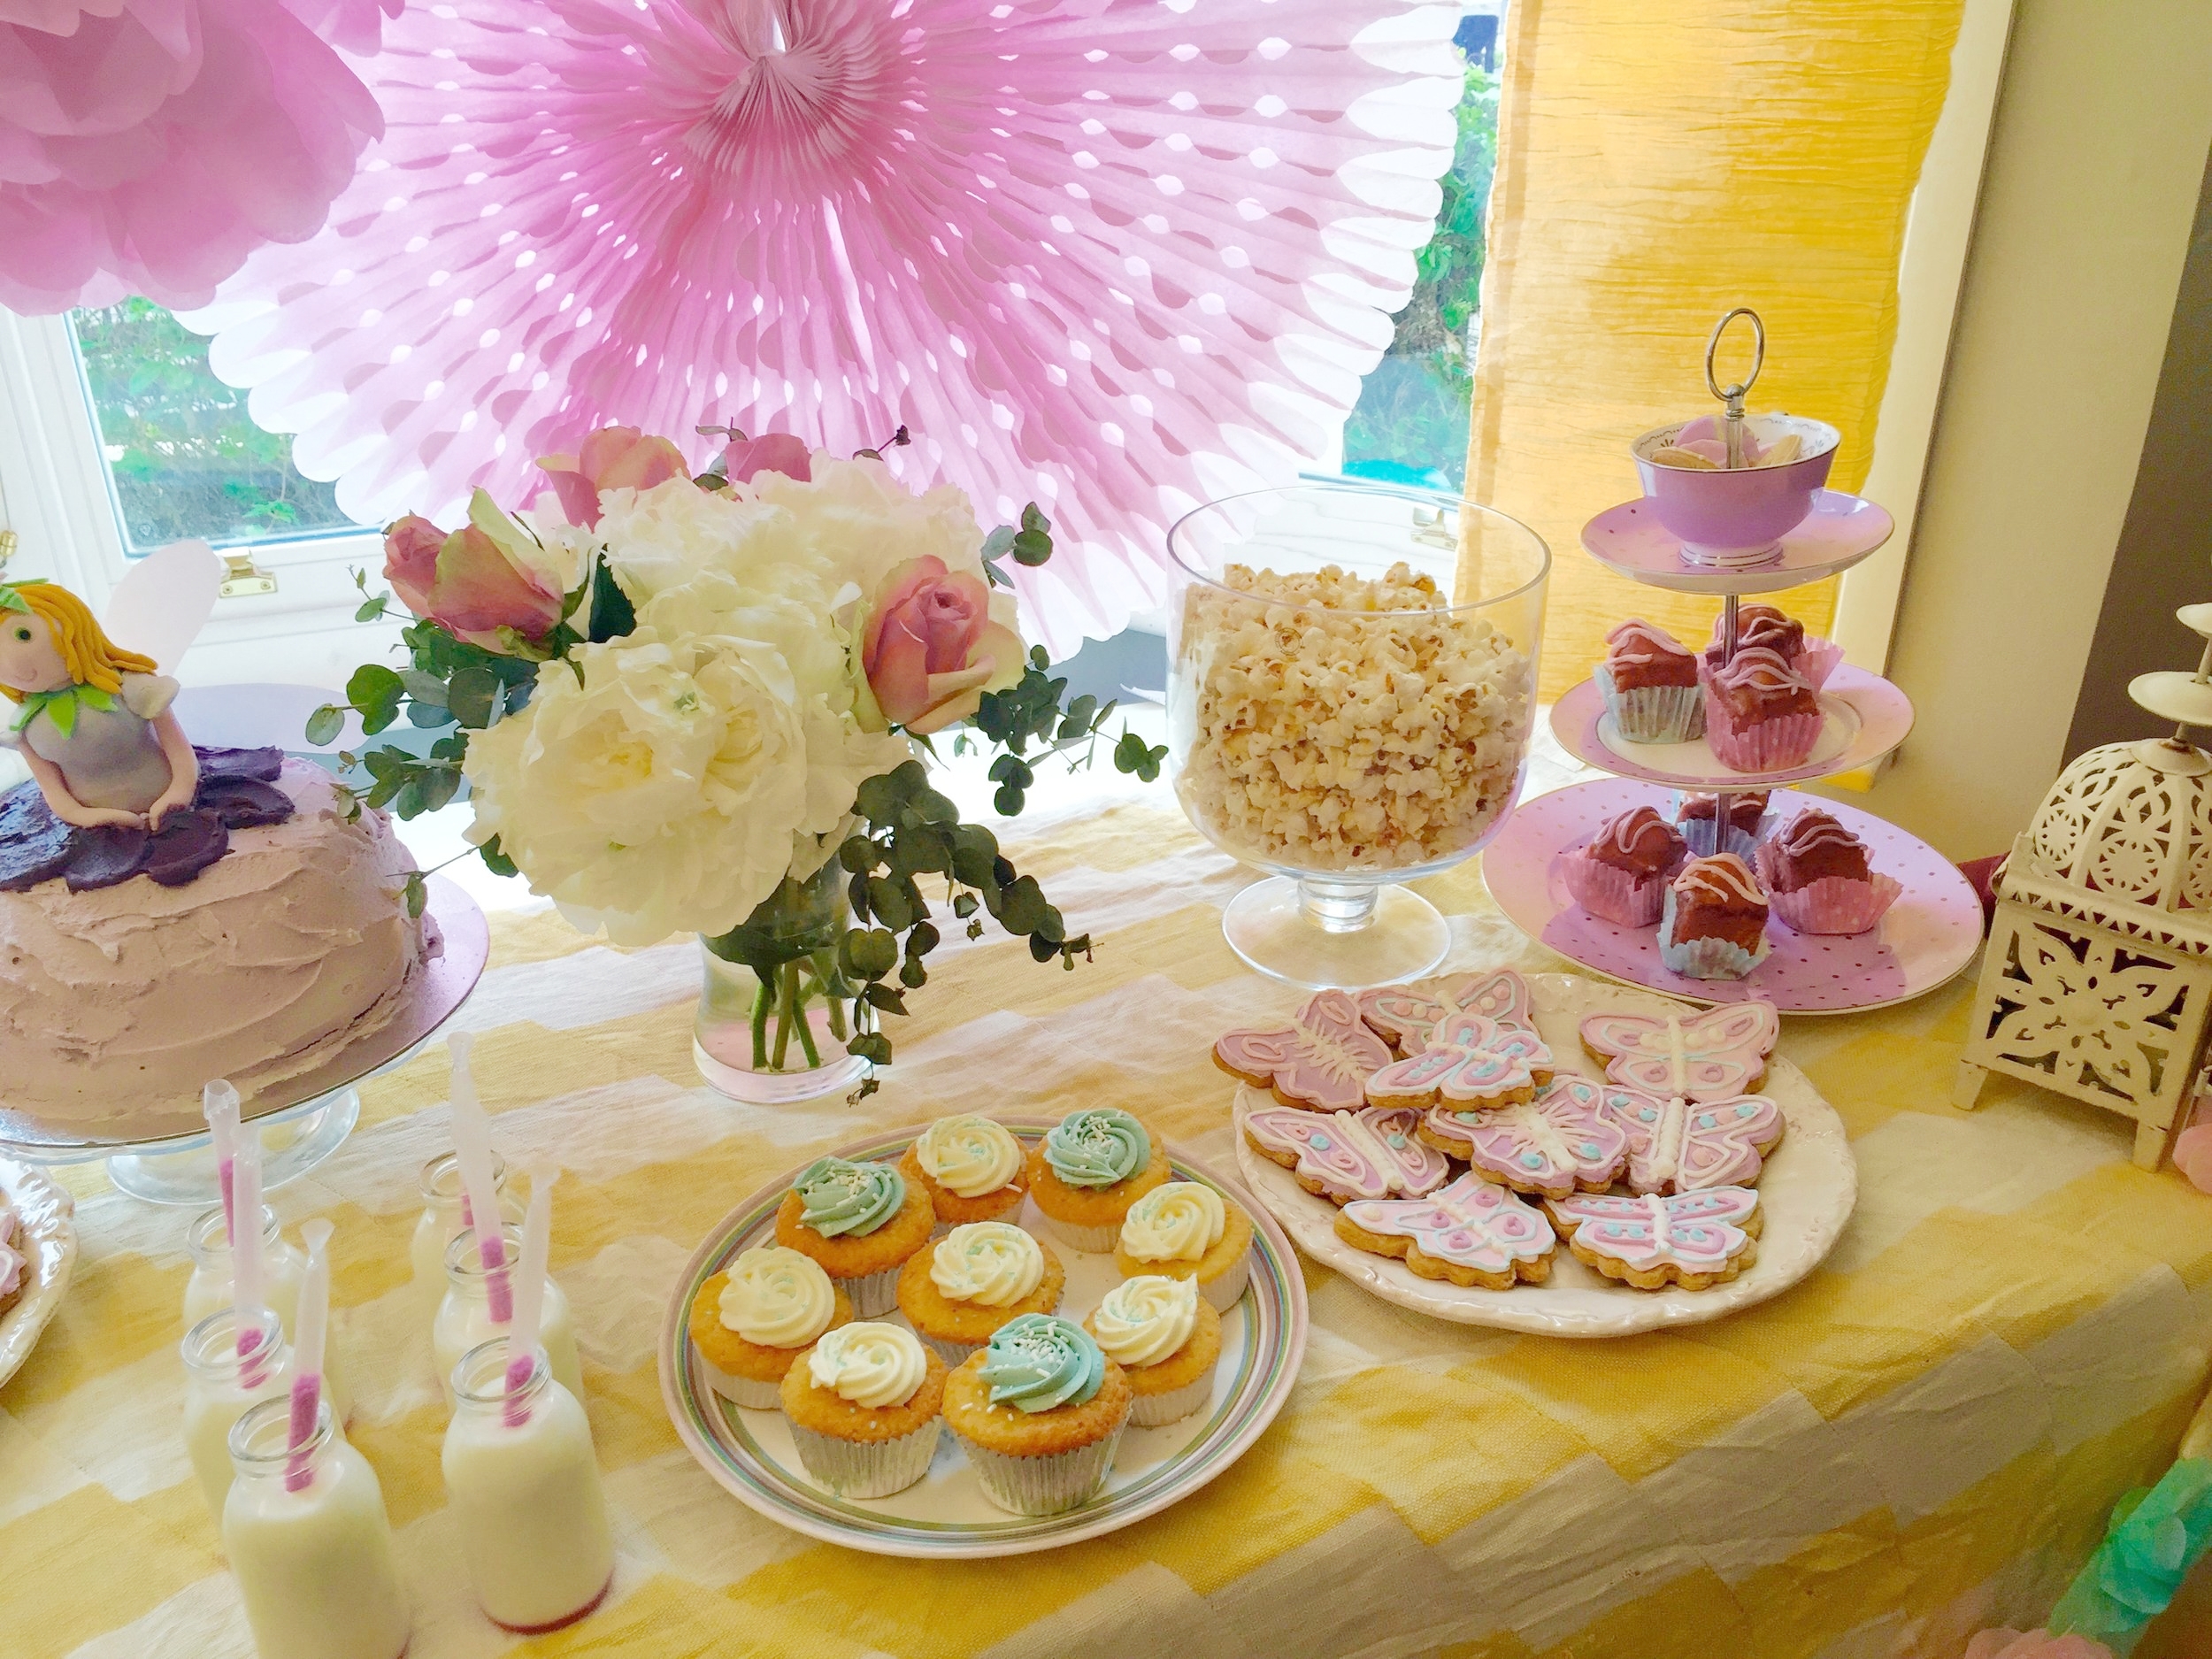
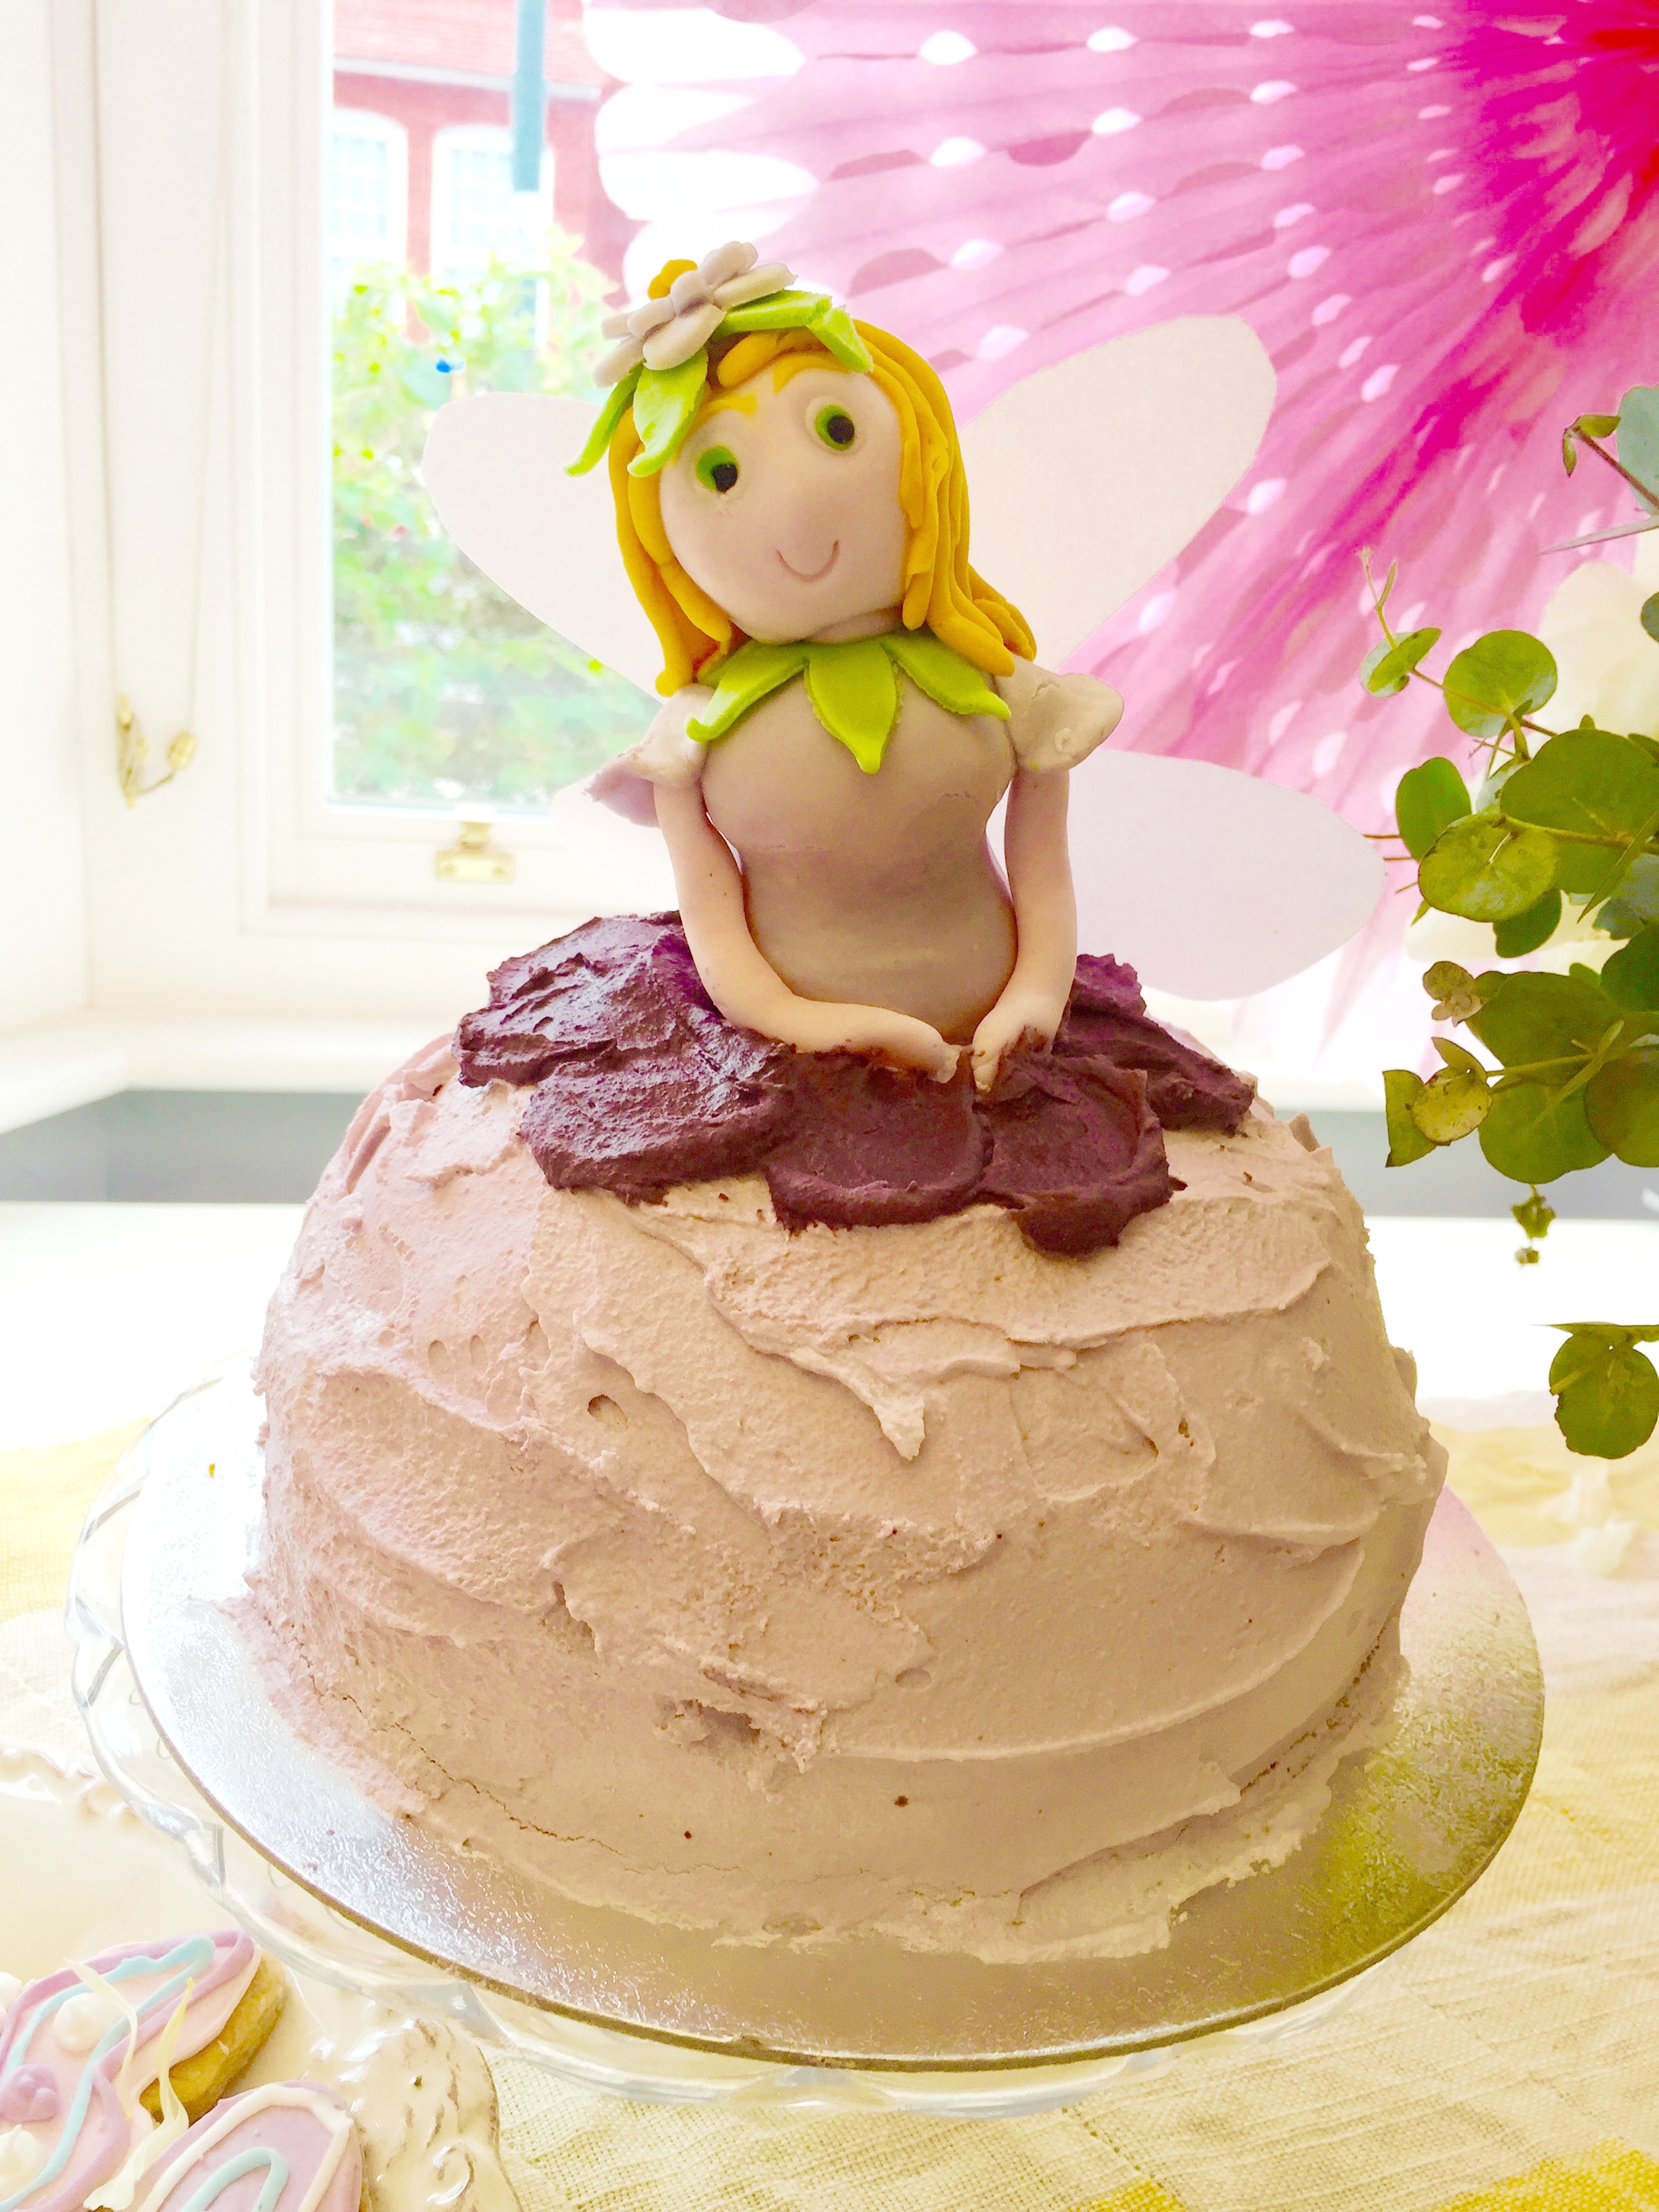
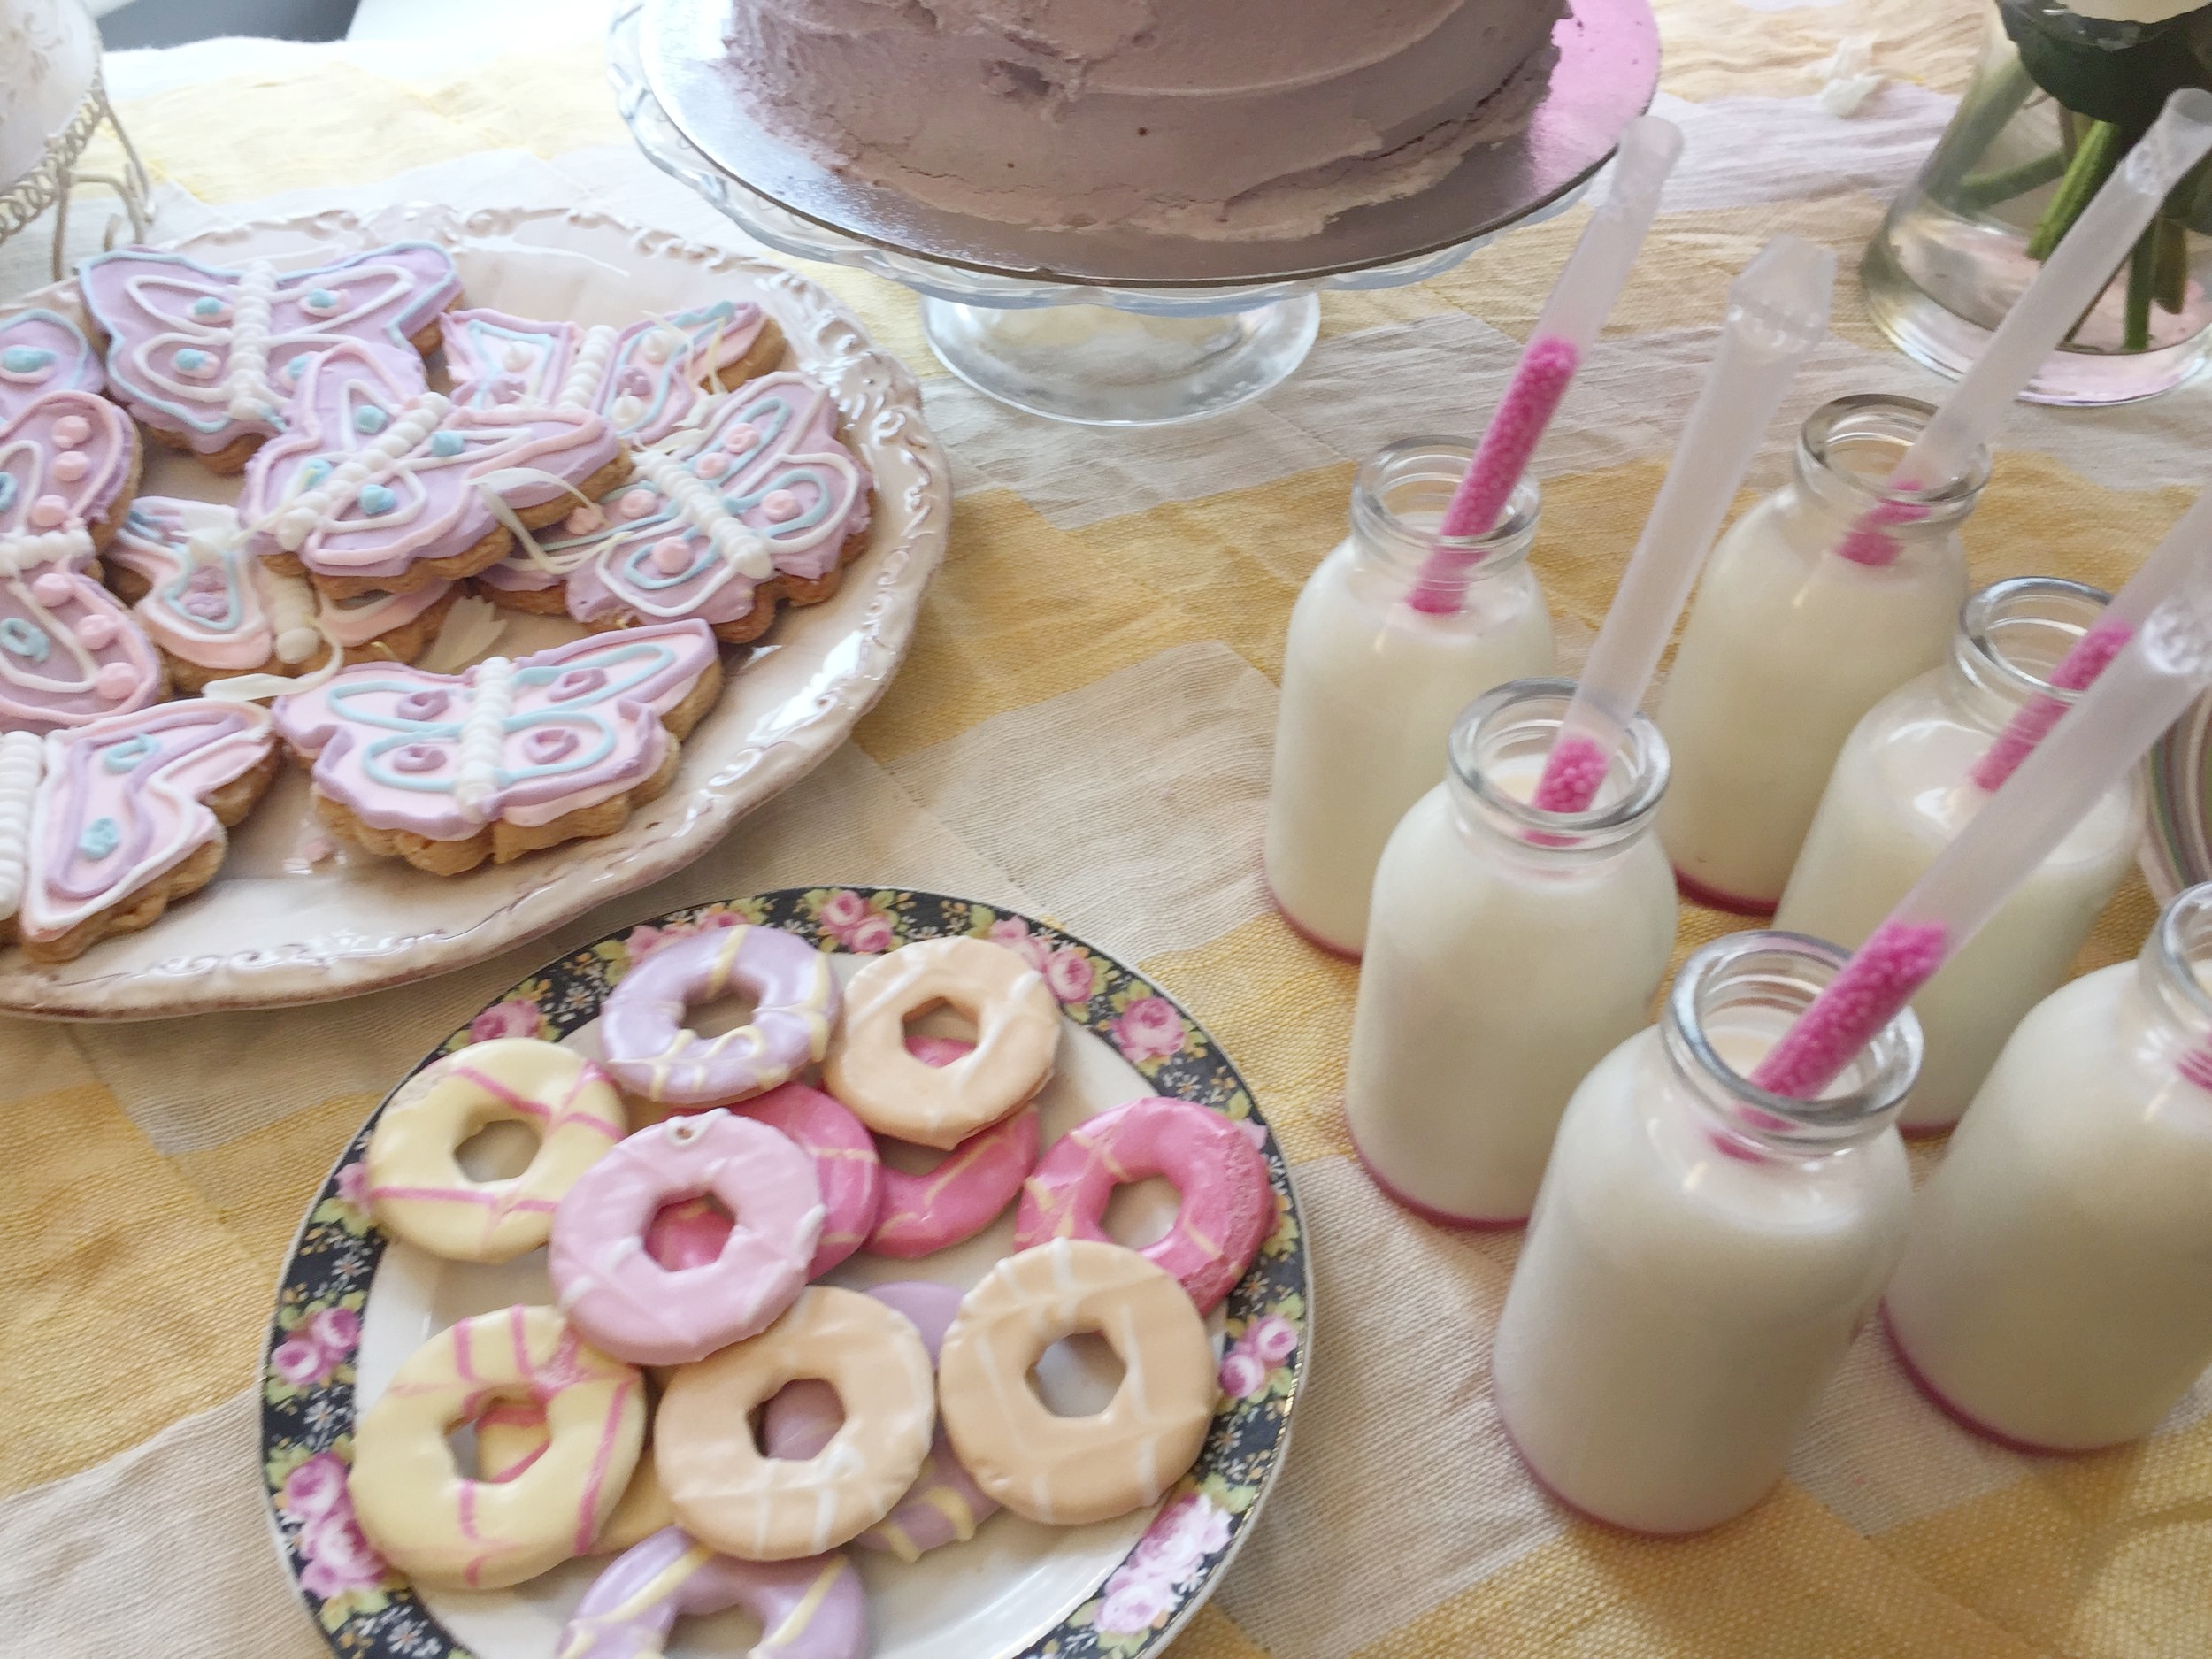
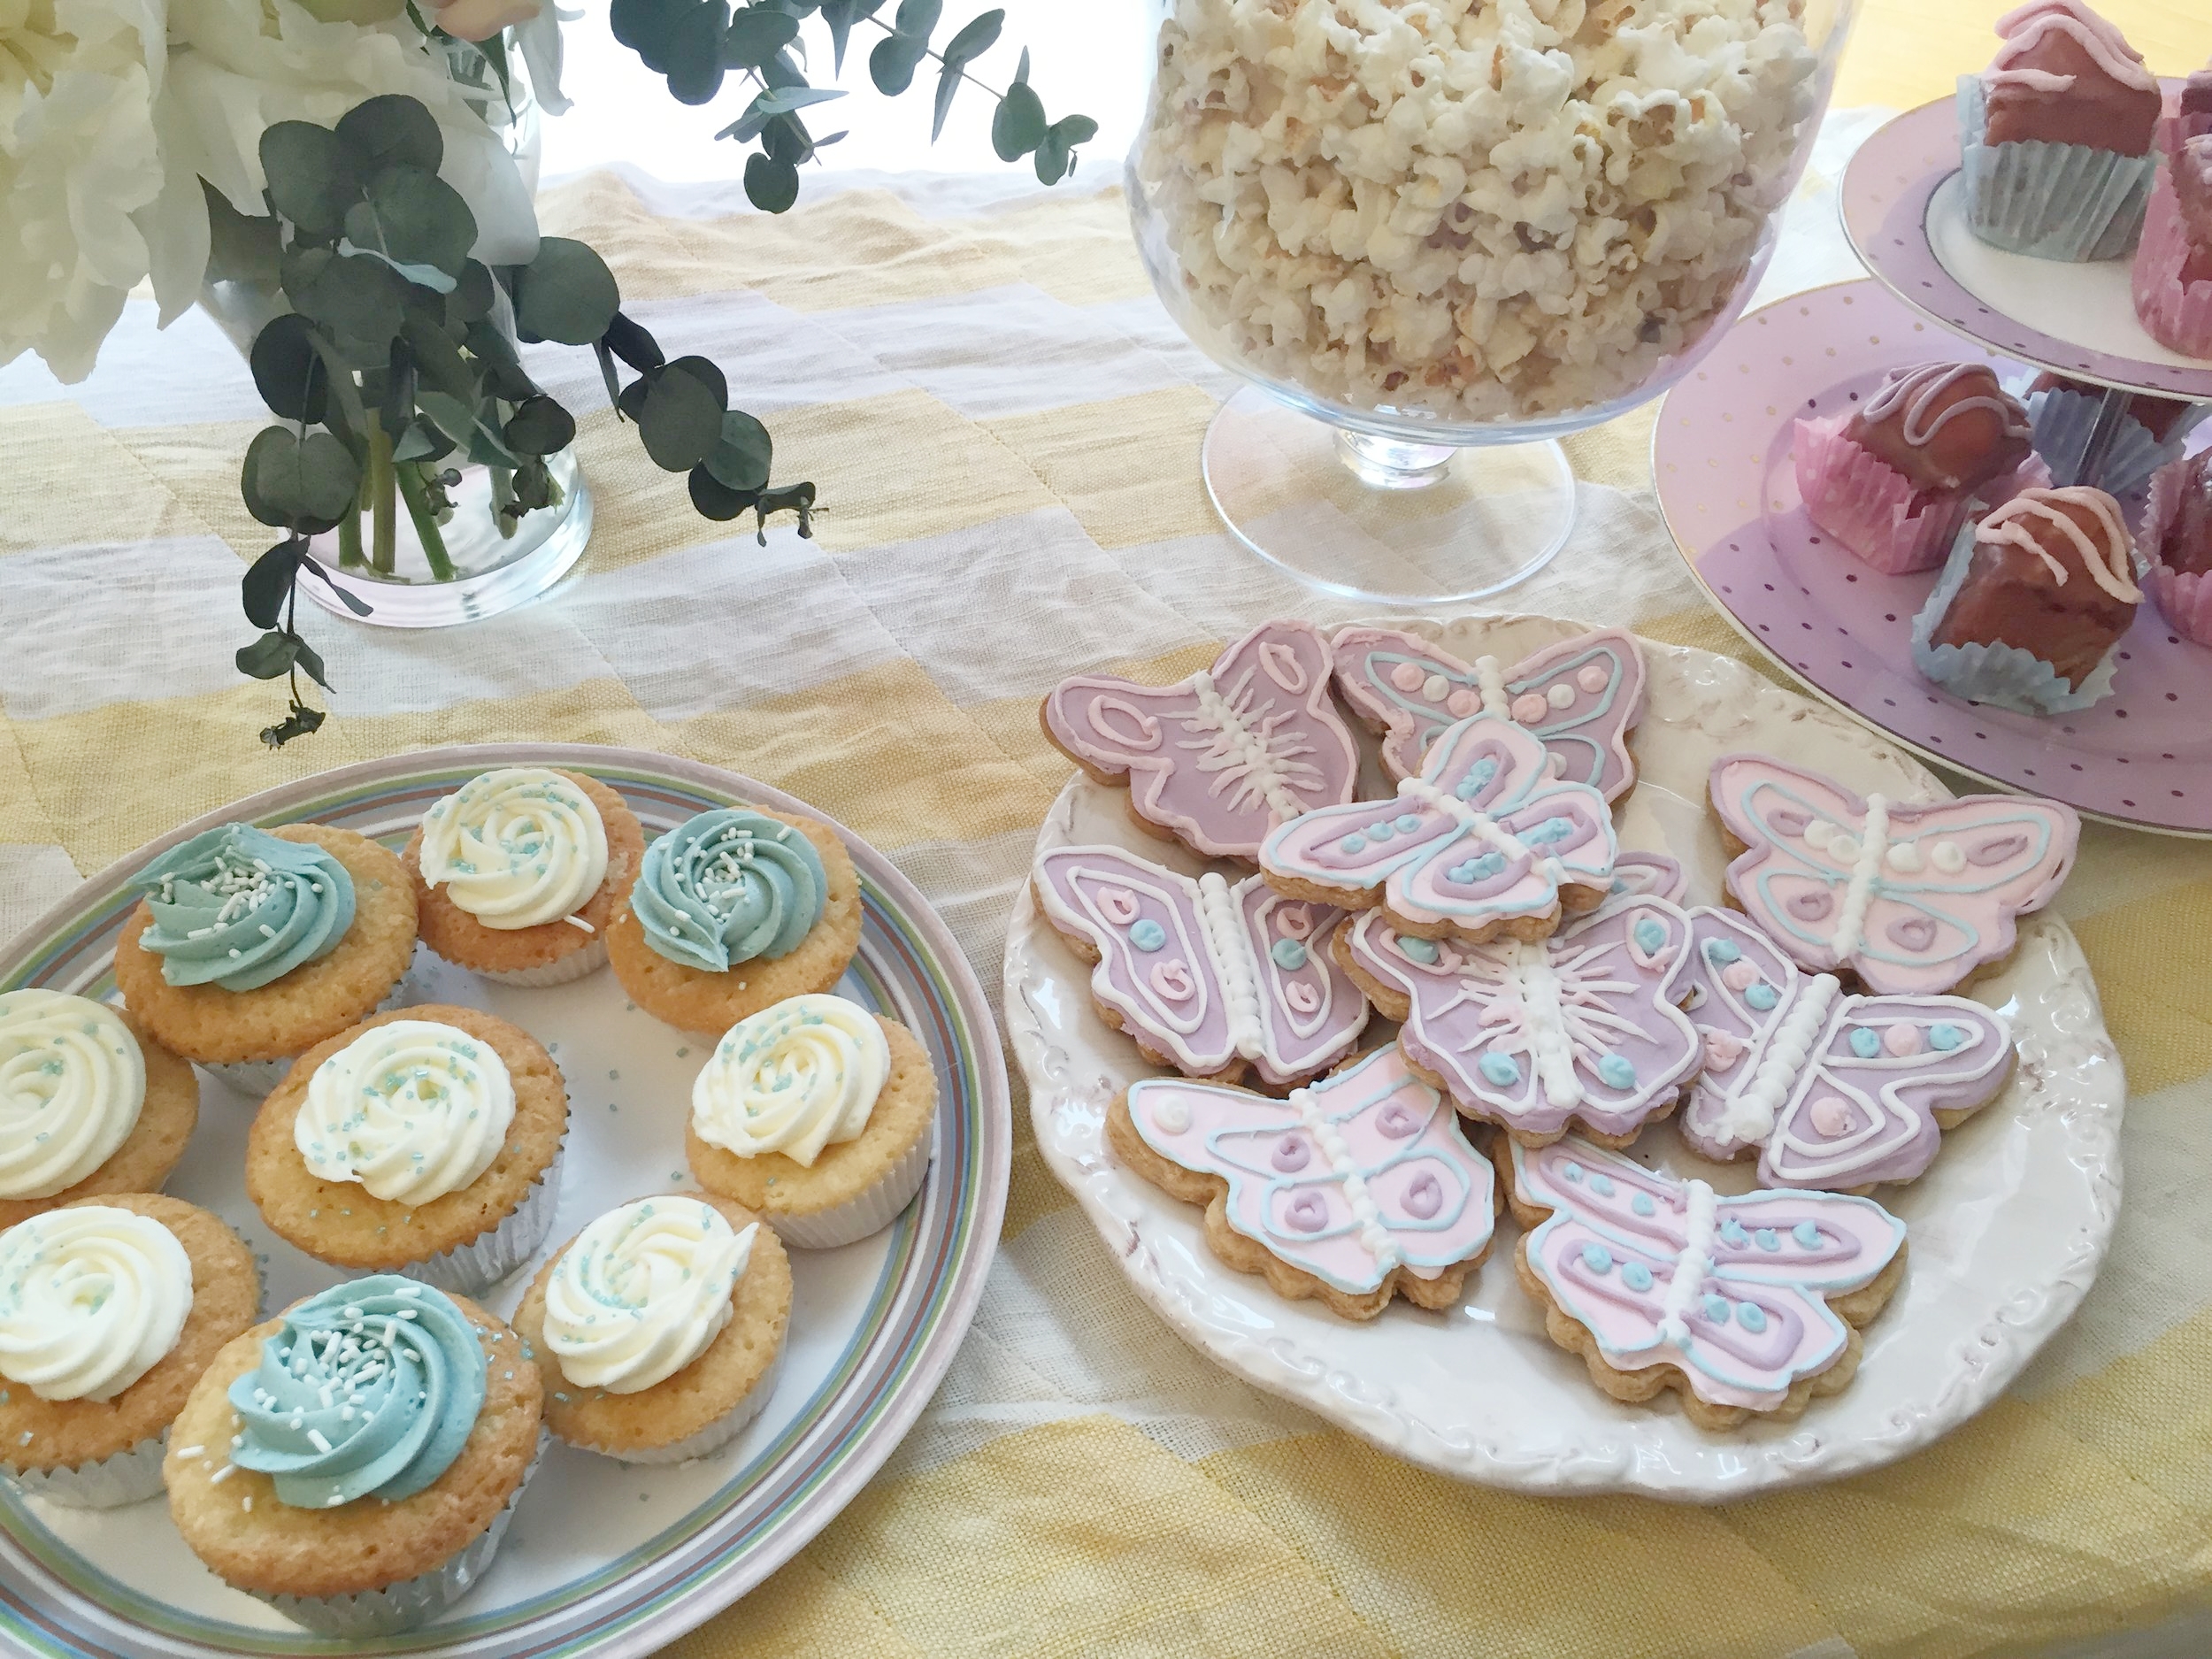
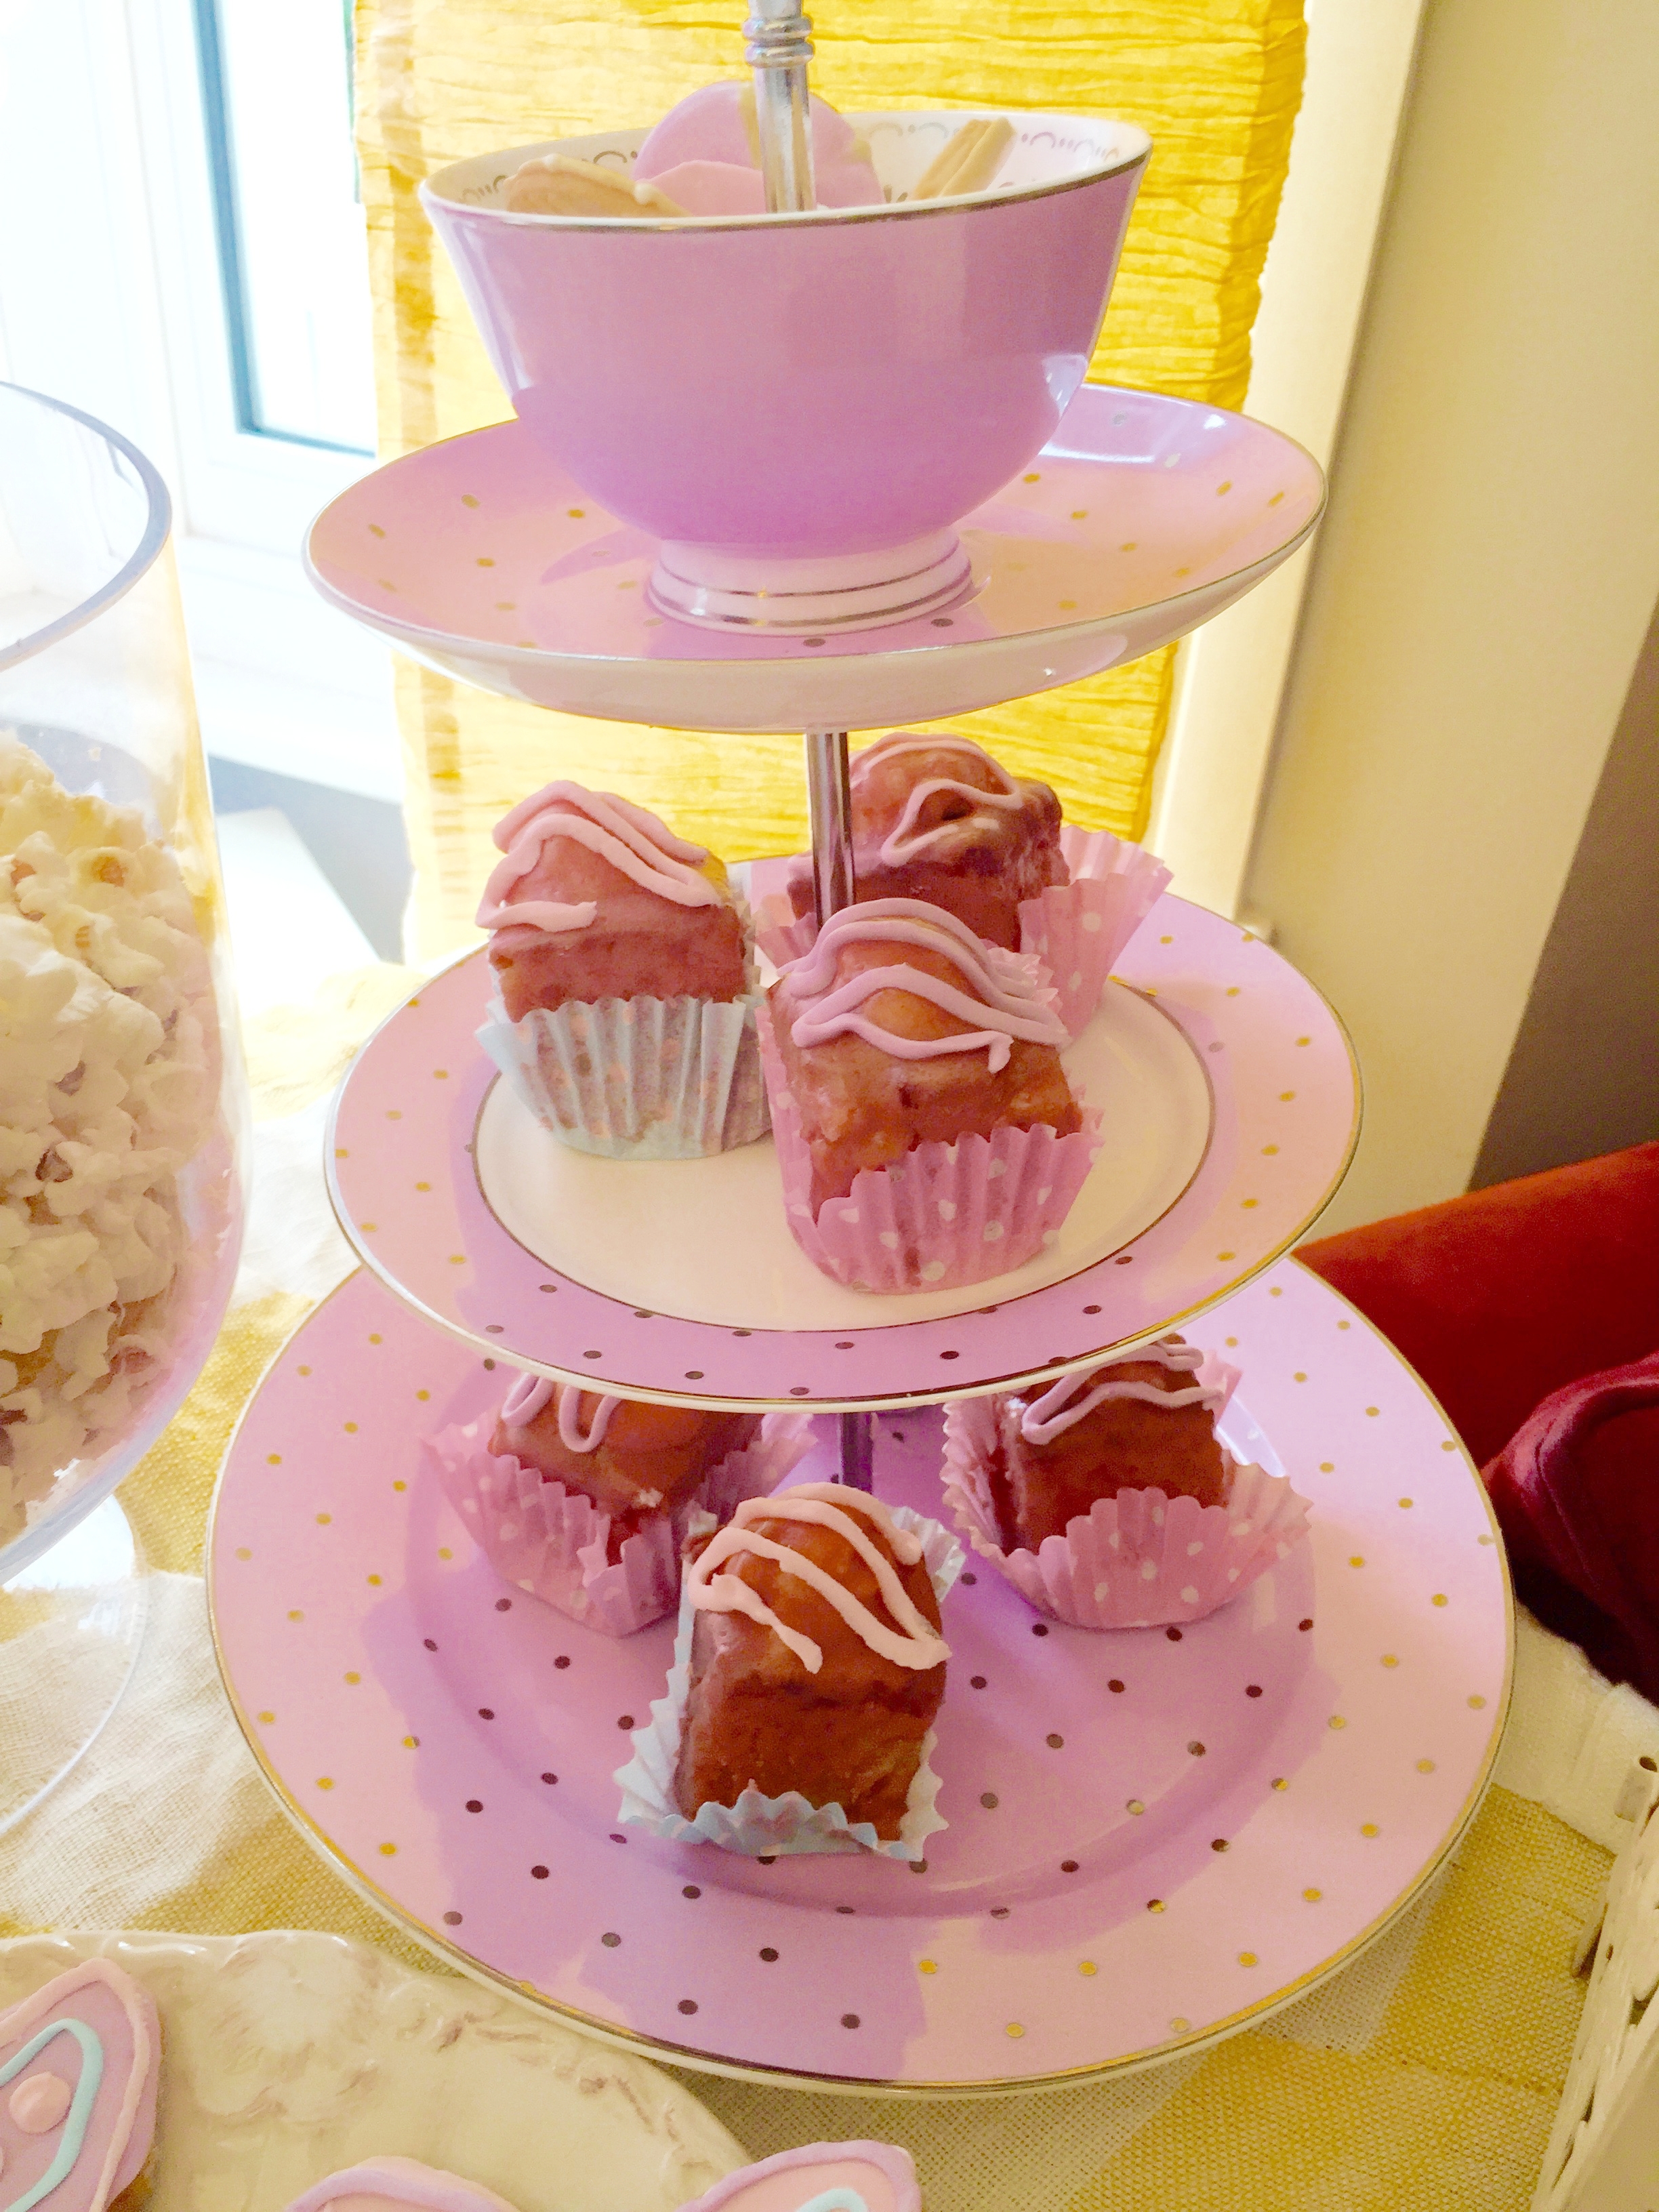
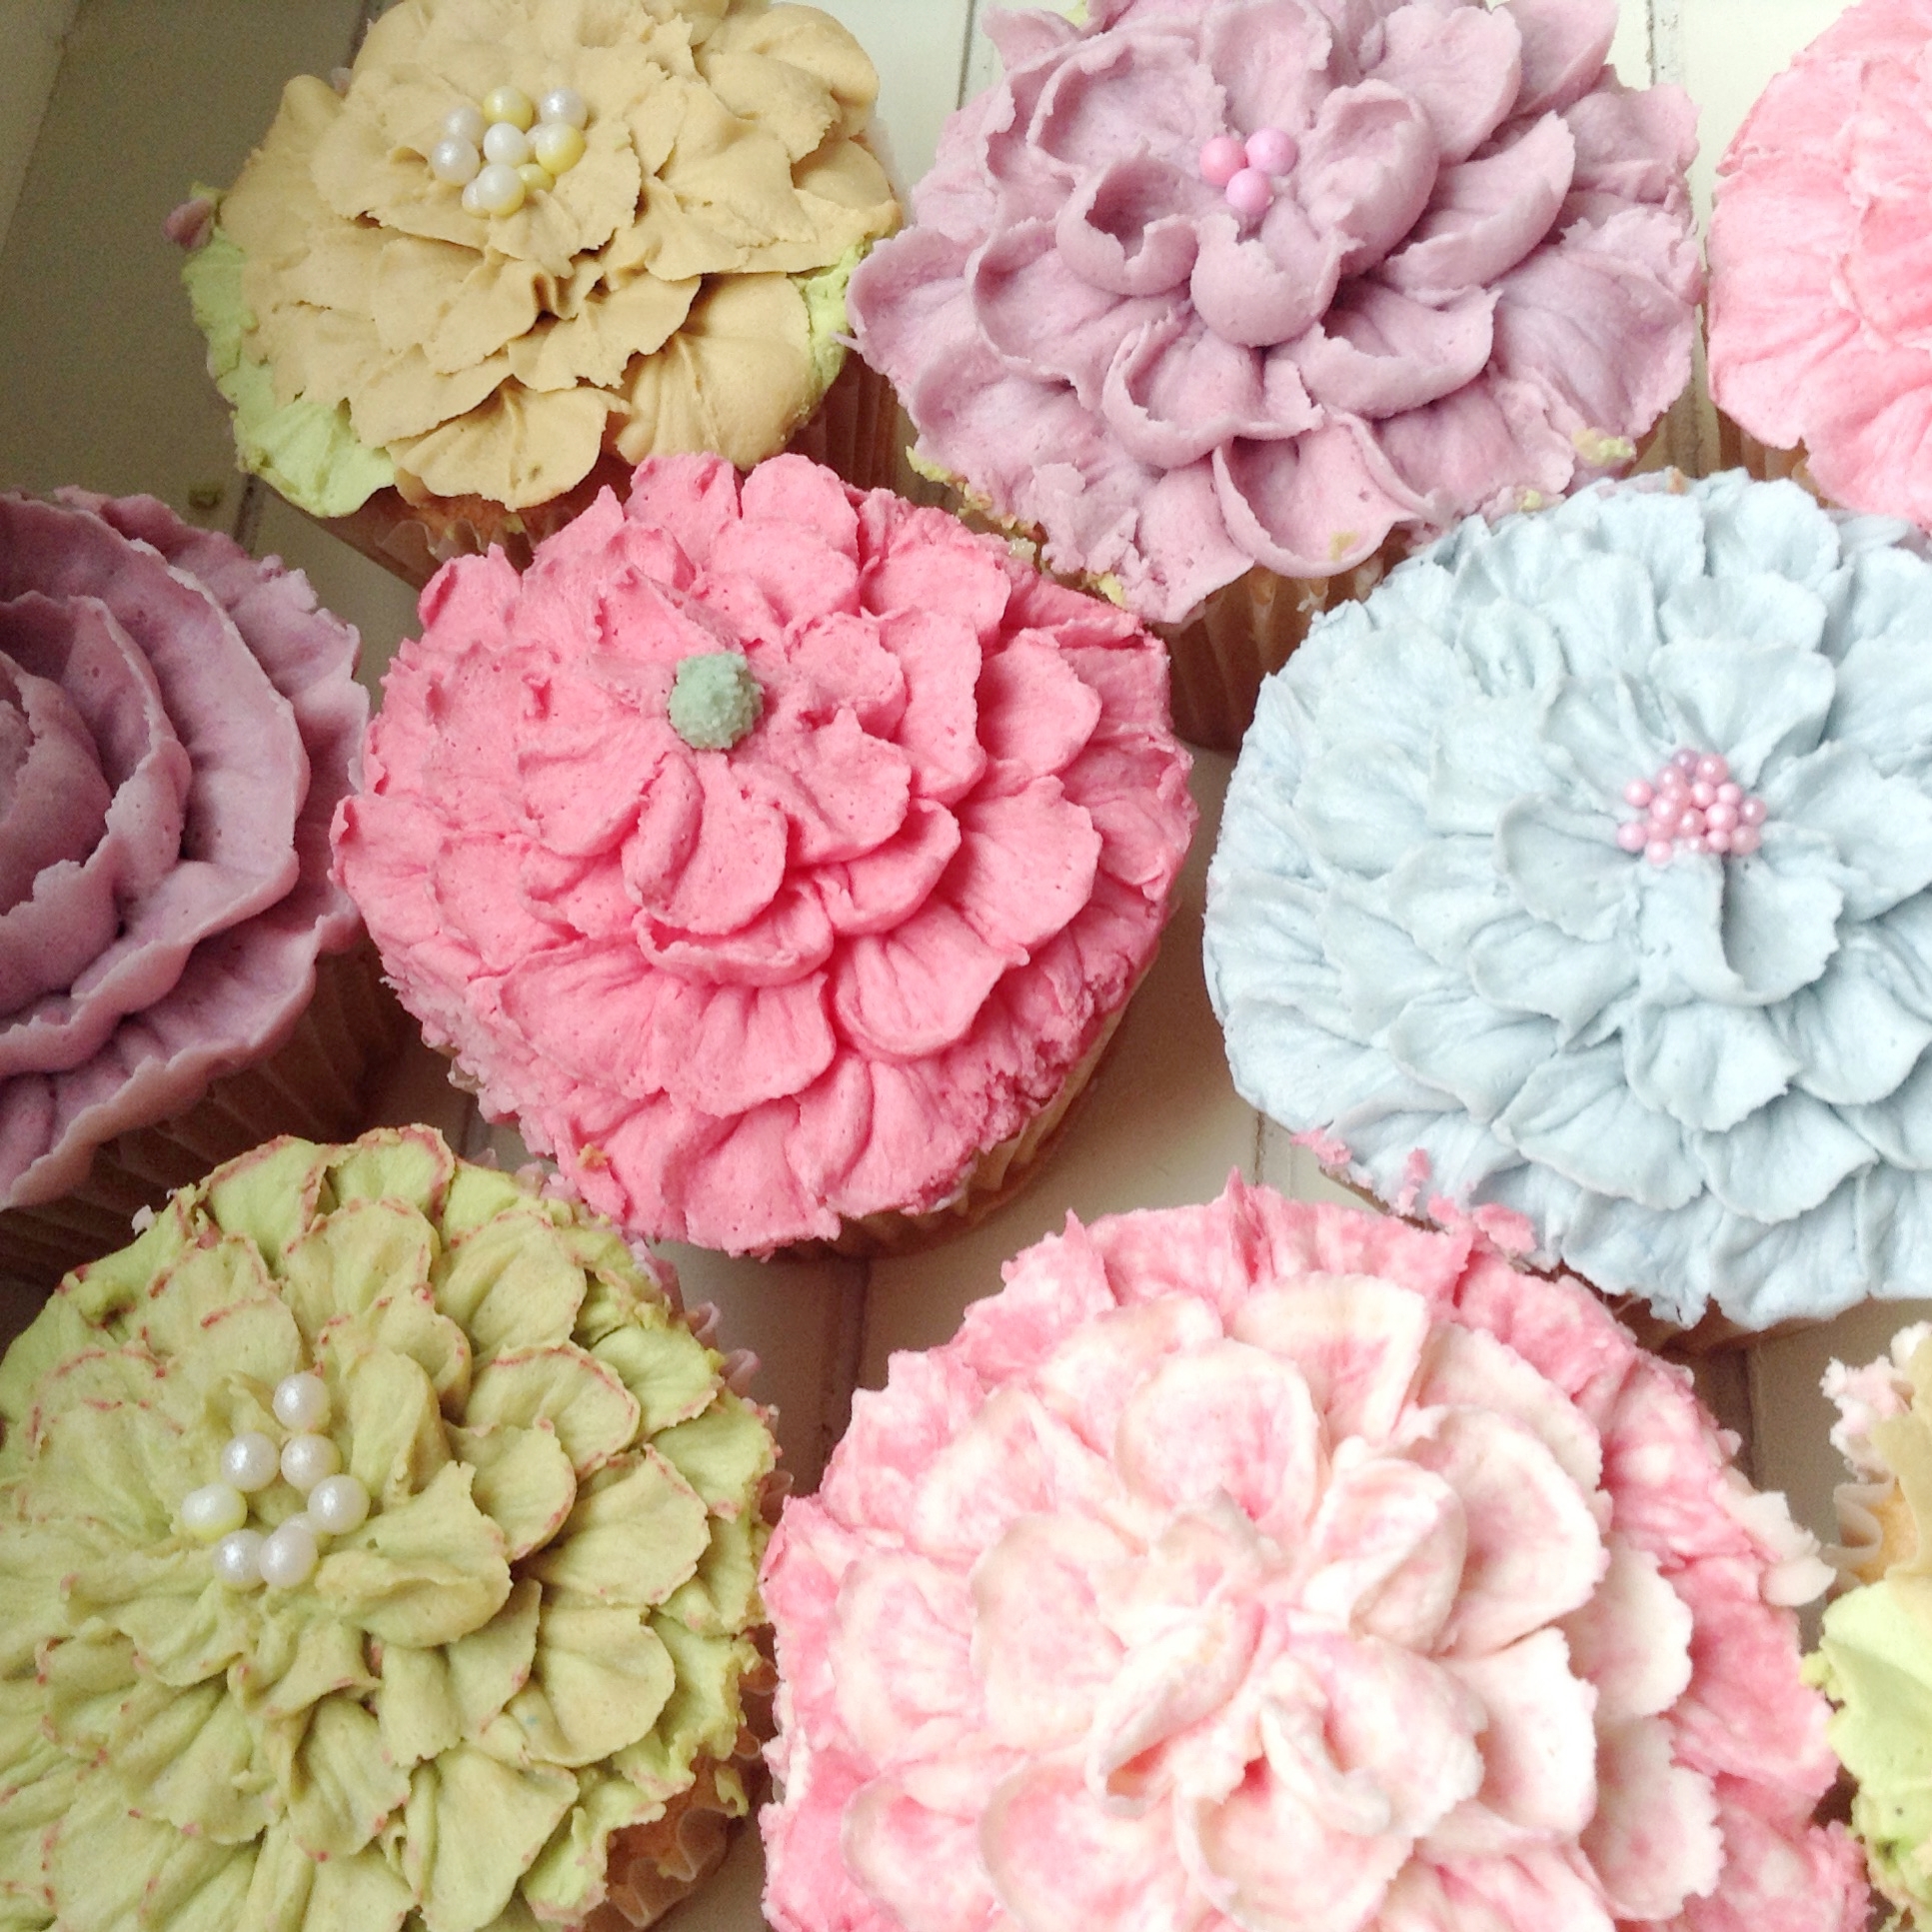
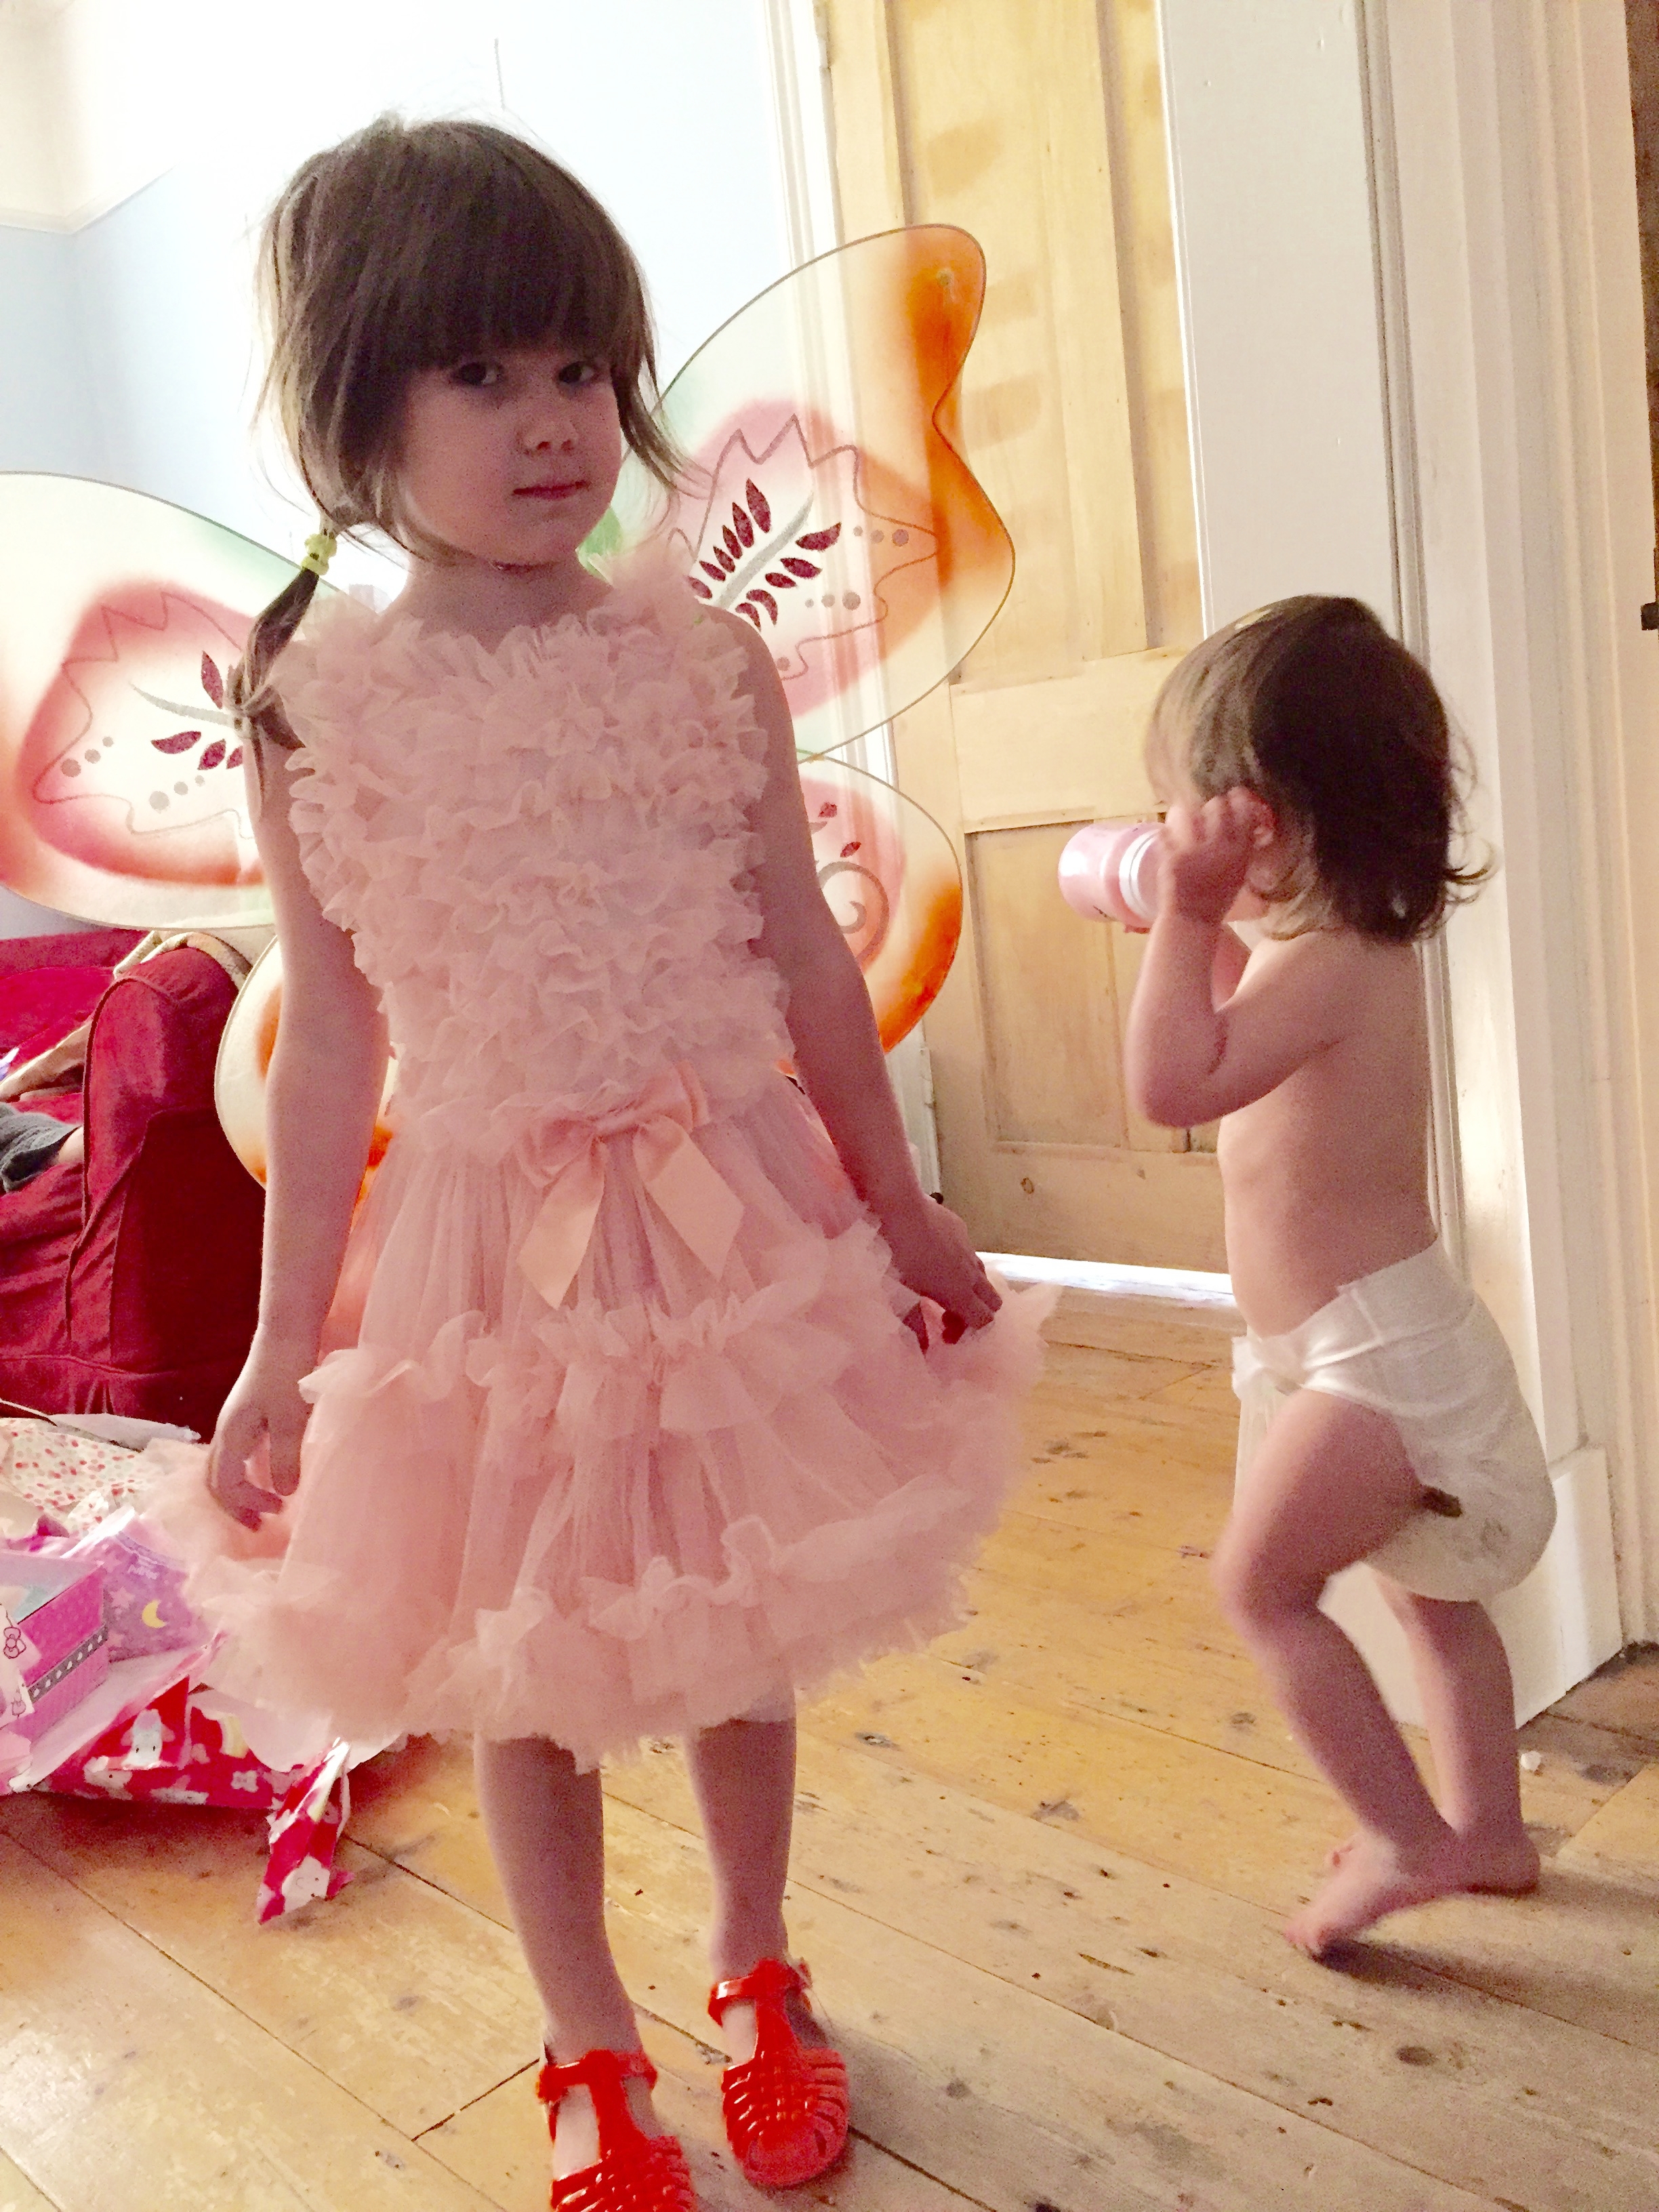
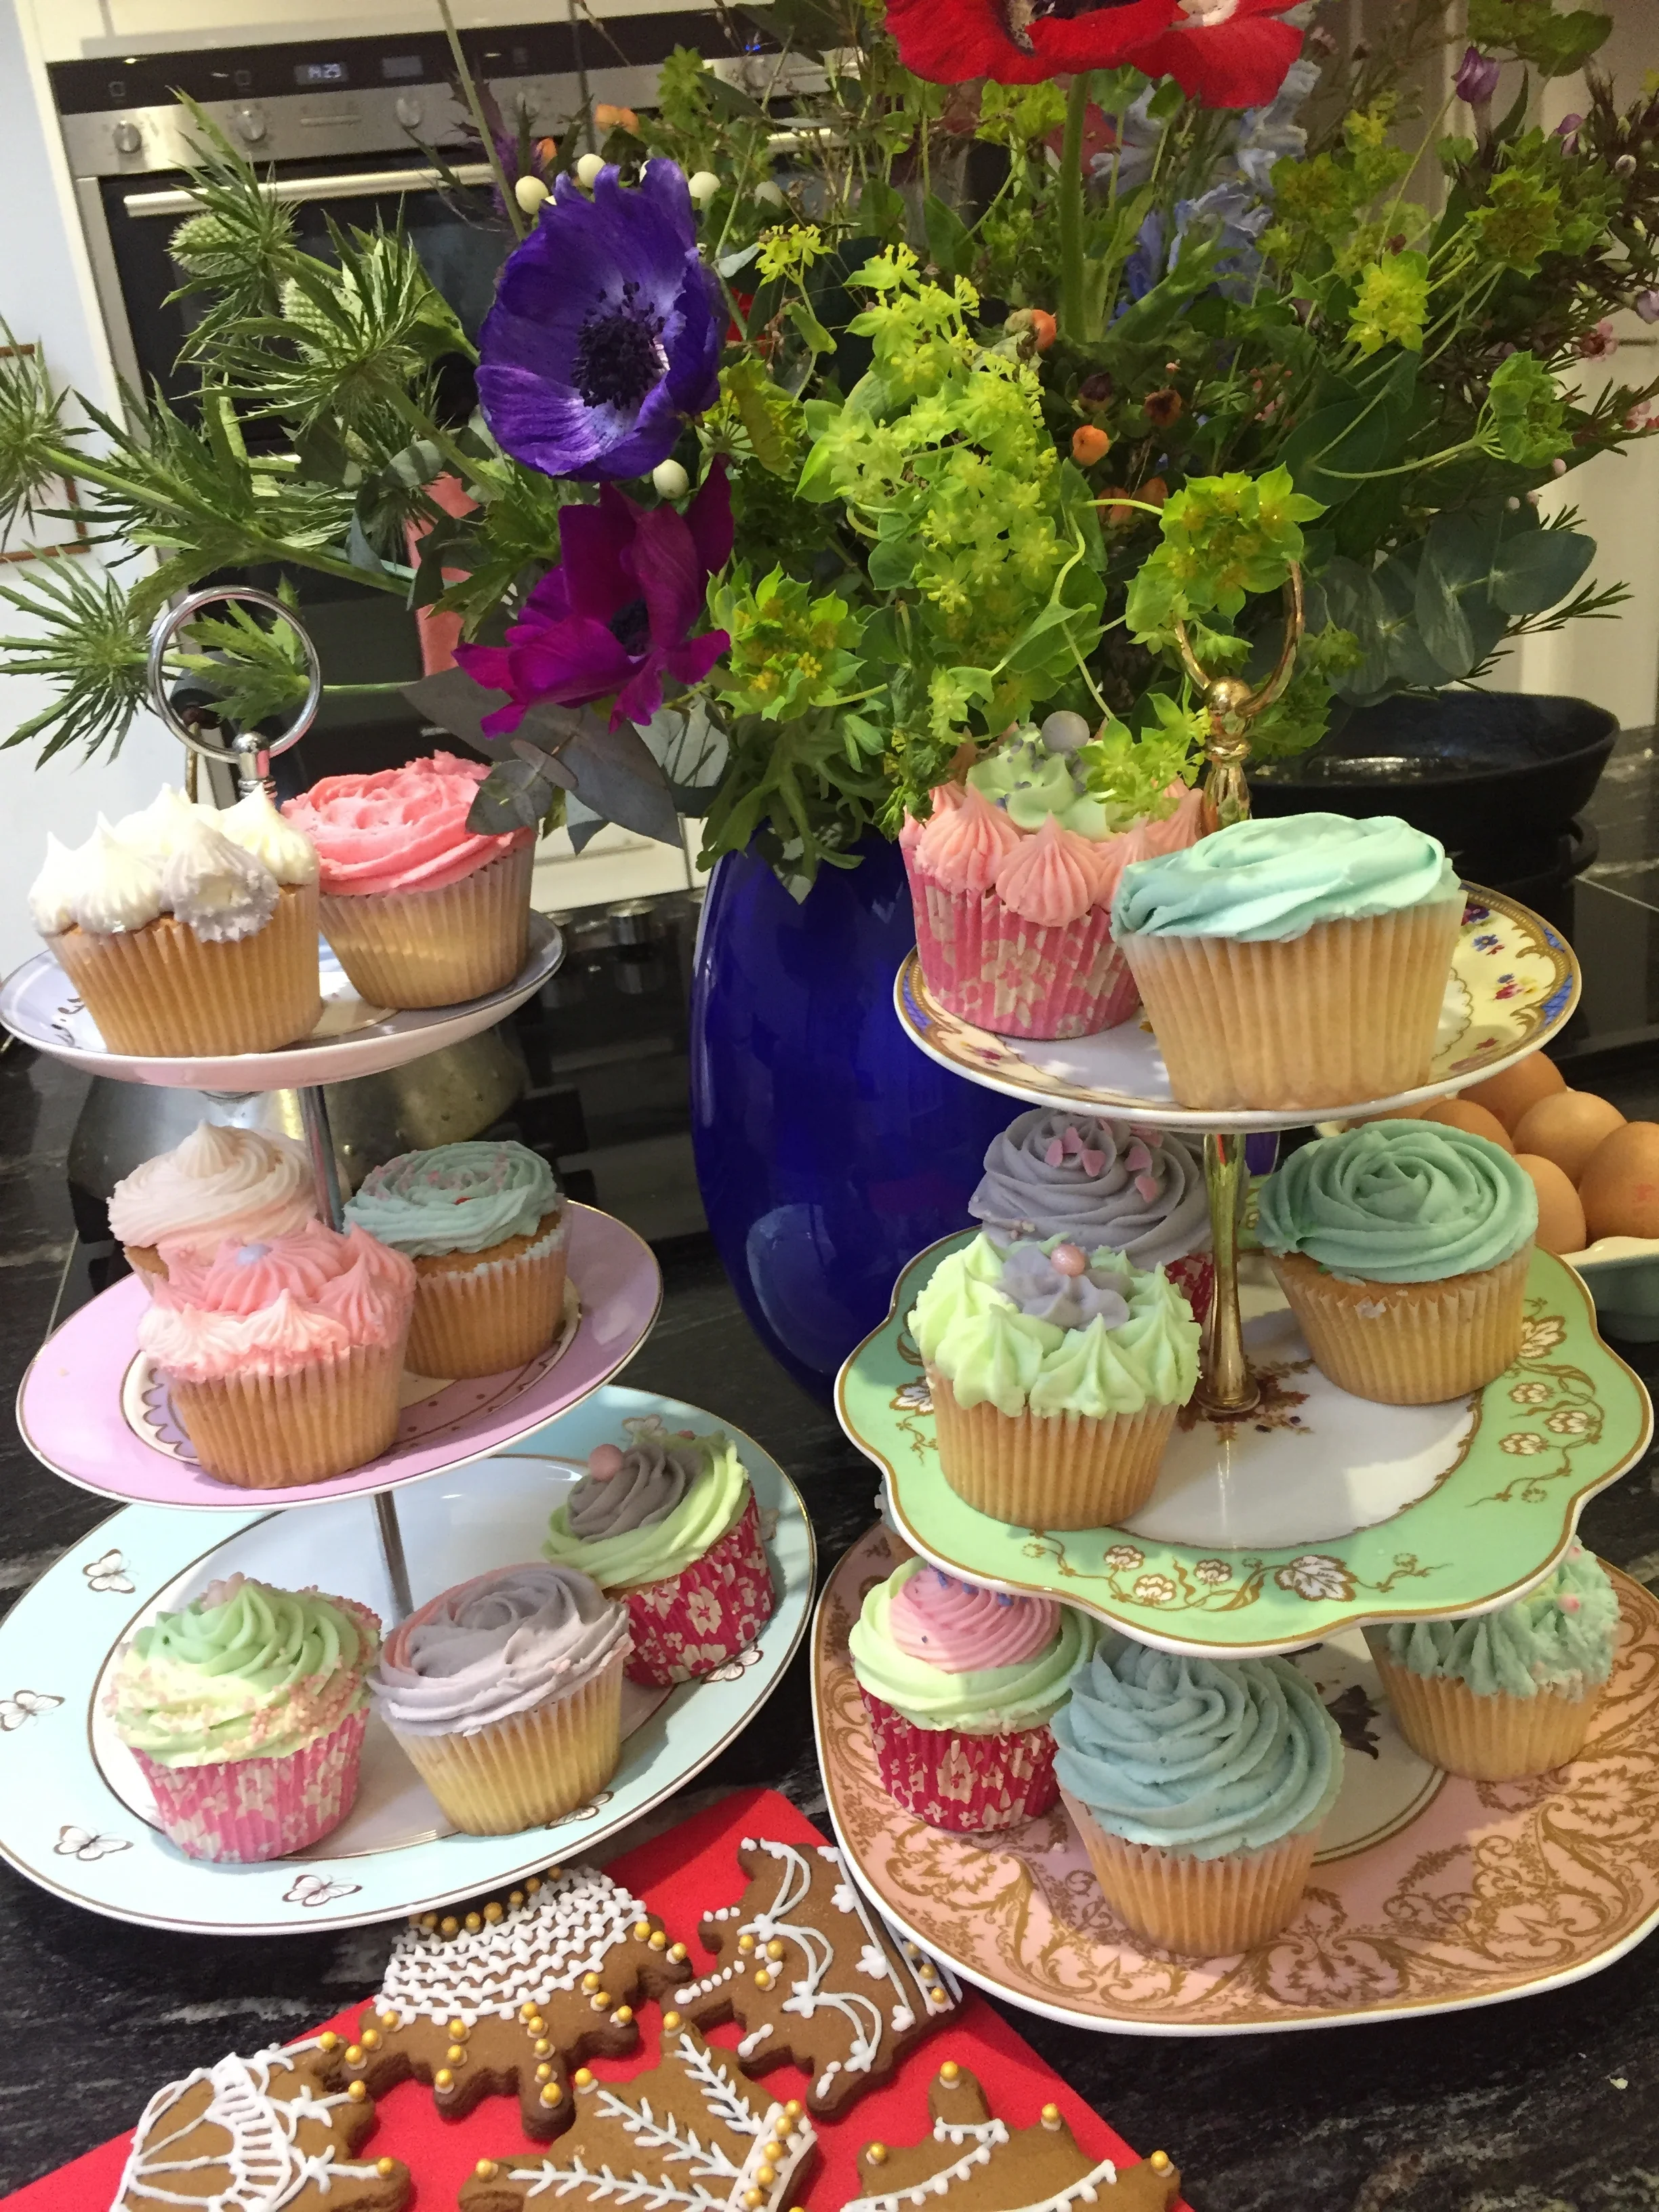
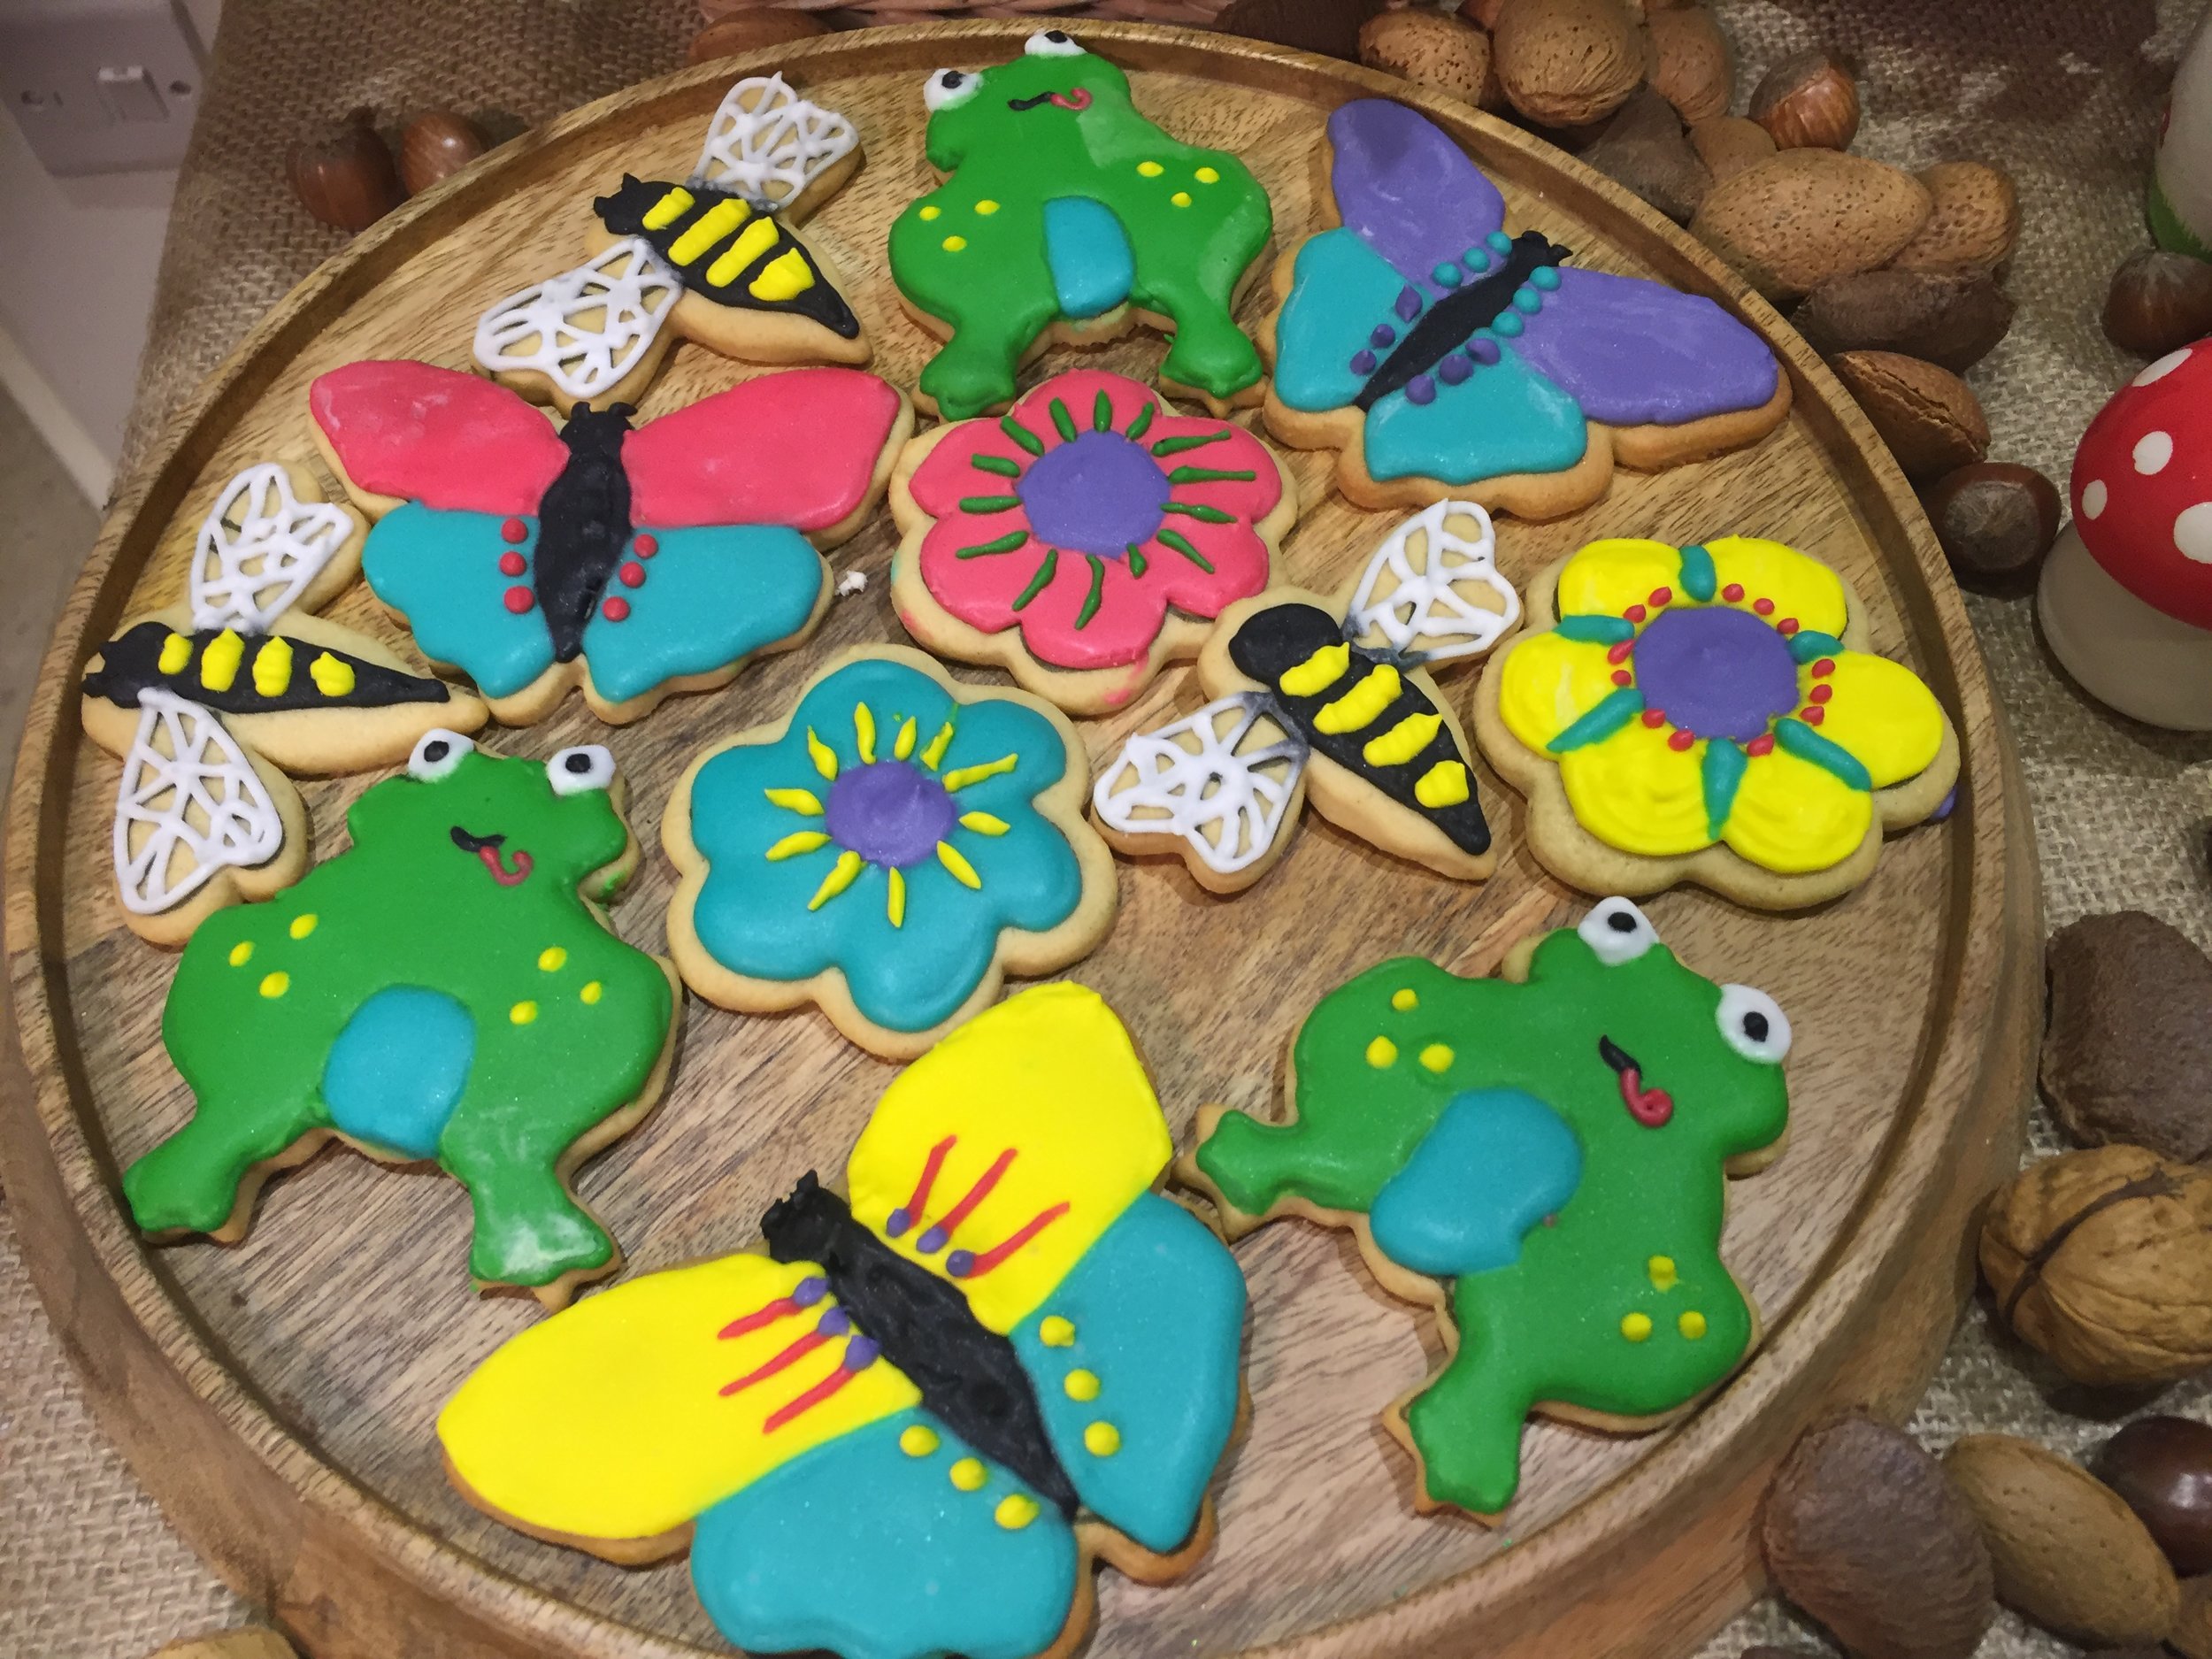
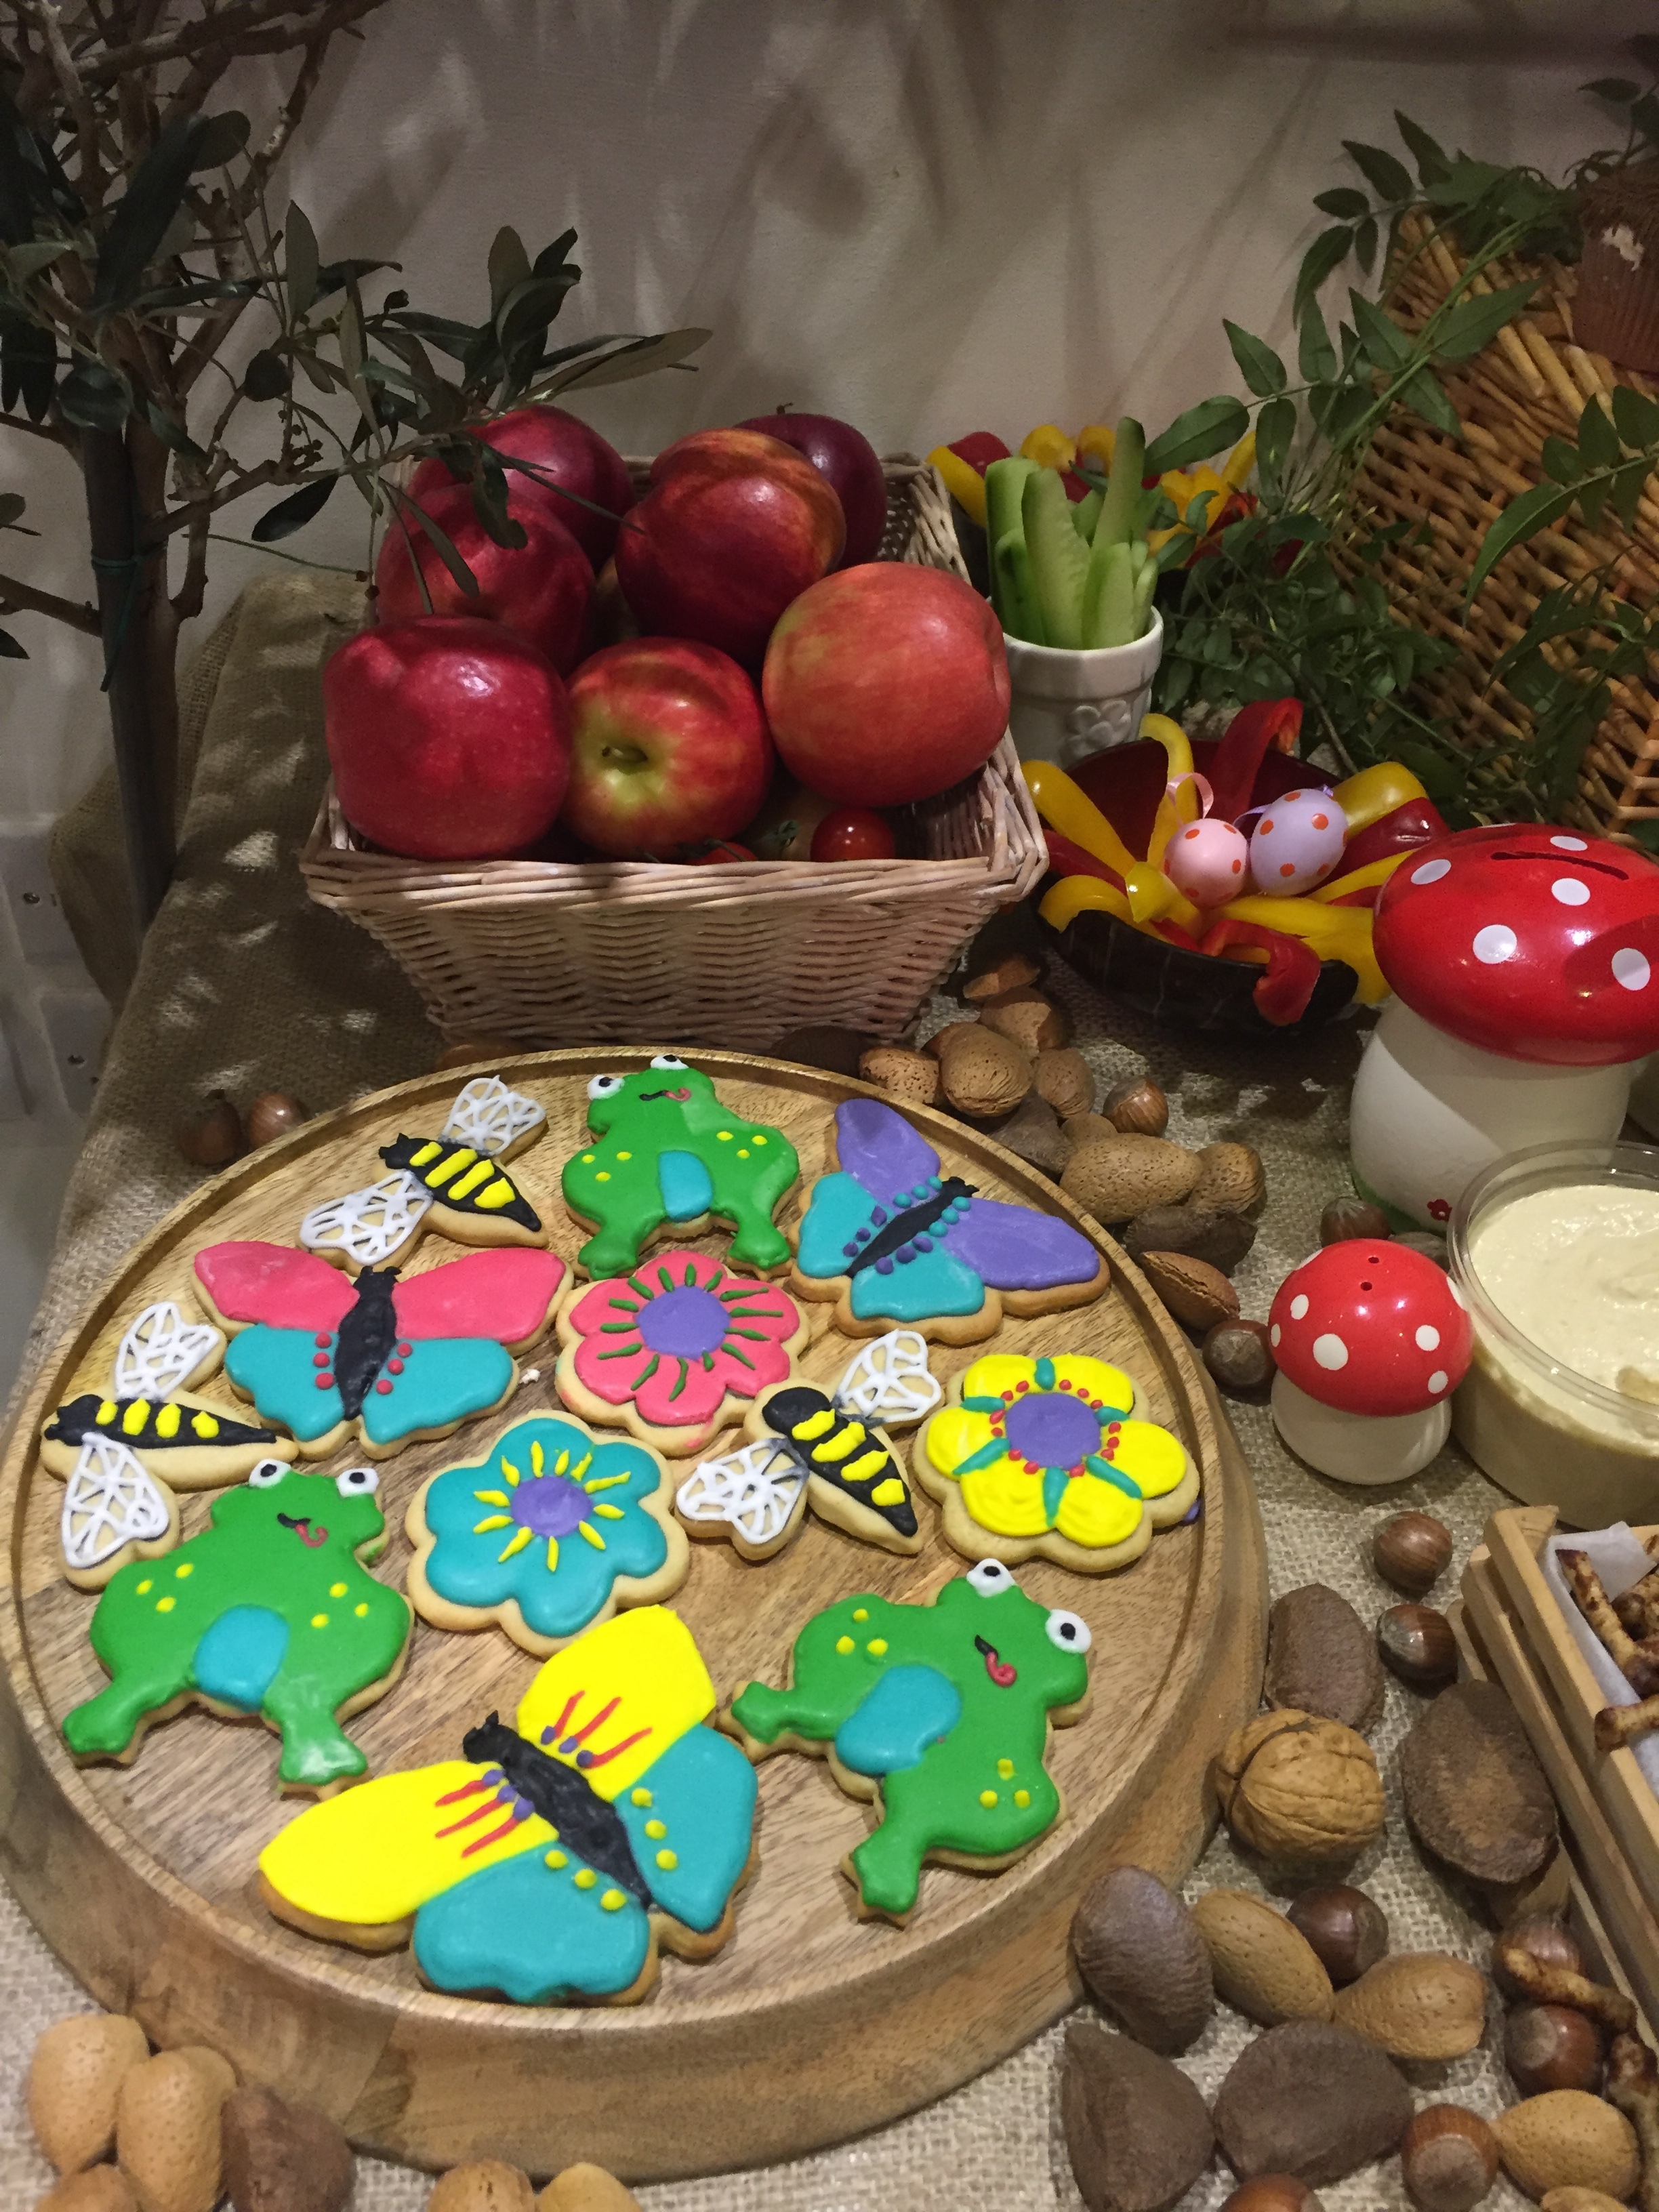
The cake table for Cosy Mae's 4th birthday party was fairy themed. I spent an evening making the sugarpaste head and body of the fairy, which I really enjoyed. The great thing about this is that you can do it well in advance as it will keep in a shoe box for a couple of weeks (or more). Just don't put it in a sealed container or it will melt due to the humidity. As I was pushed for time I kept the rest of the cake table quite simple. I used some flower cupcakes from my intermediate decorating class that I demoed the day before. I did a very simple & quick icing design on some butterfly, shortbread cookies. And I added some pretty party rings from the shop! The onl thing I wasn't thrilled with was the look of the fairies skirt. I let the kids help with it and as it was meringue frosting it really needed to be done quickly. Anyway they enjoyed doing it and it wasn't a total disaster as I think most people were looking at the top half! Next time I would do it in advance, on my own, to get that lovely swirly sheen. It should look more like satin. I'd let them do some cupcakes or something that was going to be less centre stage!
Pop Up Cake Stand at Expedia Company Event
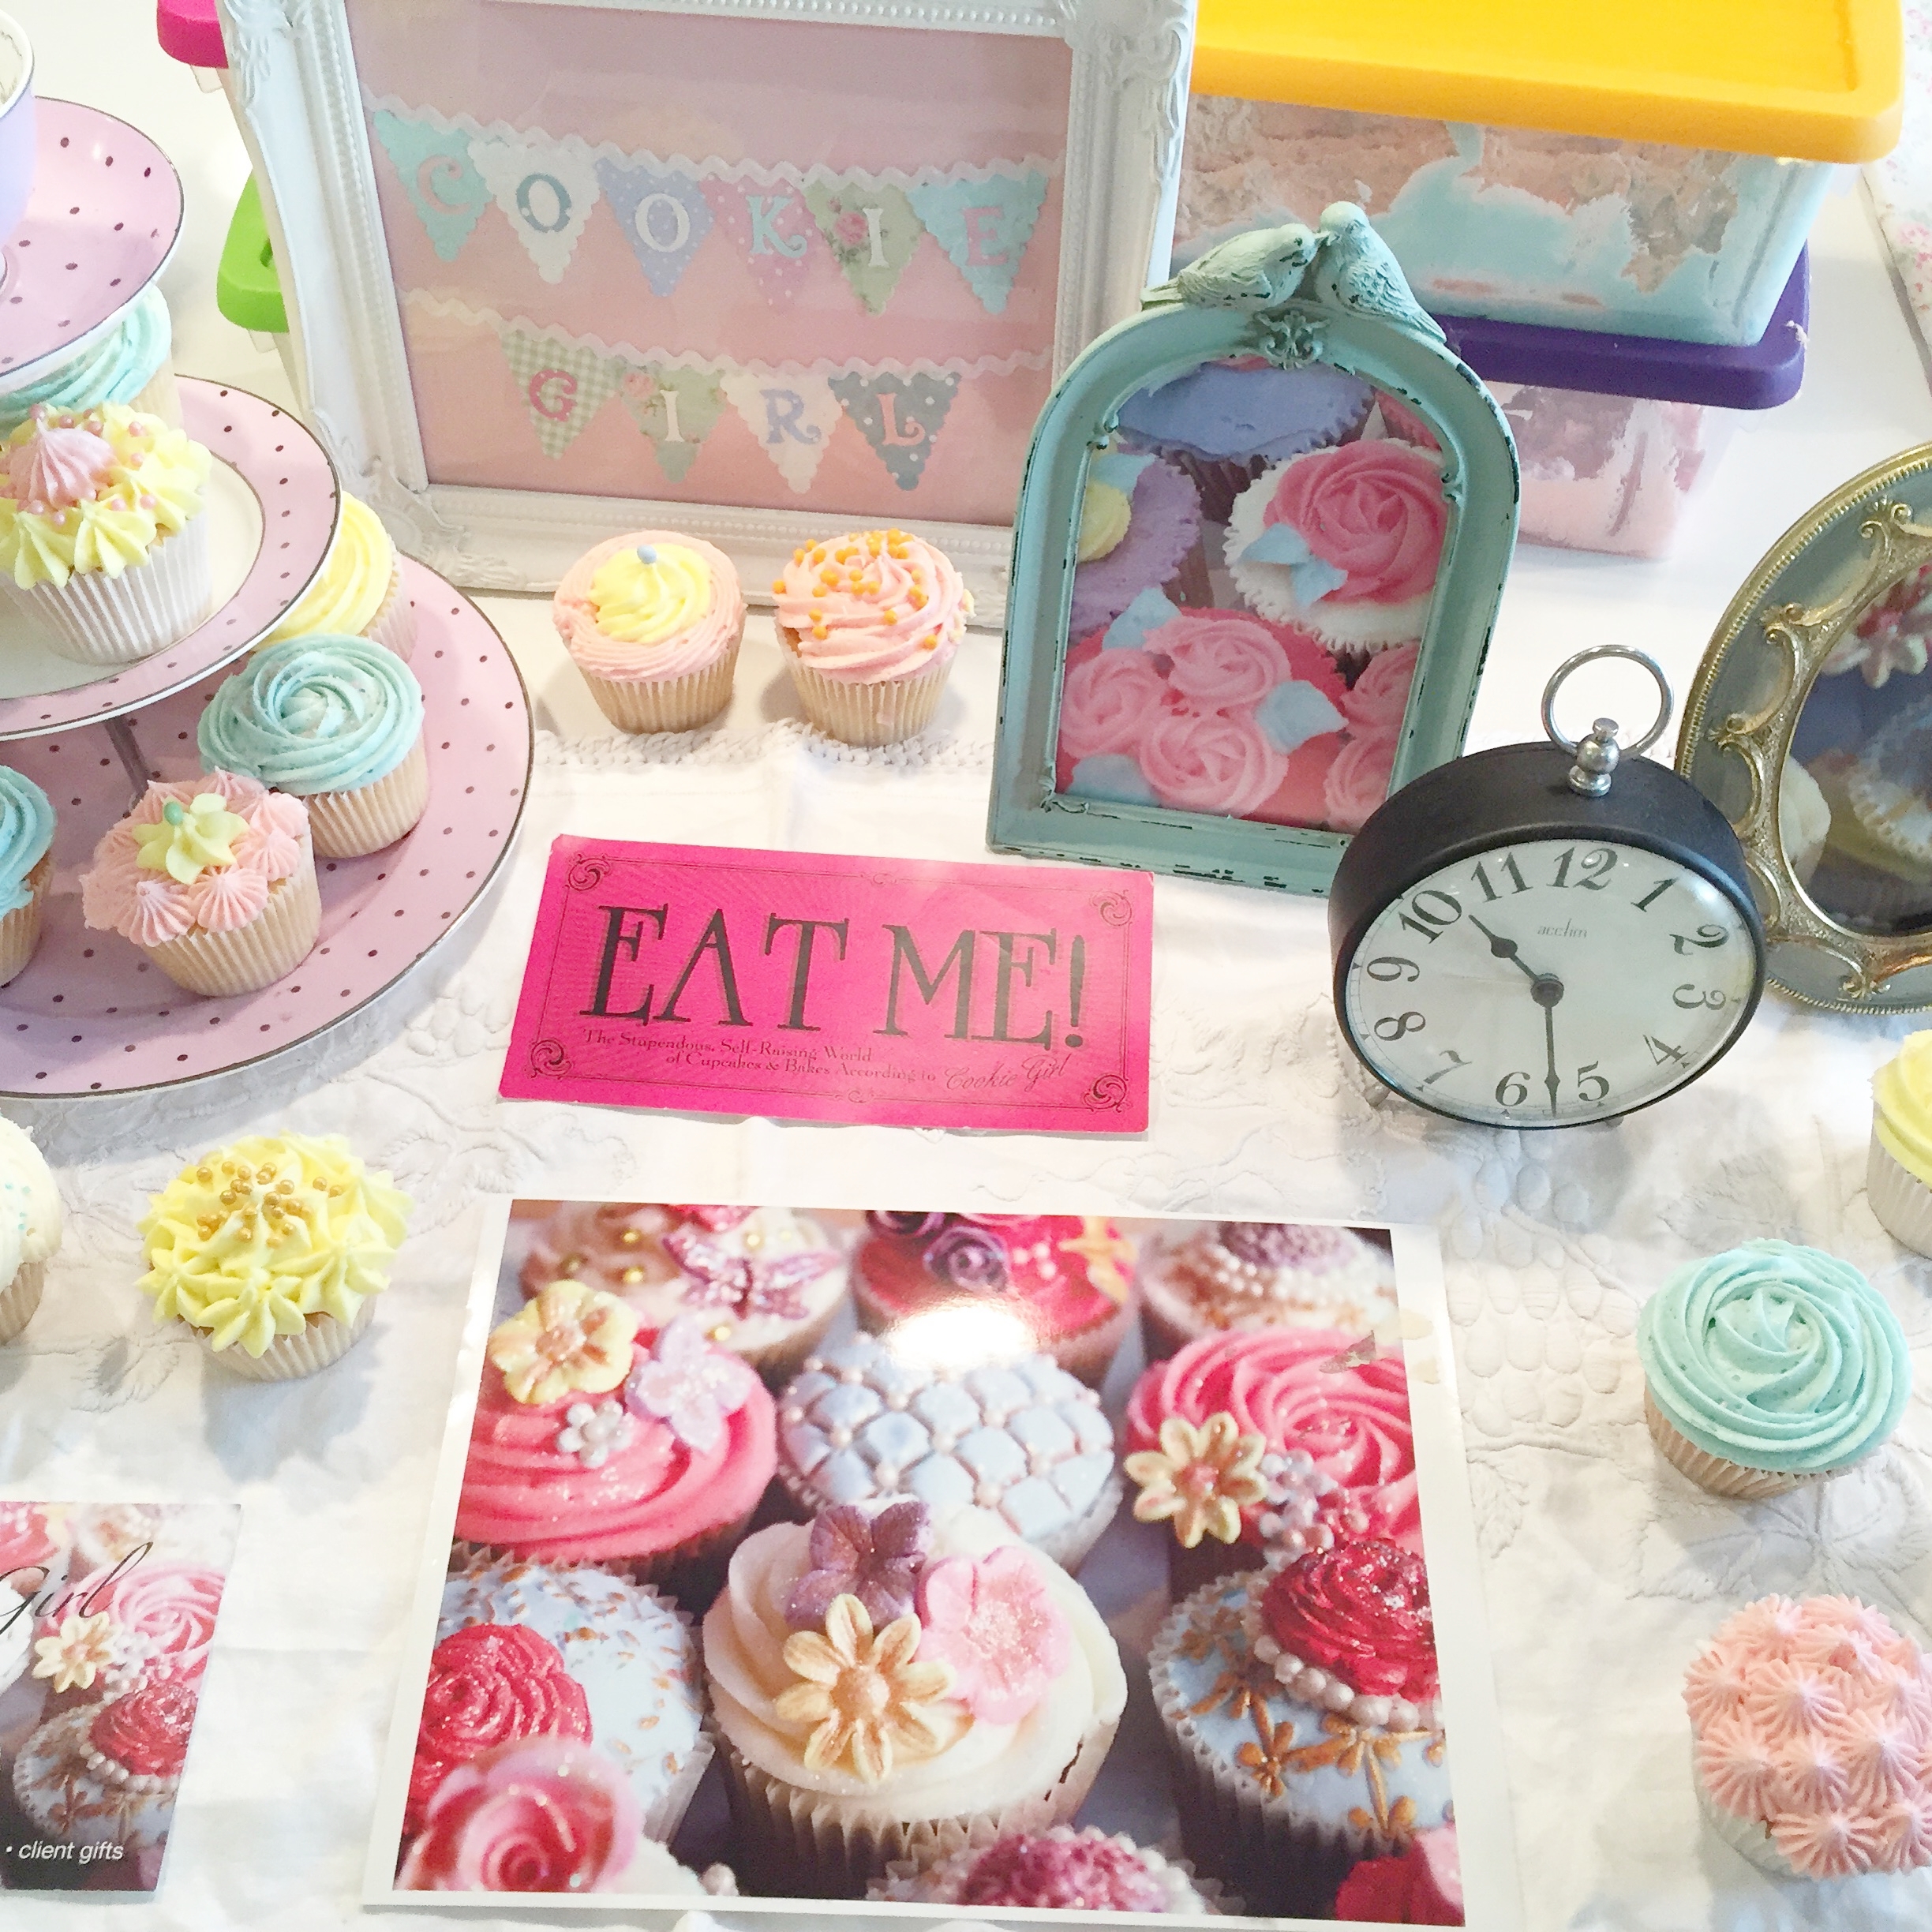
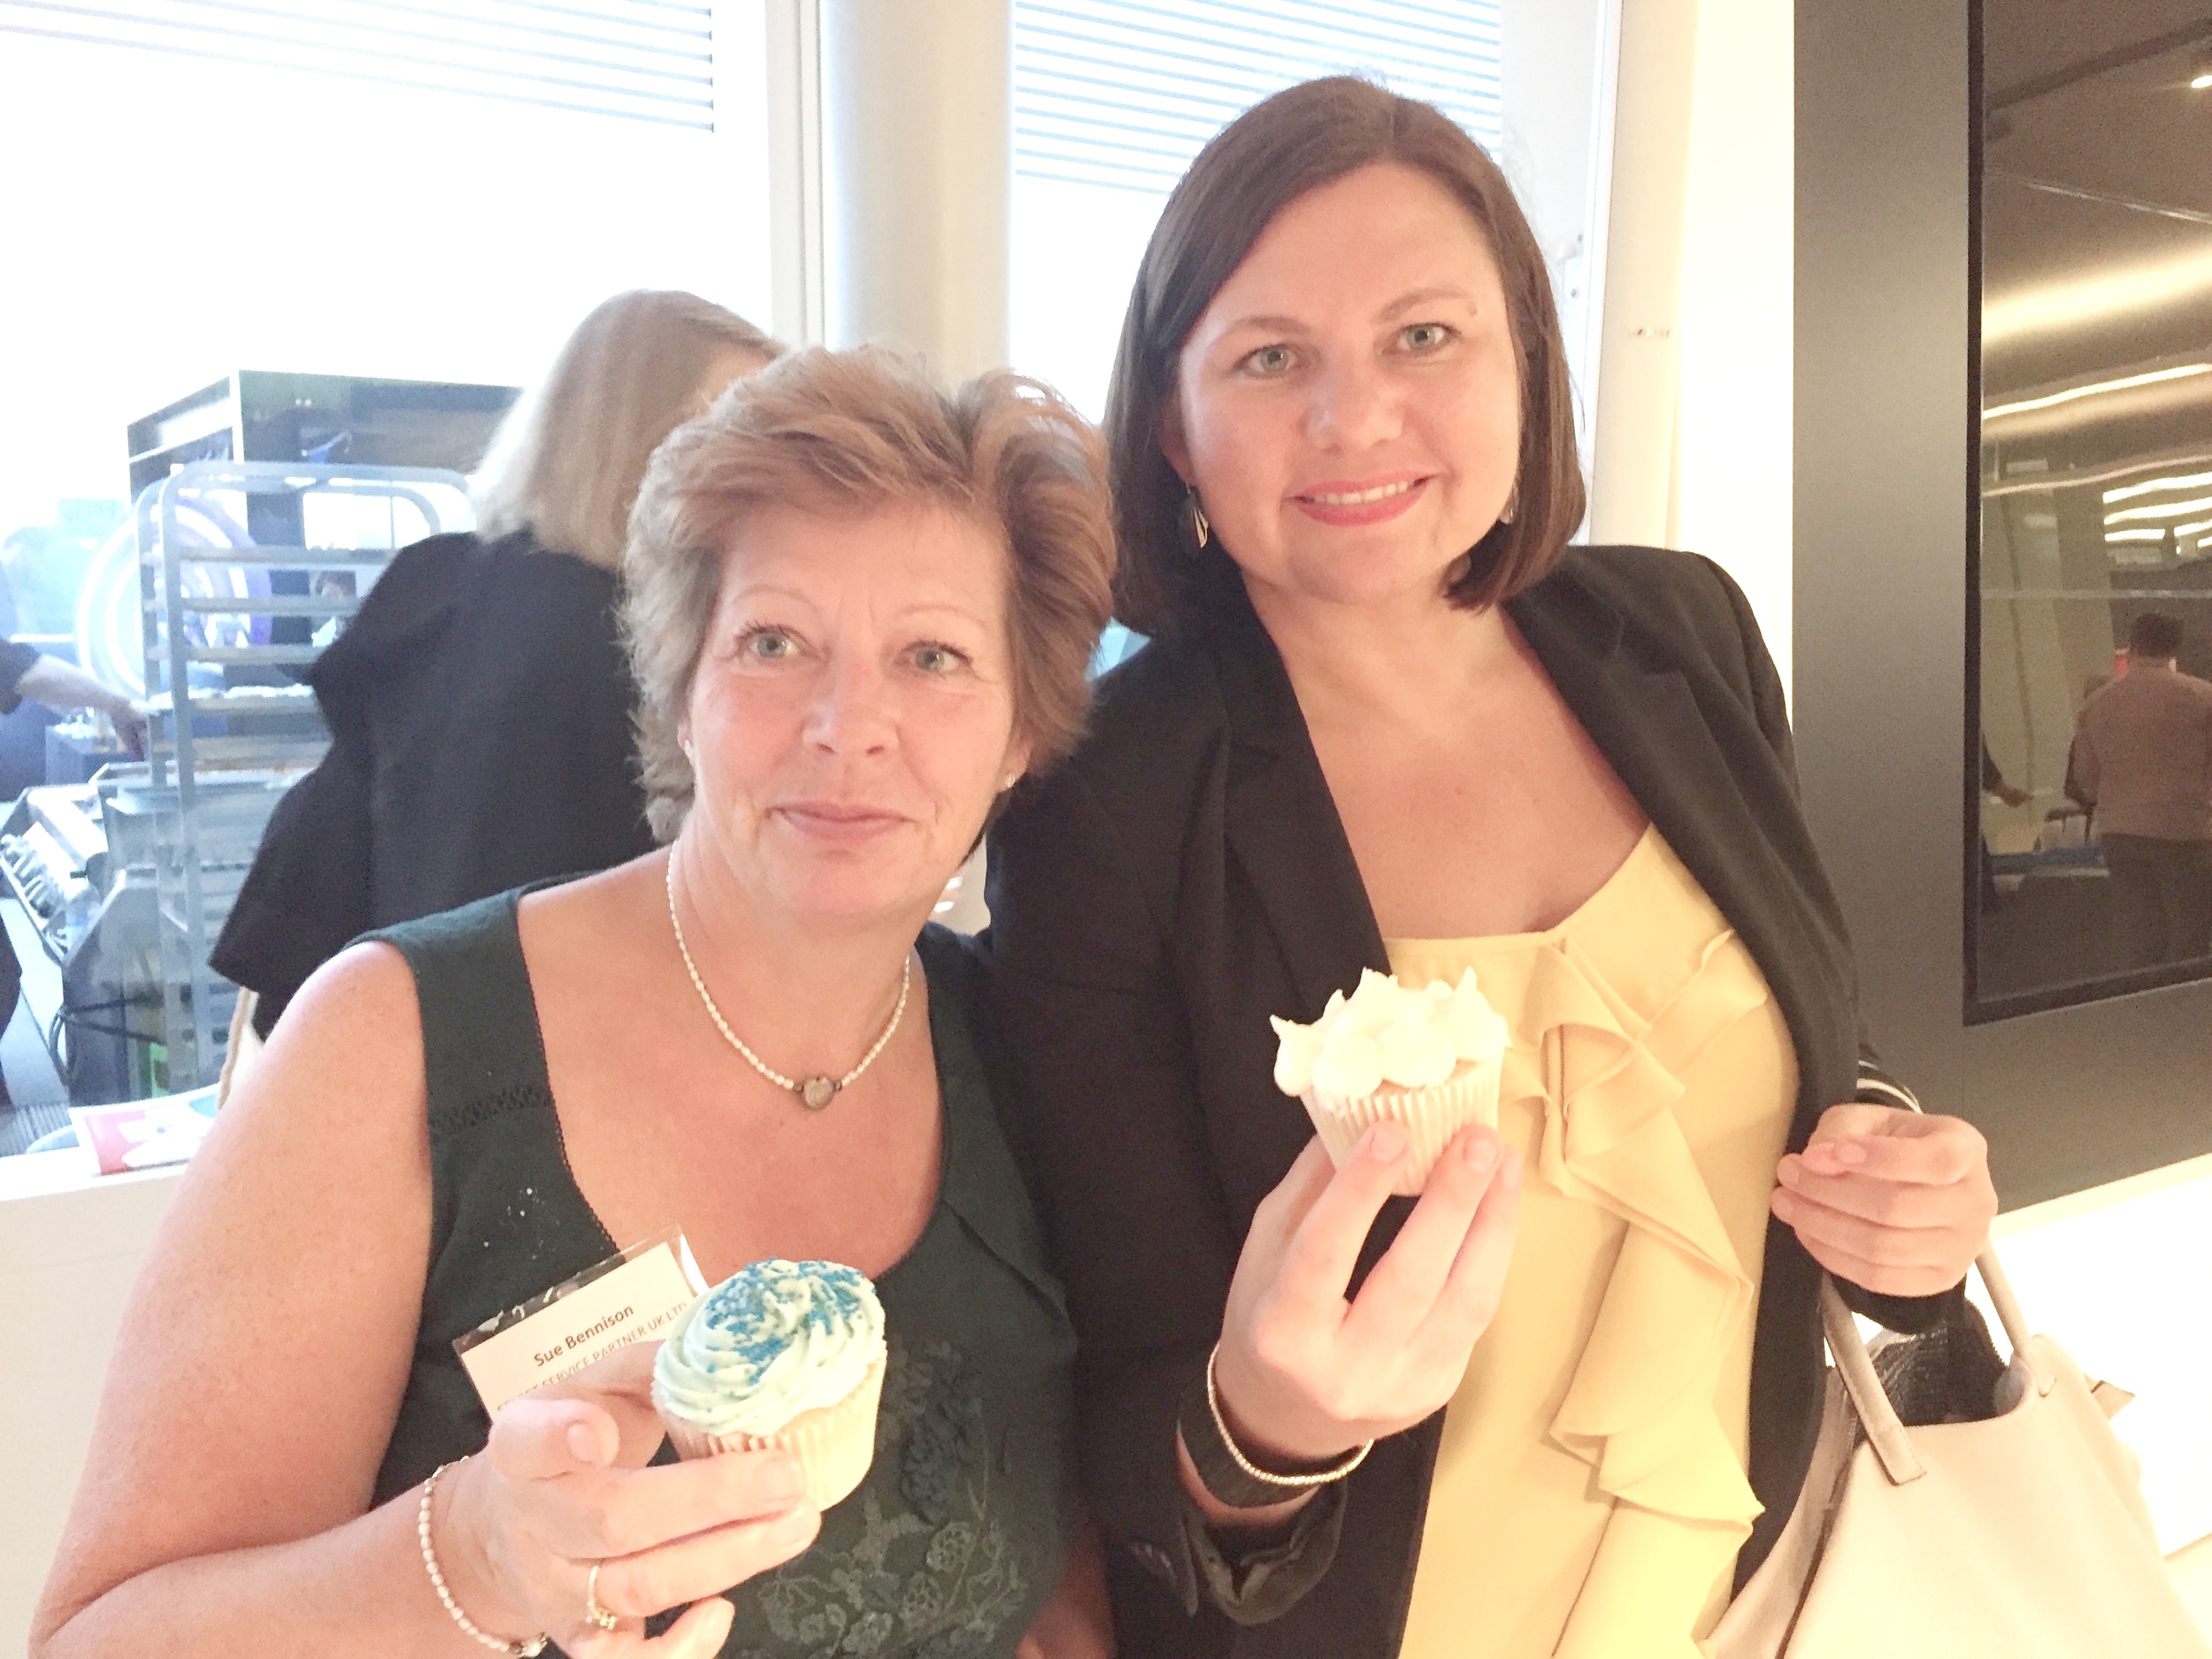
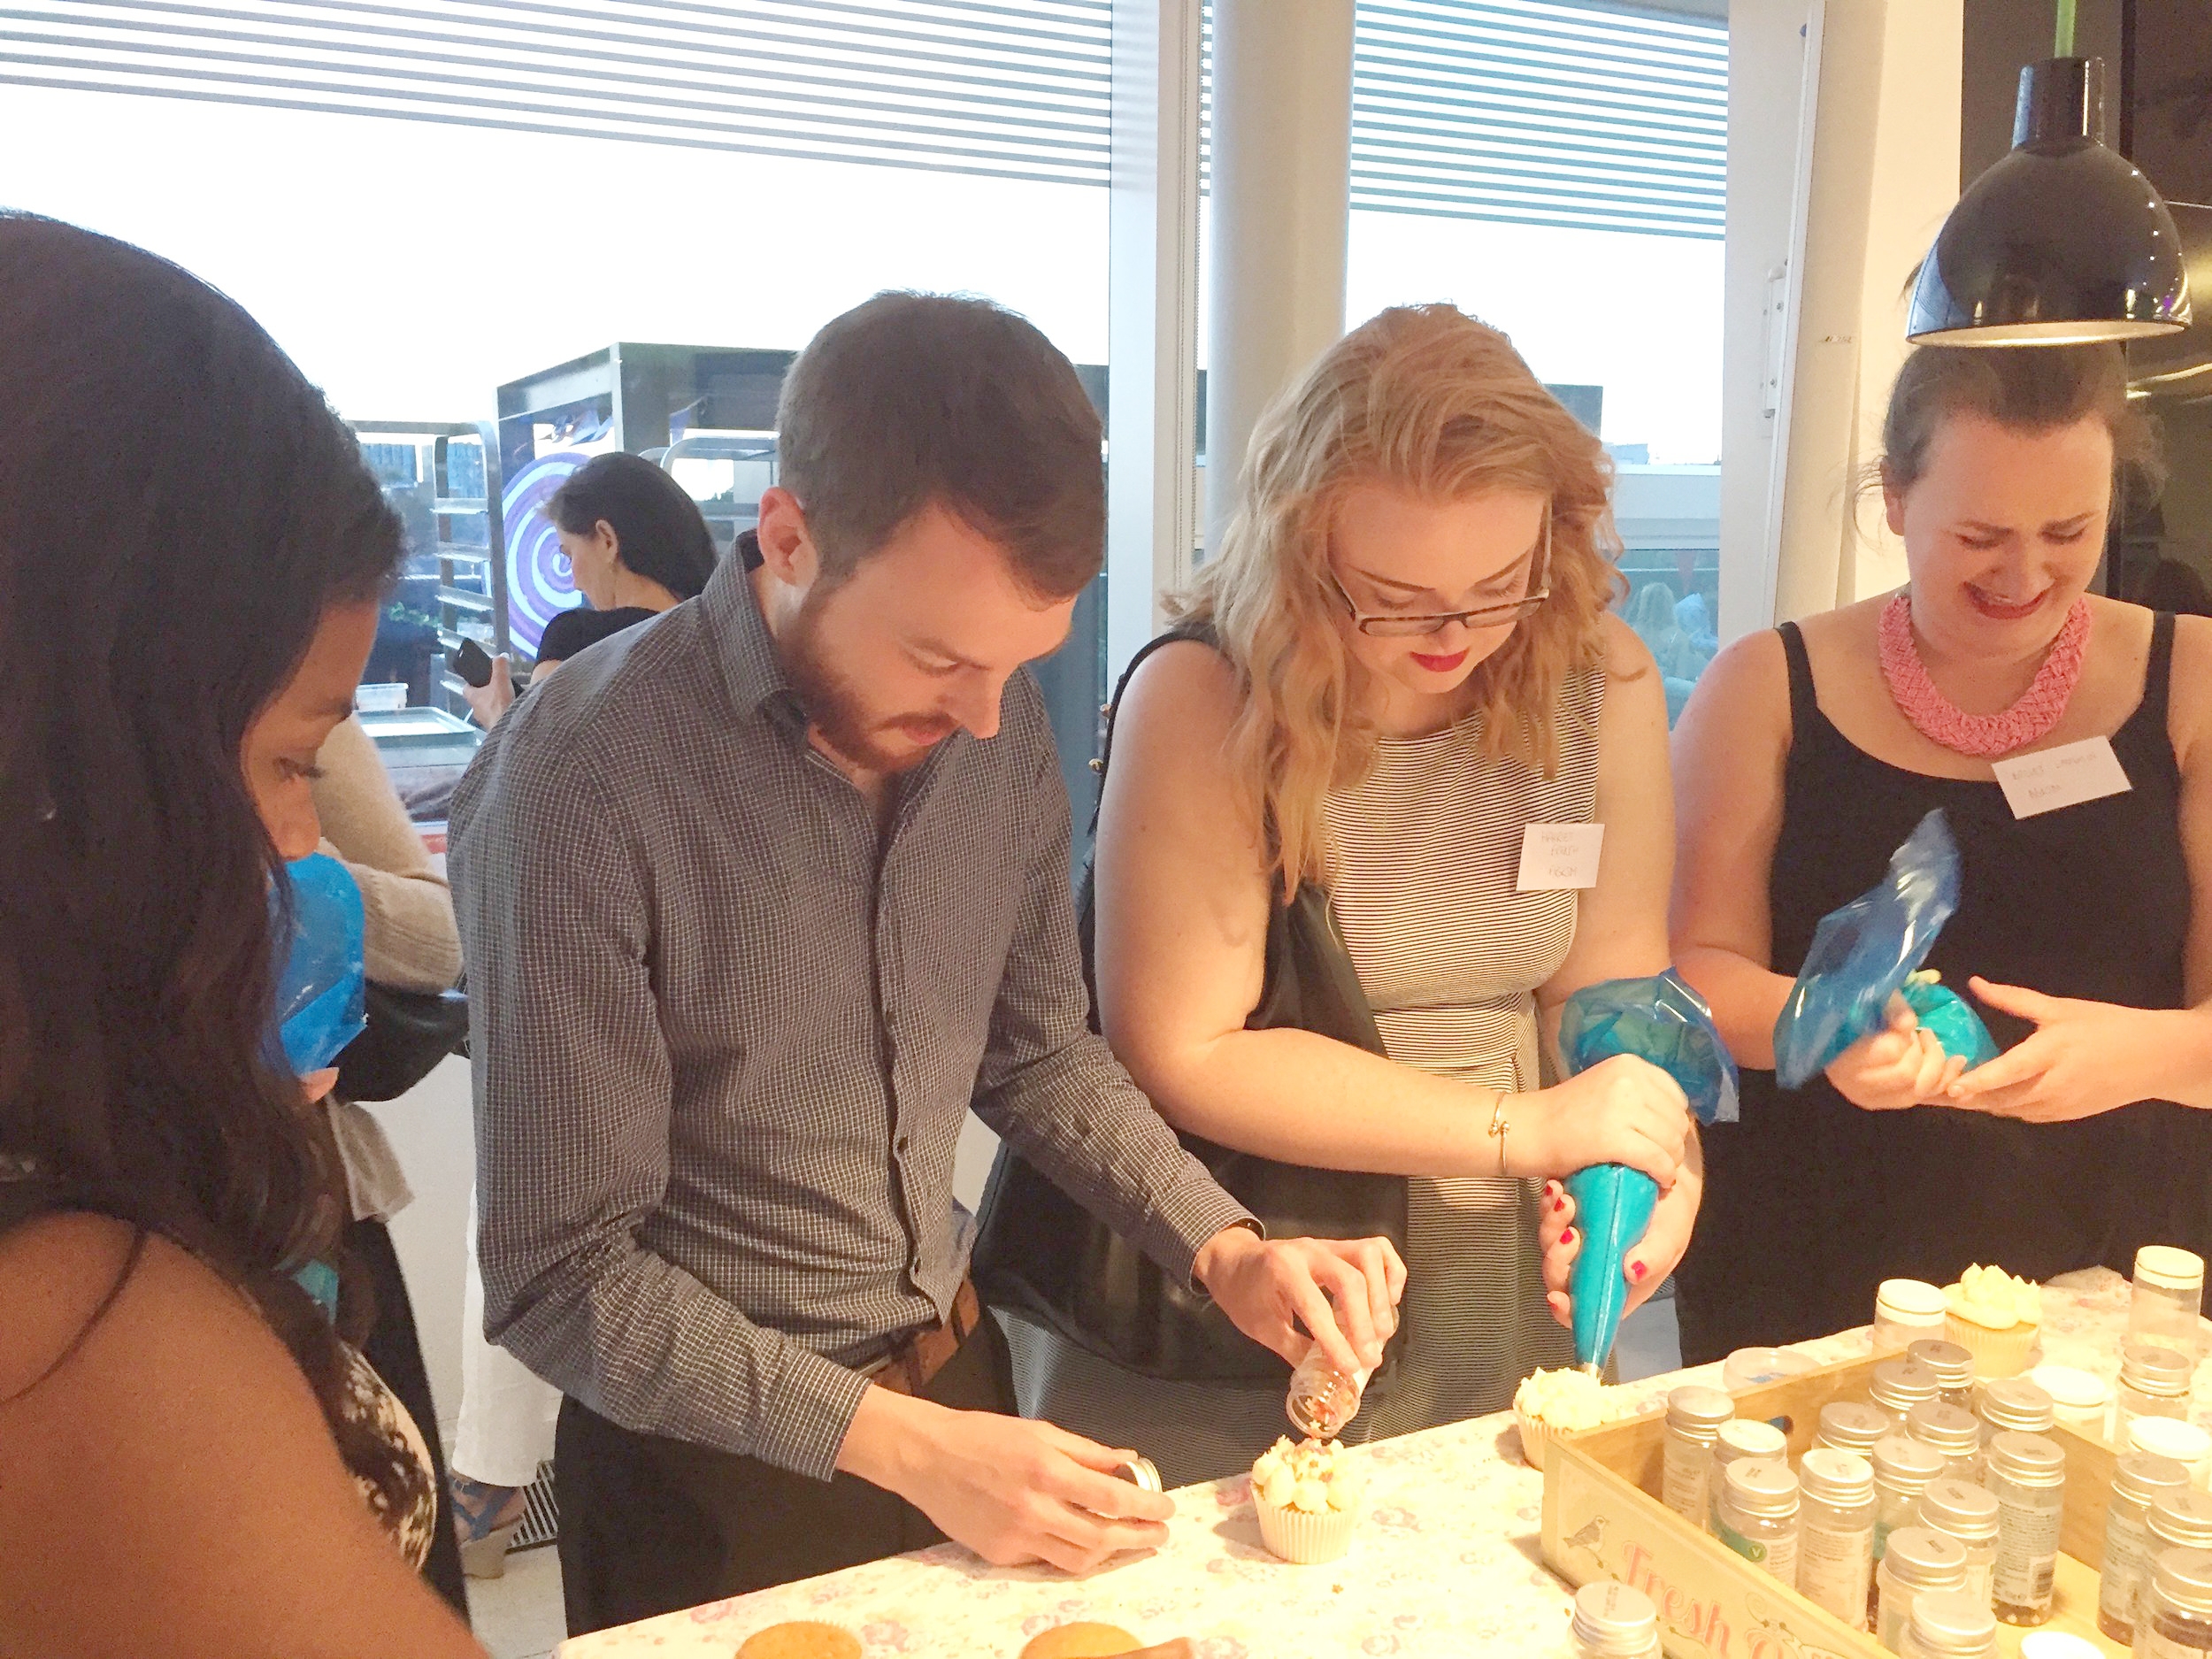
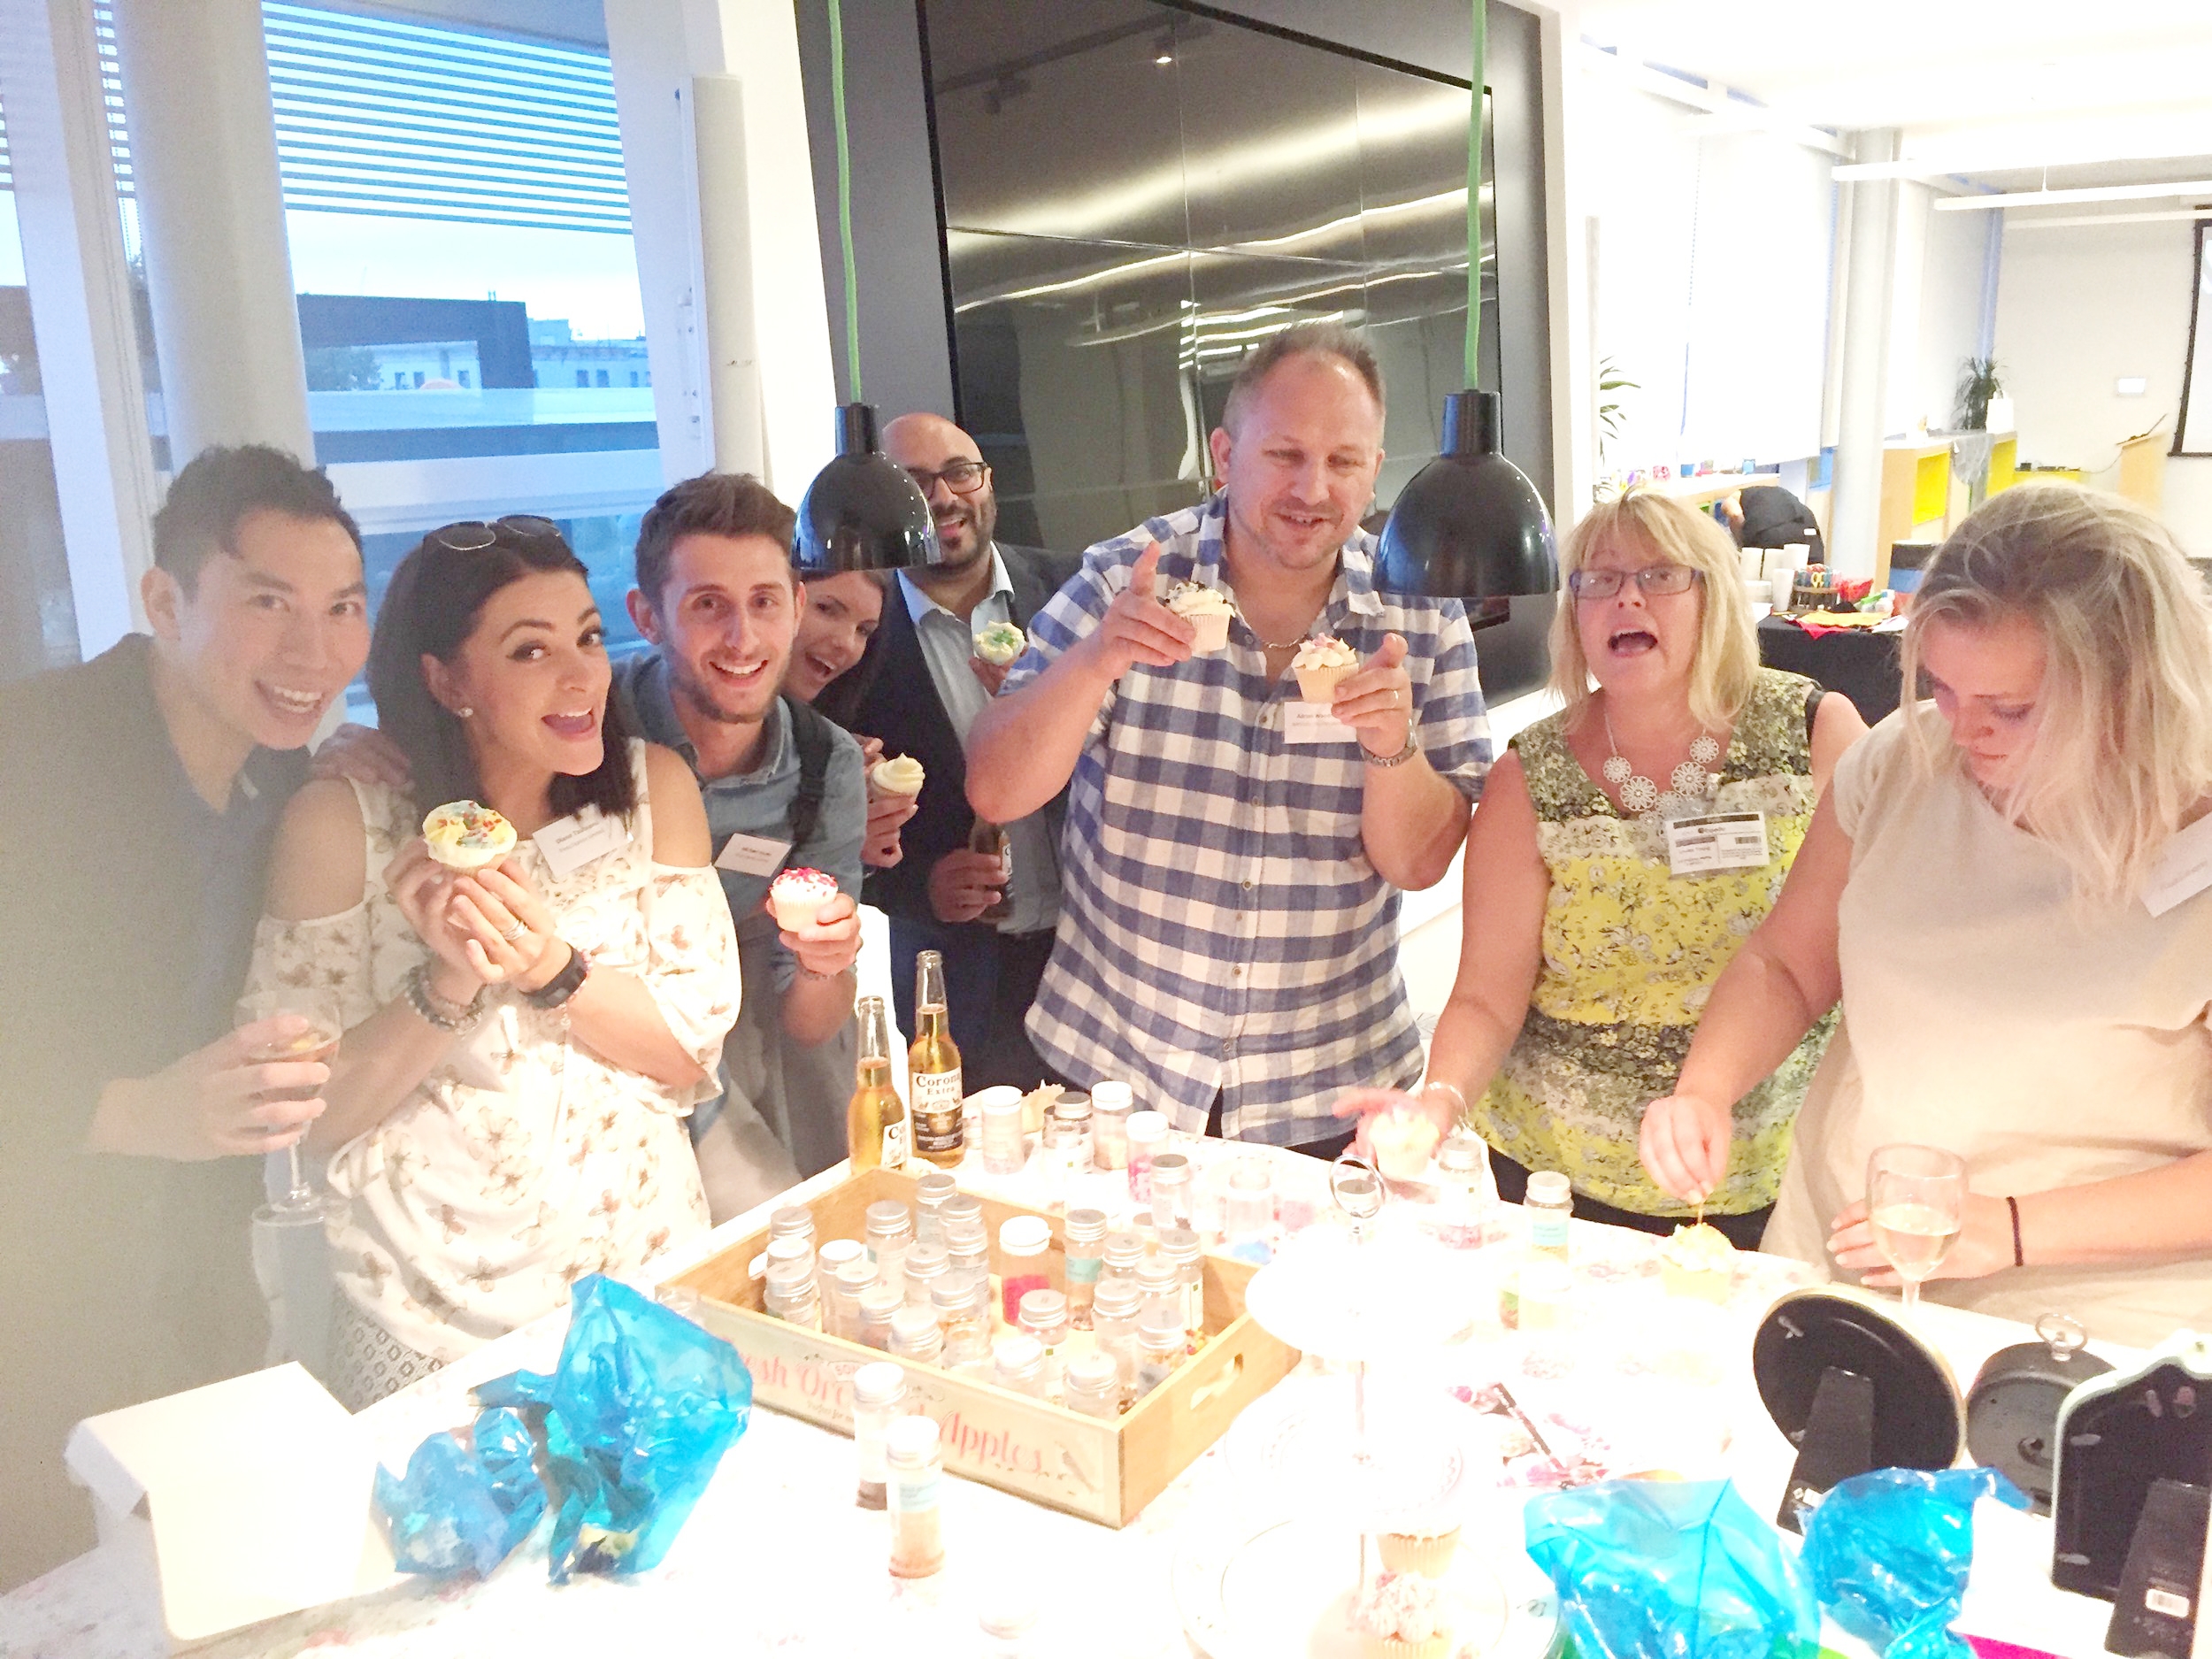
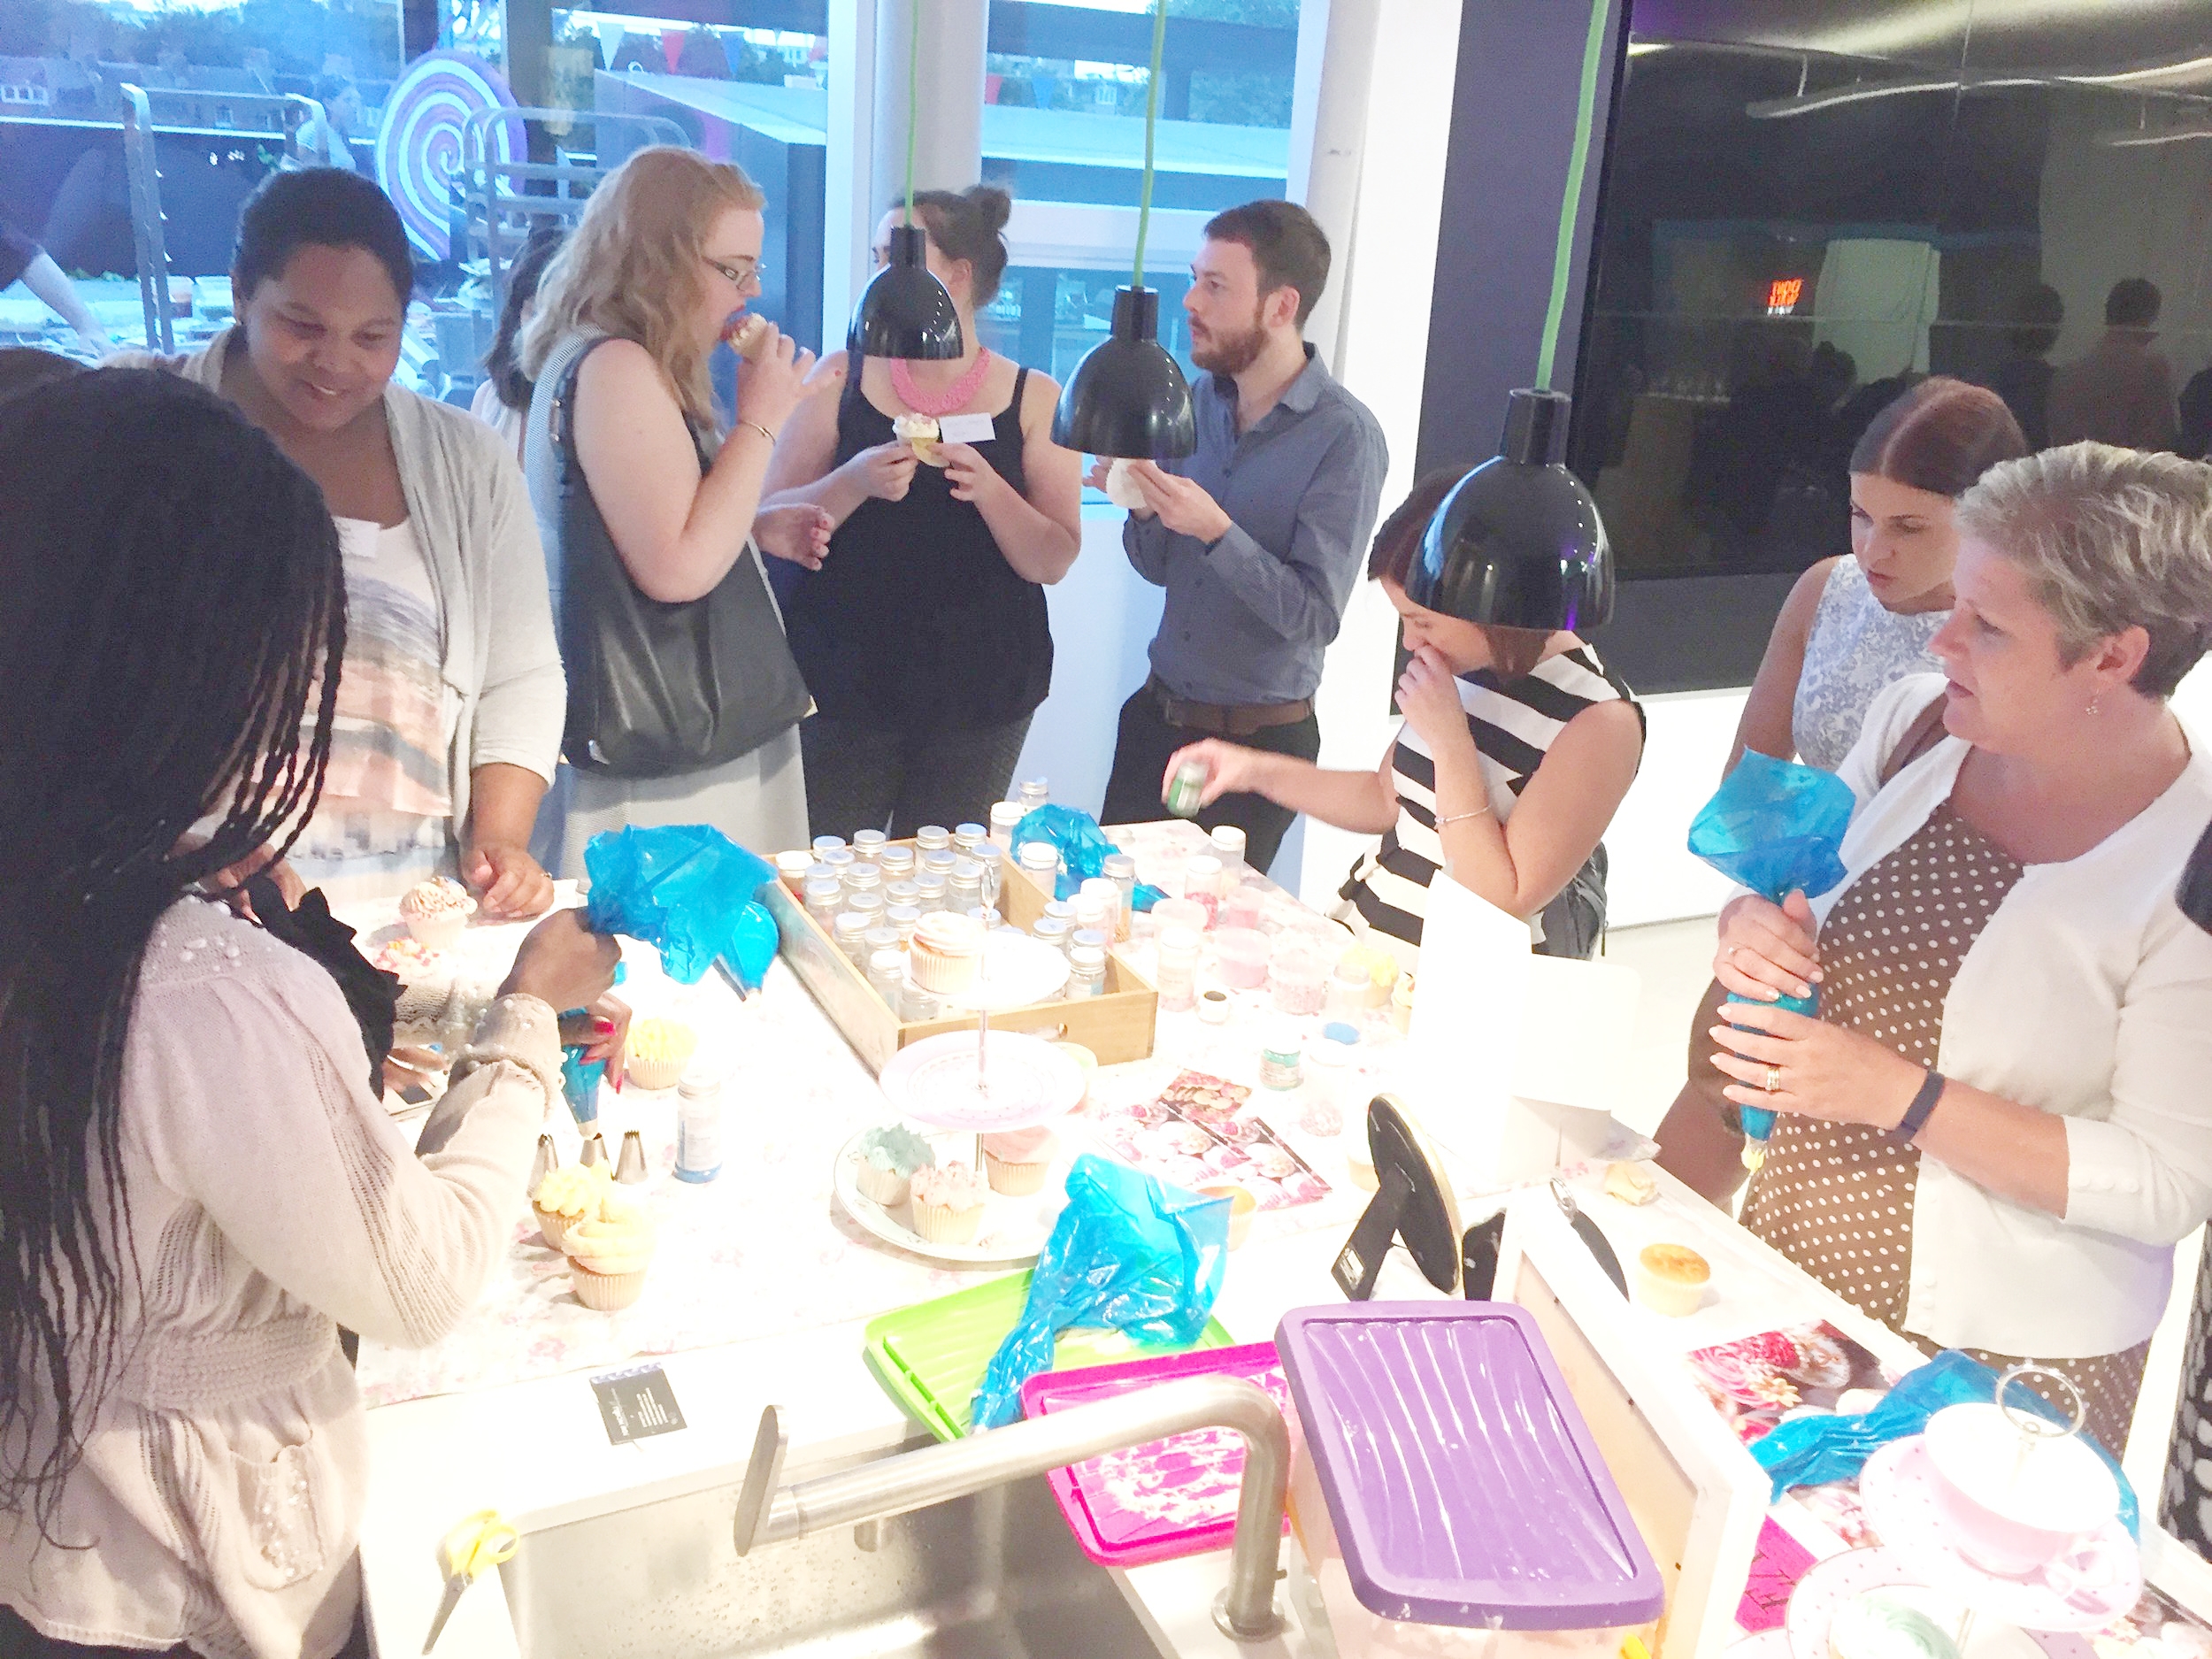
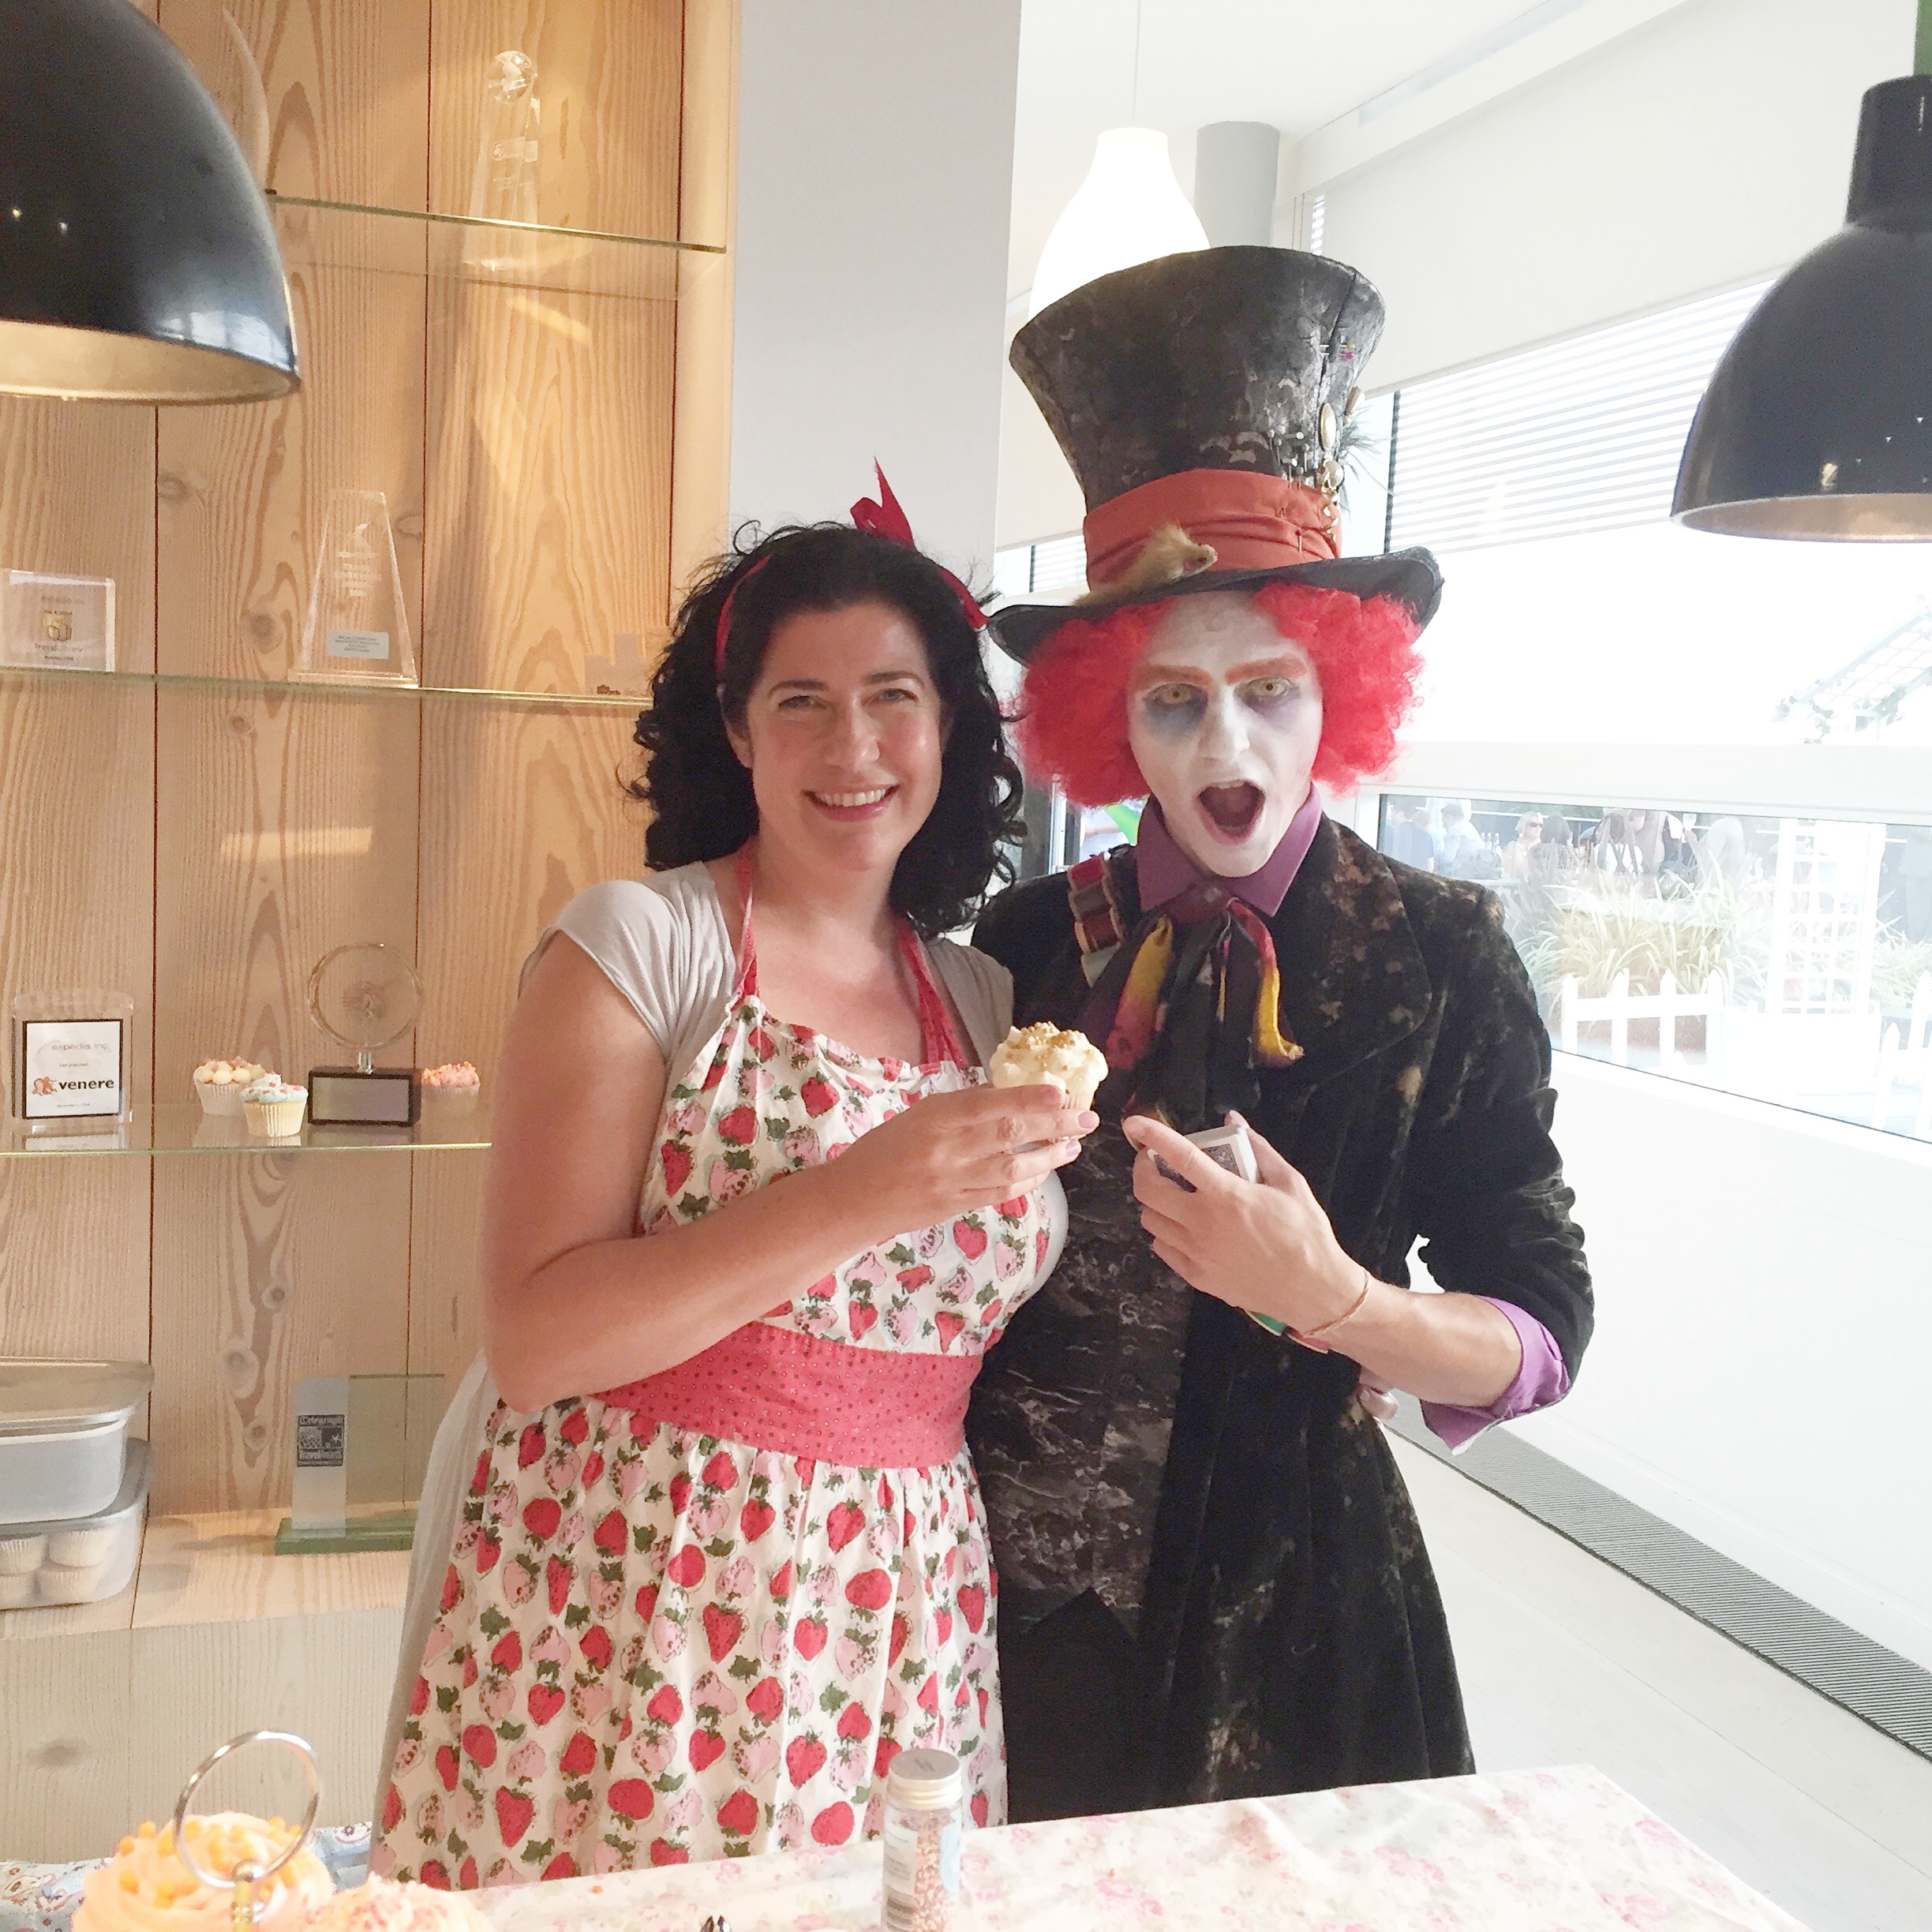
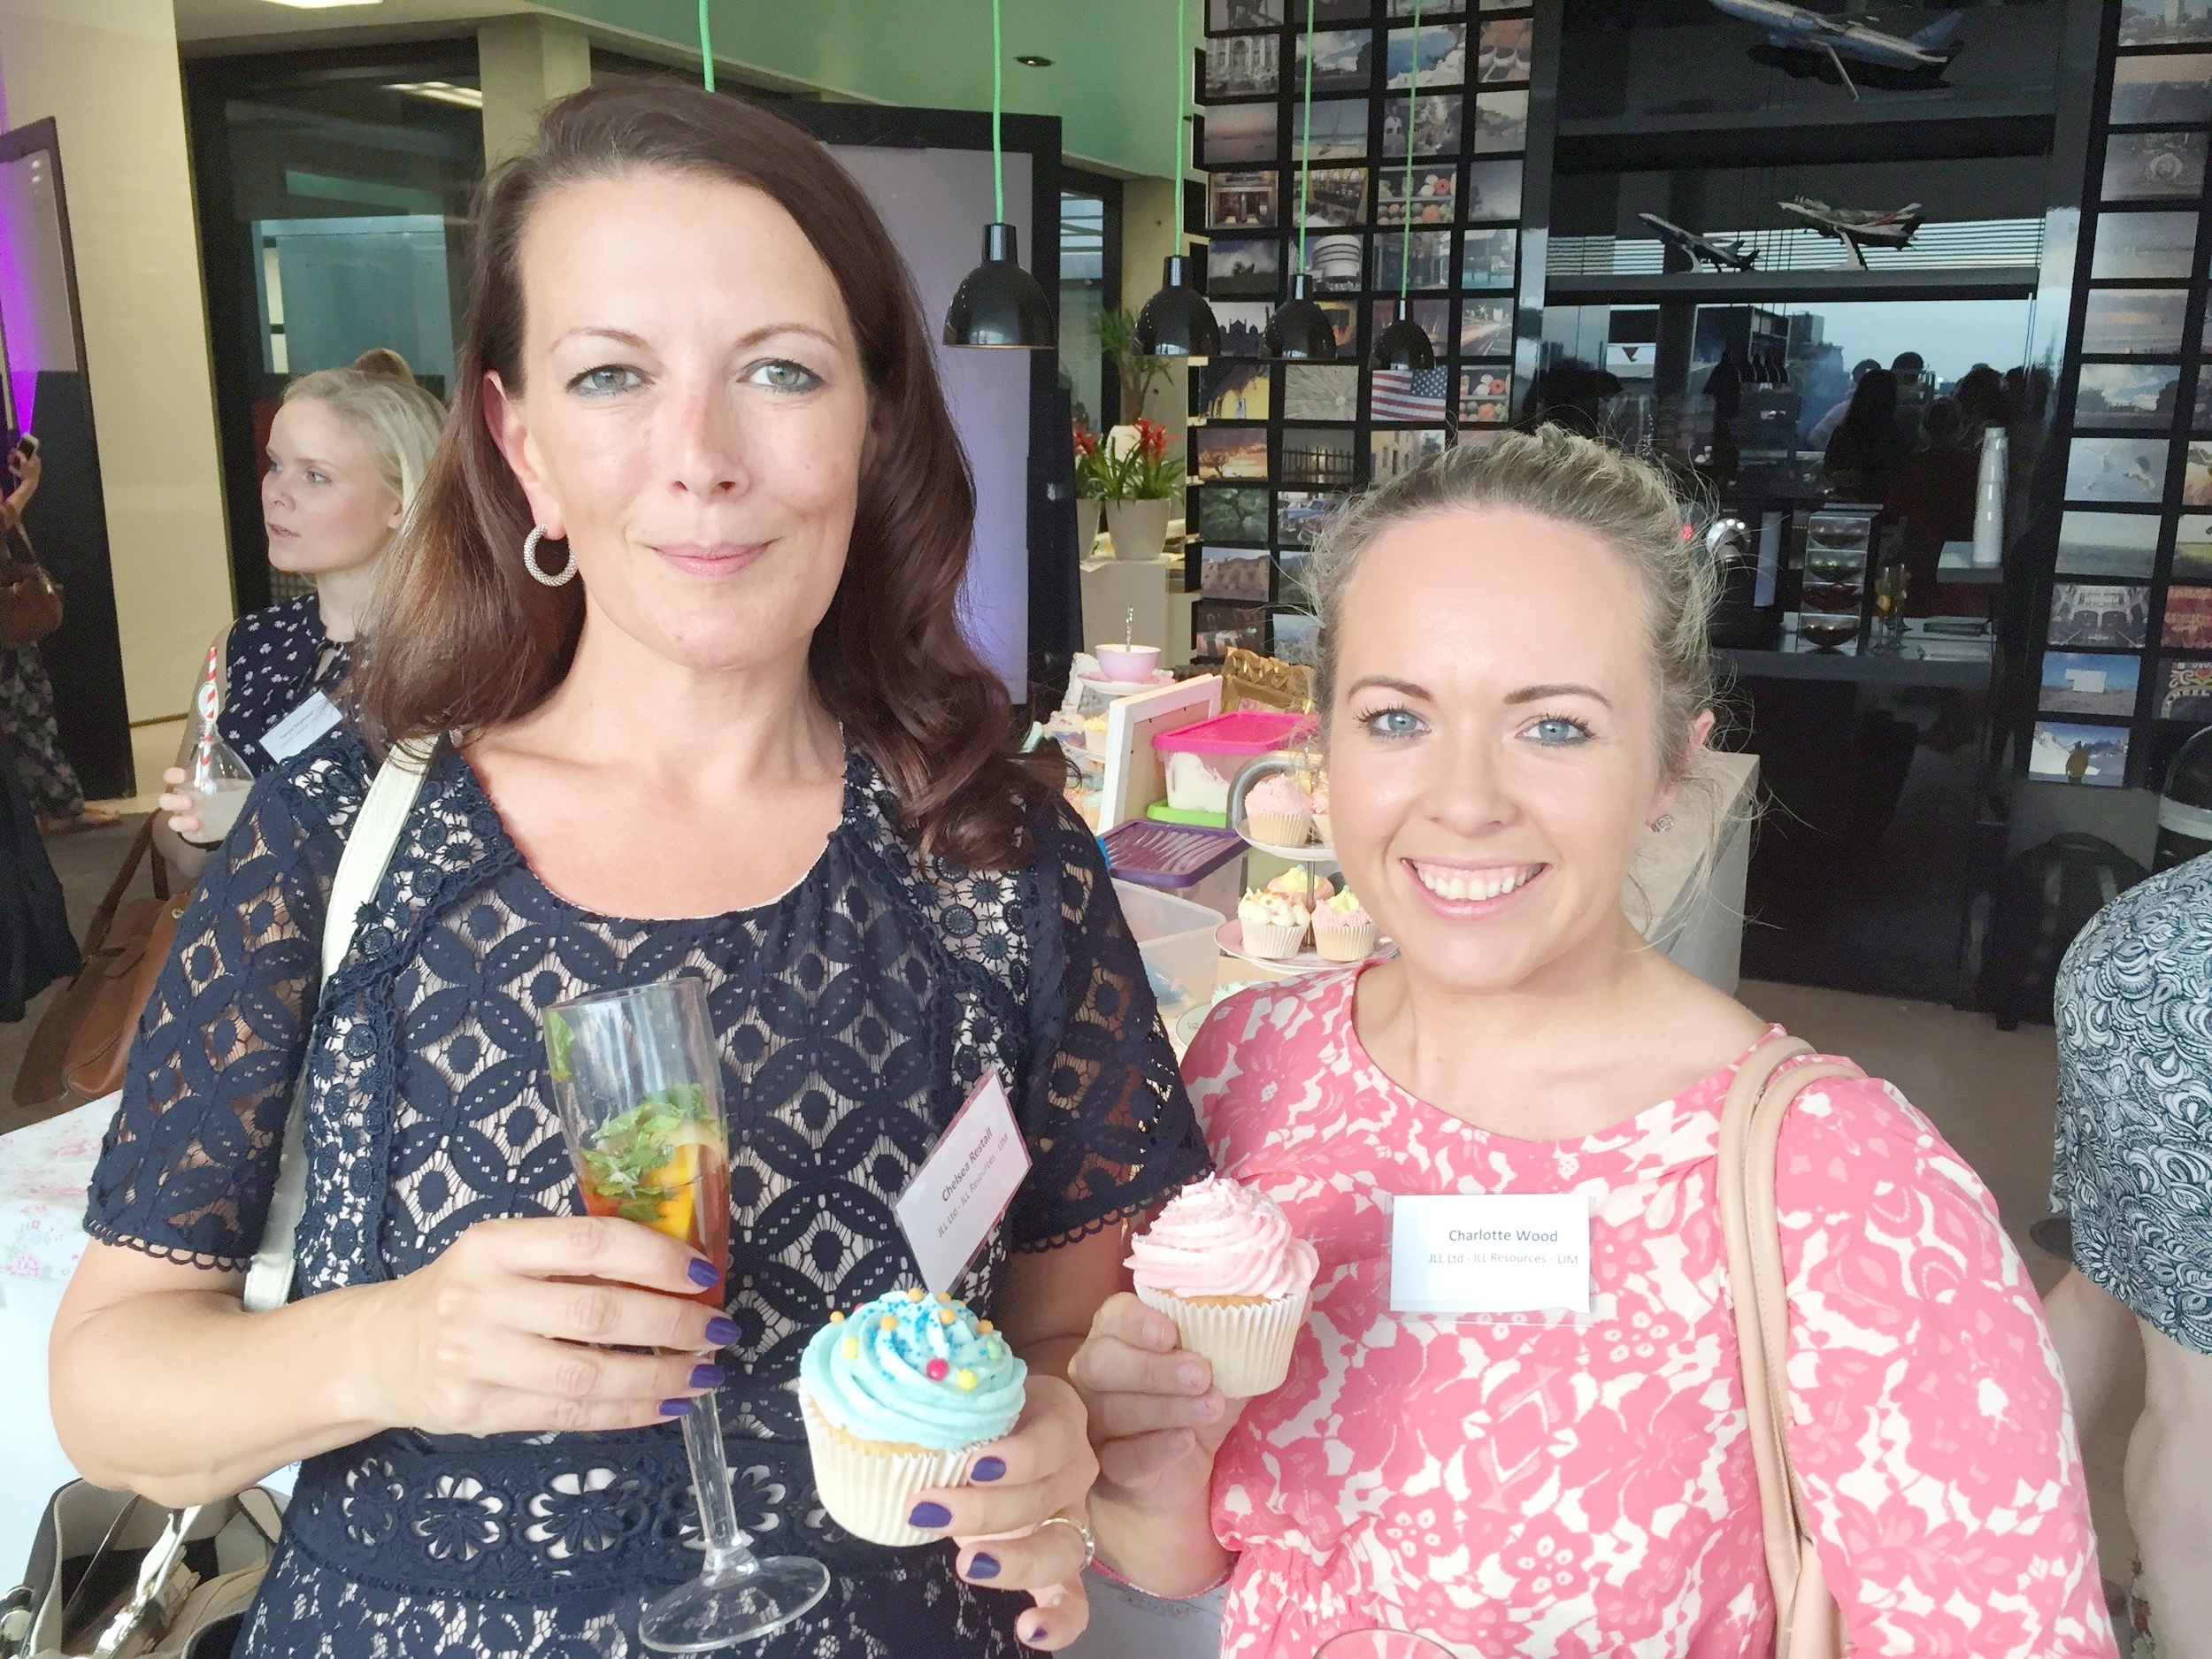
Egencia through the looking glass was a fab event for the corporate arm of Expedia. It was a client event and our 'cupcake decorating stand' was a big hit. The were thrilled with how quickly they picked up the swirl techniques and it was the perfect finish to the delicious barbecue that everyone had indulged in. The Mad Hatter AKA was entertaining everyone with magic tricks and there were giant board games to play on. The sun shone and the views were incredible. A memorable event and a great time had by all.
What is the most fun activity that you've done at an event?
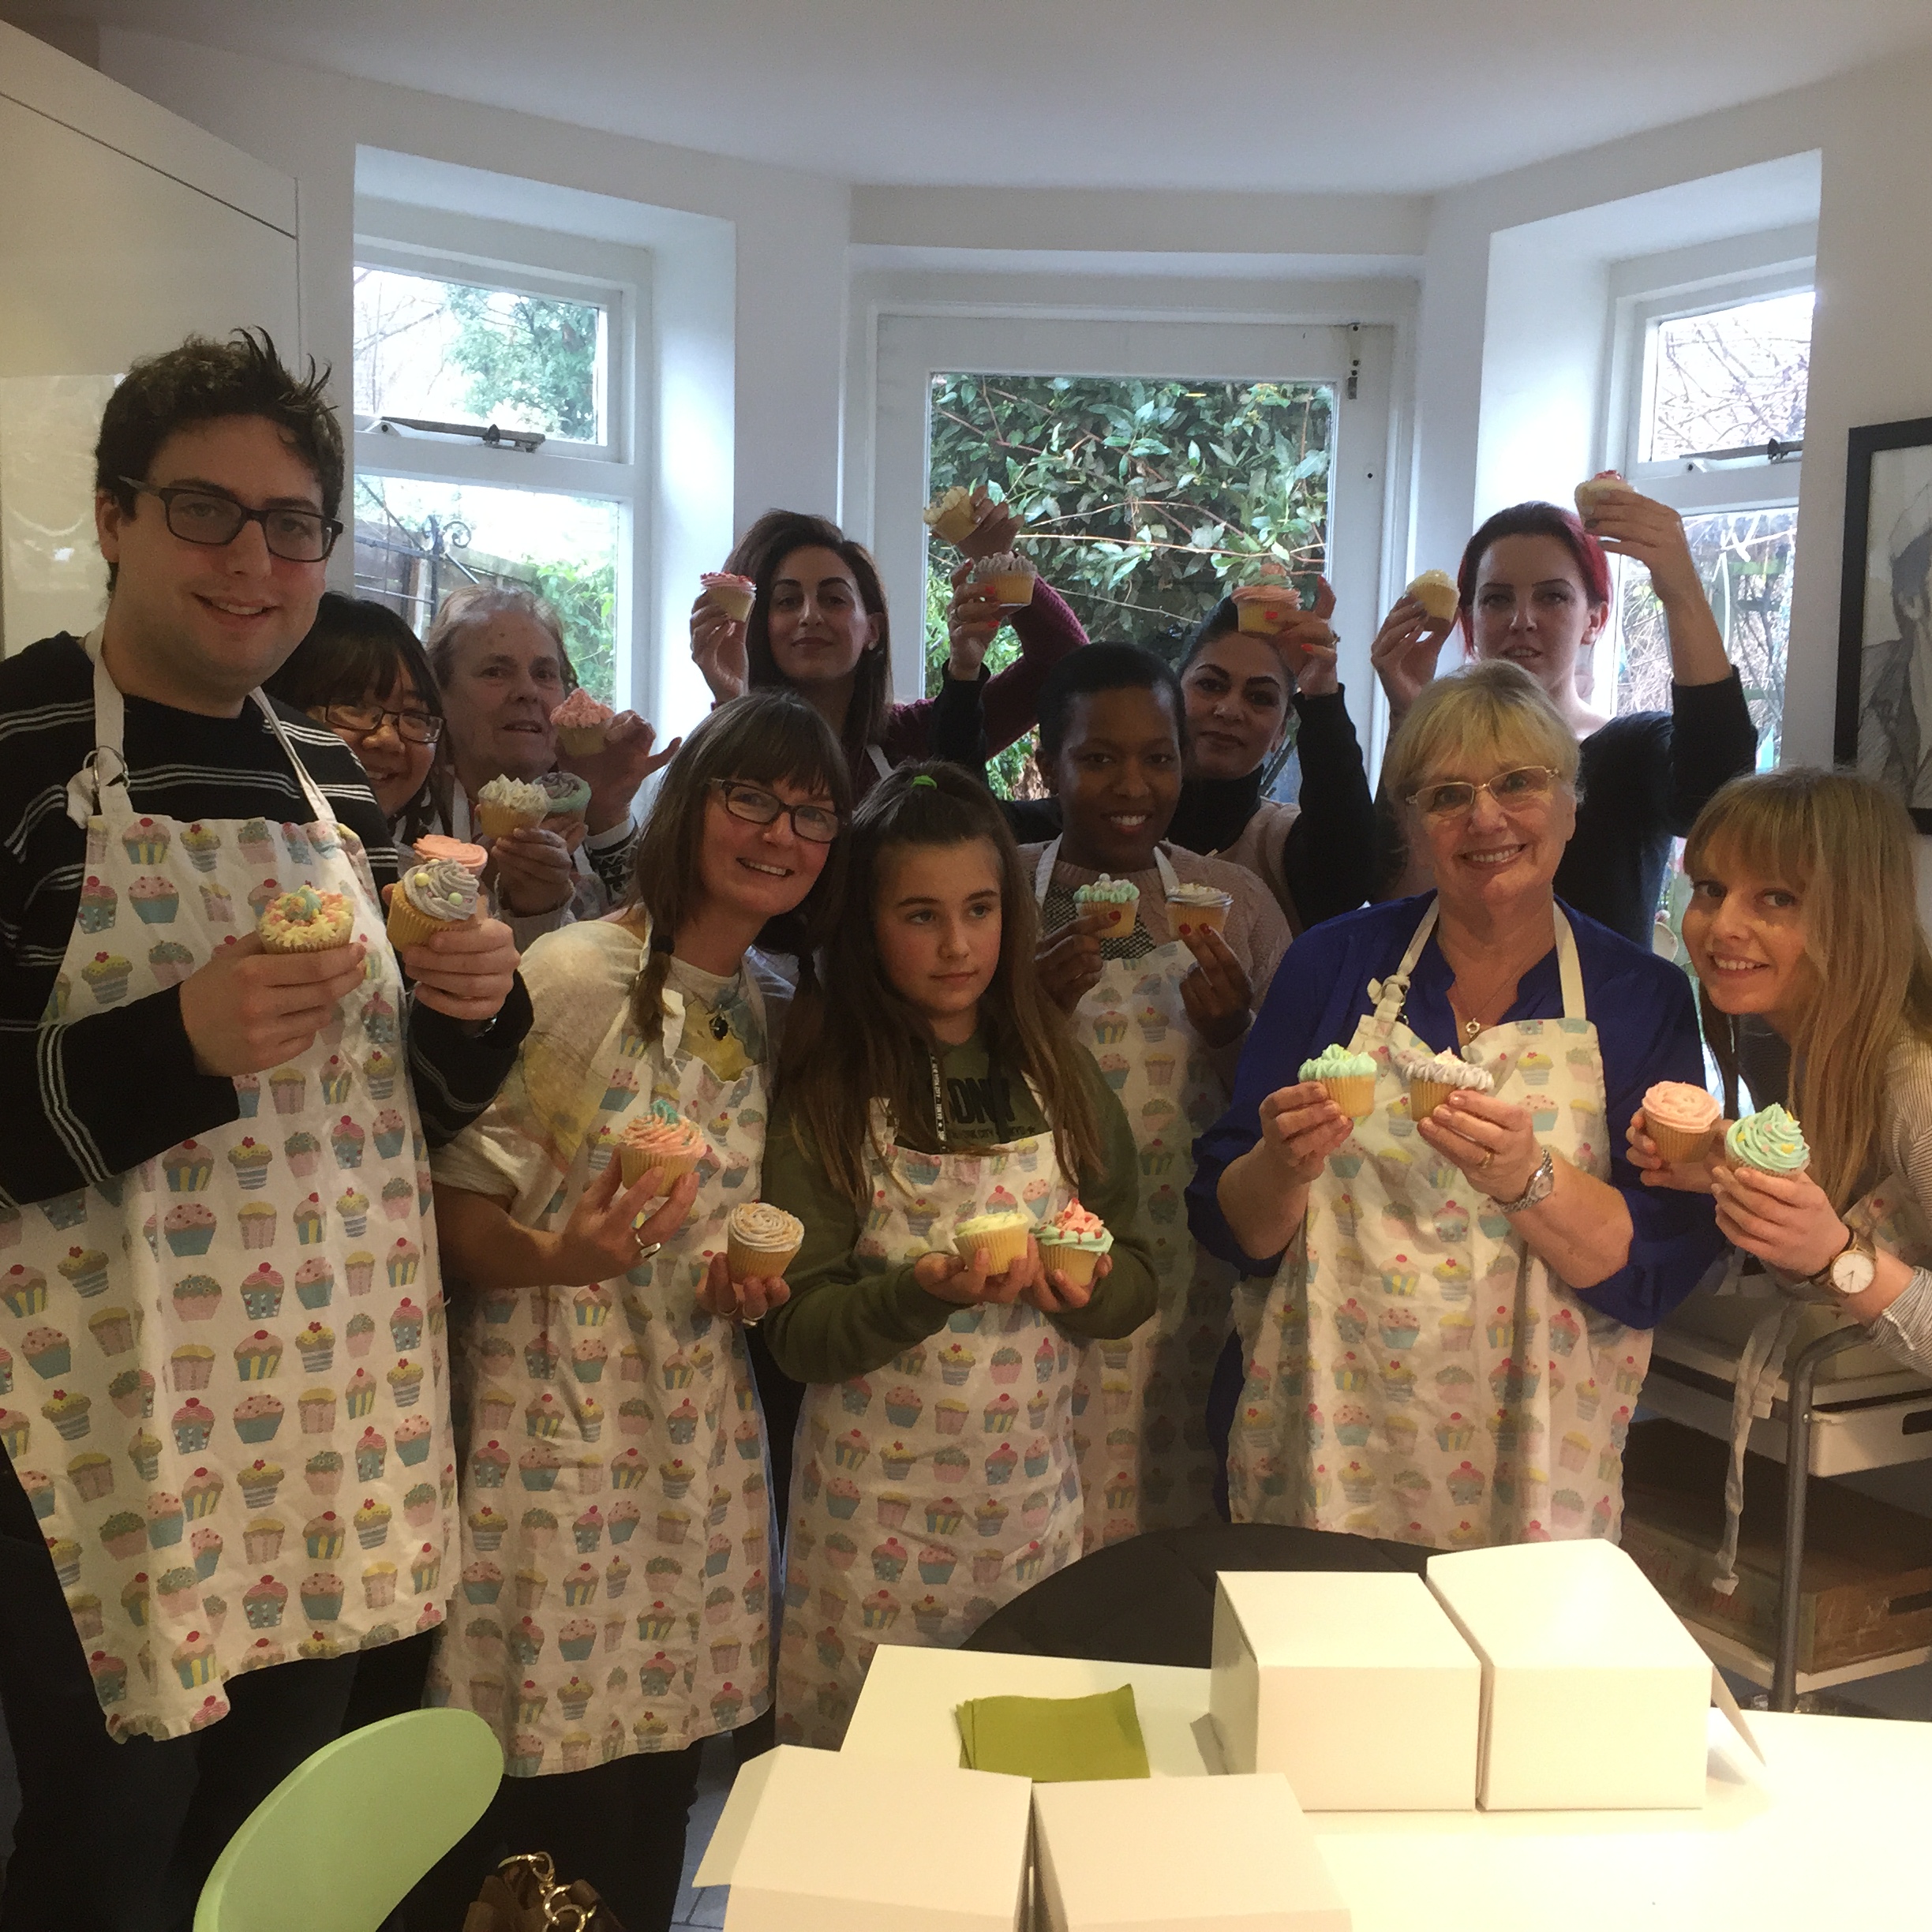
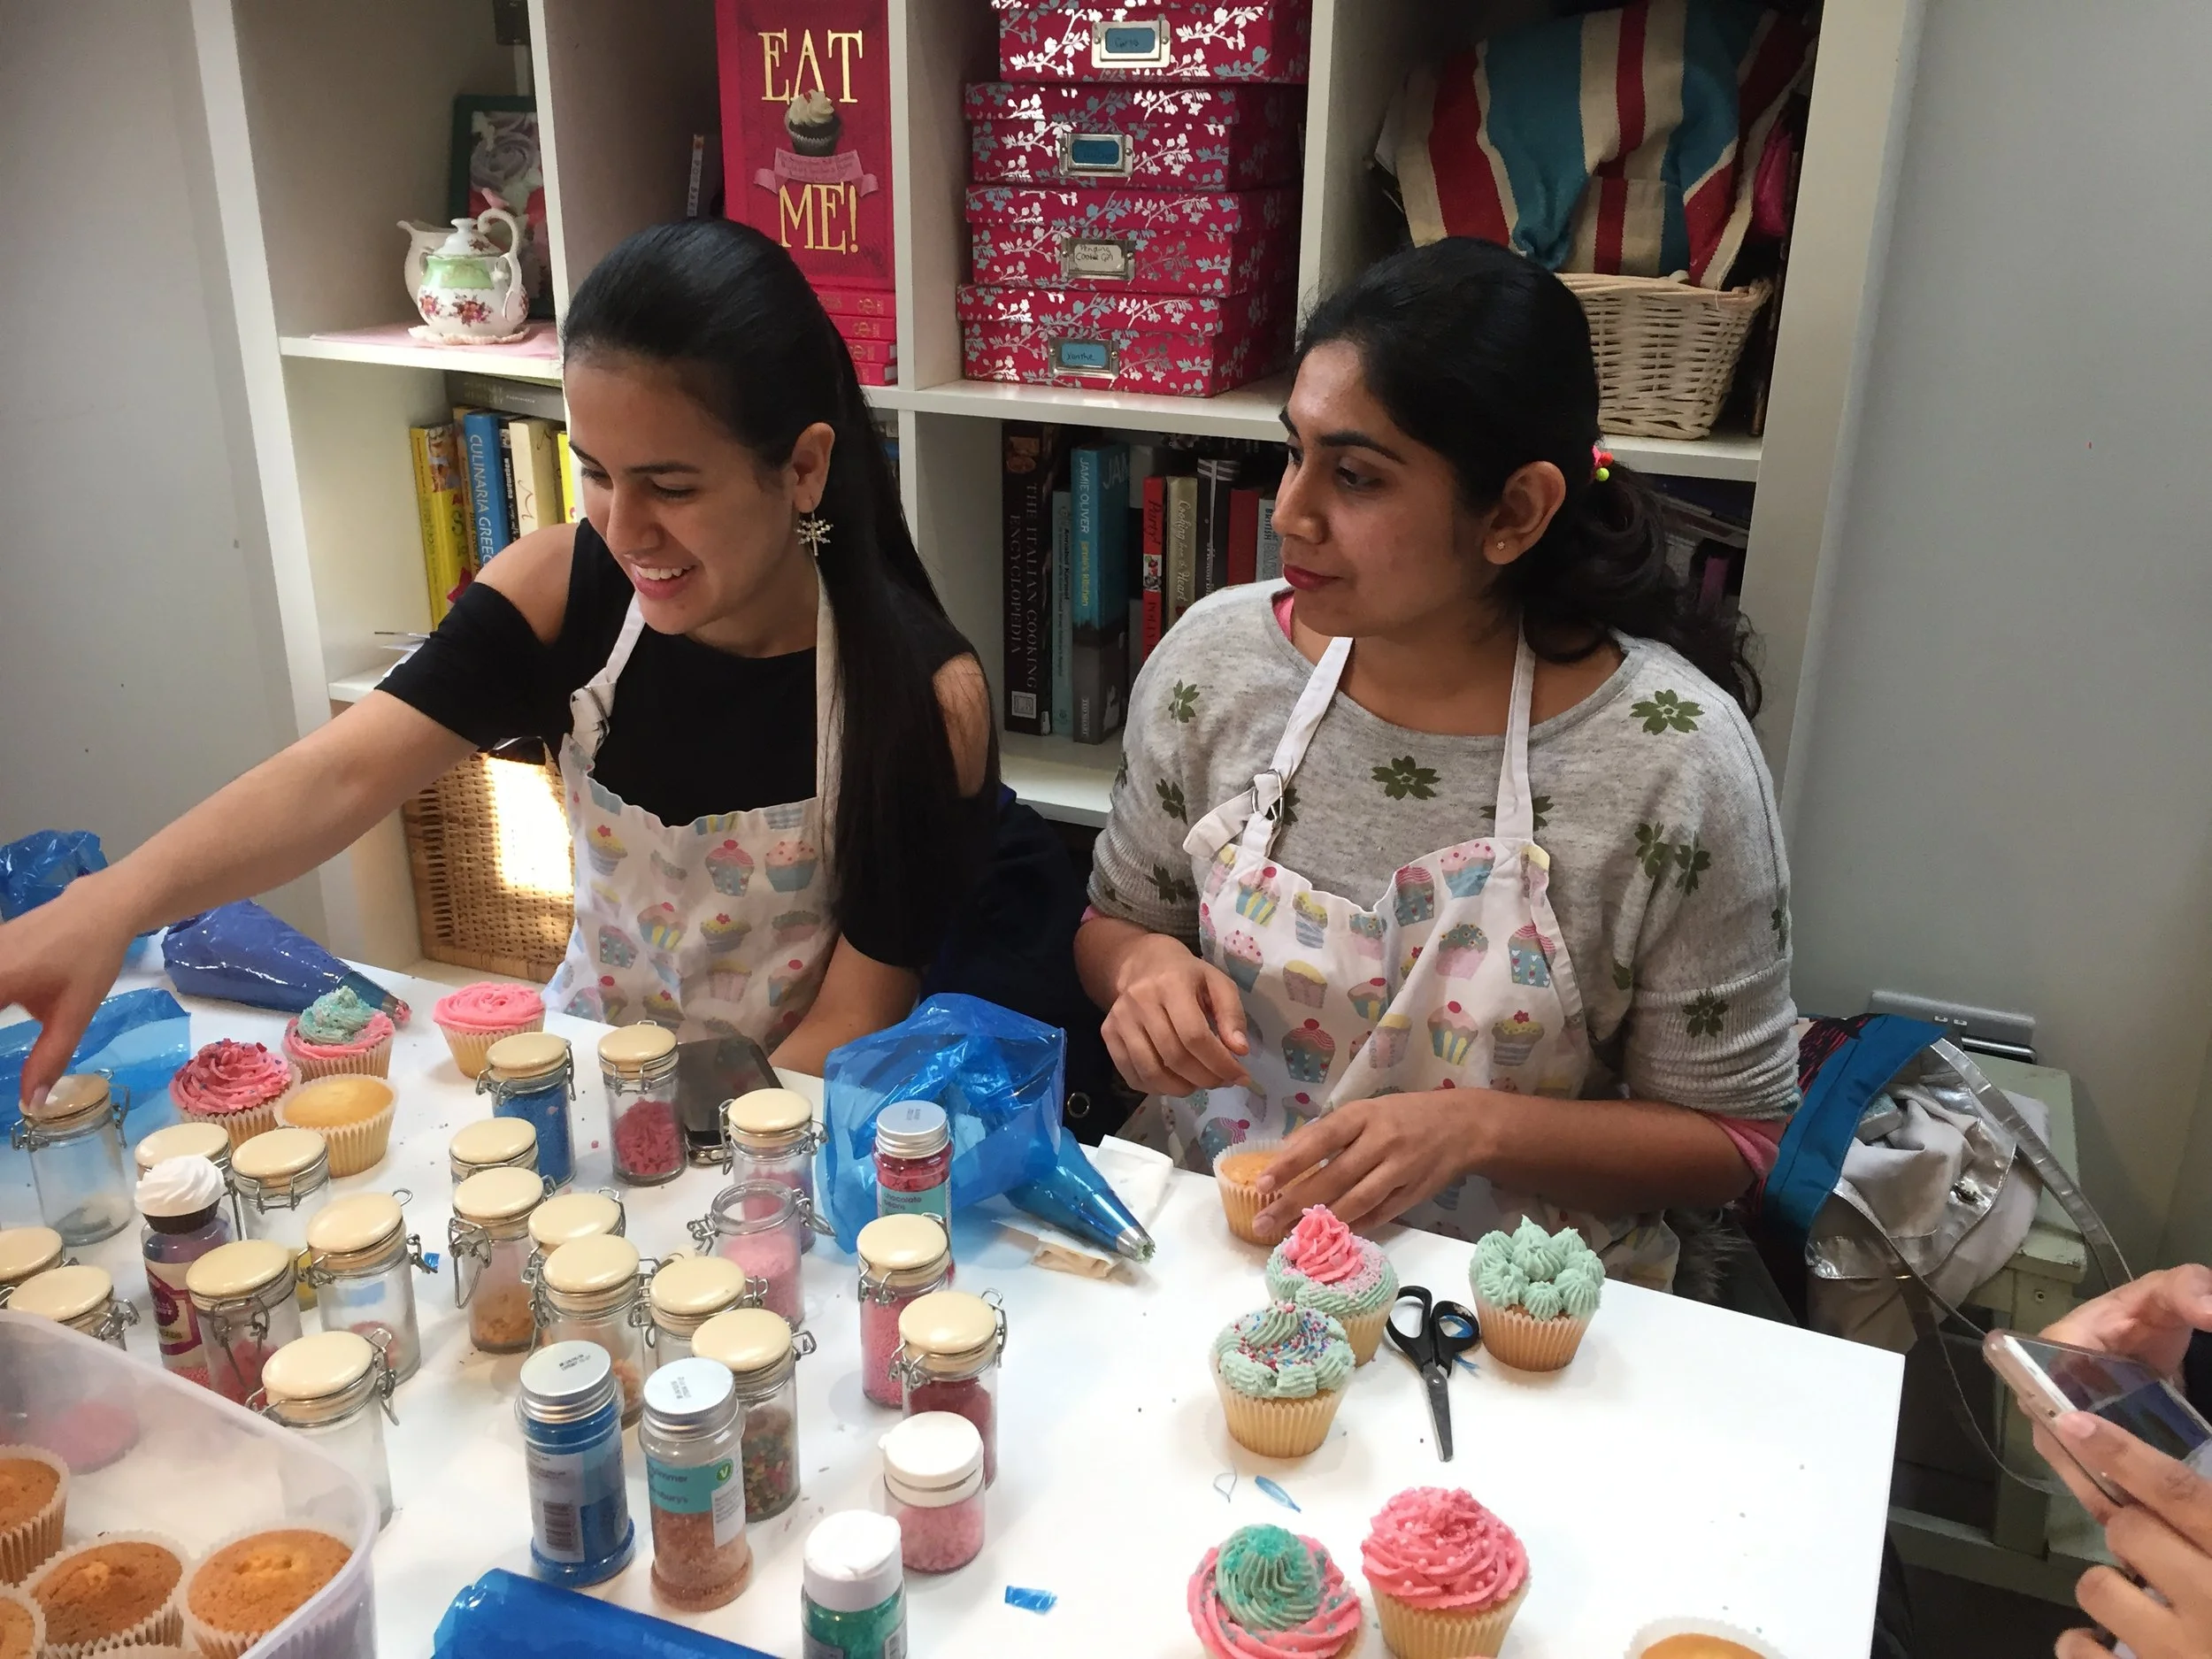
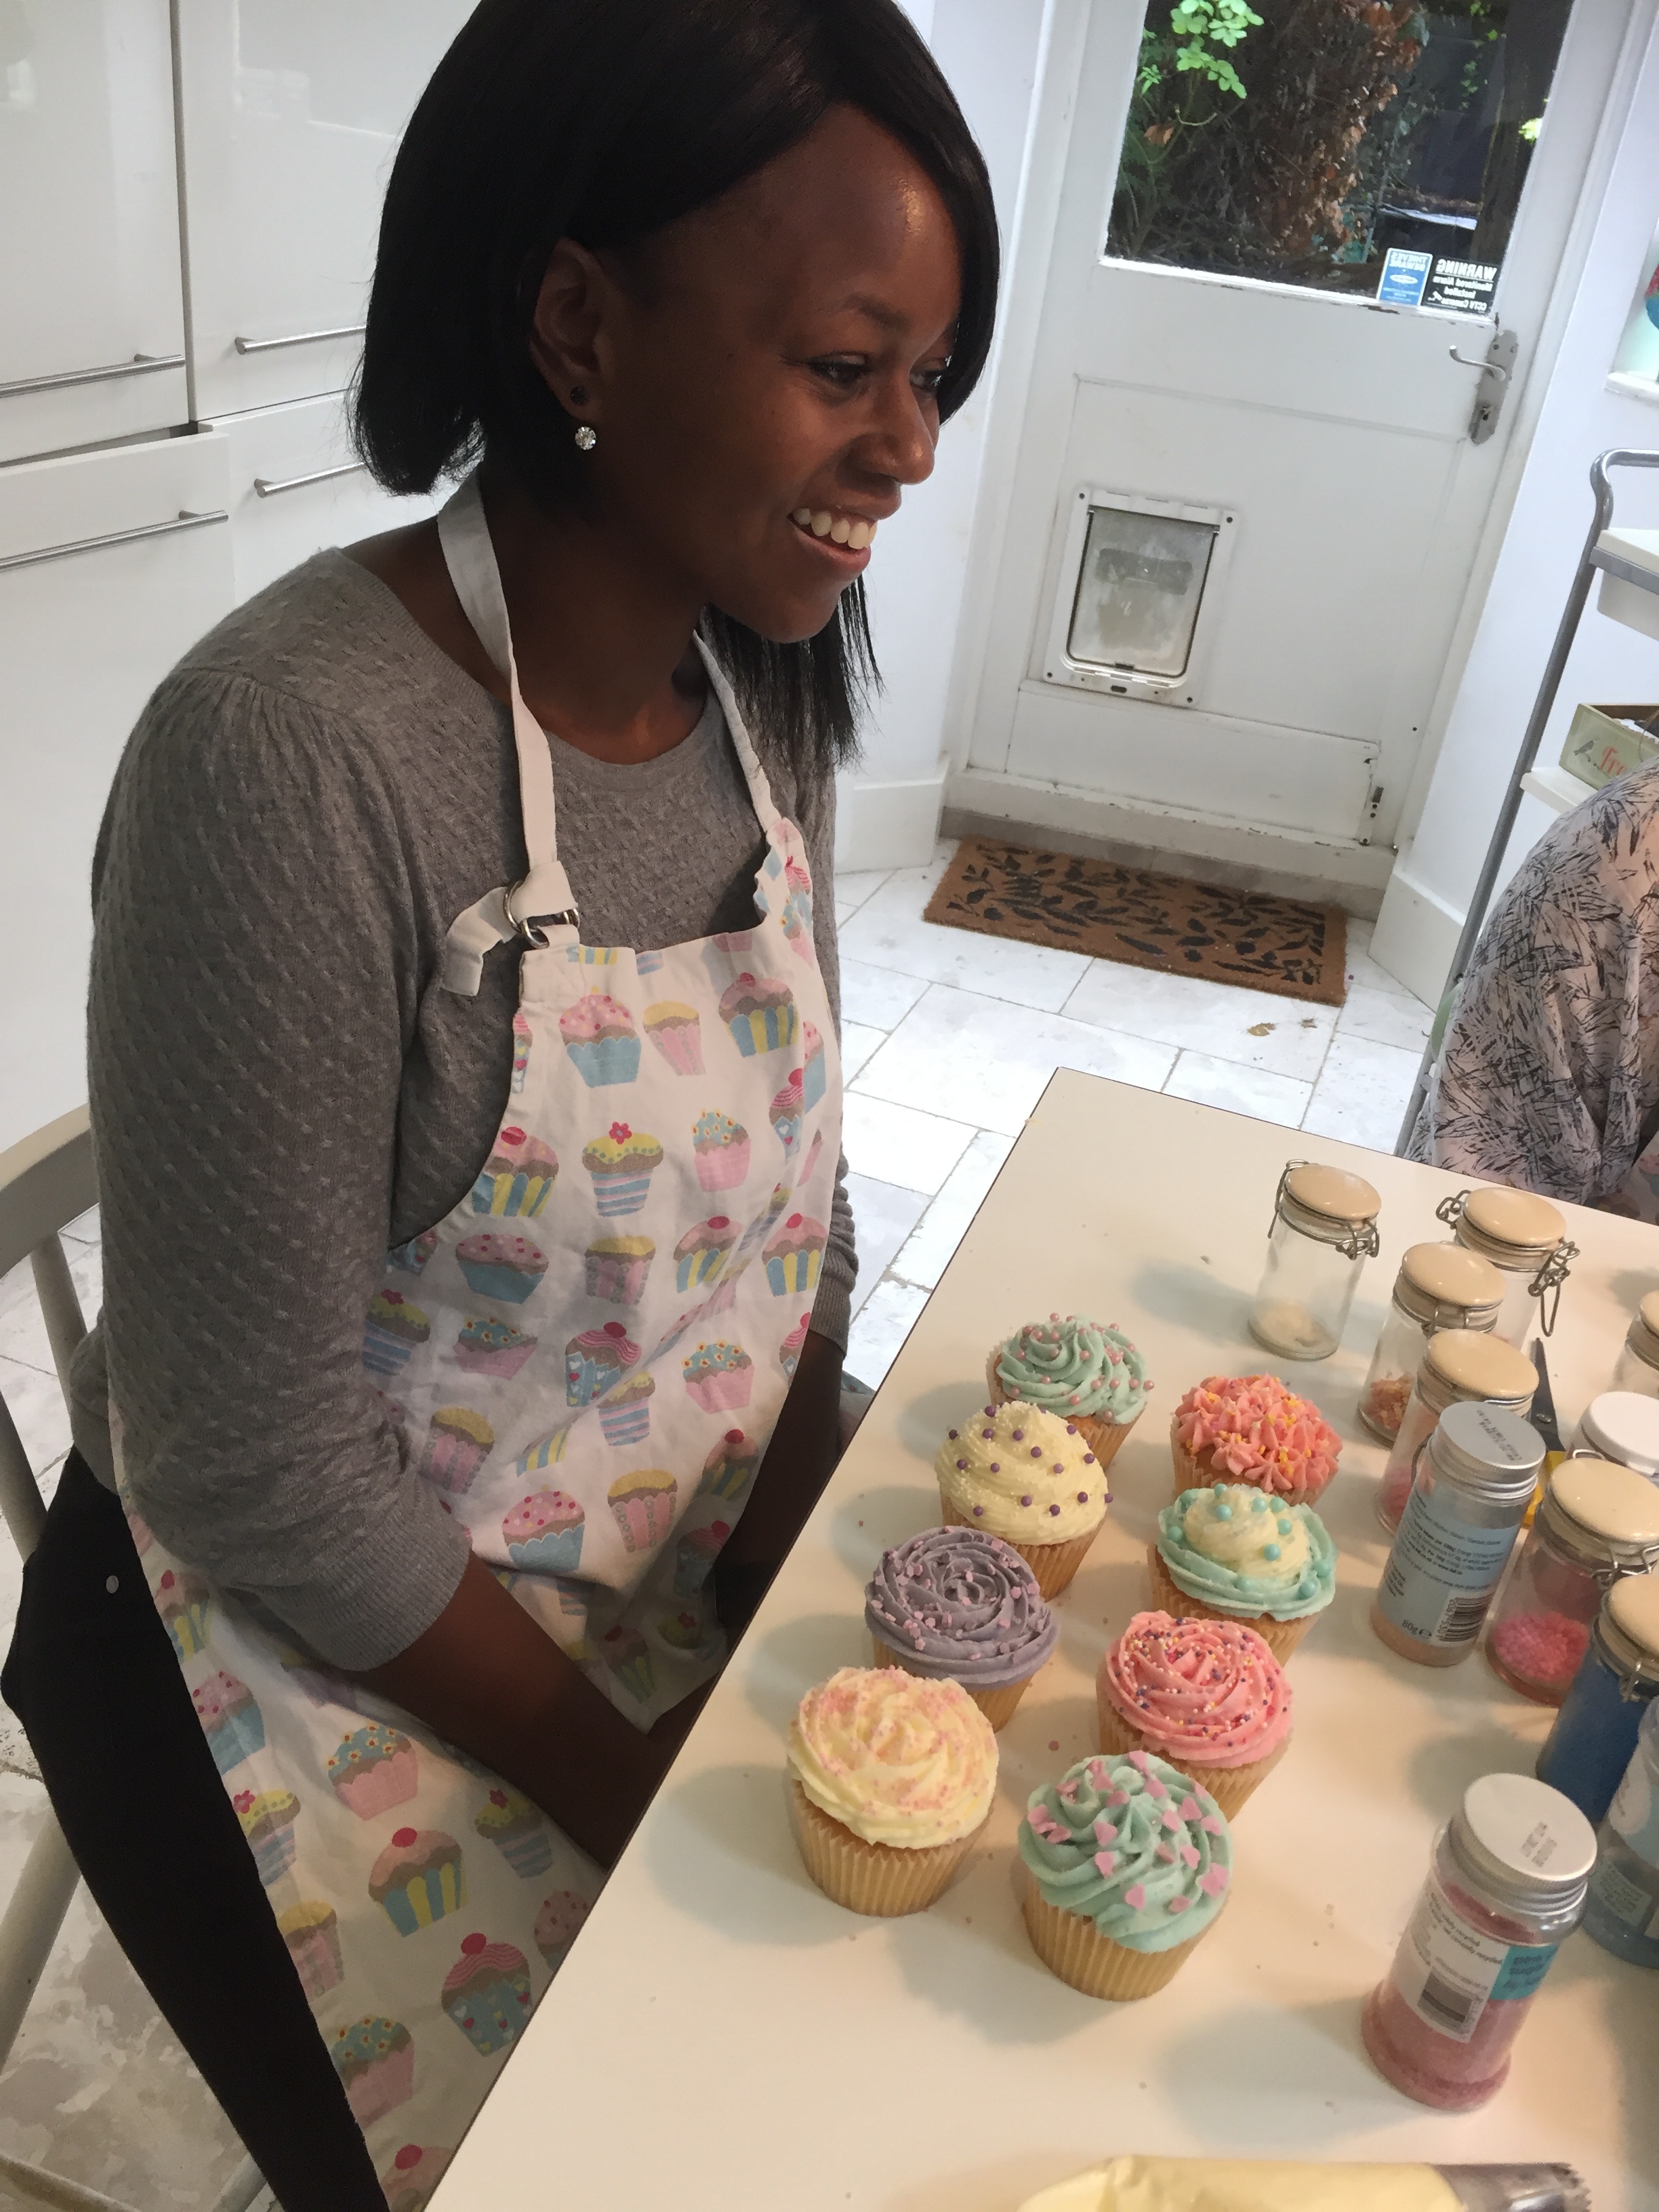
Cupcake Decorating Class
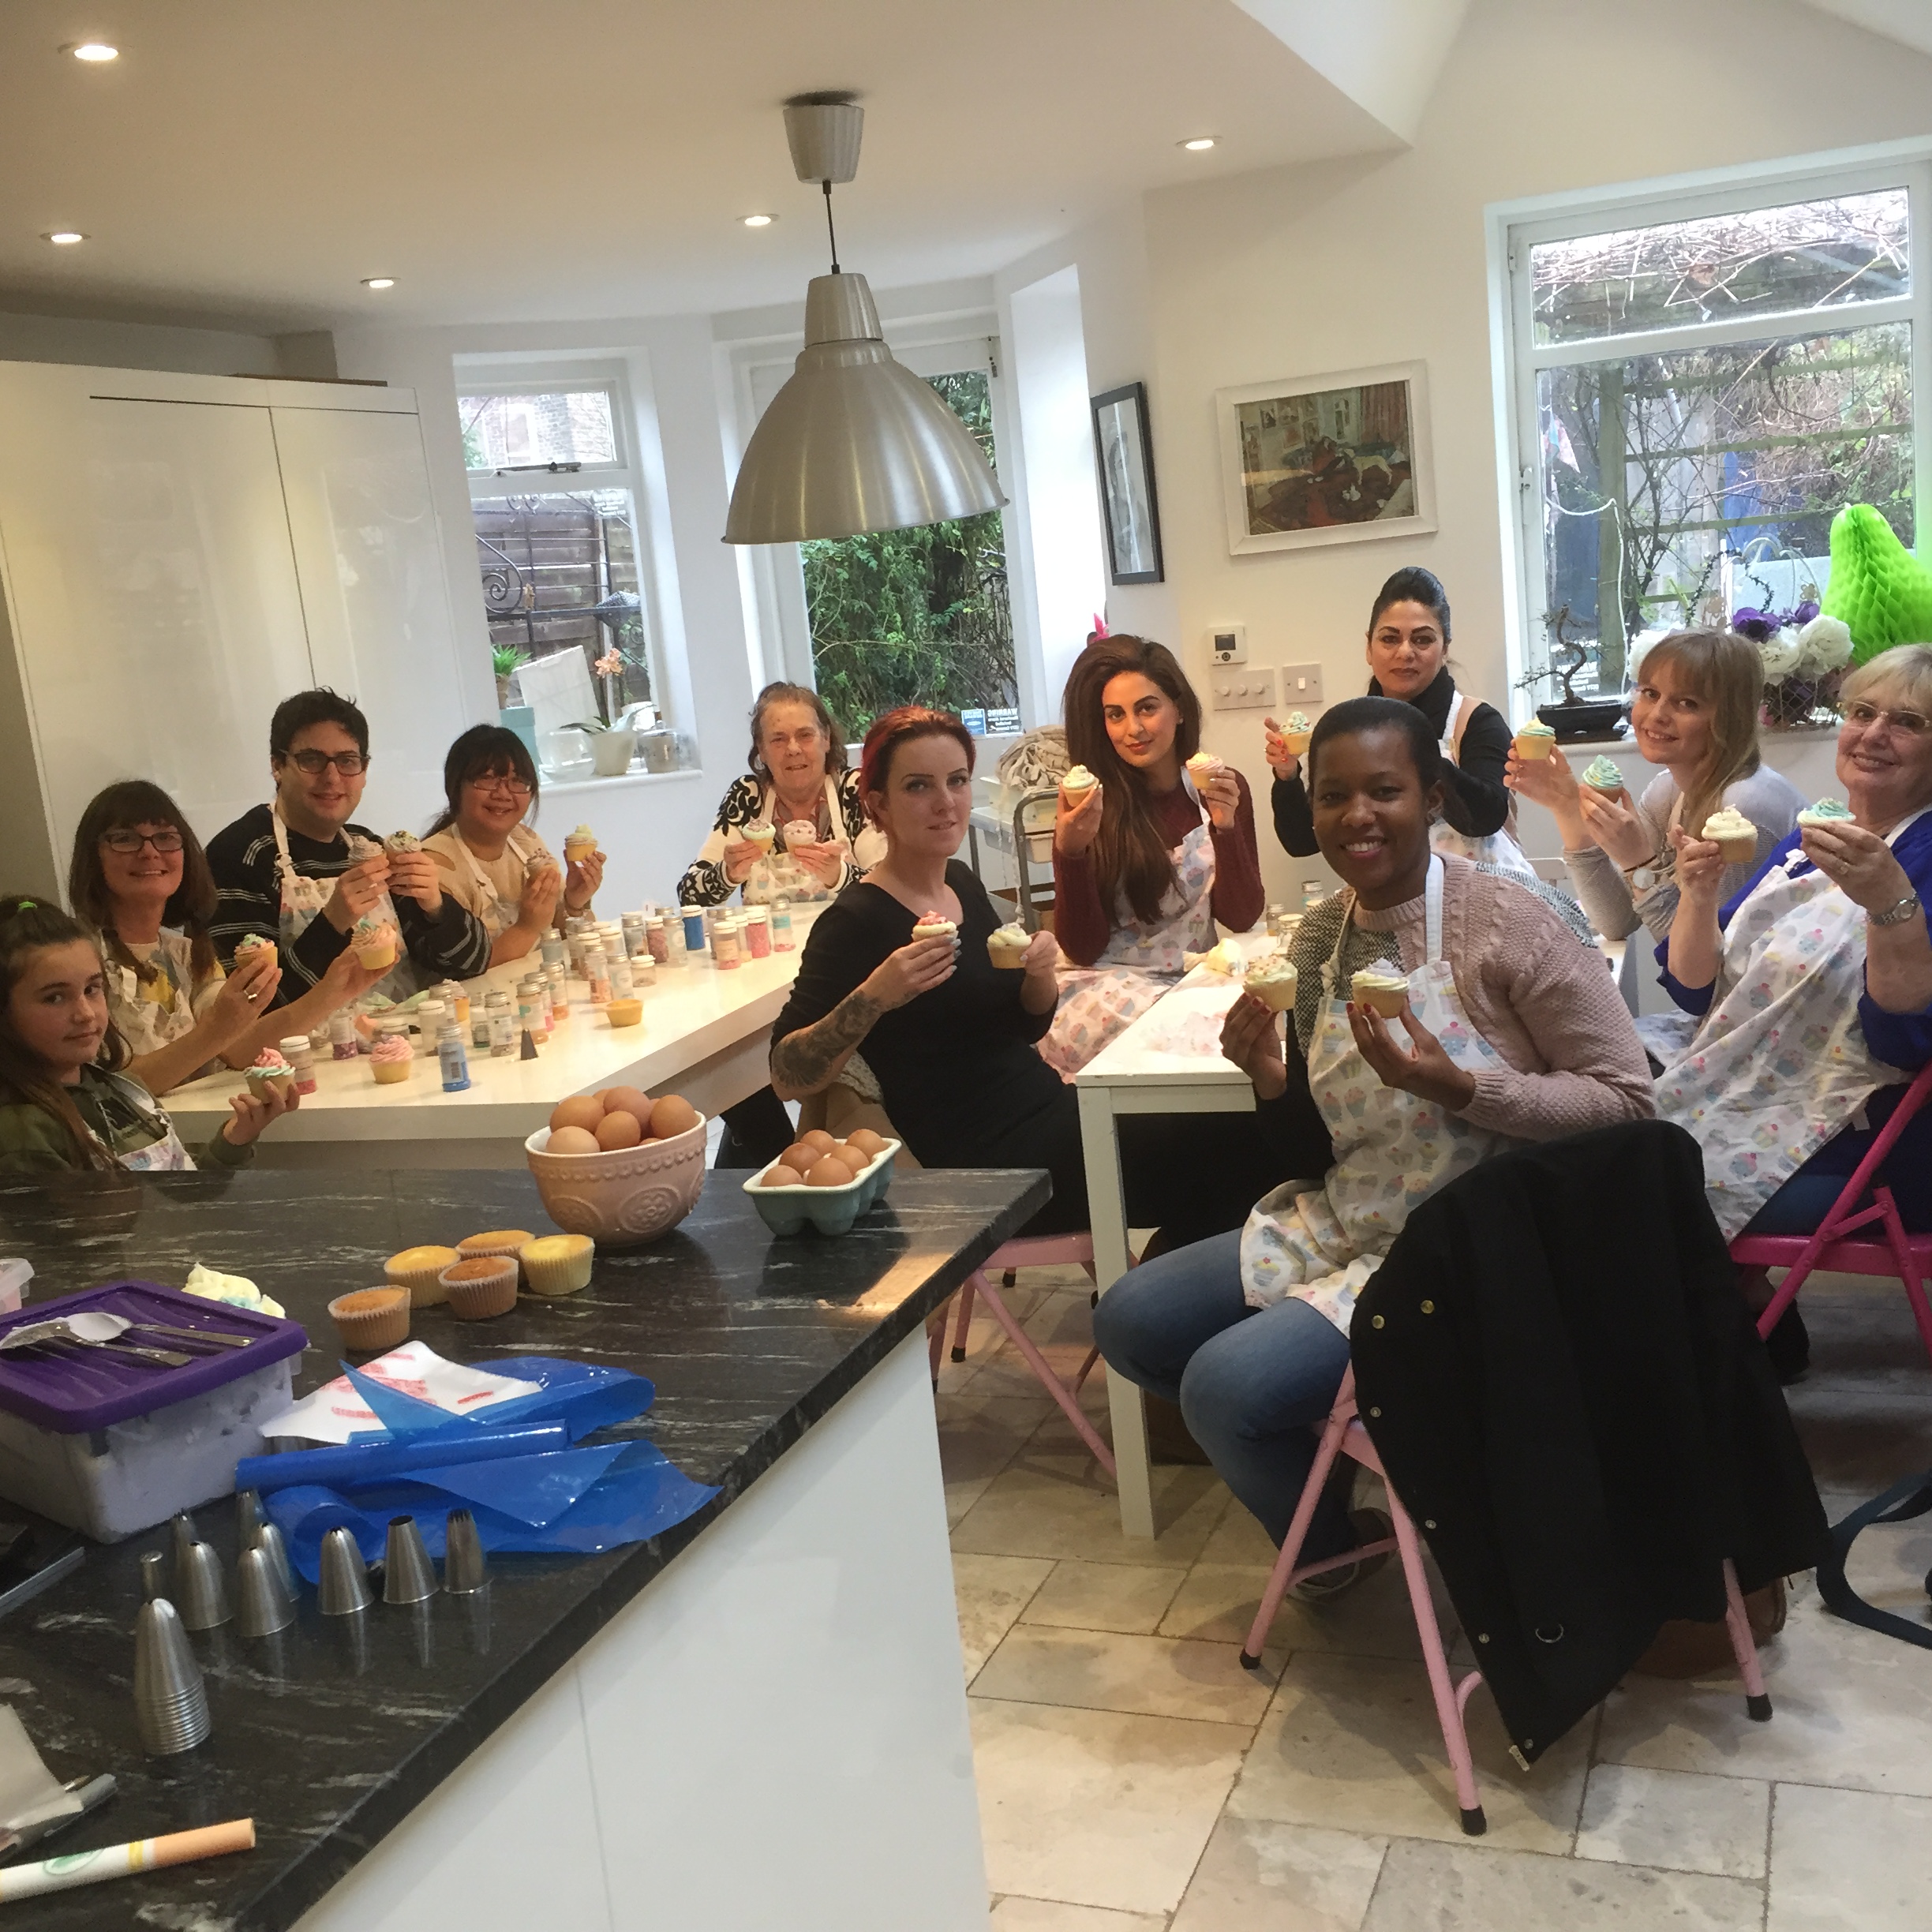
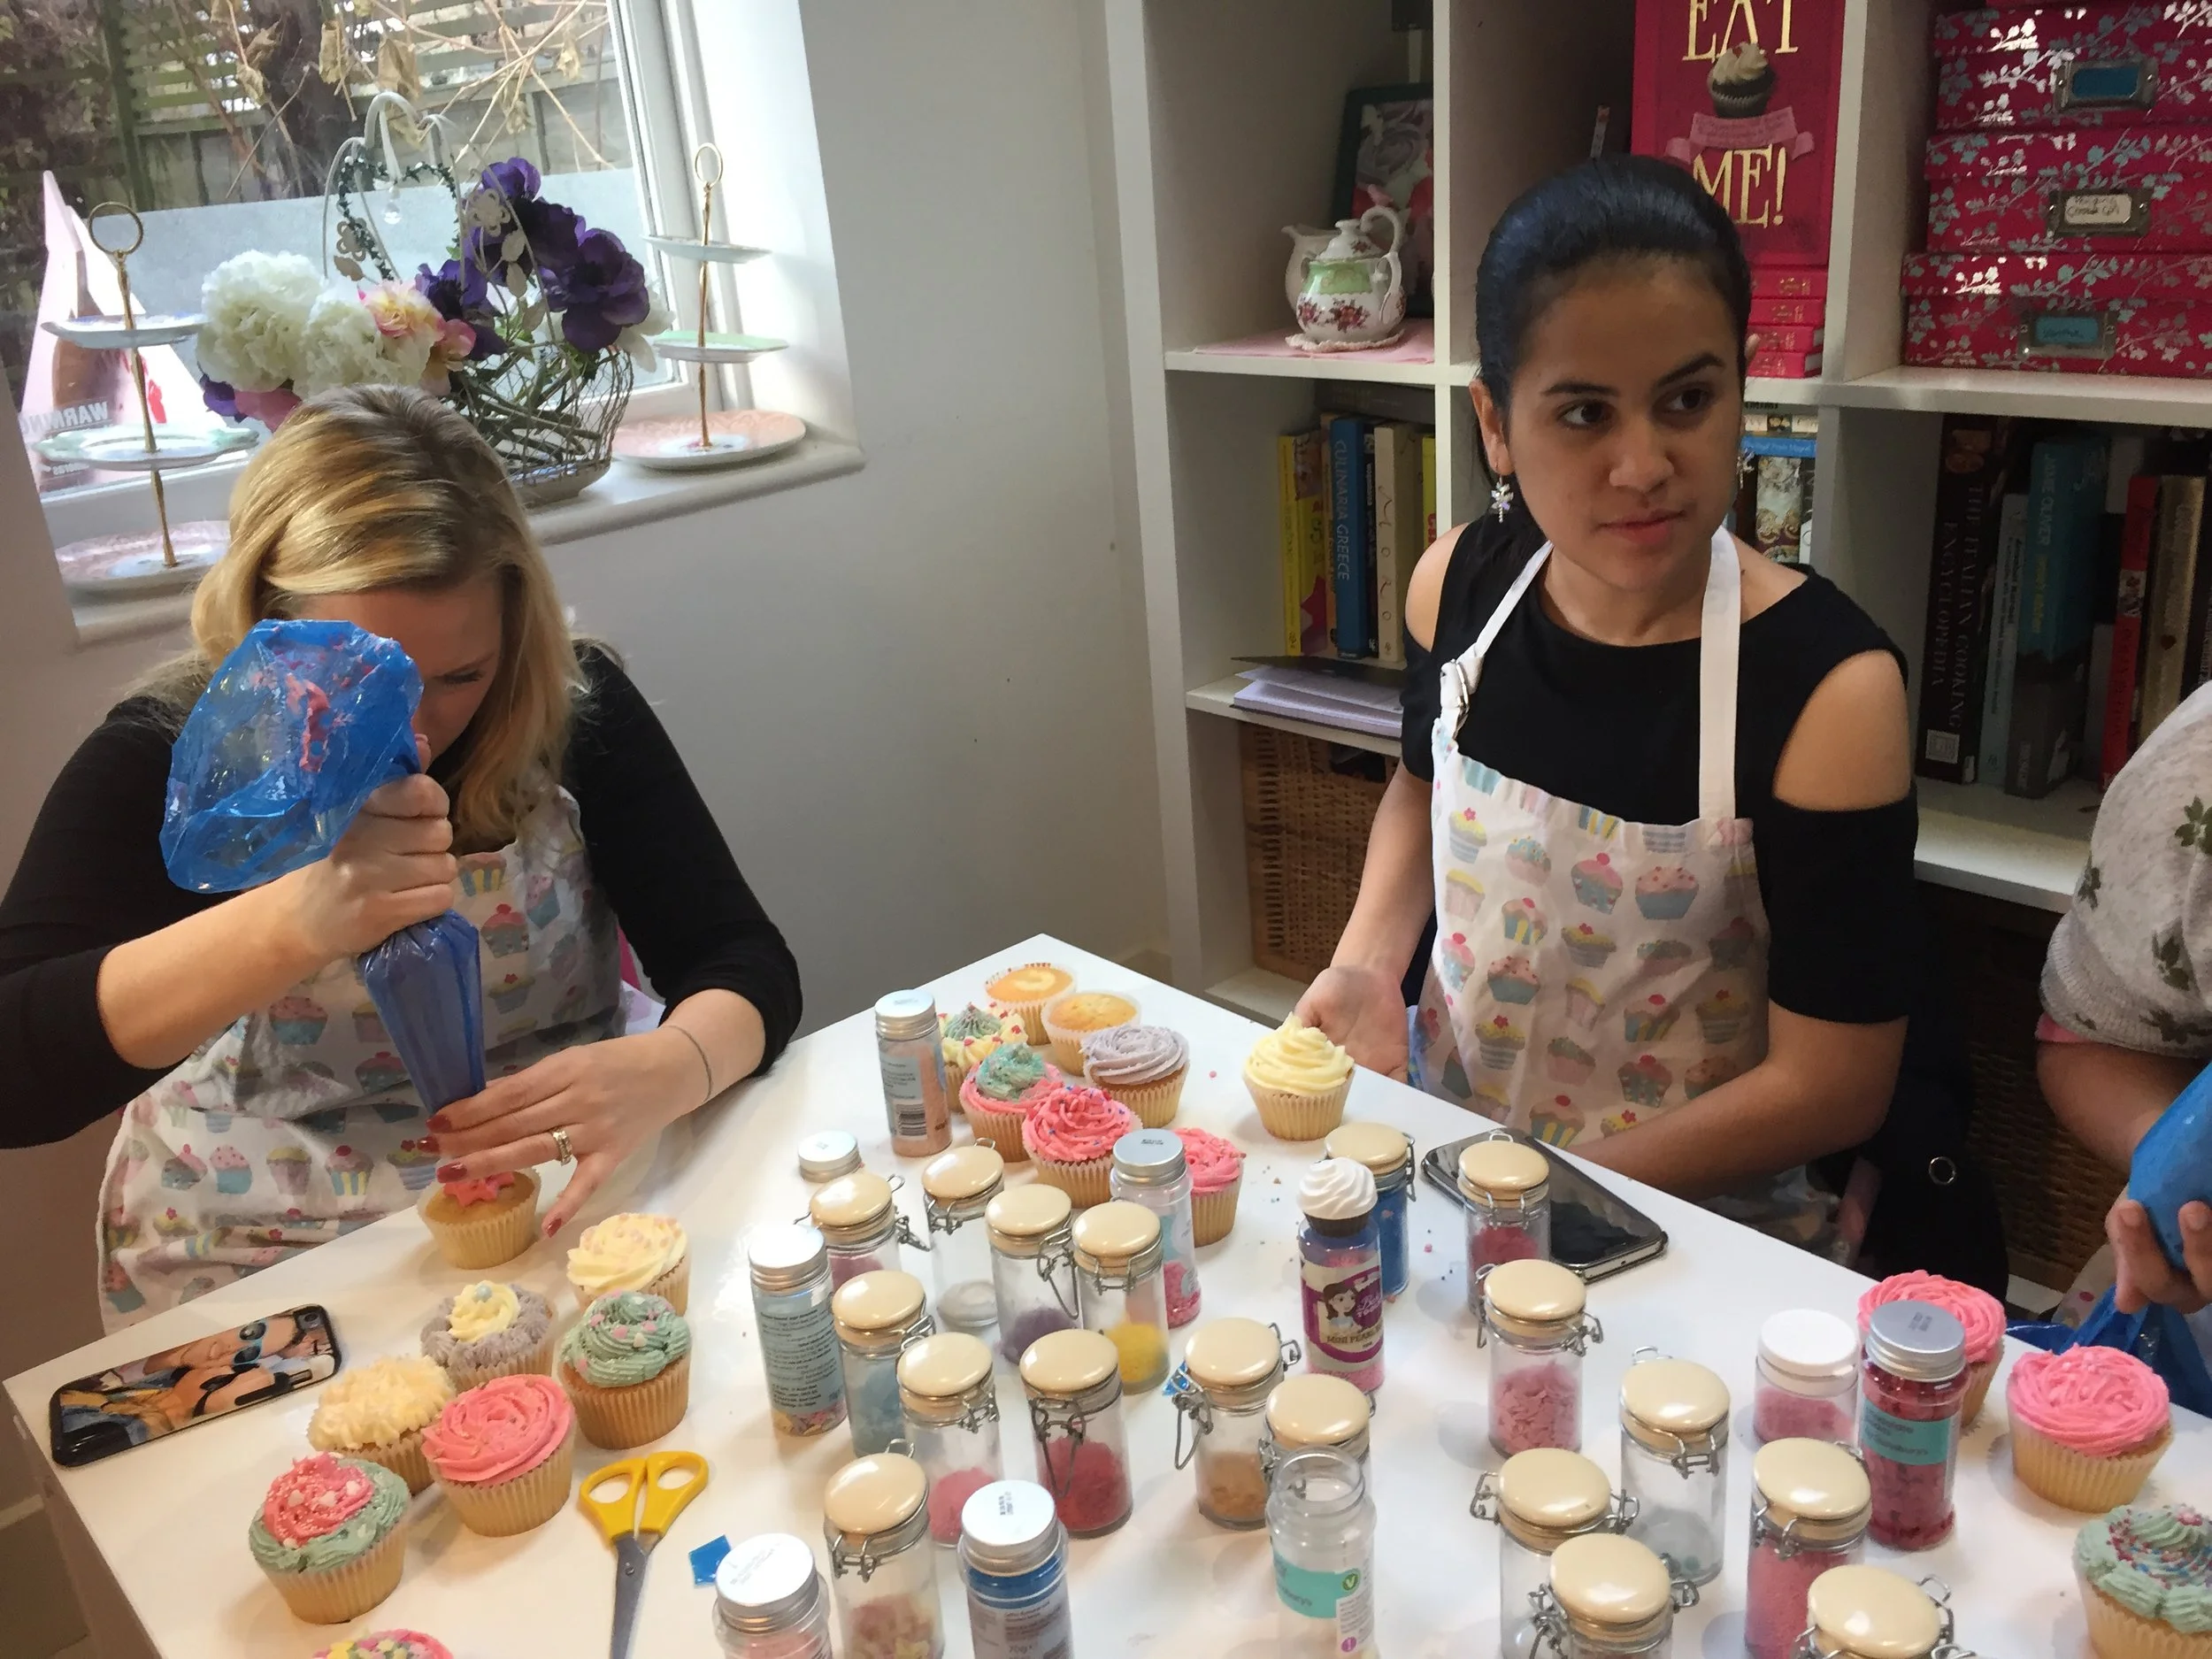
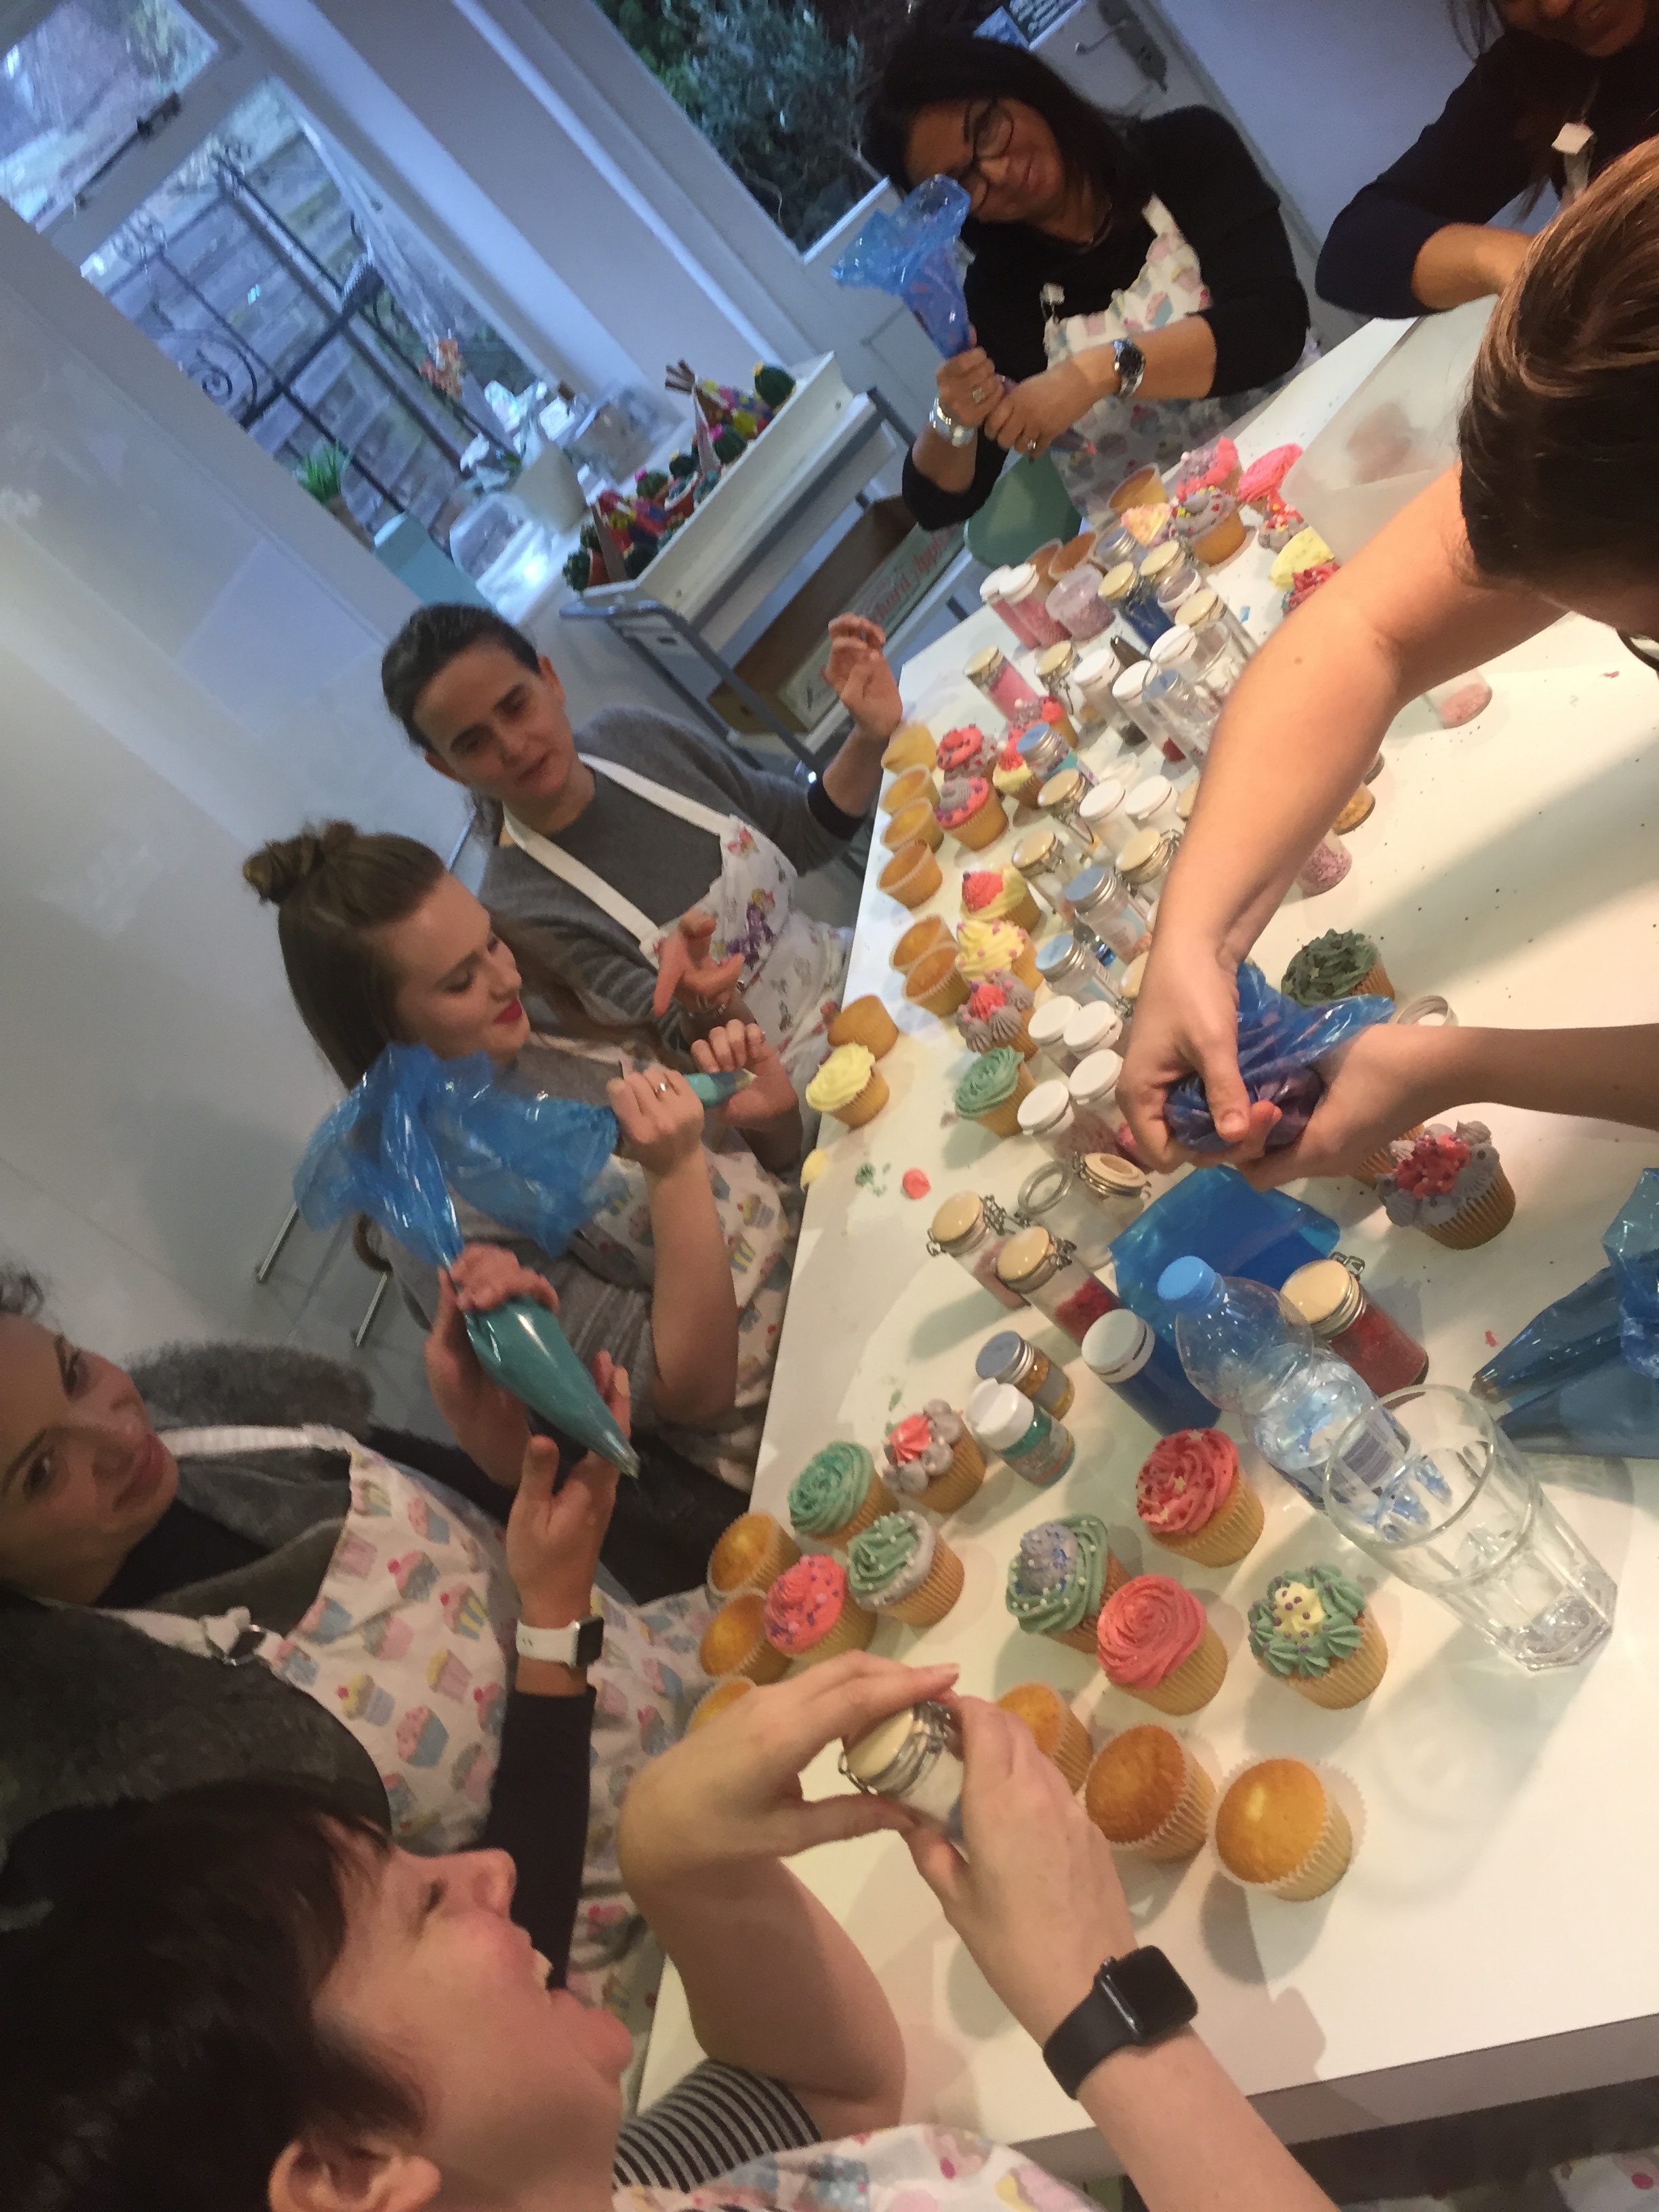
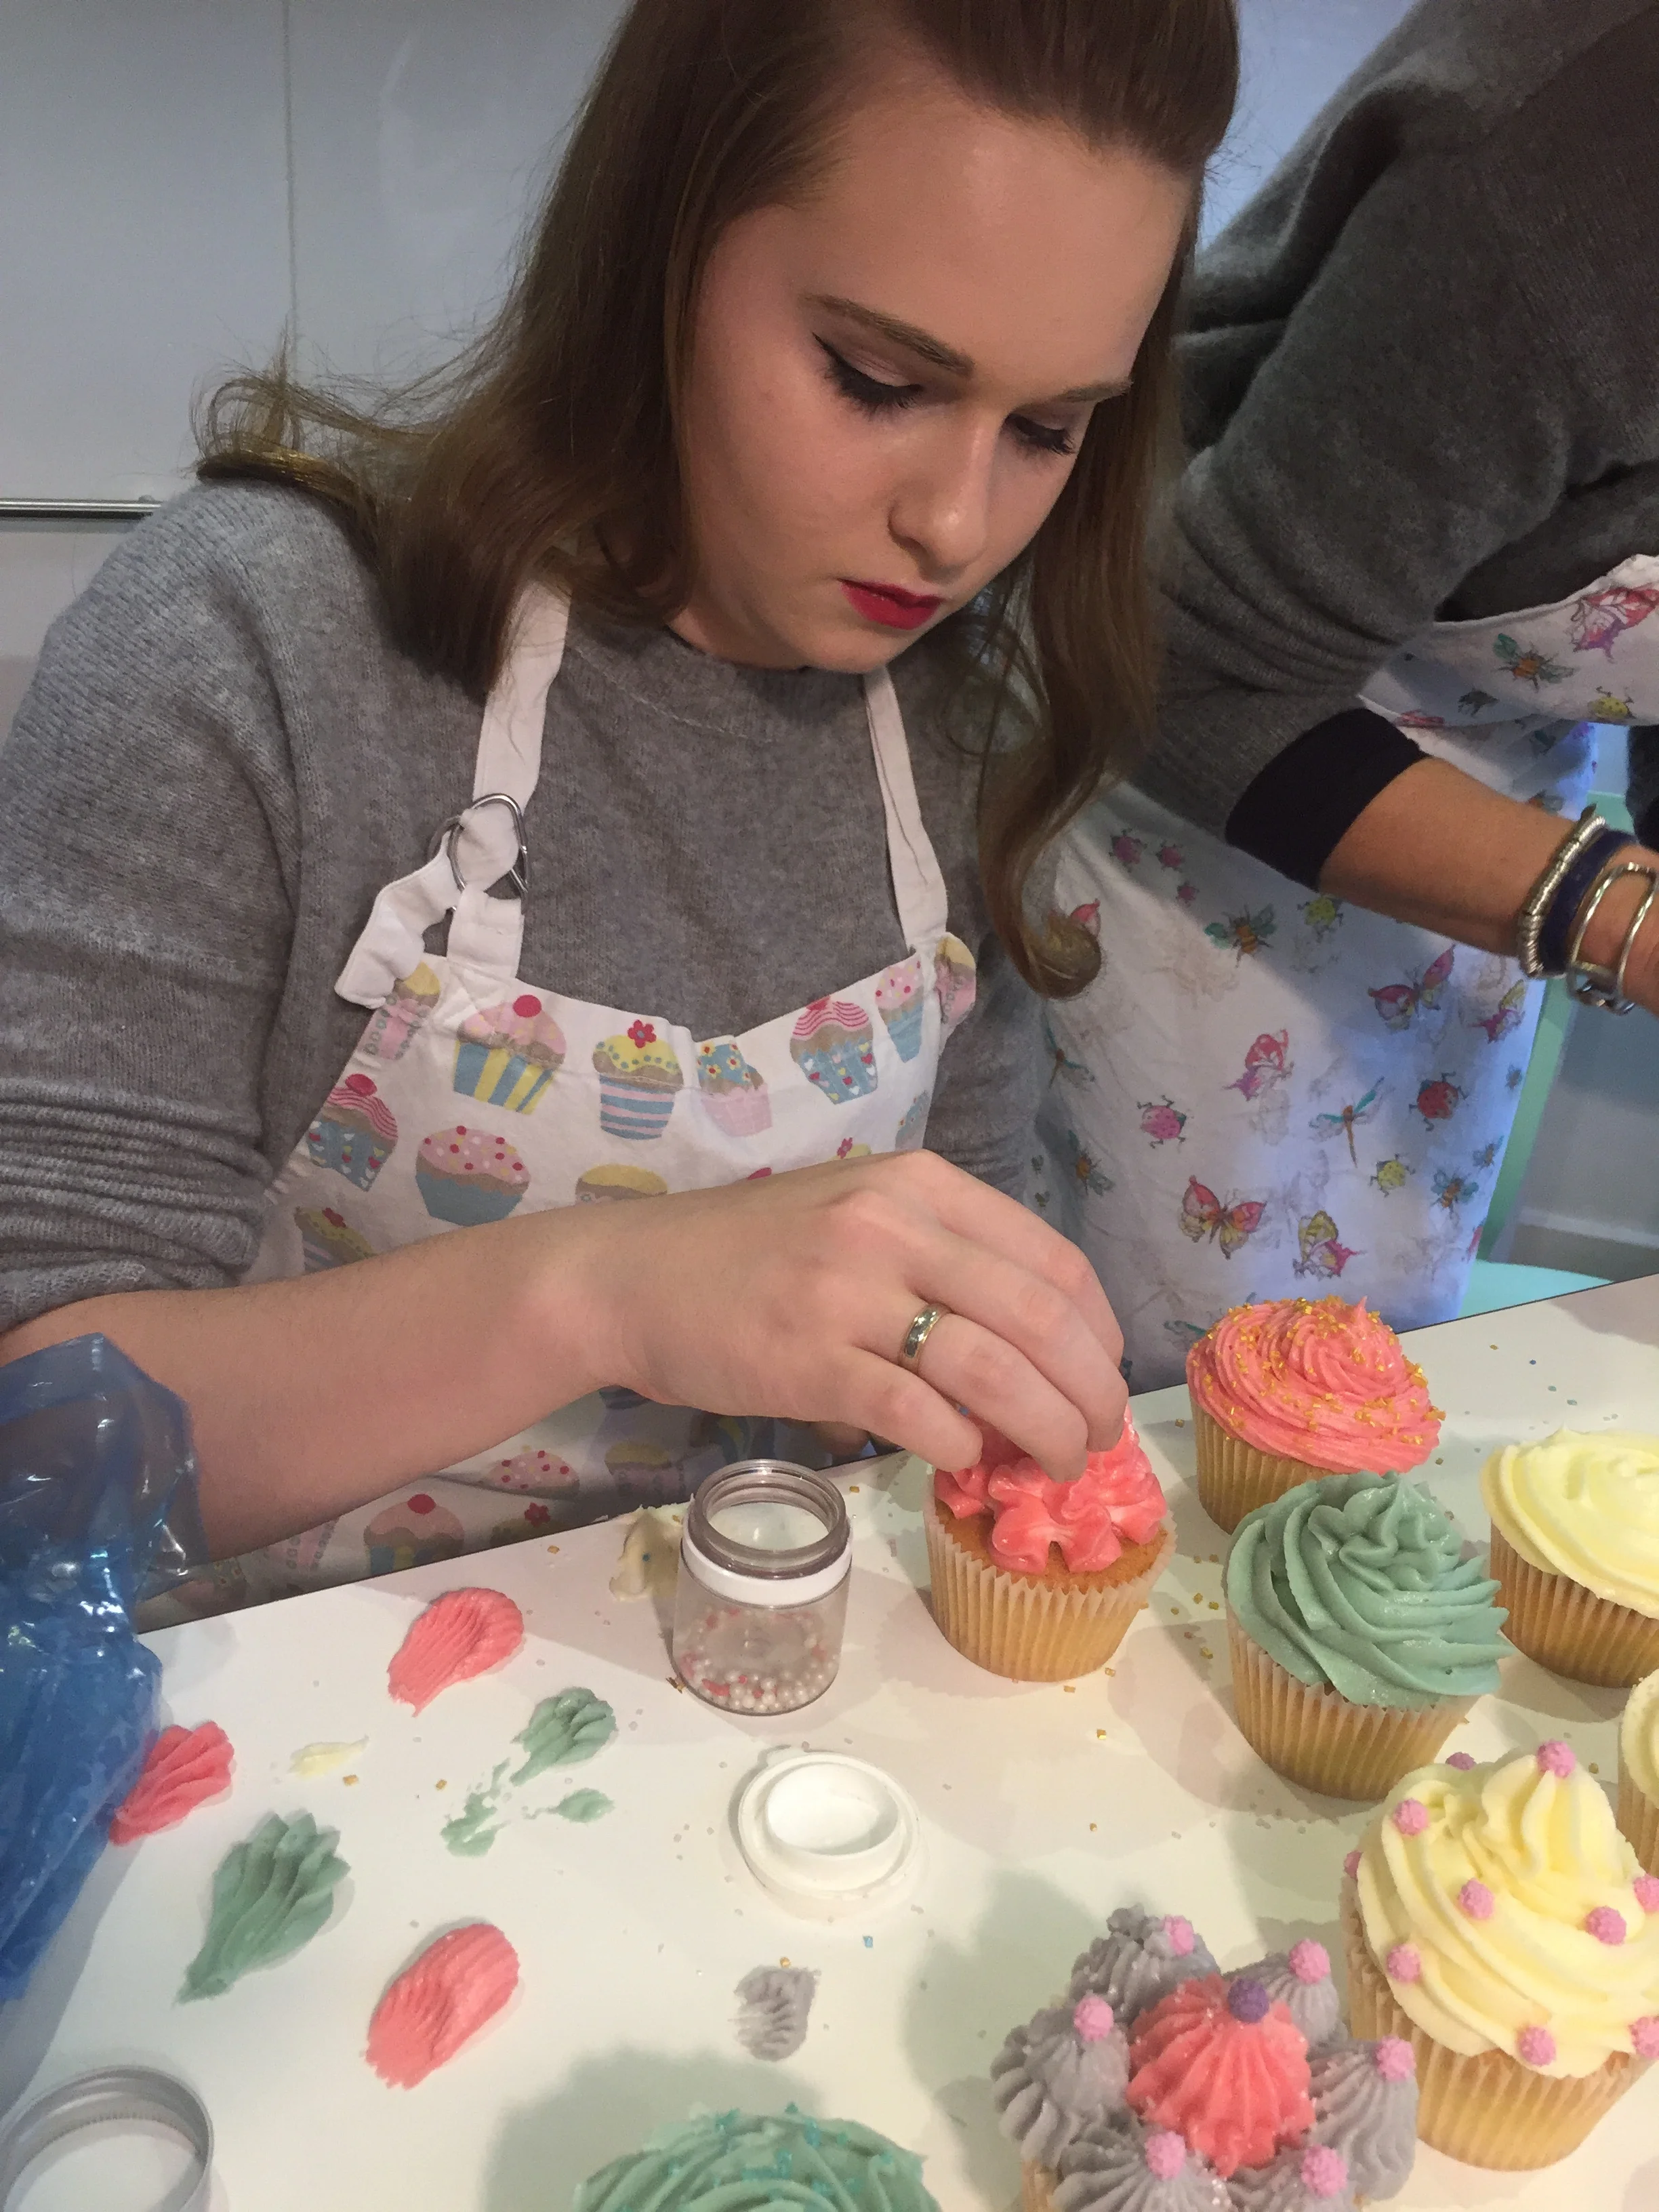
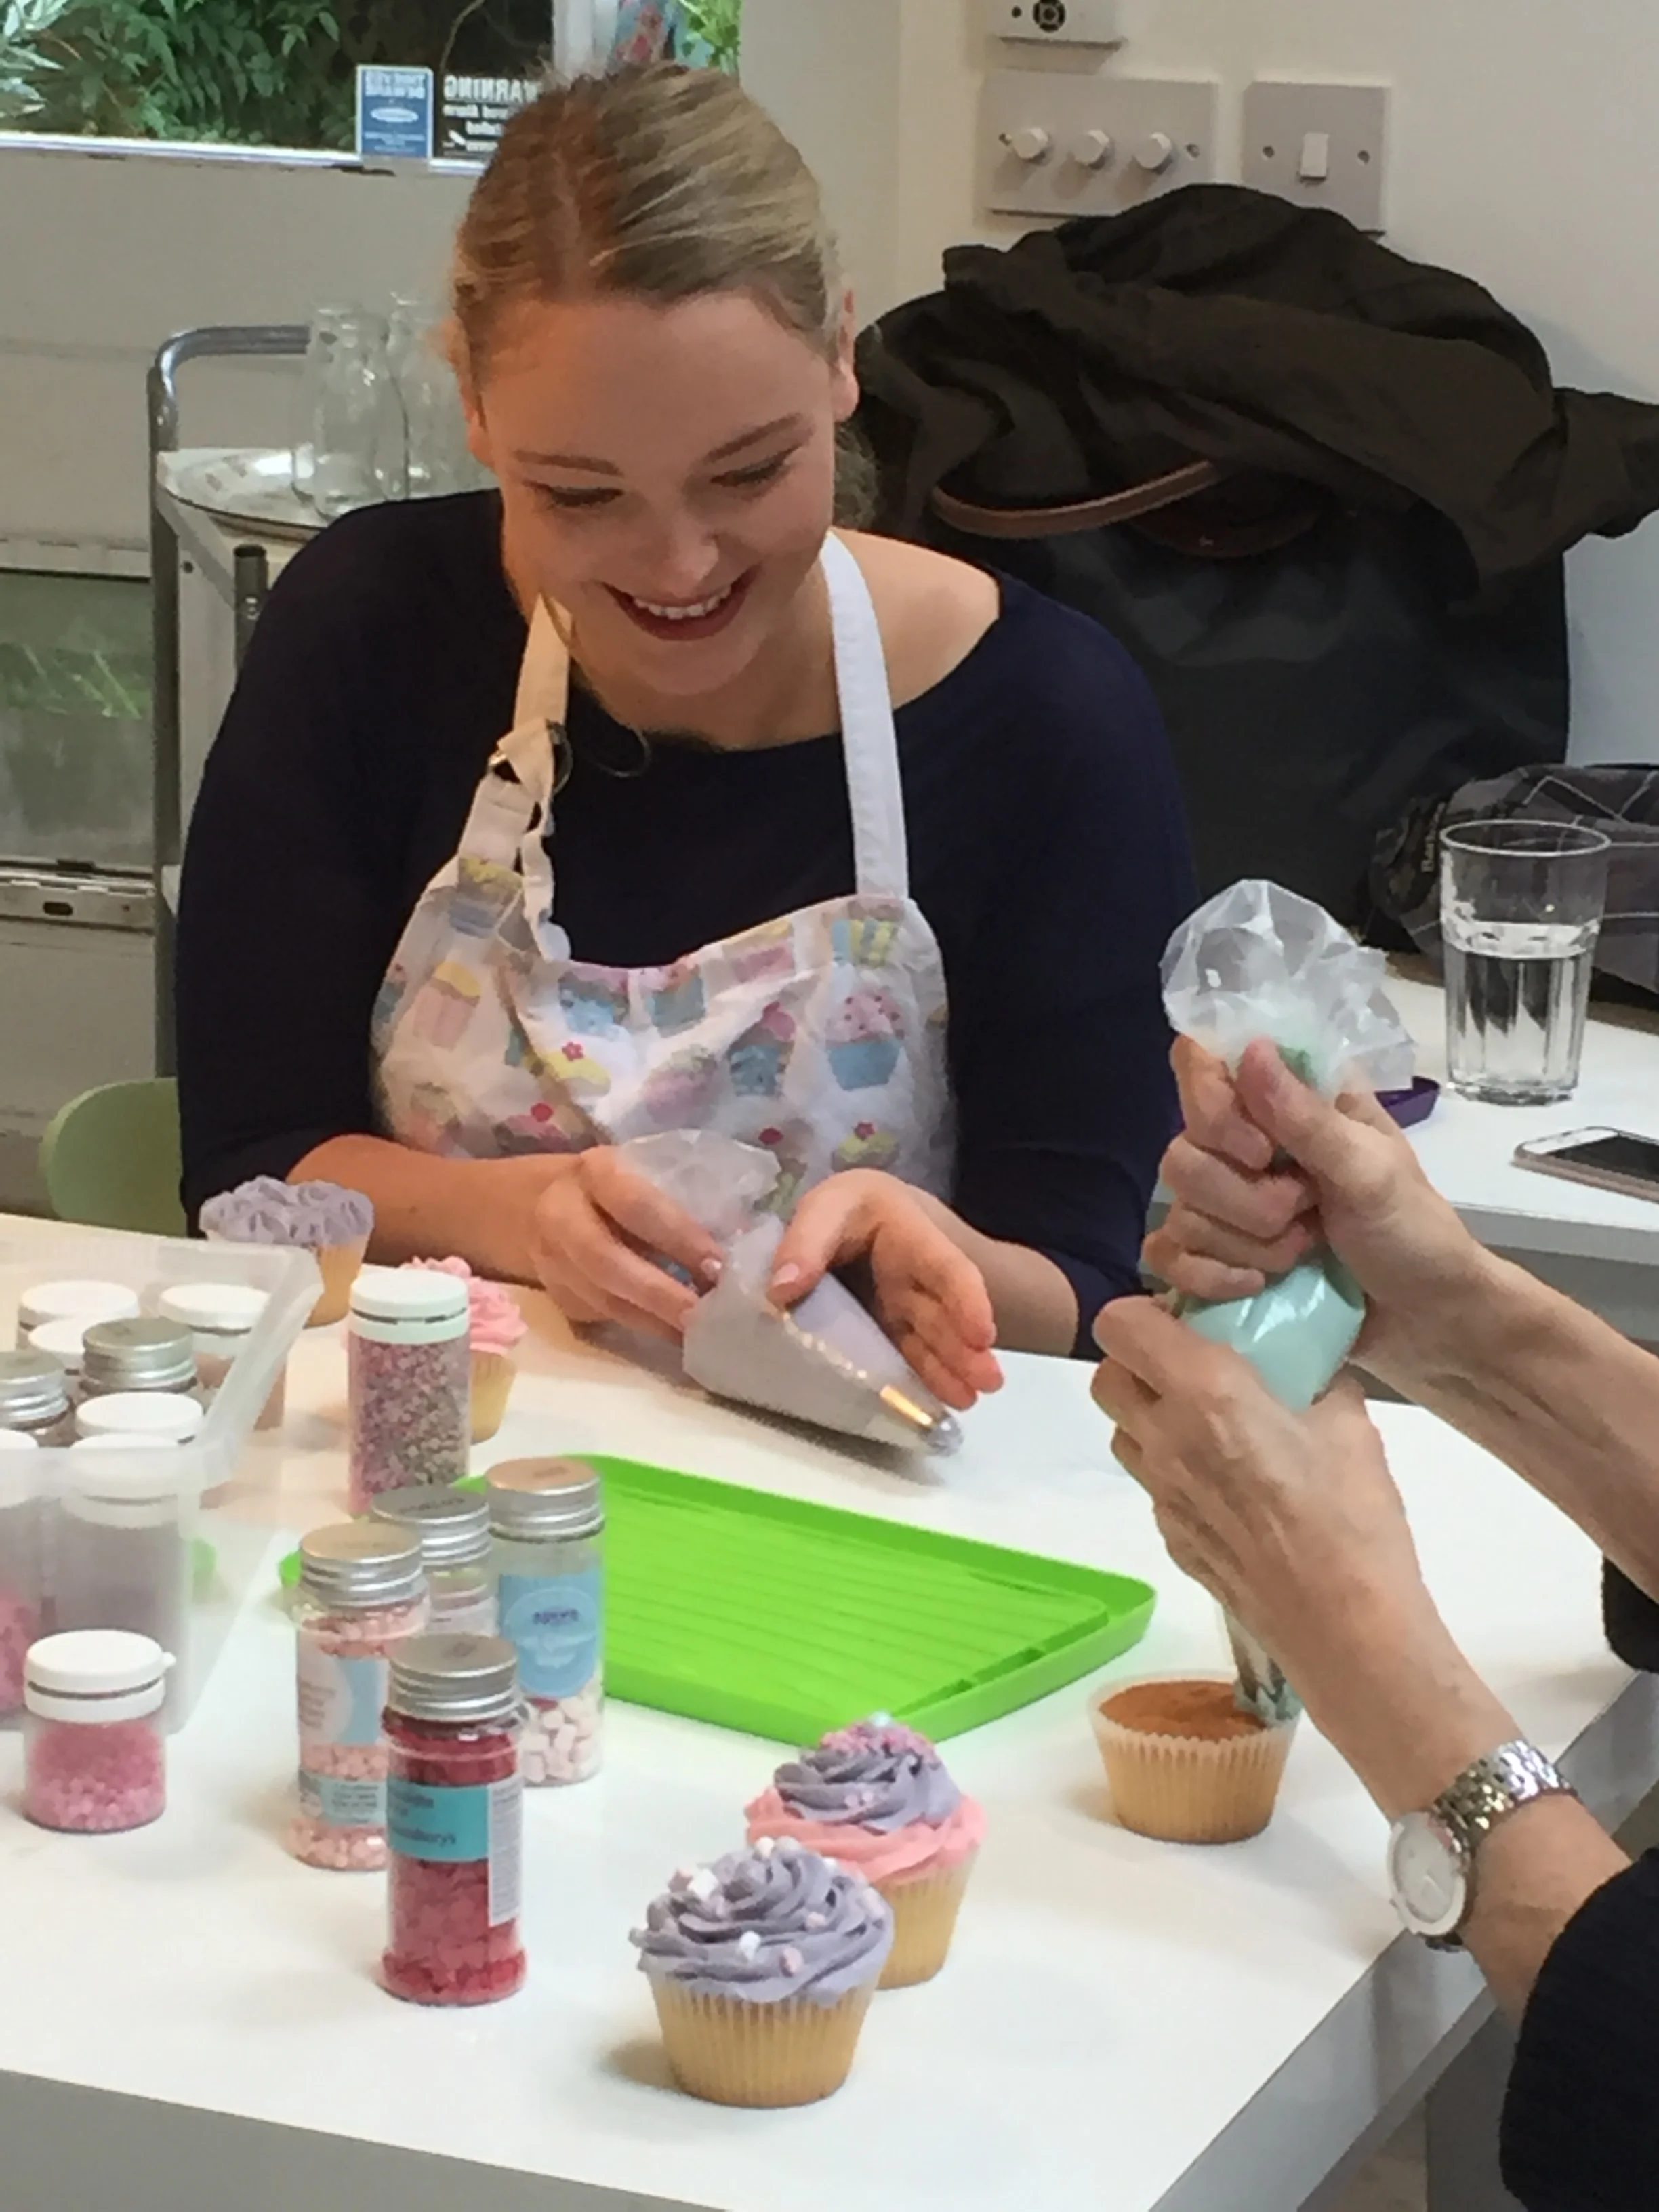
Our 2hr cupcake decorating class is the perfect entry level of you if you want to get started learning with us. It is also ideal for hen parties, baby showers, team building events and birthday parties.
We have lots of people come with their mums, Grans and sisters or friends. Although, as we pride ourselves on our friendly and relaxed atmosphere, those who come on their own usually leave feeling that they have made new friends by the time they leave.
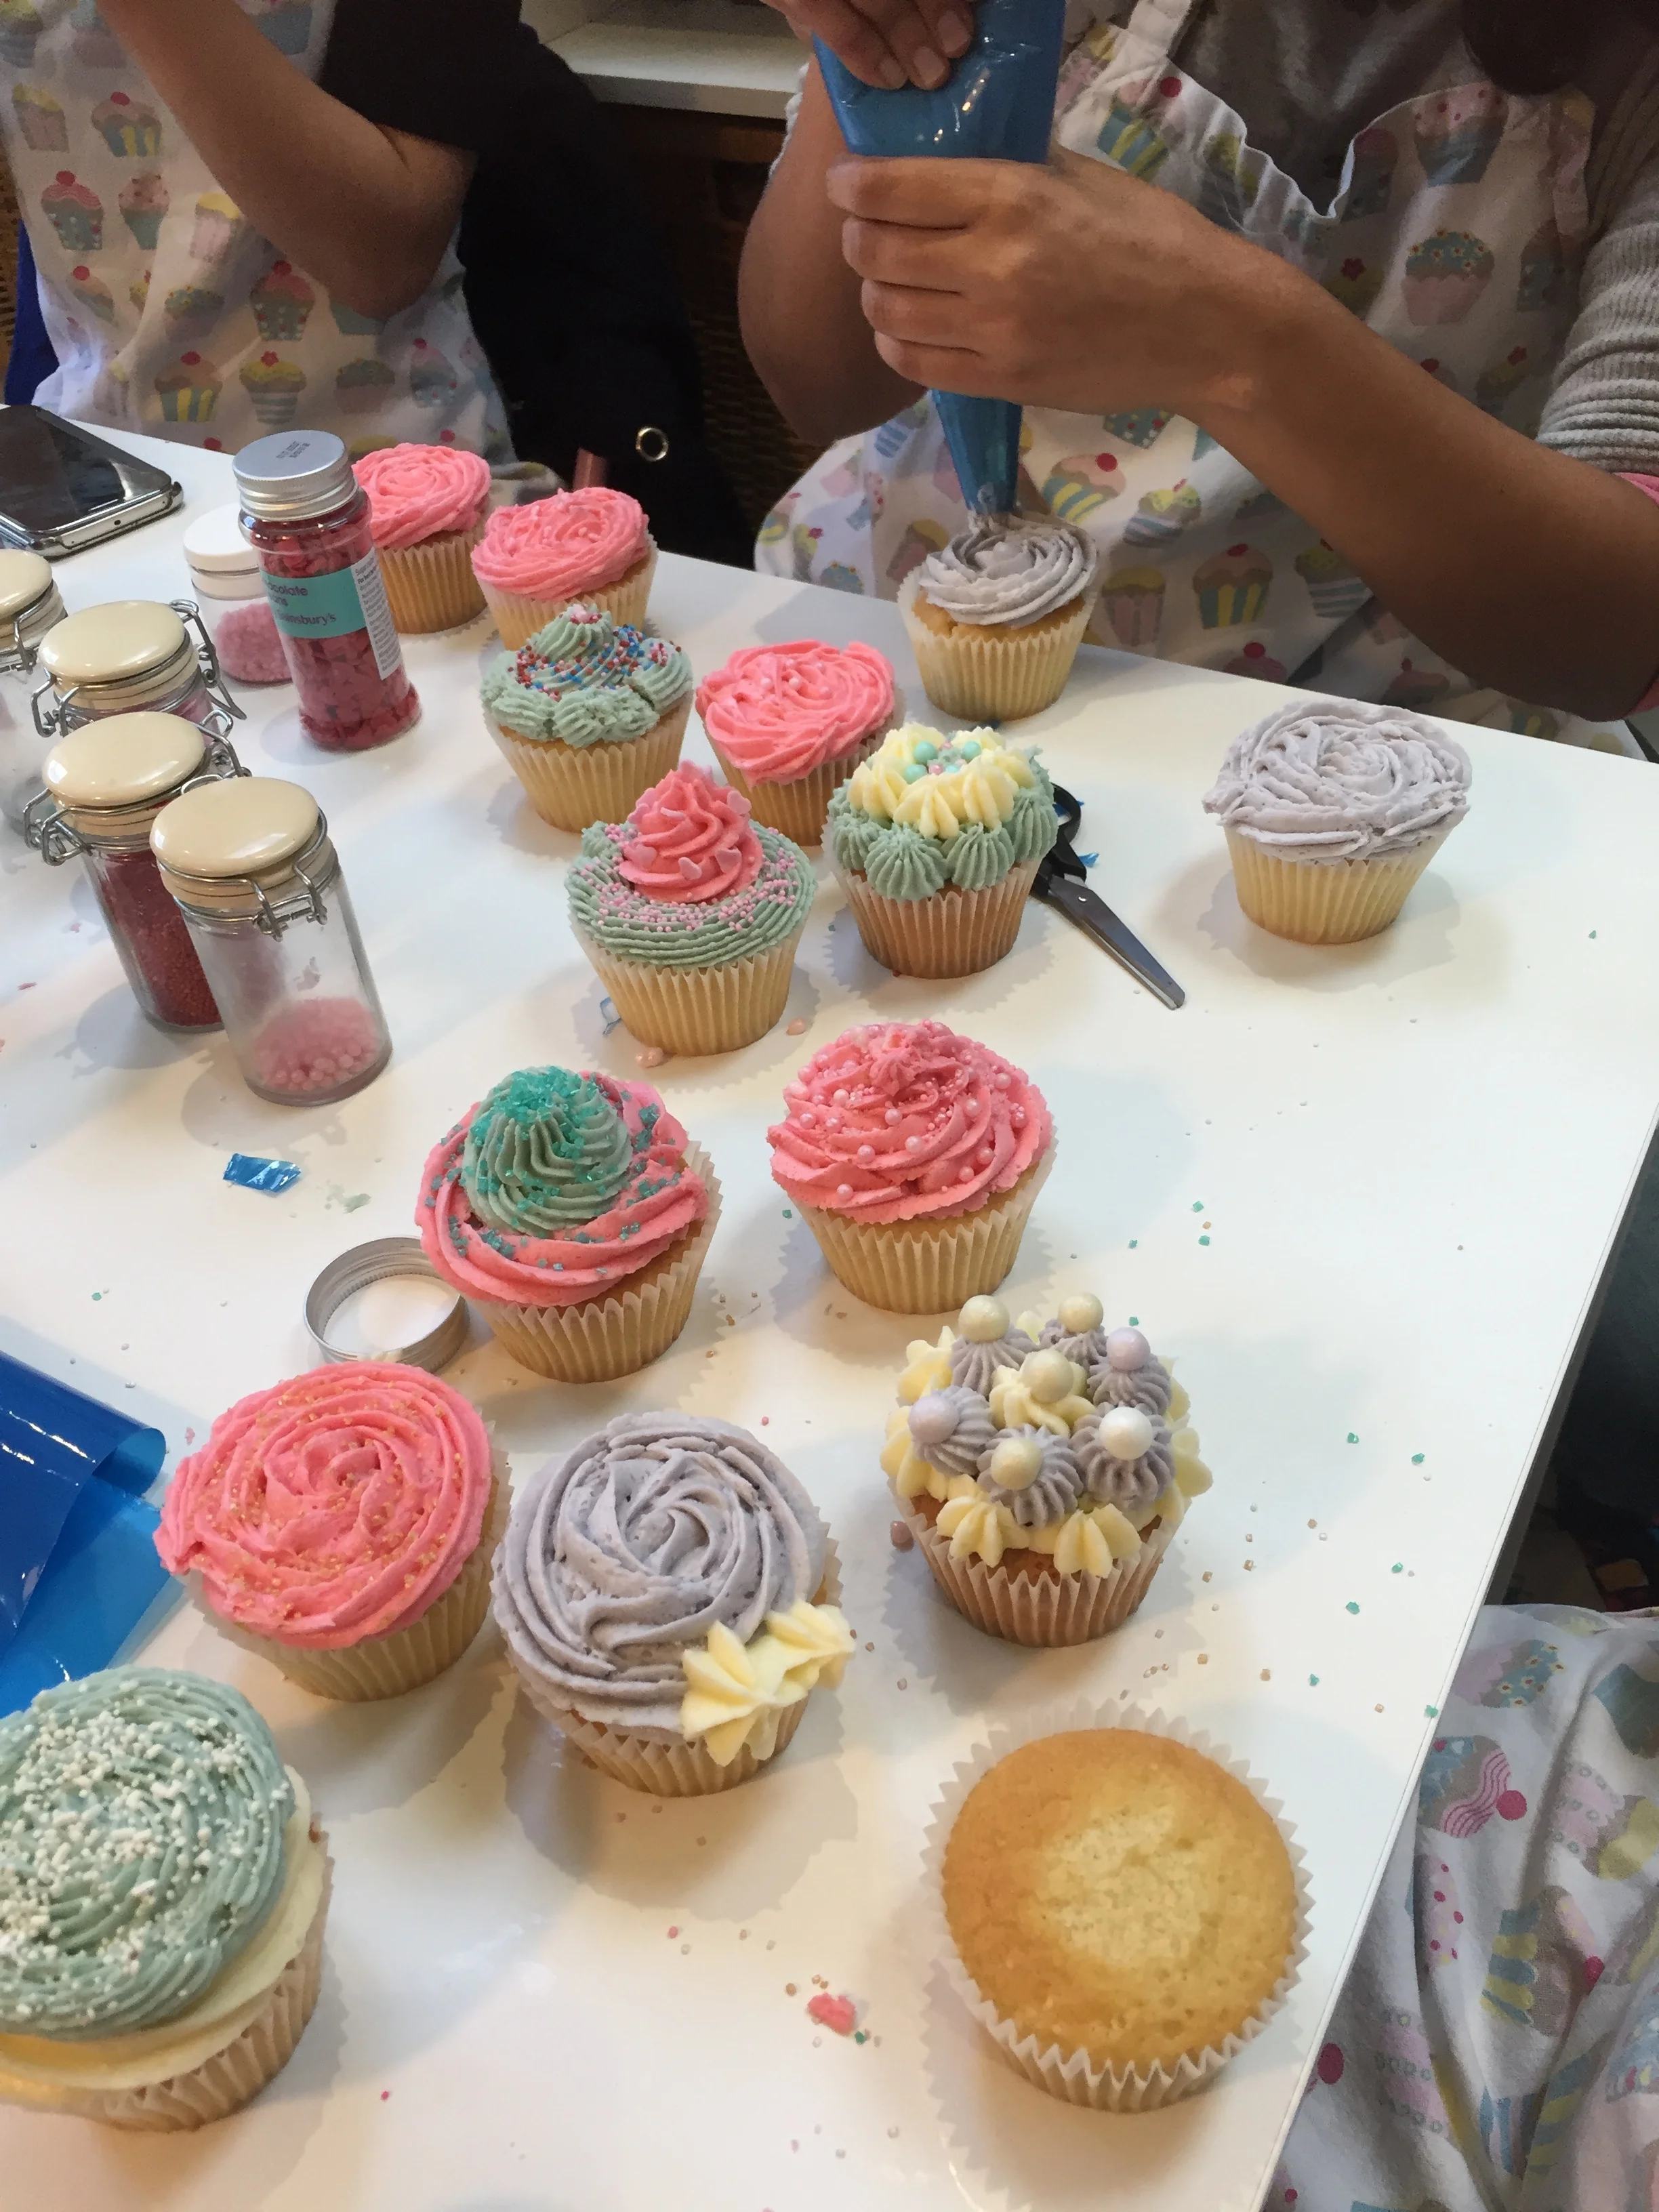
You will learn how to make 4 different swirls and then you will discover a huge range of sprinkles to decorate your cupcakes with. We provide the everything that you need for the event.
These classes are very popular and run from 11am to 1pm most Saturday.
Woodland Themed Birthday Party
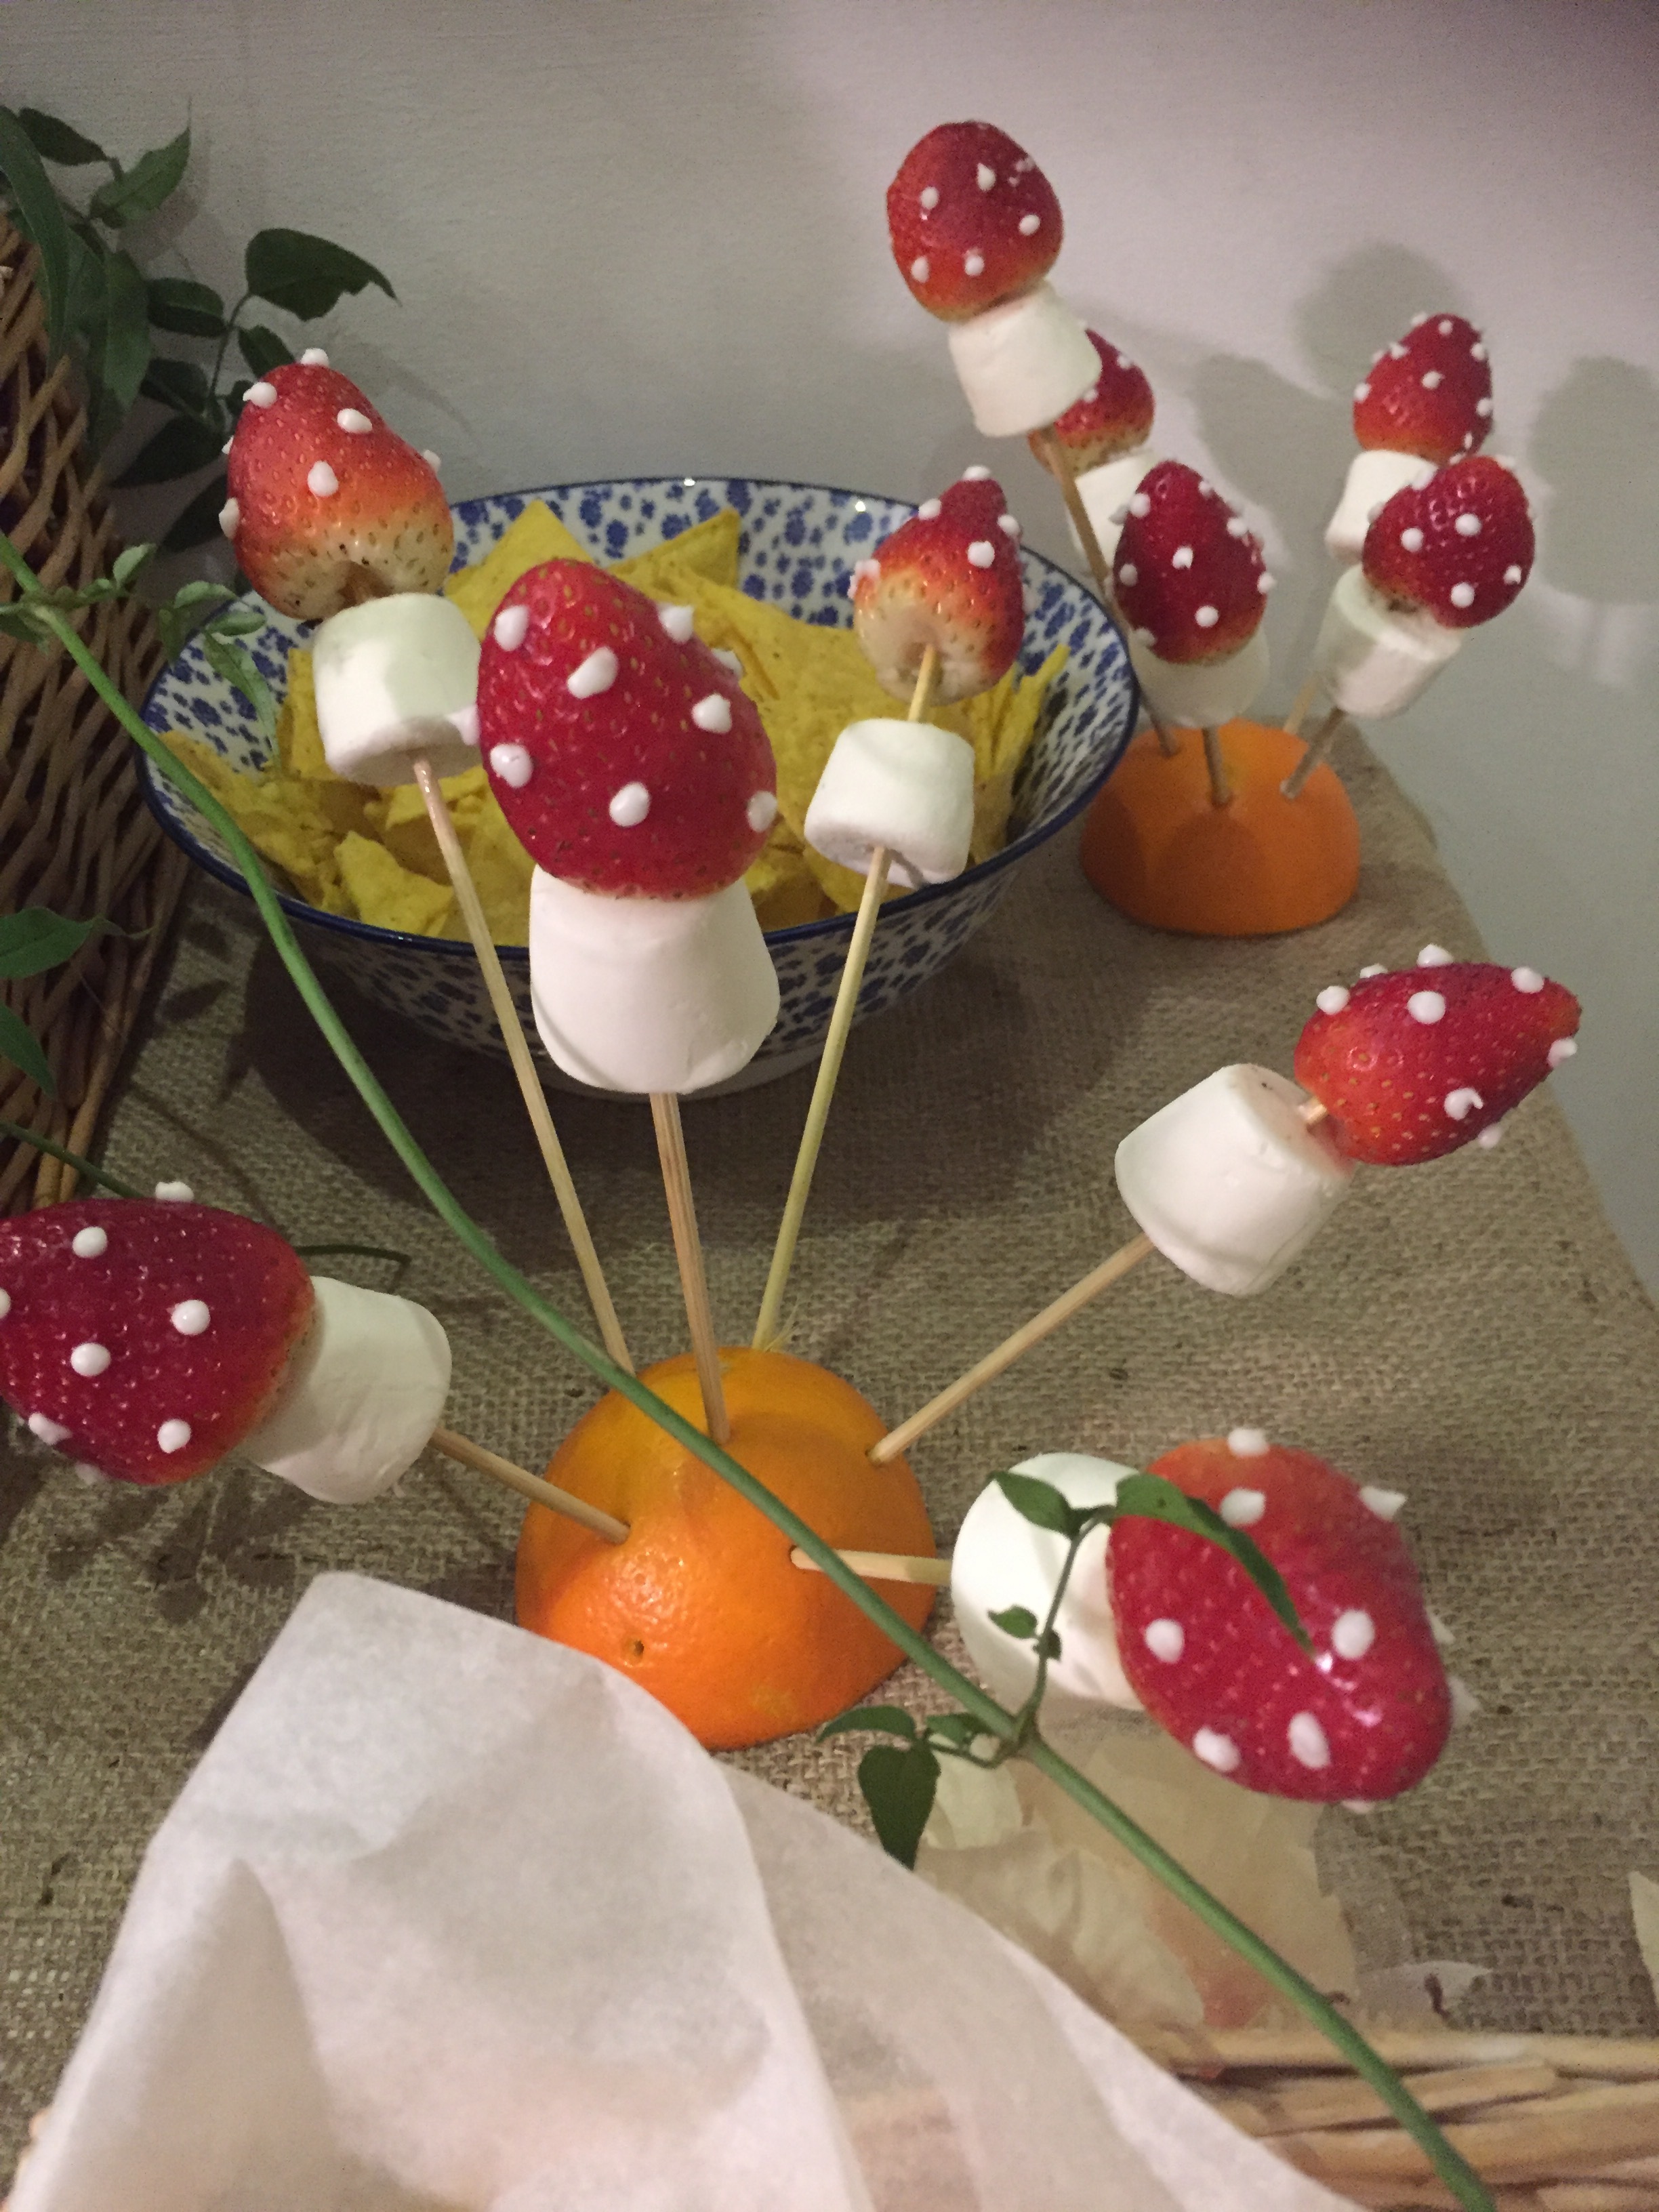
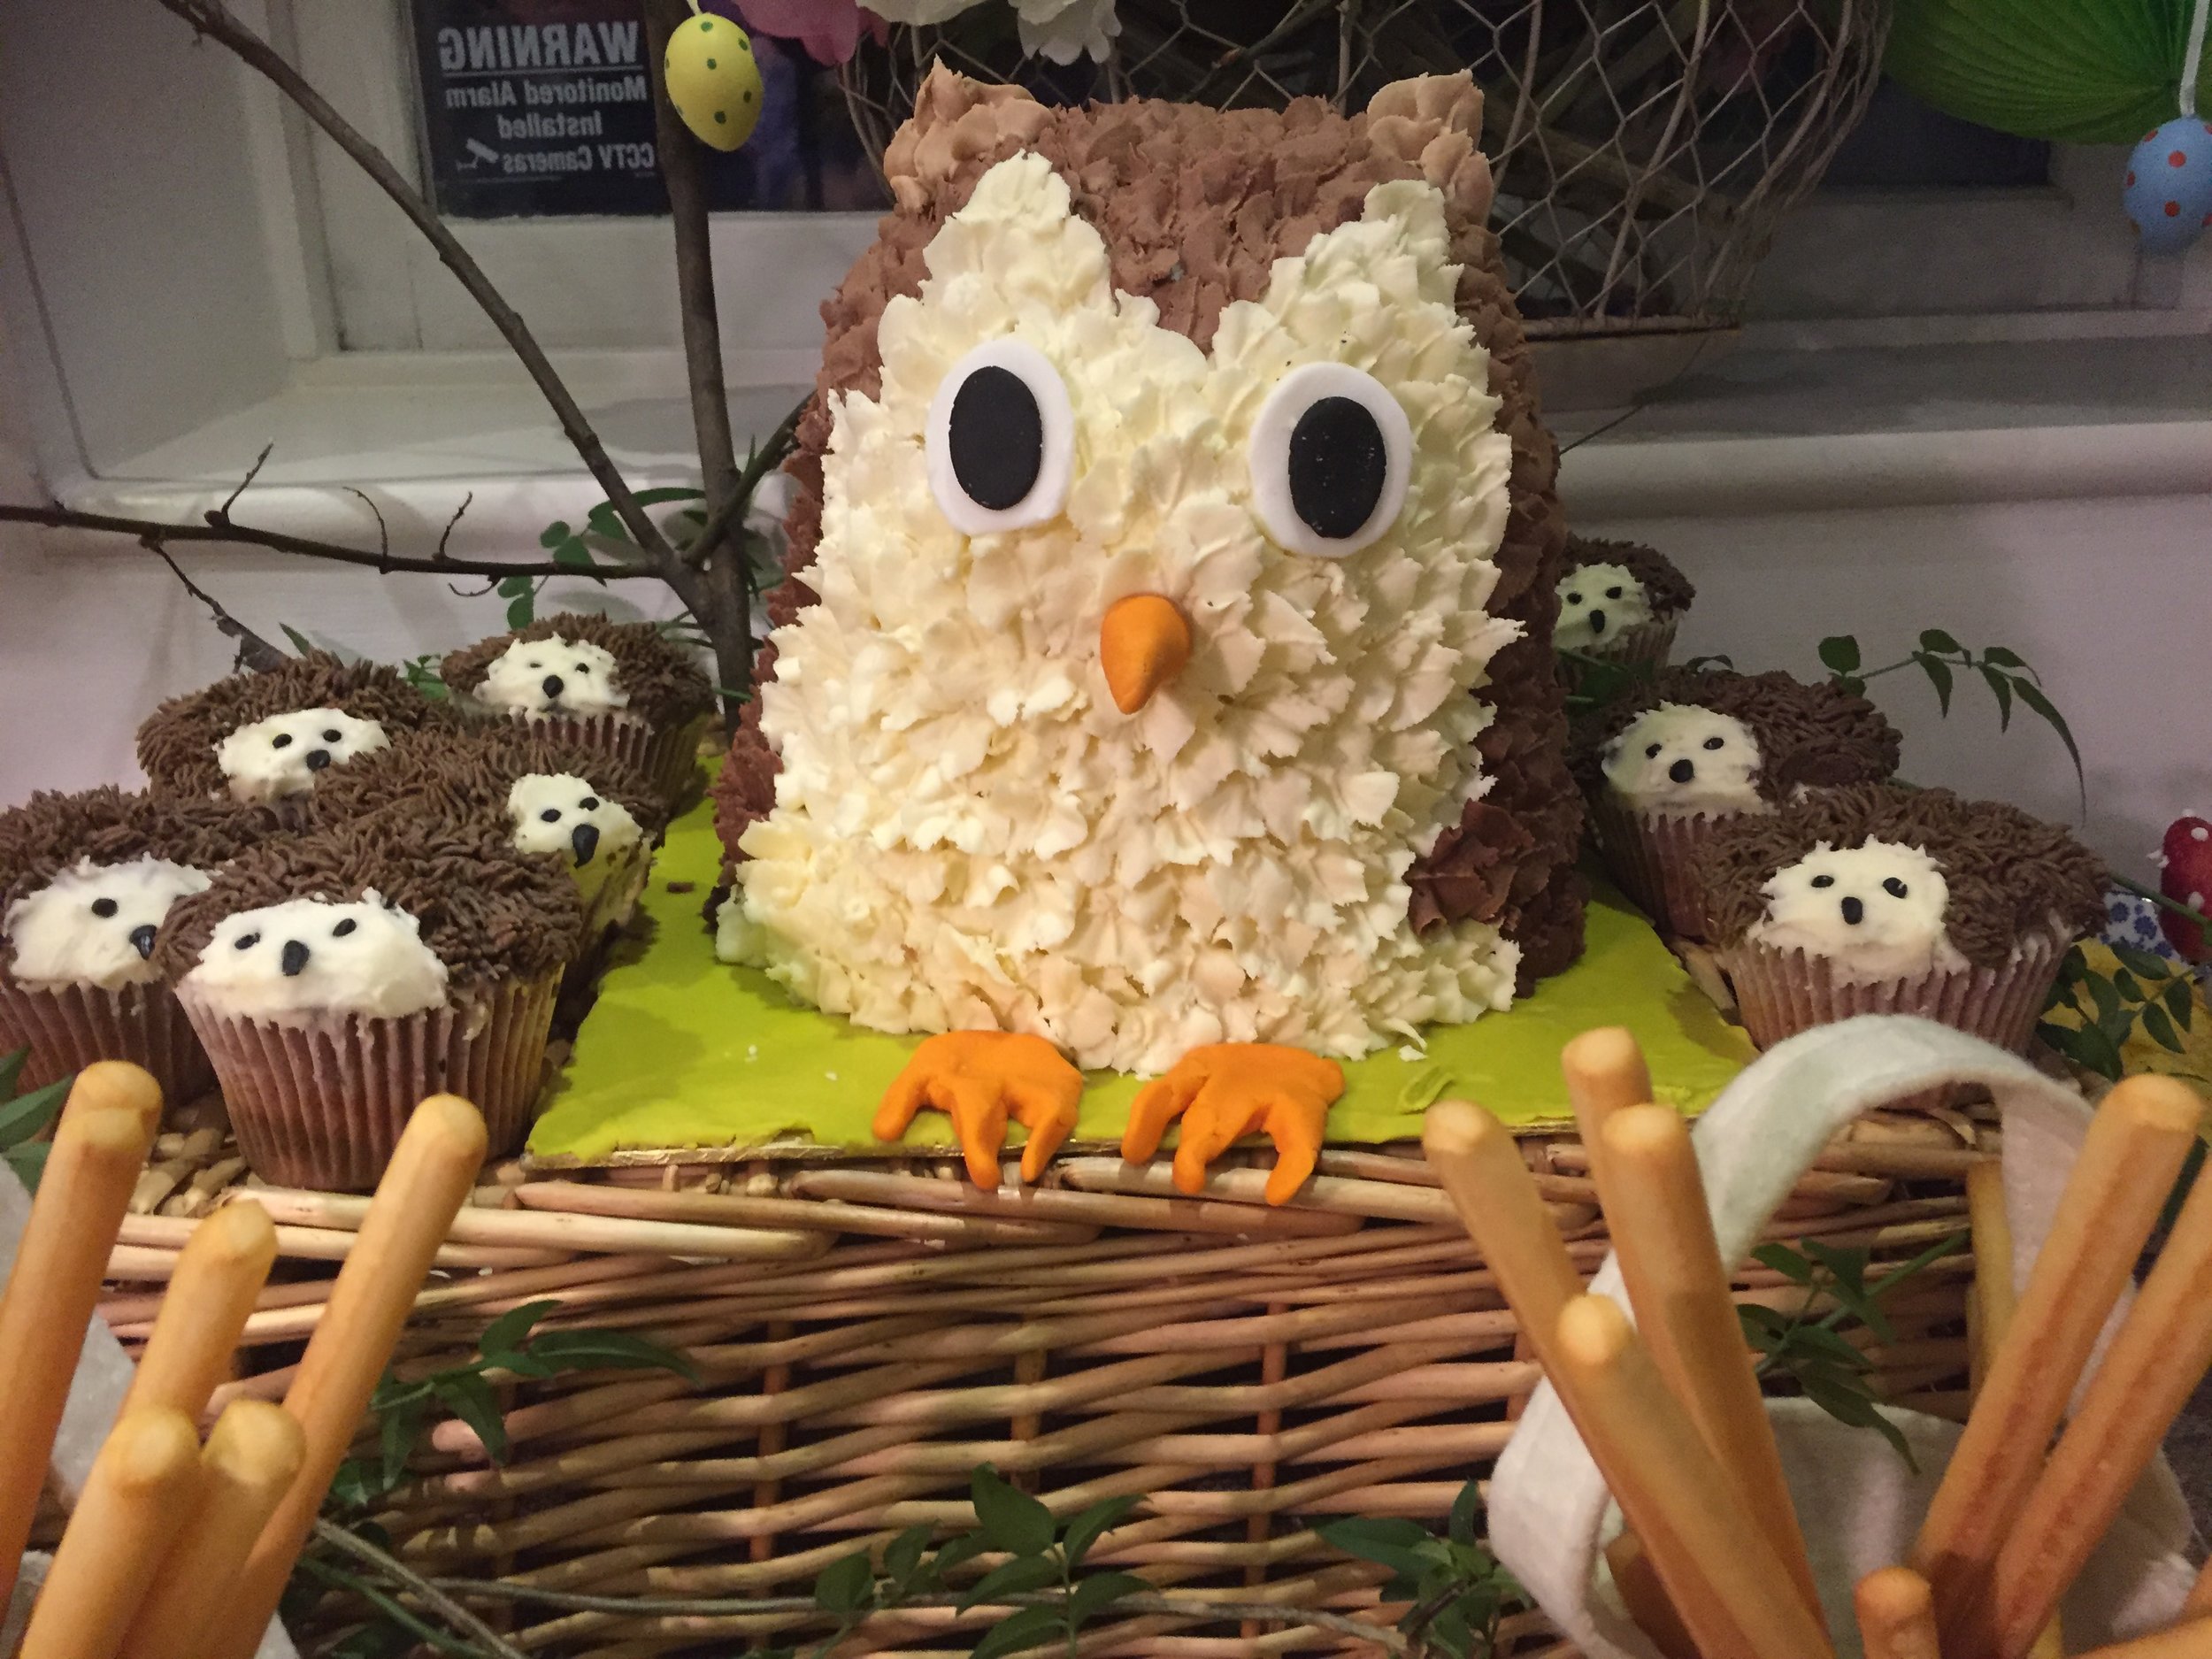
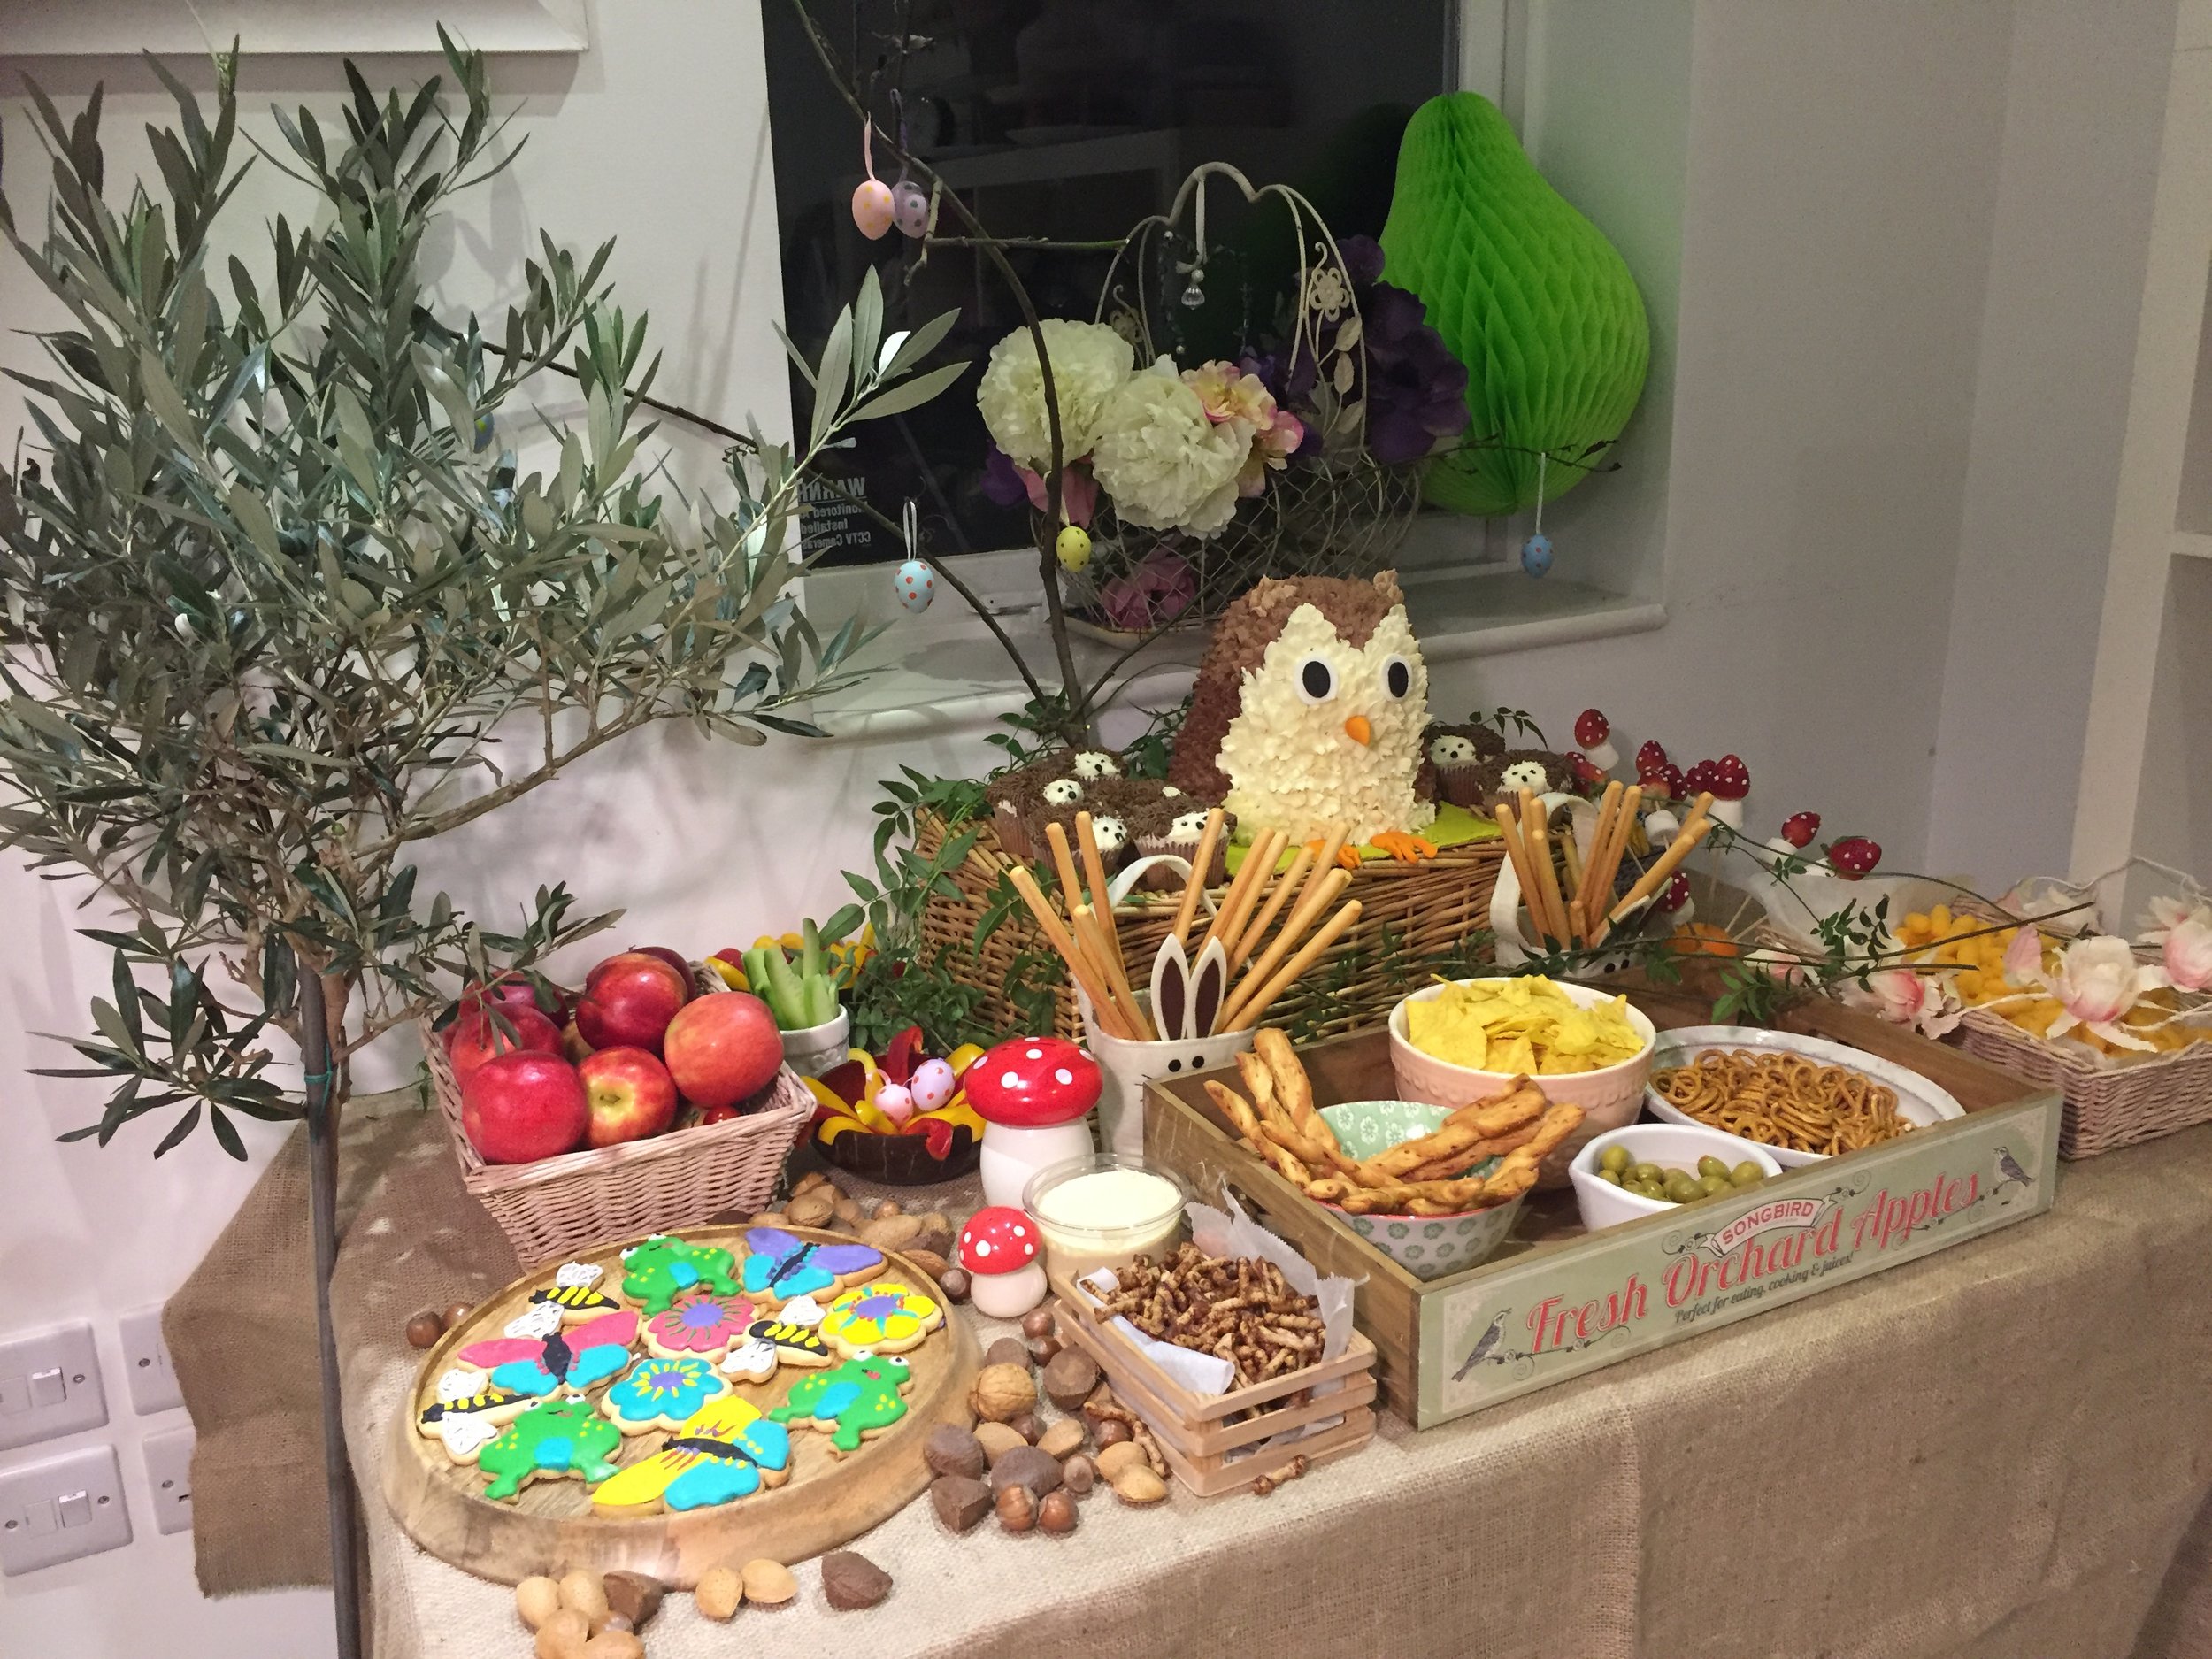
Teddy is mad about owls so this inspired me to do a 'Woodland Themed' cake table for her 3rd birthday. The great thing about this one is you can use lots of natural coloured products such as mini pretzels, twiglets, crisps & breadsticks. This means that you are giving the little ones some healthy snacks and saving yourself from having to create/buy too many sweet treats.
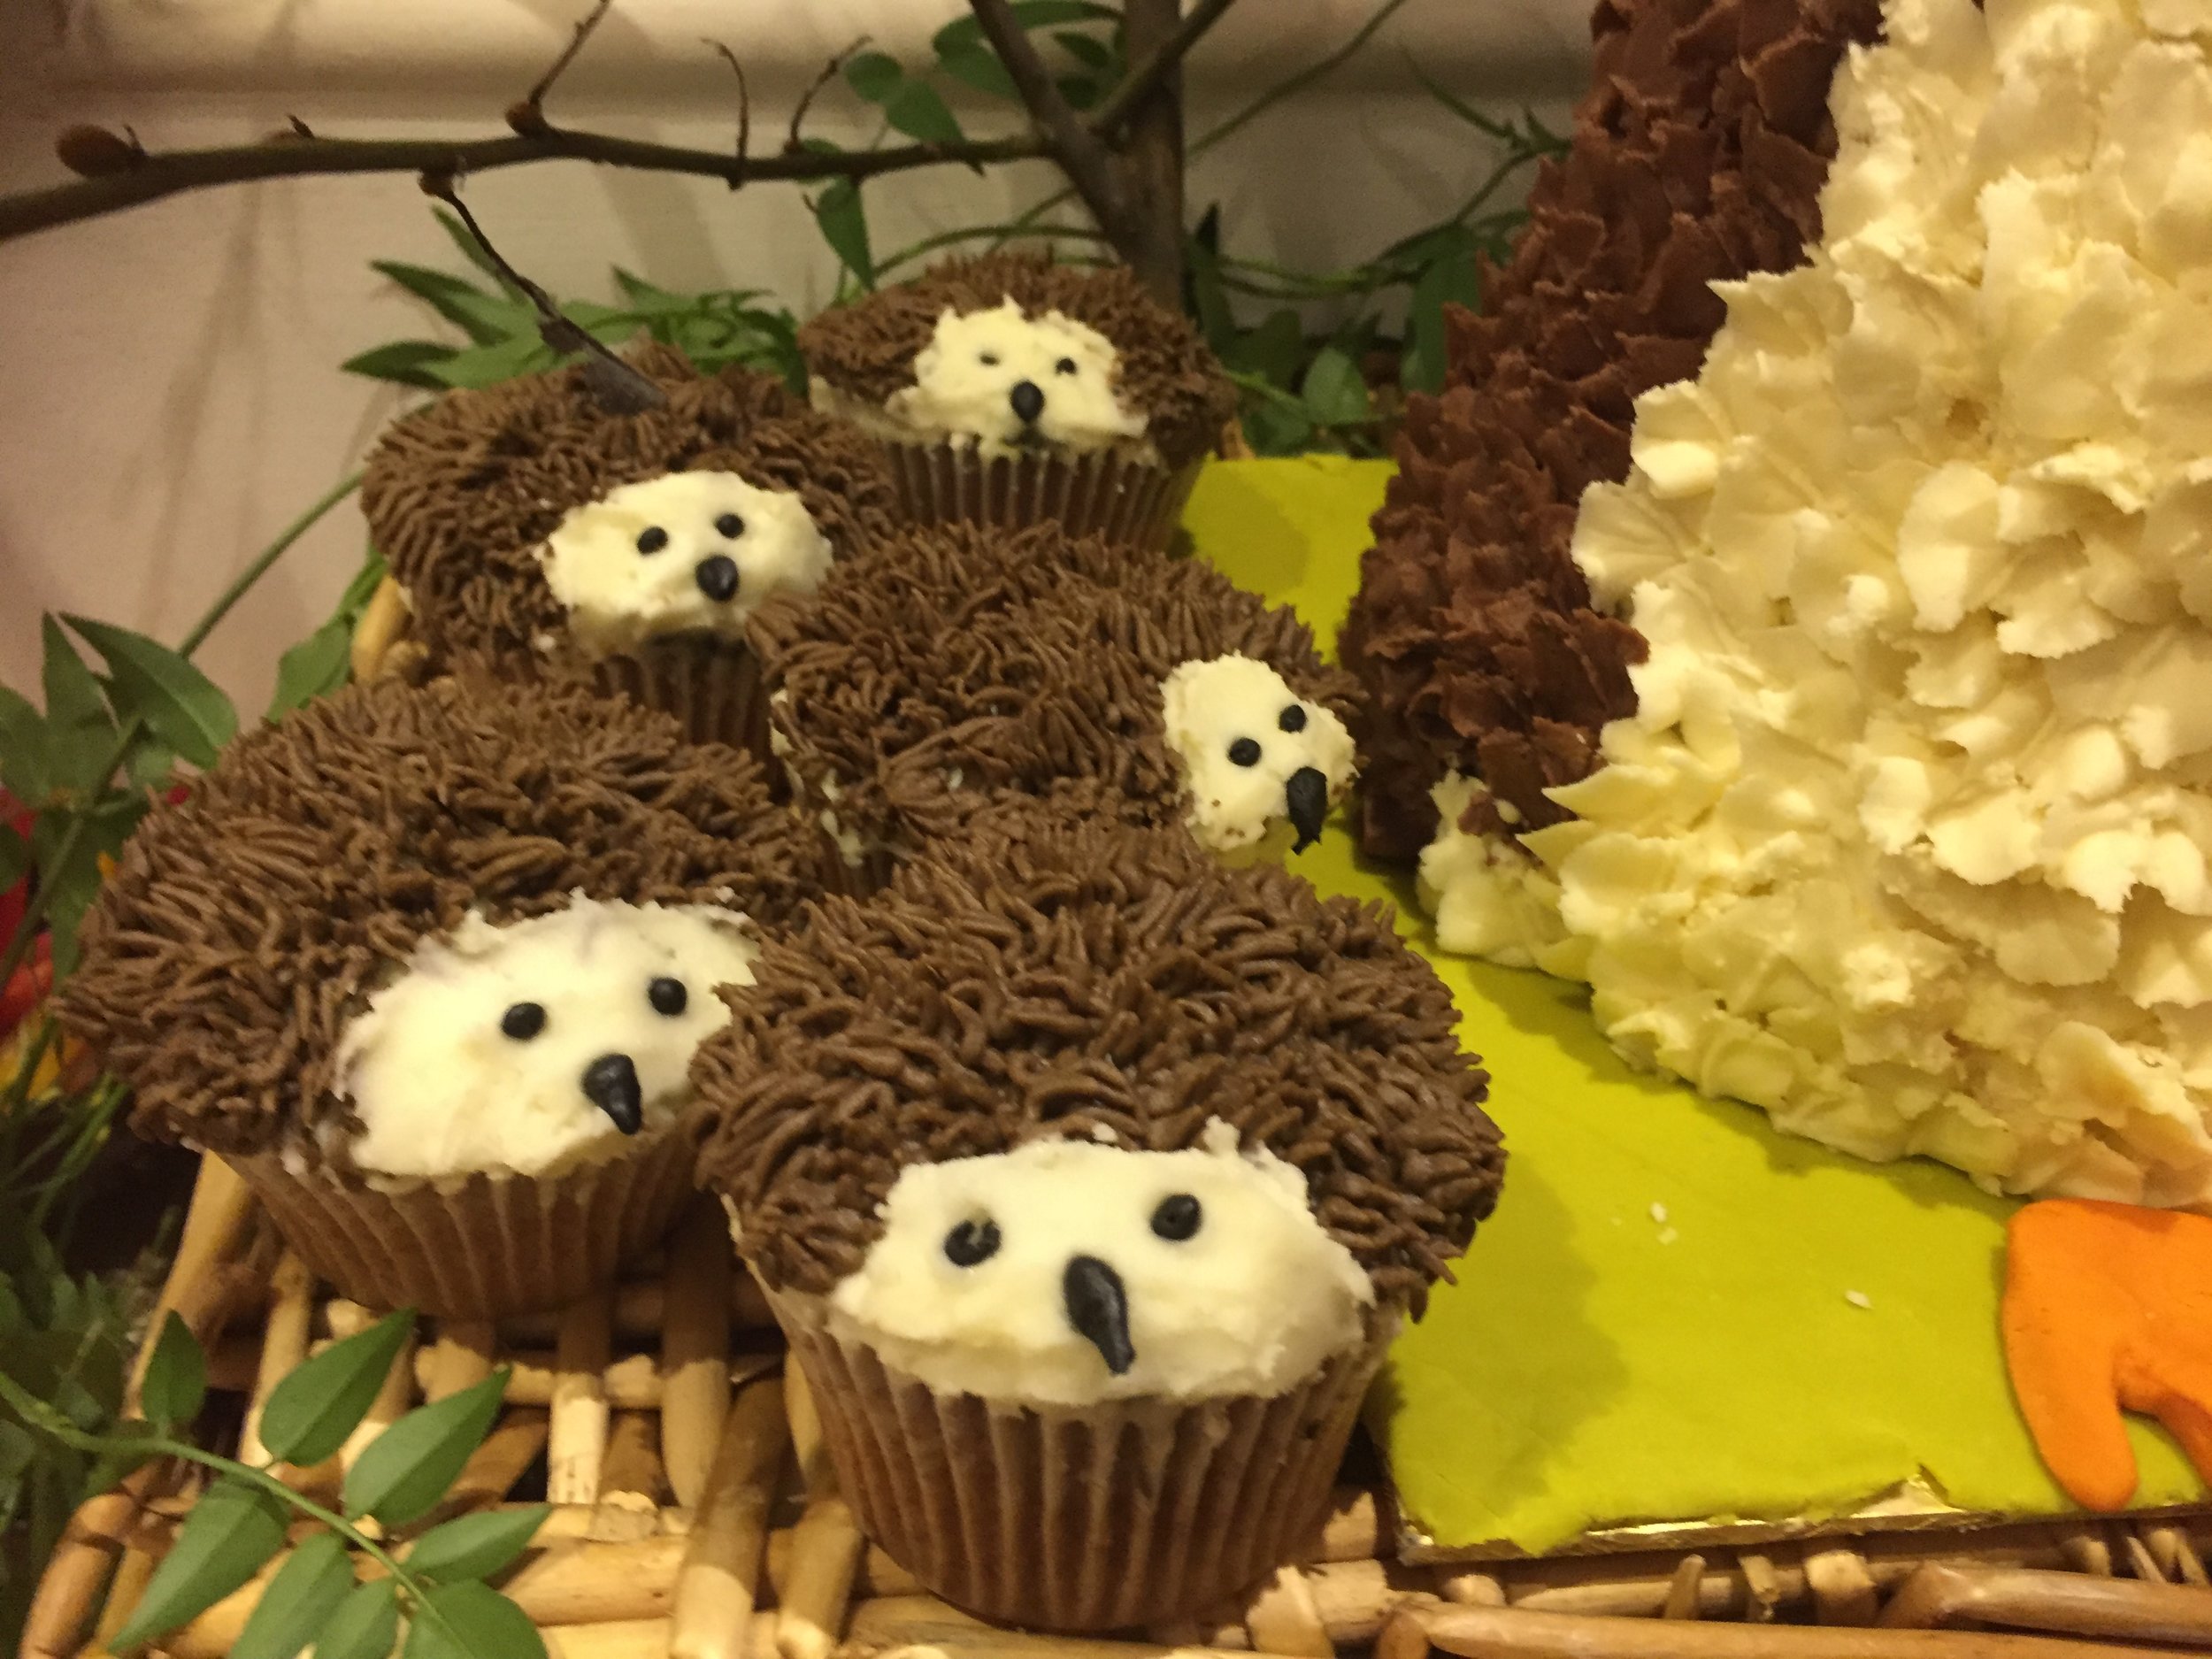
The mushrooms were simply marshmallows topped with a strawberry and piped with dots of Royal icing. The hedgehog cakes were cupcakes covered in cream buttercream and then piped with chocolate buttercream (using a grass nozzle) to cover 3/4 of them leaving just enough space to pipe on eyes and a pointy nose.
The biggest challenge was the owl cake. I baked 2 x 1.5 ltre pudding basins using a 14 oz mix of Victoria Sponge (ie 14oz butter, 14 oz sugar, 7 eggs & 14oz self raising flour). I baked this at 170 for around 90 mins (check after 1 hr as ALL oven temps vary).
You will need- Buttercream (made with 10oz soft unsalted butter and 20oz icing sugar, beat for 5 mins) colour 1/3 cream, 2/3 brown, orange, black, green & white fondant icing, 2 leaf nozzle (I used a PME 53).
Cover the cake board with the rolled green icing. Crumb coat both cakes with a thin layer of buttercream. Secure one of the cakes in the centre of the board with a blob of buttercream. Place the other cake on top, flat side up. Use wooden skewers at an angle to hold the top one in place. Add more buttercream to the centre where the cakes meet to create the owl shape. Now pipe on the feathers in rows following the design above. Once the cake is covered you can add the beak, eyes and feet as above. I mixed a bit of the brown and the cream icing together to make the pale brown colour for the ears. I then just piped them on using the same feather technique.
If you would like to create this or something similar in a one to one private lesson with me then call- 020 3573 9135
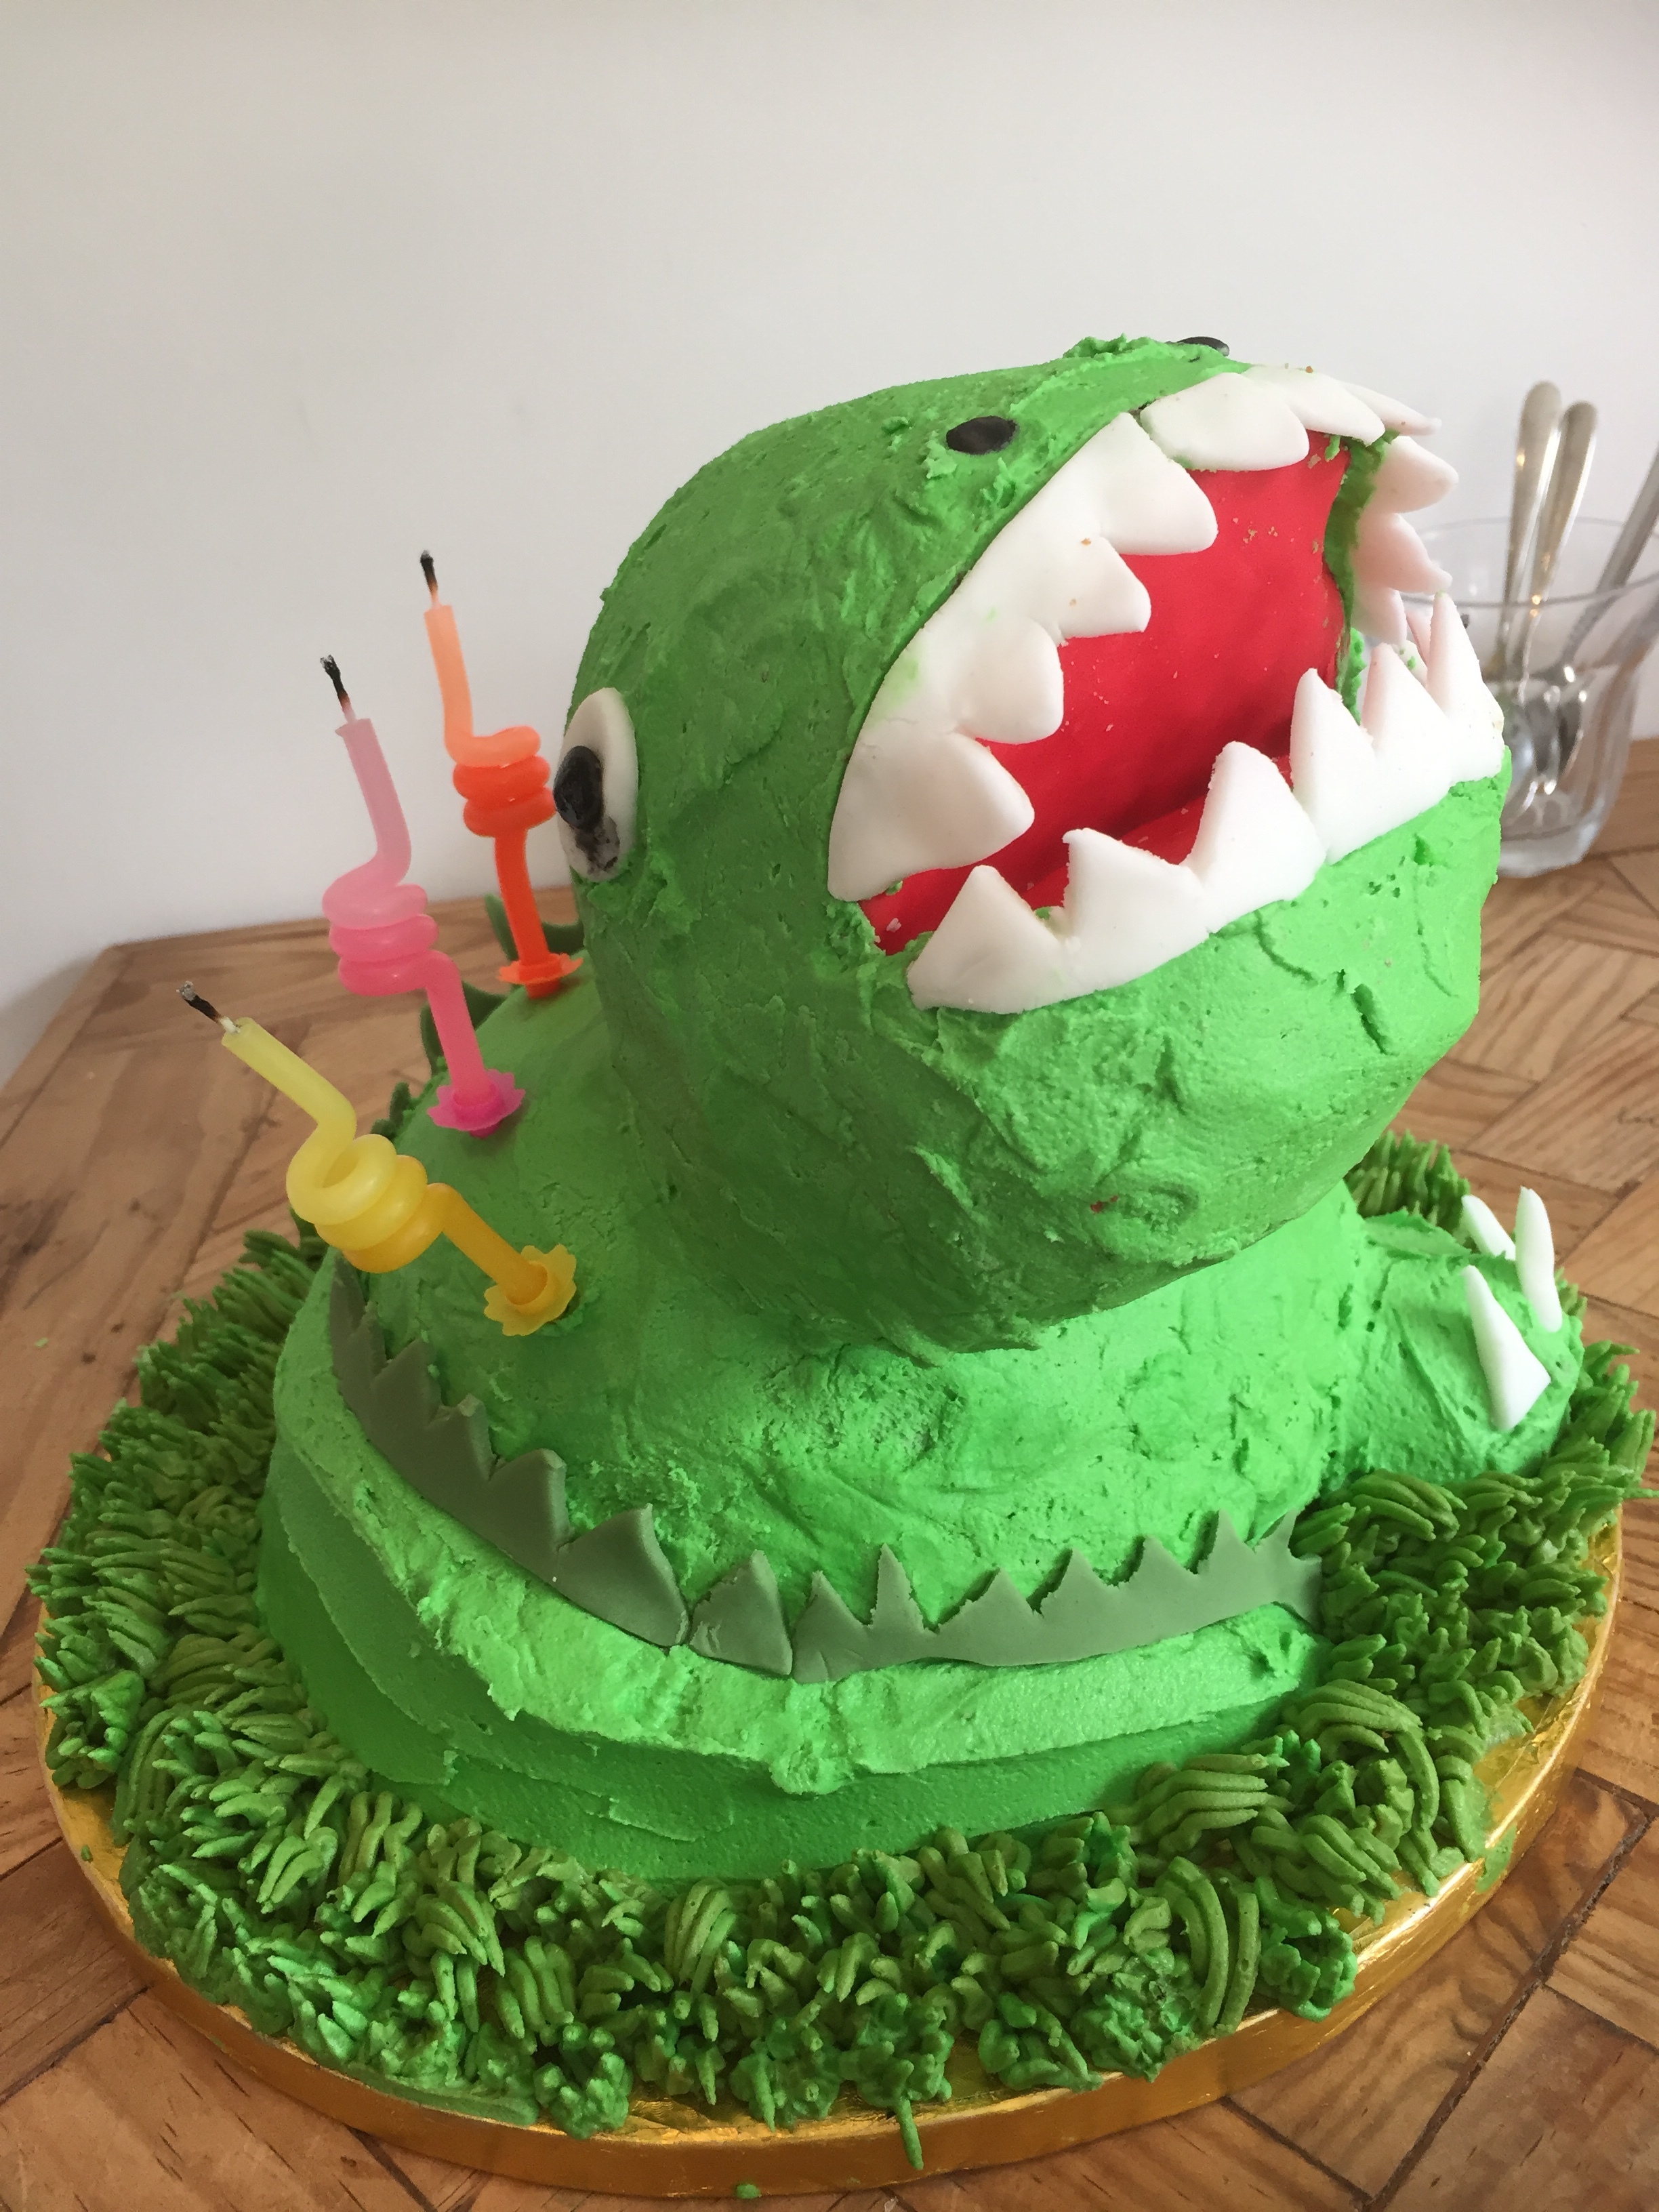
Dinosaur Cake
As you may have noticed there are a few signature details with my kids cakes.
1. I like to create 3d cakes, rather than flat so I work with pudding basins. One 1.5 ltr & one 0.5 ltr.
2. I work in buttercream as I prefer the texture and I much prefer the taste to fondant.
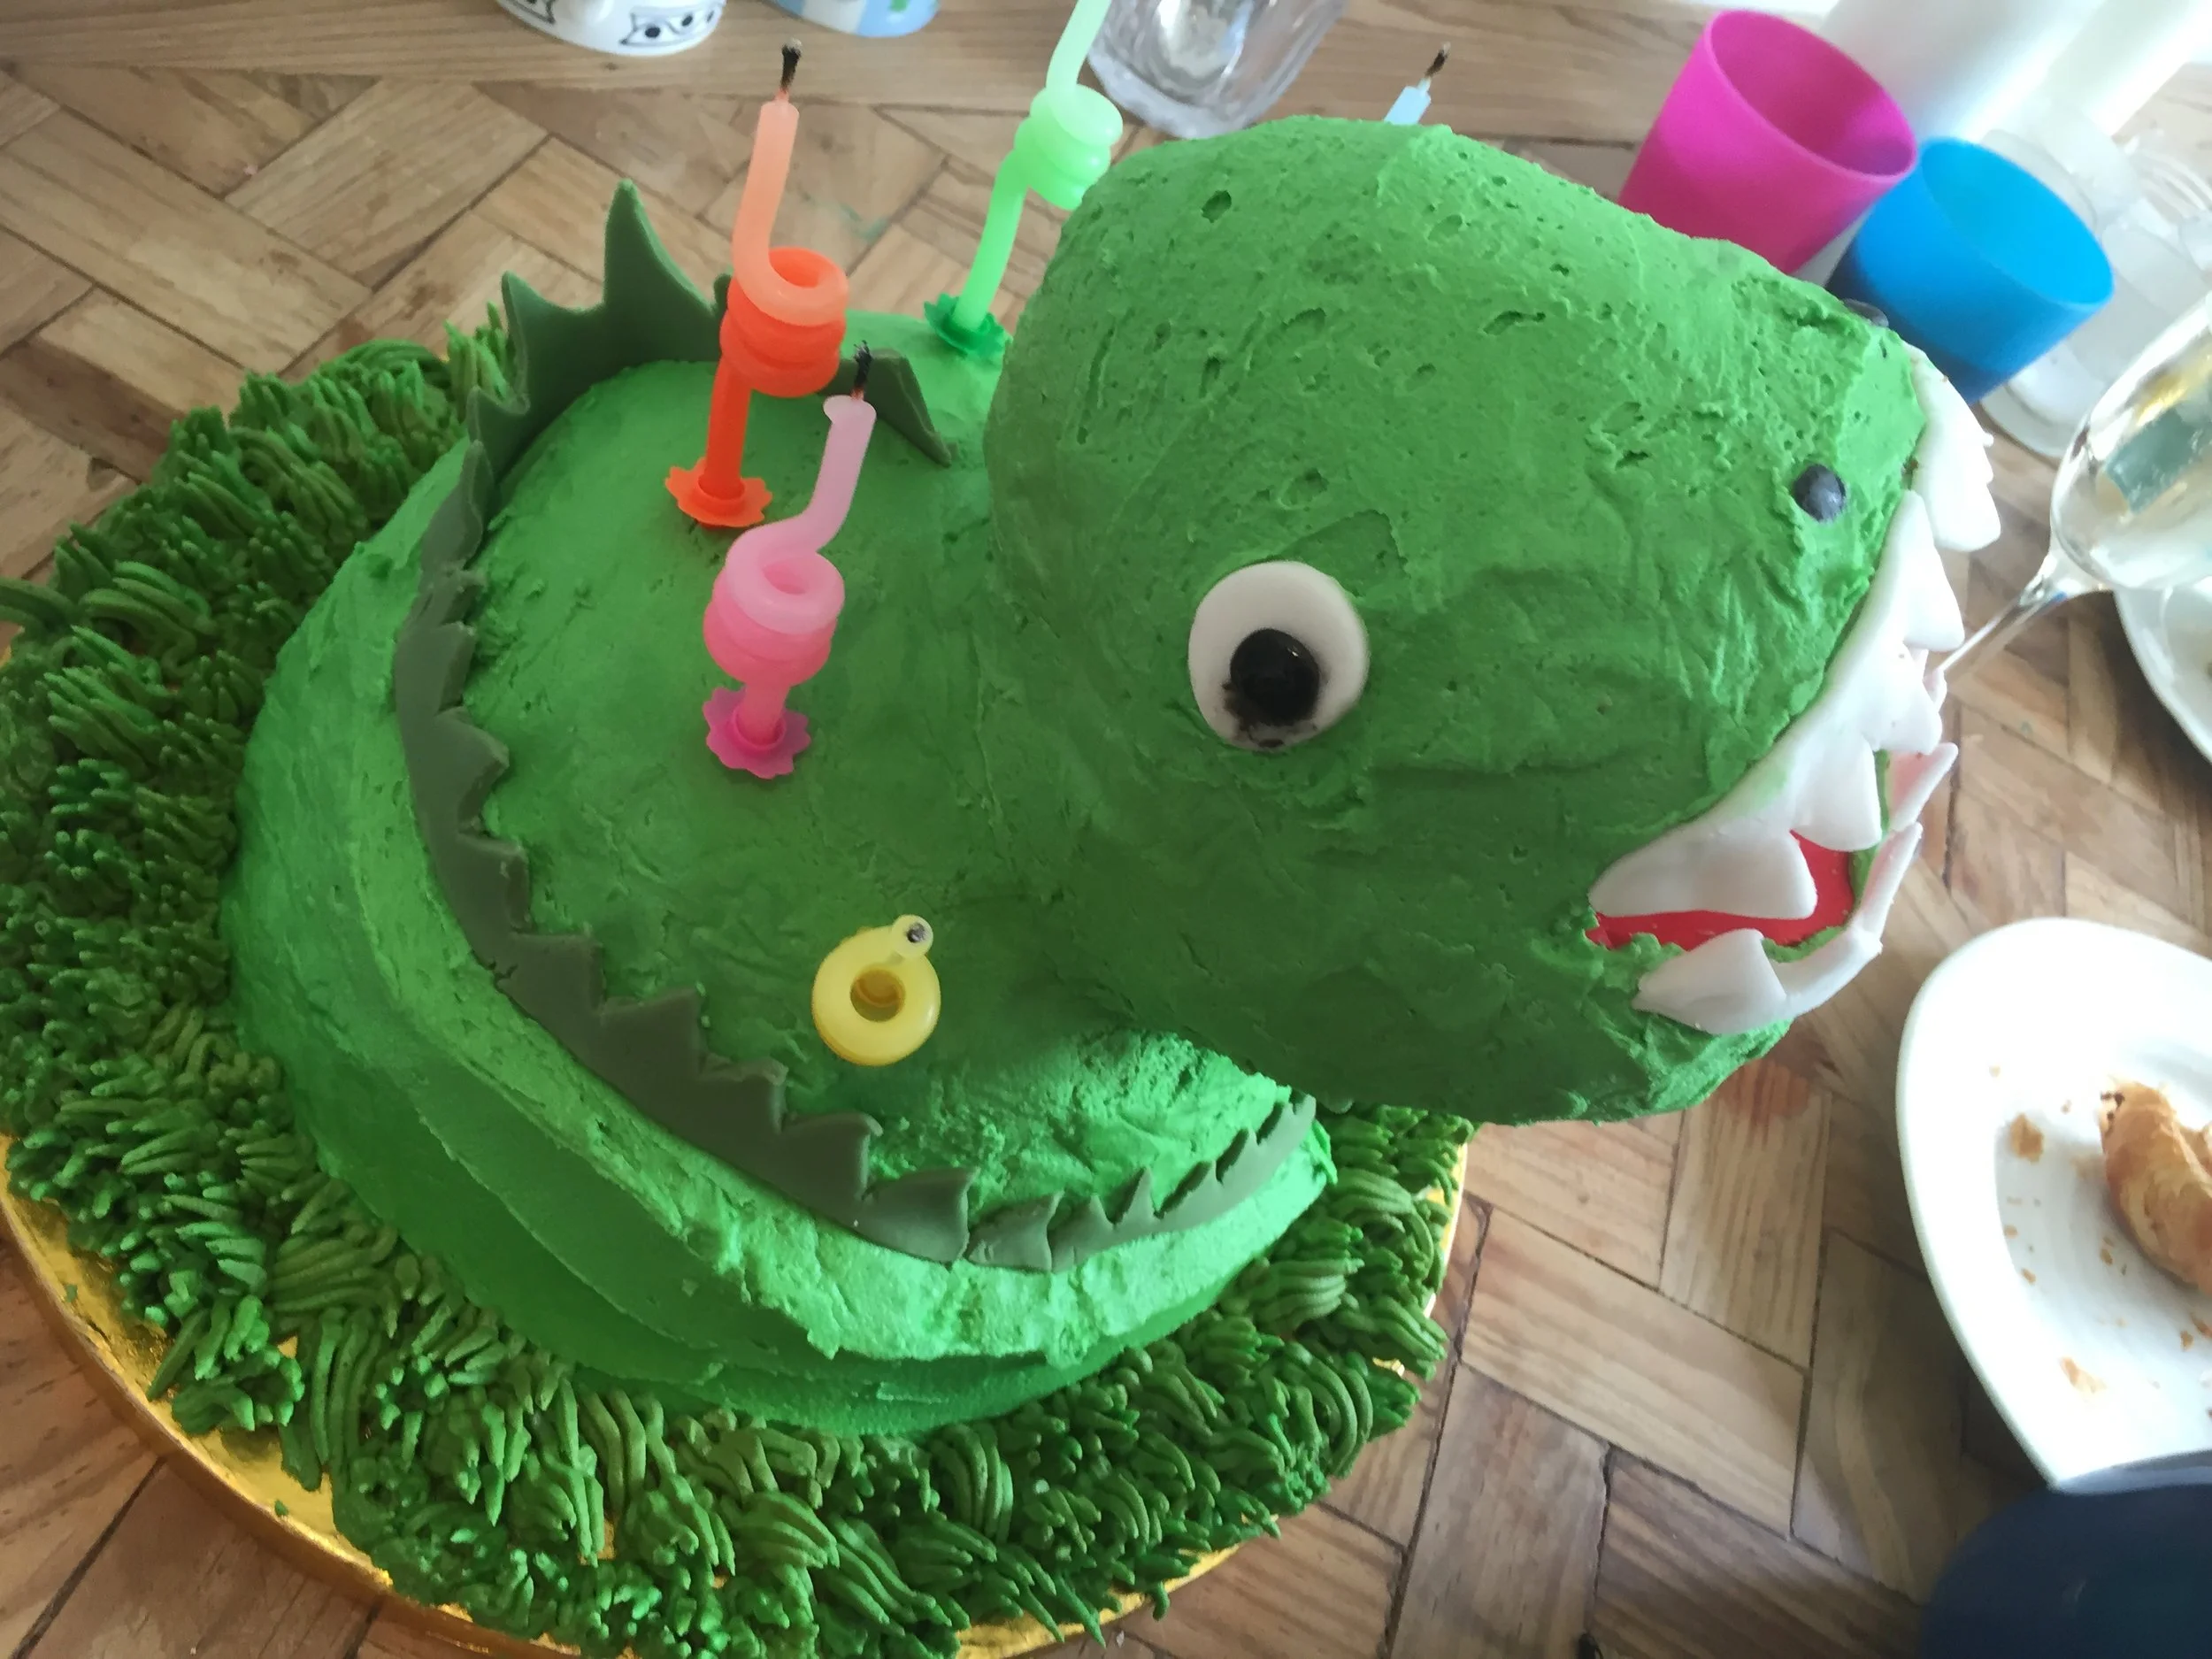
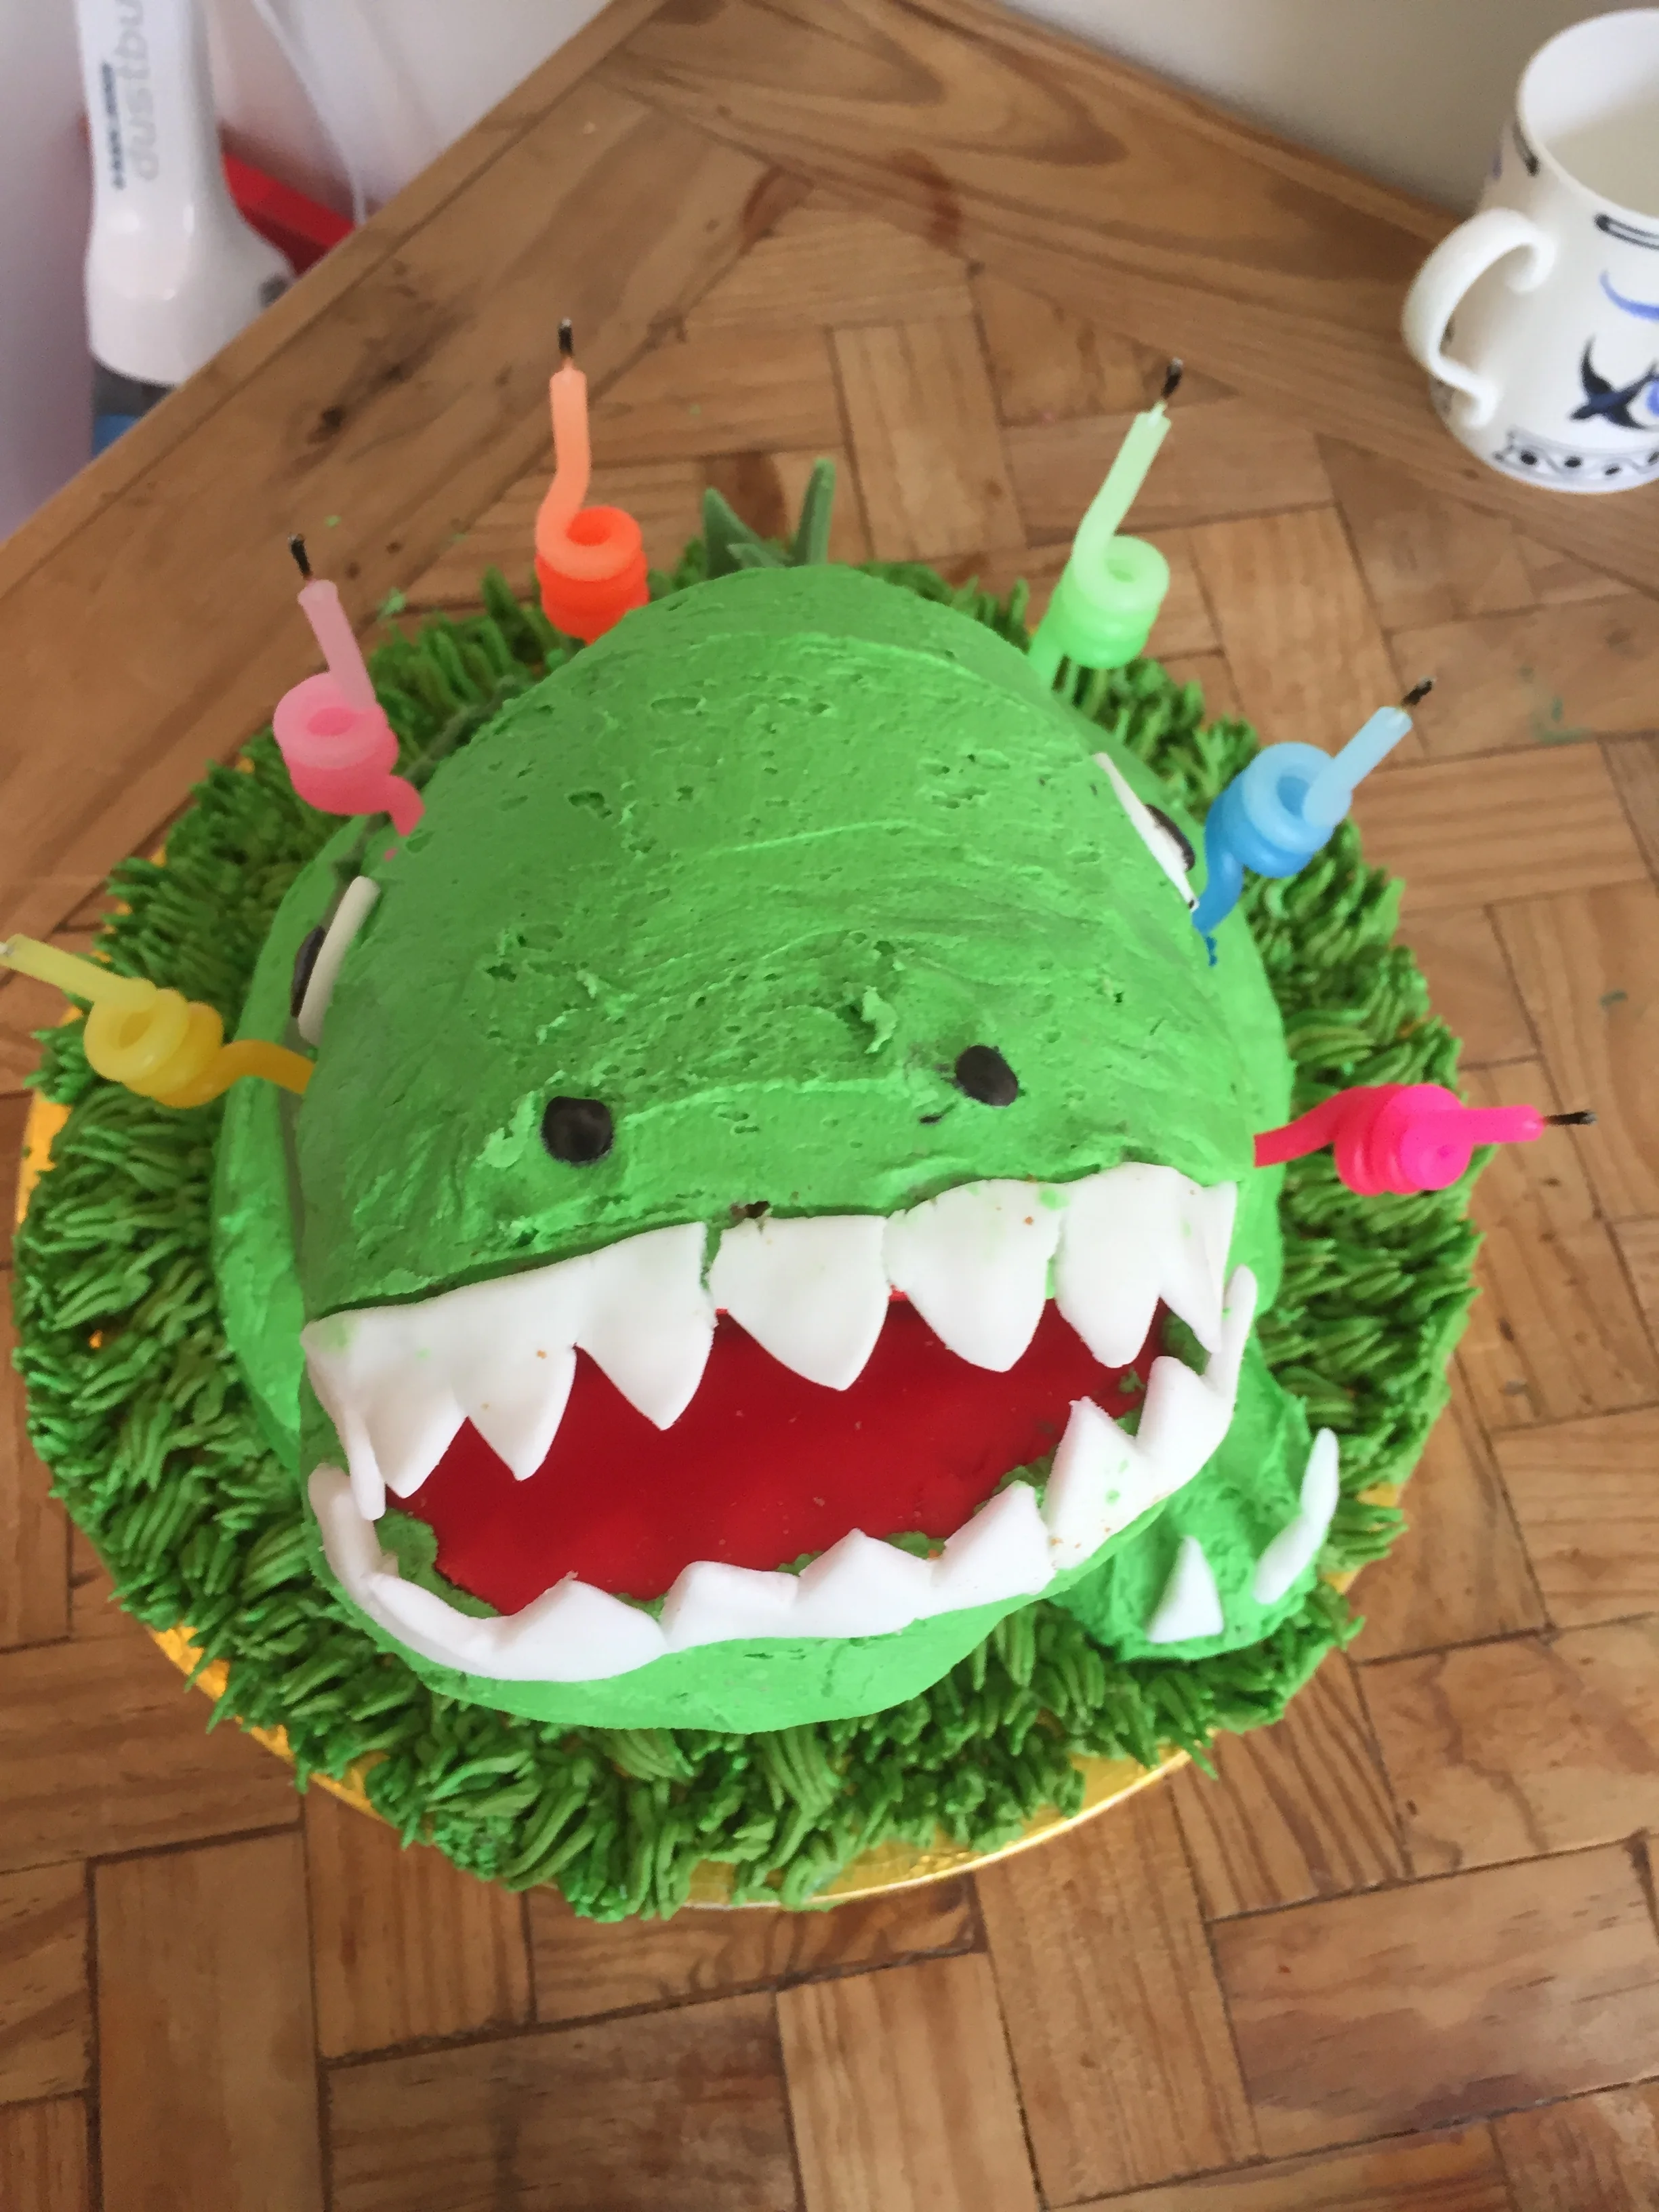
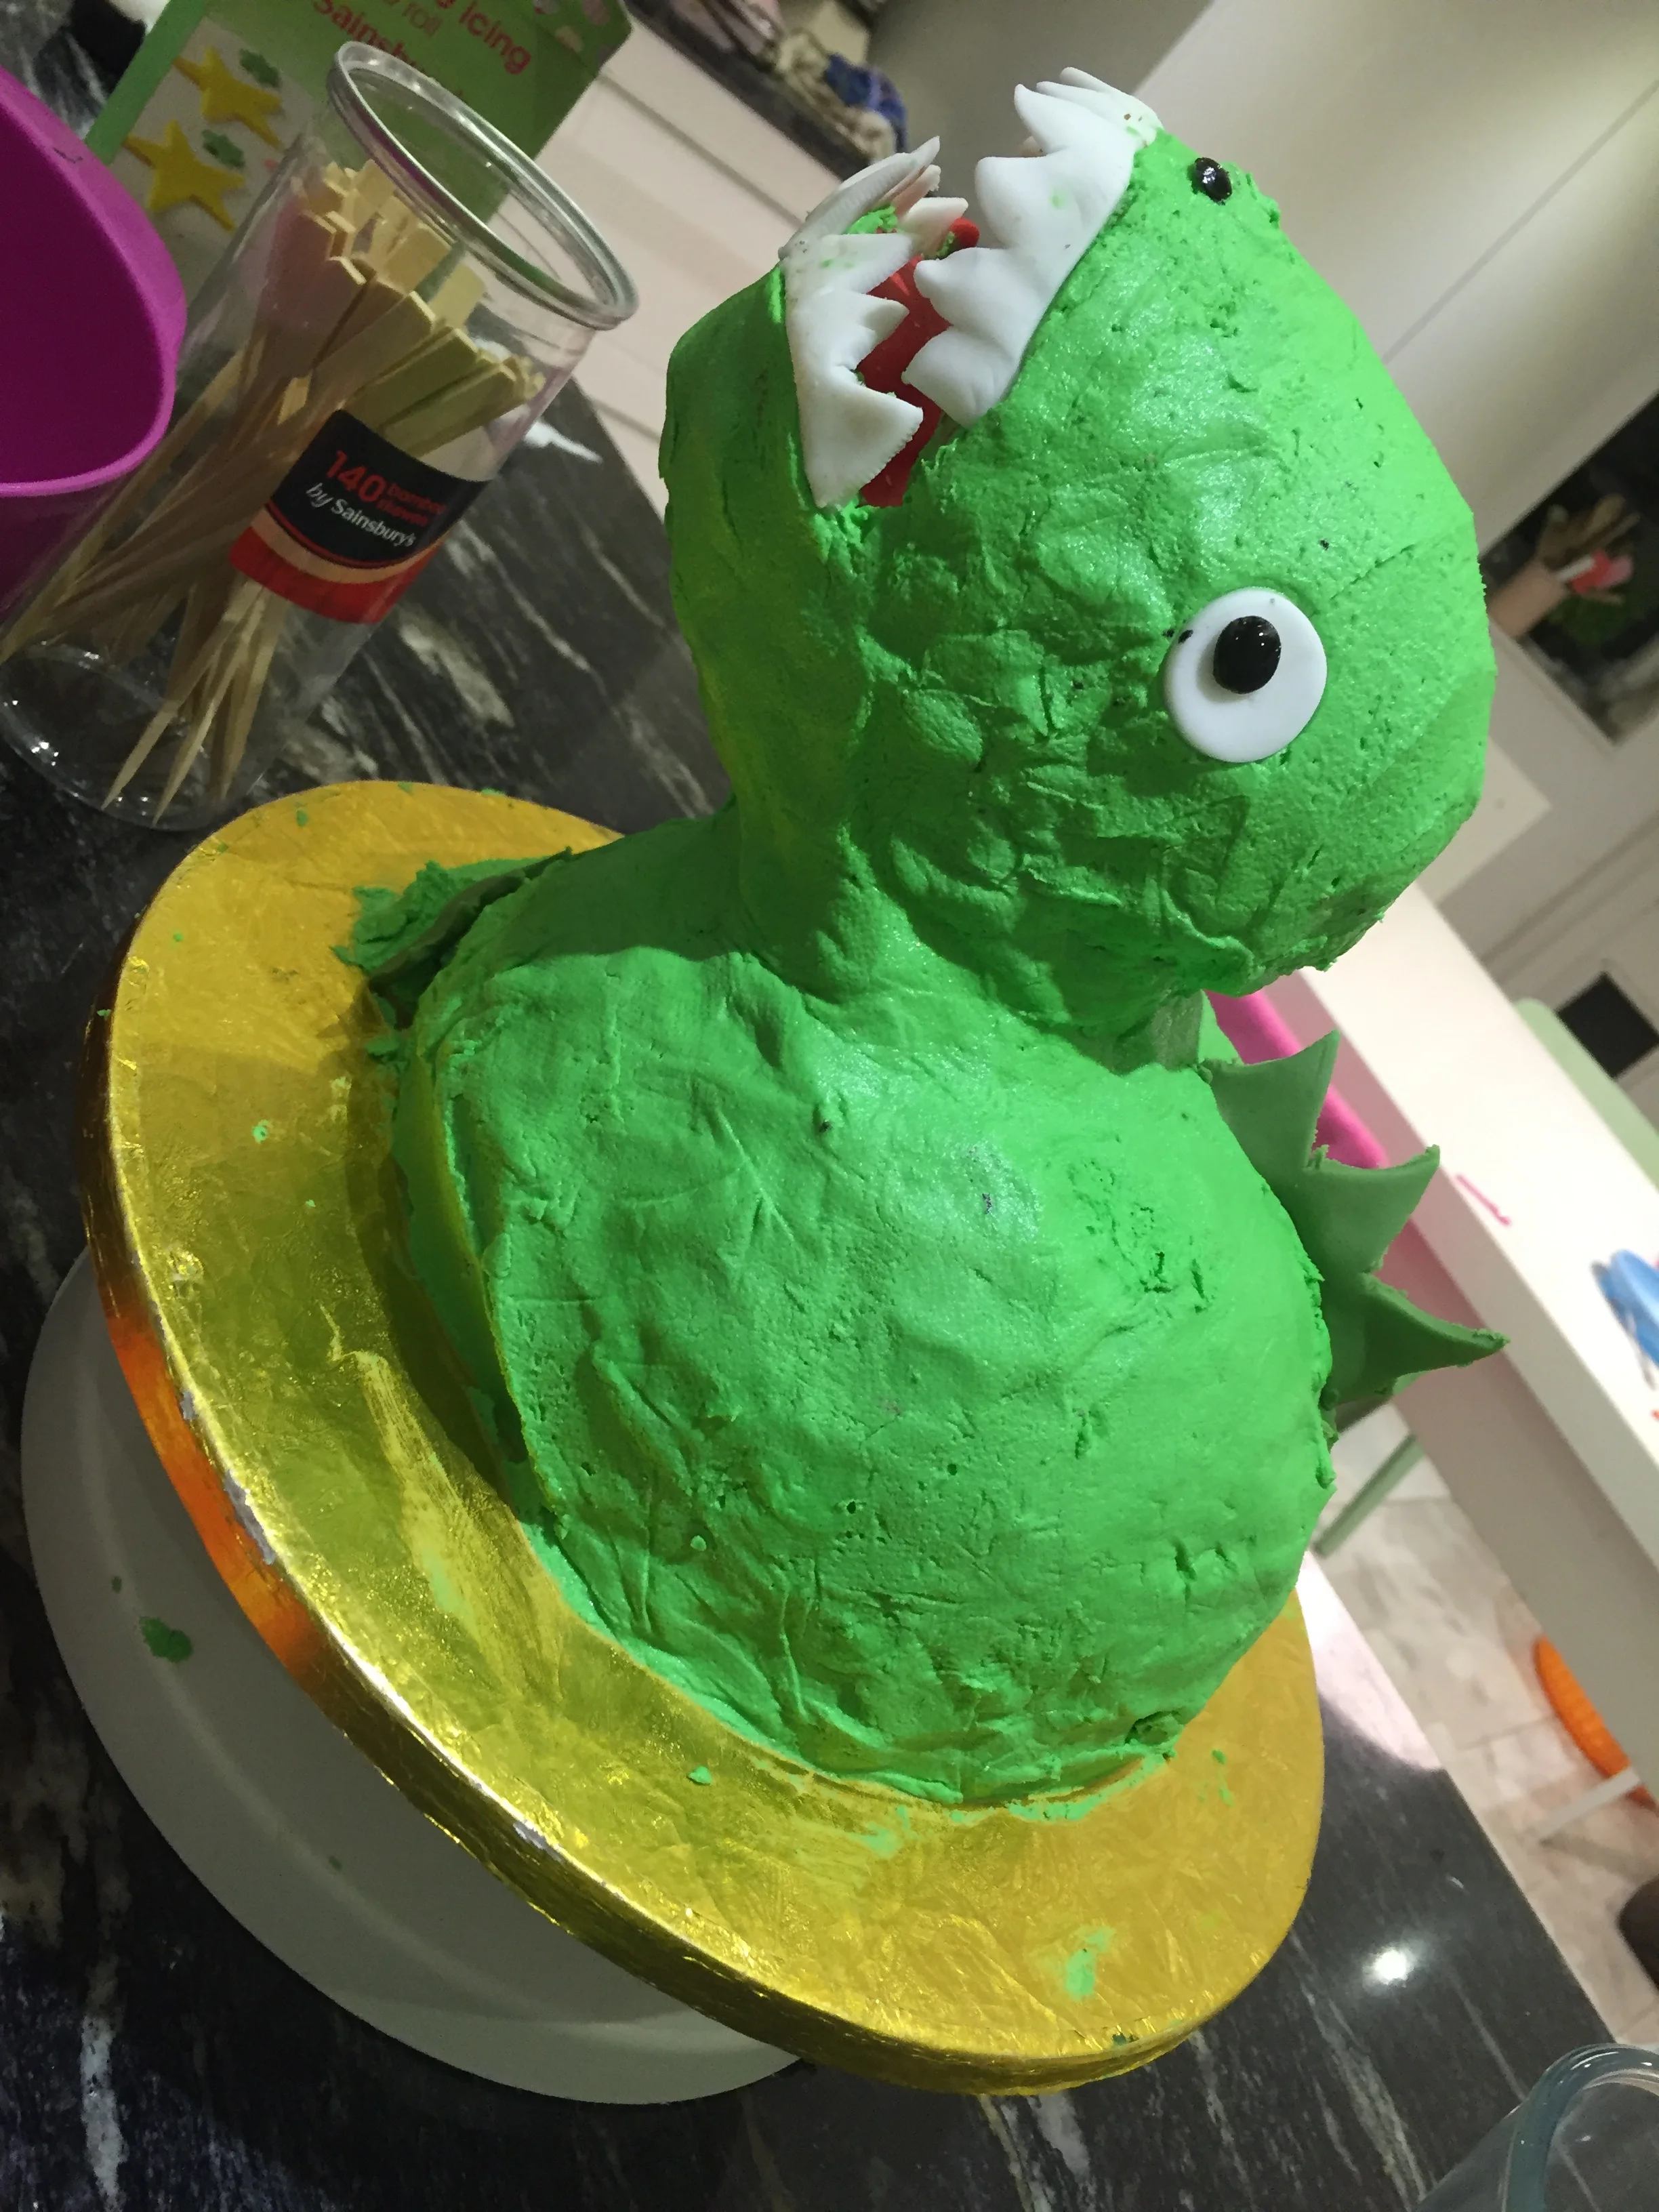
3. As I'm so busy I generally only create a cake once. I don't sell them so they are just for my kids/Godkids. The prototype, which I make up as I go along, is the one in the photos. This means that they are not perfect but I like that the look hand made. Hopefully that also encourages non professional bakers/decorators to give them a go.
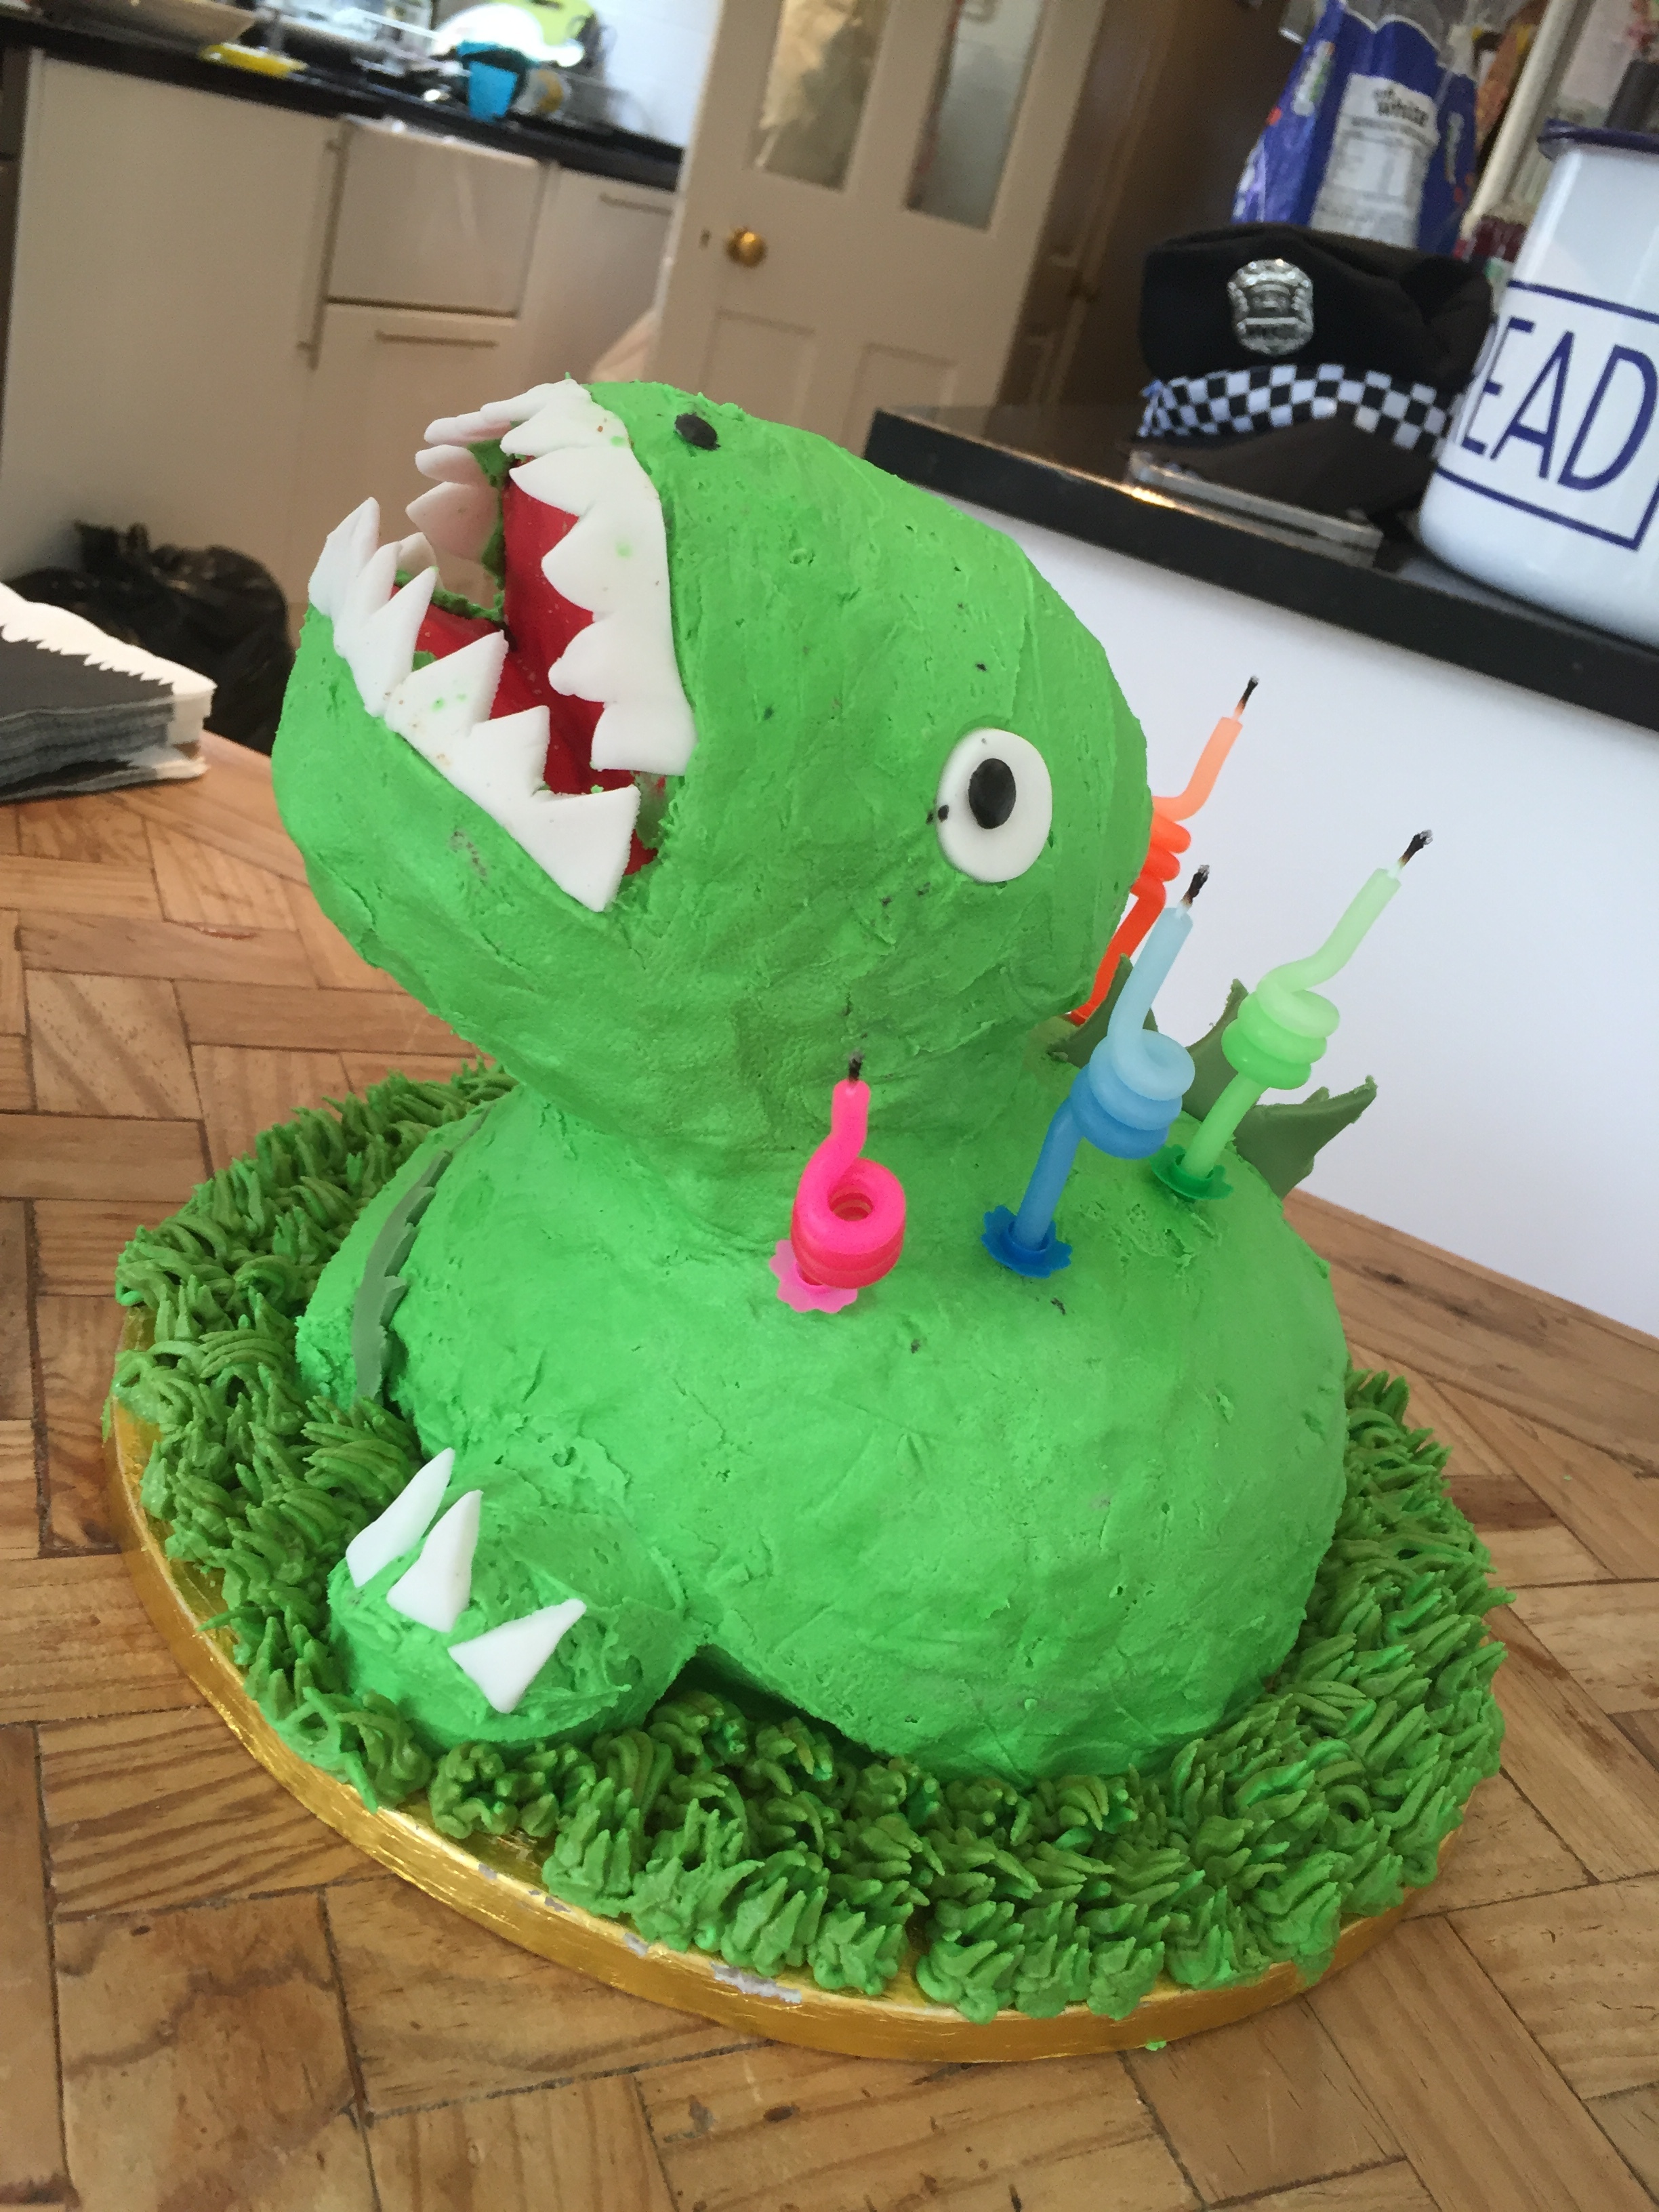
This was an idea I had for a dinosaur cake for my Godson Archies 6th birthday party.
It is a victoria sponge recipe which is what I mostly use for this kind of cake. I used a 10oz mix. It takes around 30-40 mins for the small cake to bake and 1hr to 80 mins for the large one. Remember that all oven temperatures vary whatever they say on the outside!
You will need to make around 1.5 kg buttercream. It is best to have too much rather than too little. You can keep any leftovers in a sealed container in the fridge for 3 weeks or the freezer for 3 months.
You will need
Green food colour, Wooden Skewers, White fondant icing, Green fondant icing, Red fondant icing, Black Fondant, Jam, Grass nozzle, Piping bag,
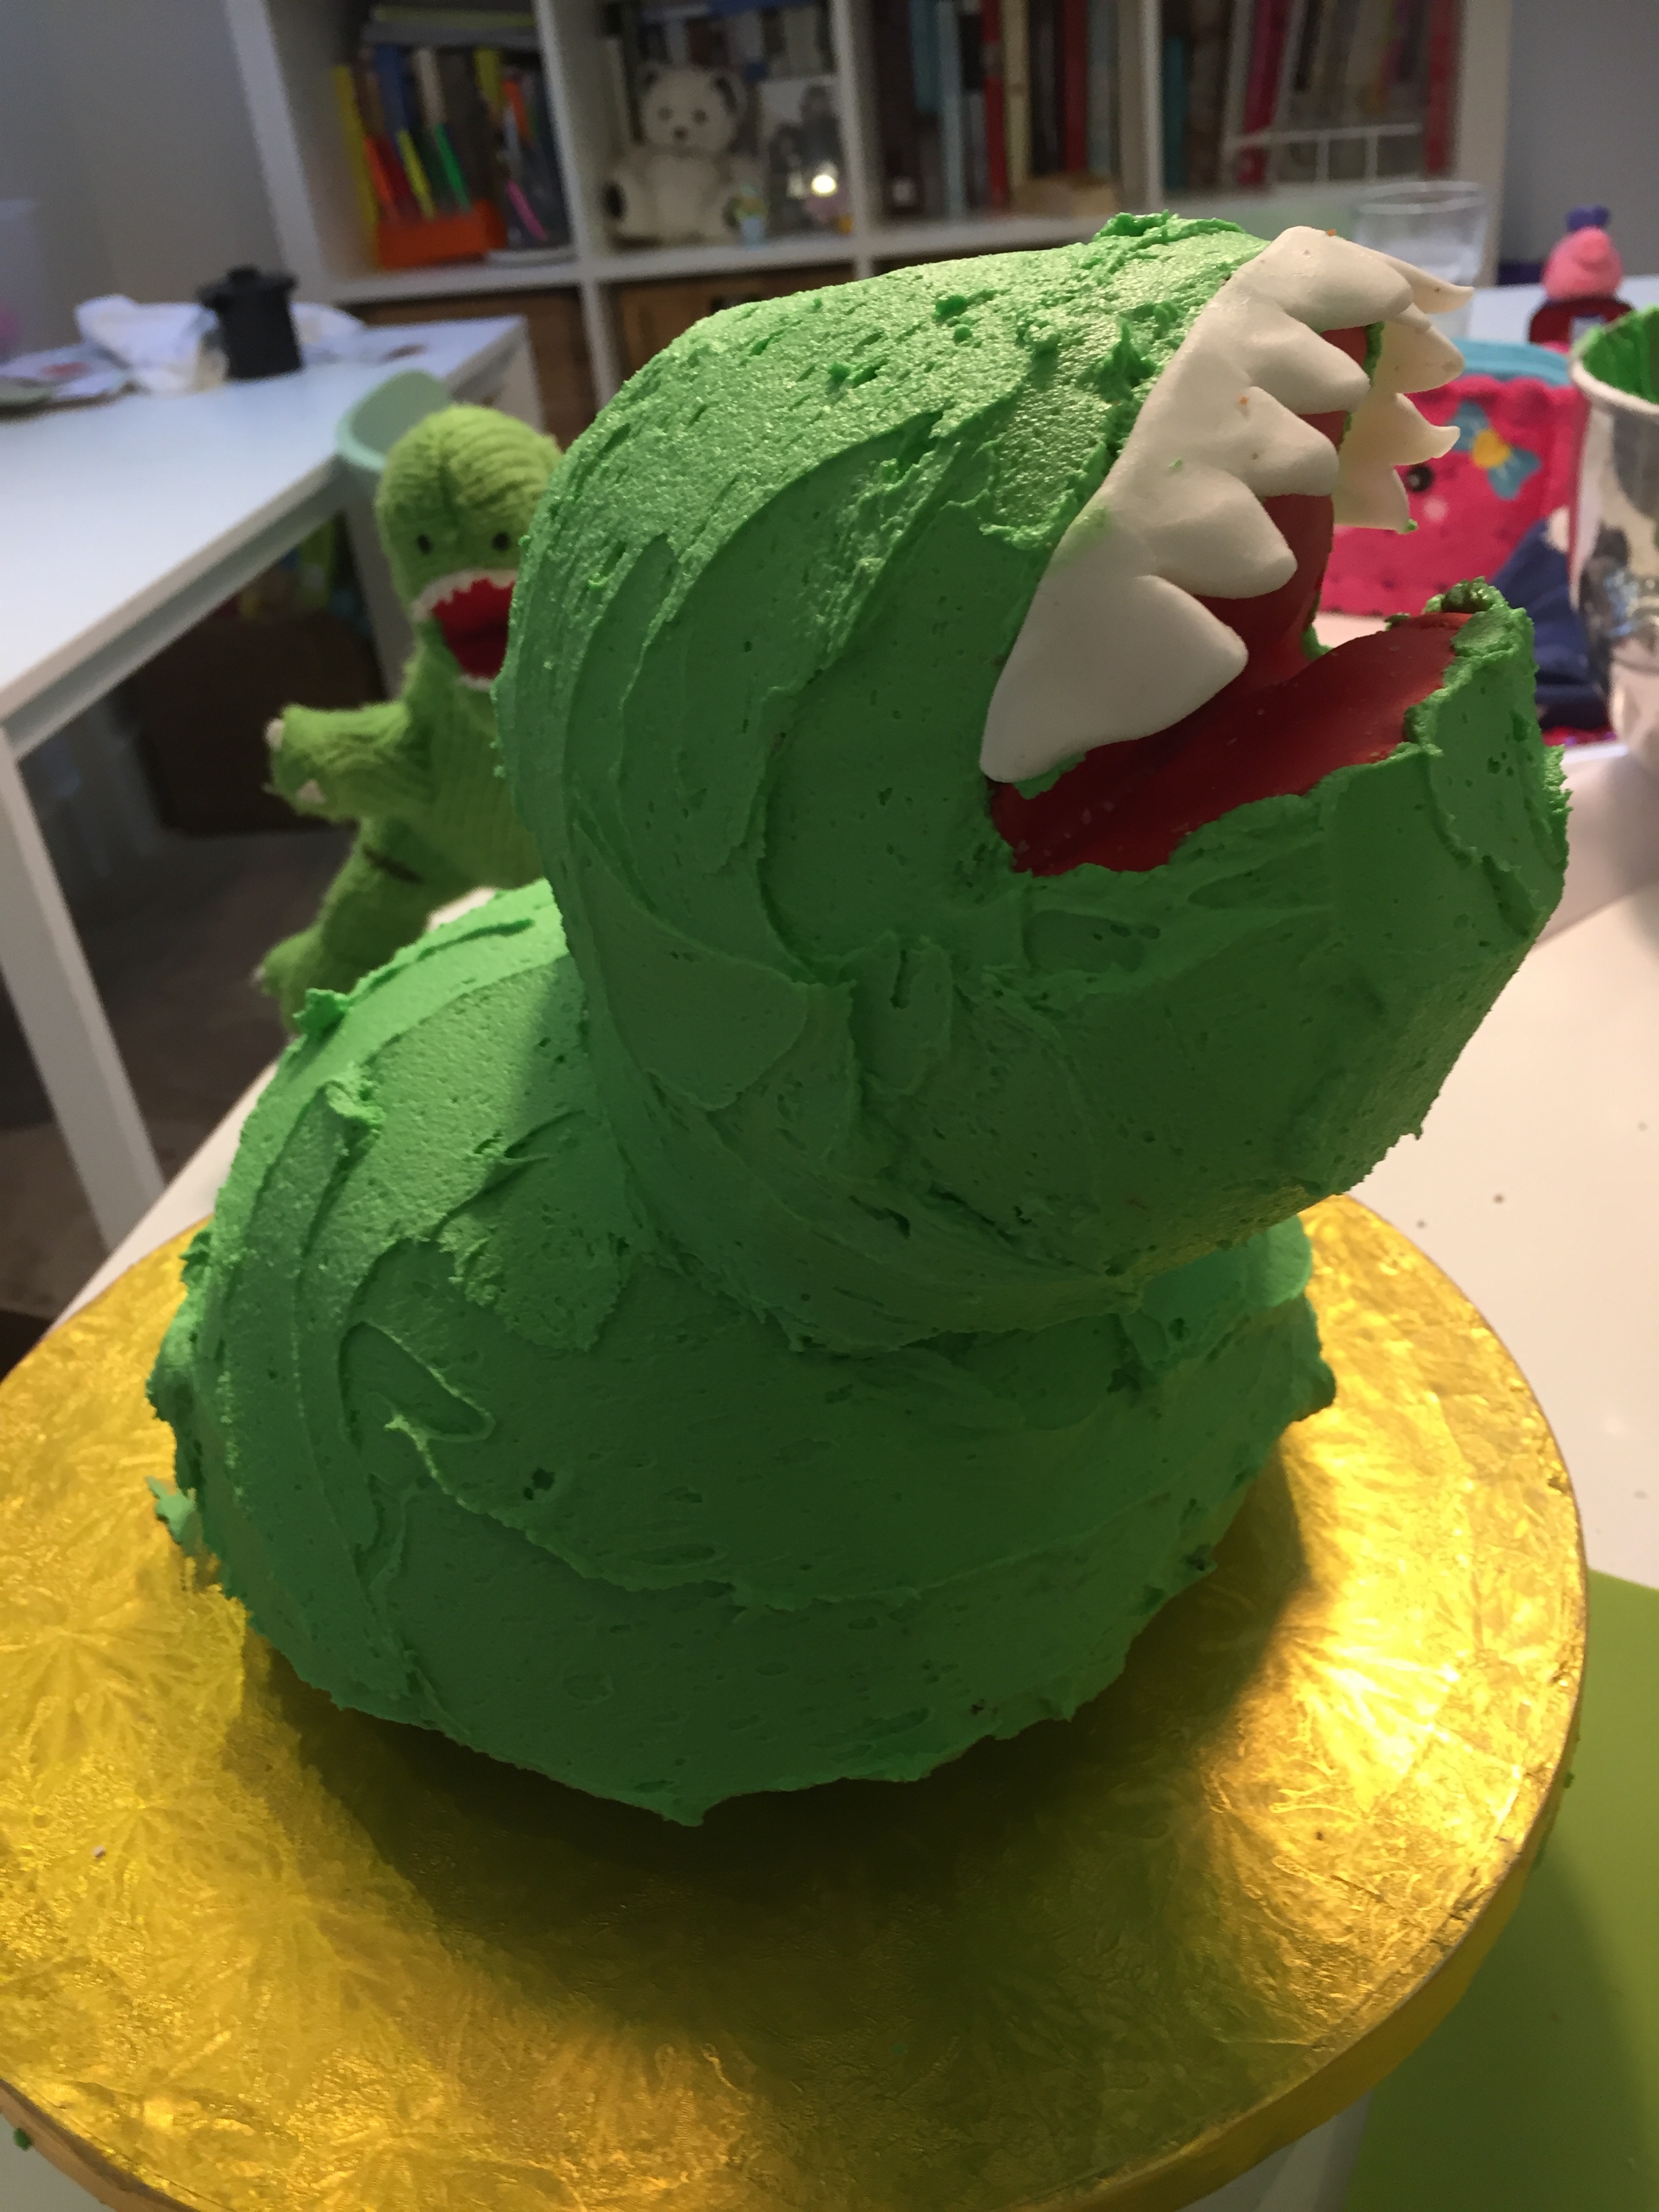
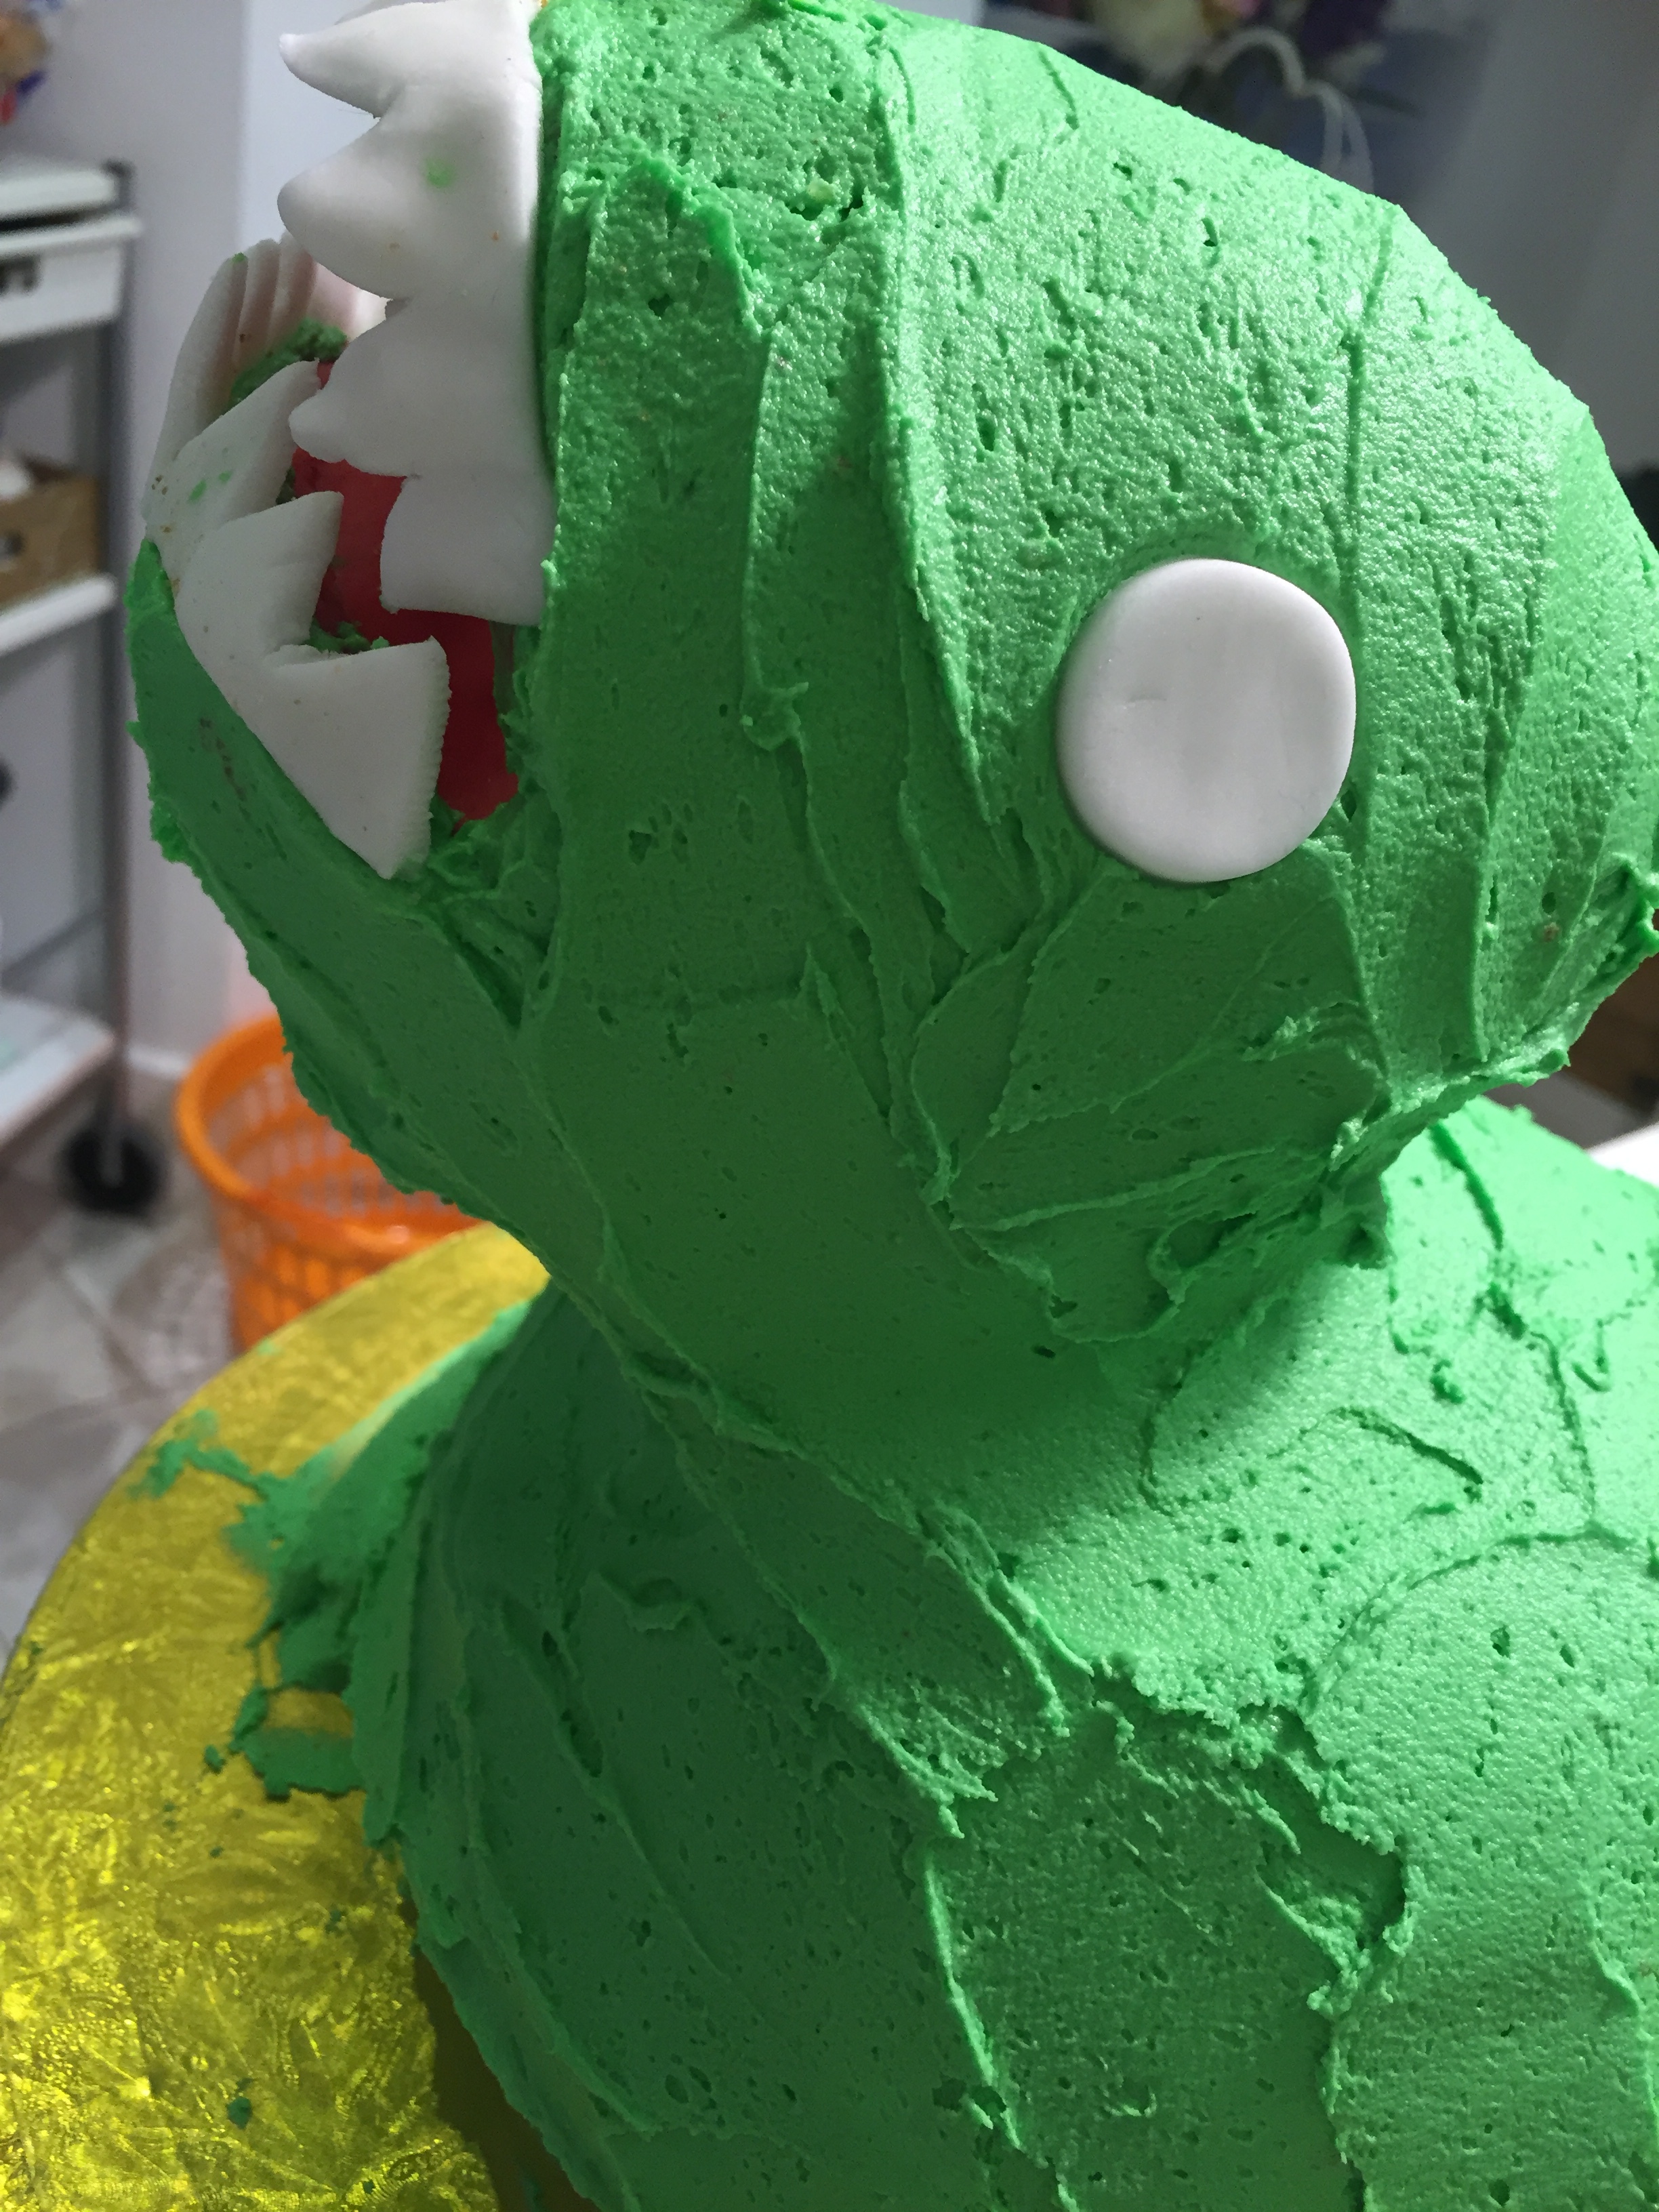
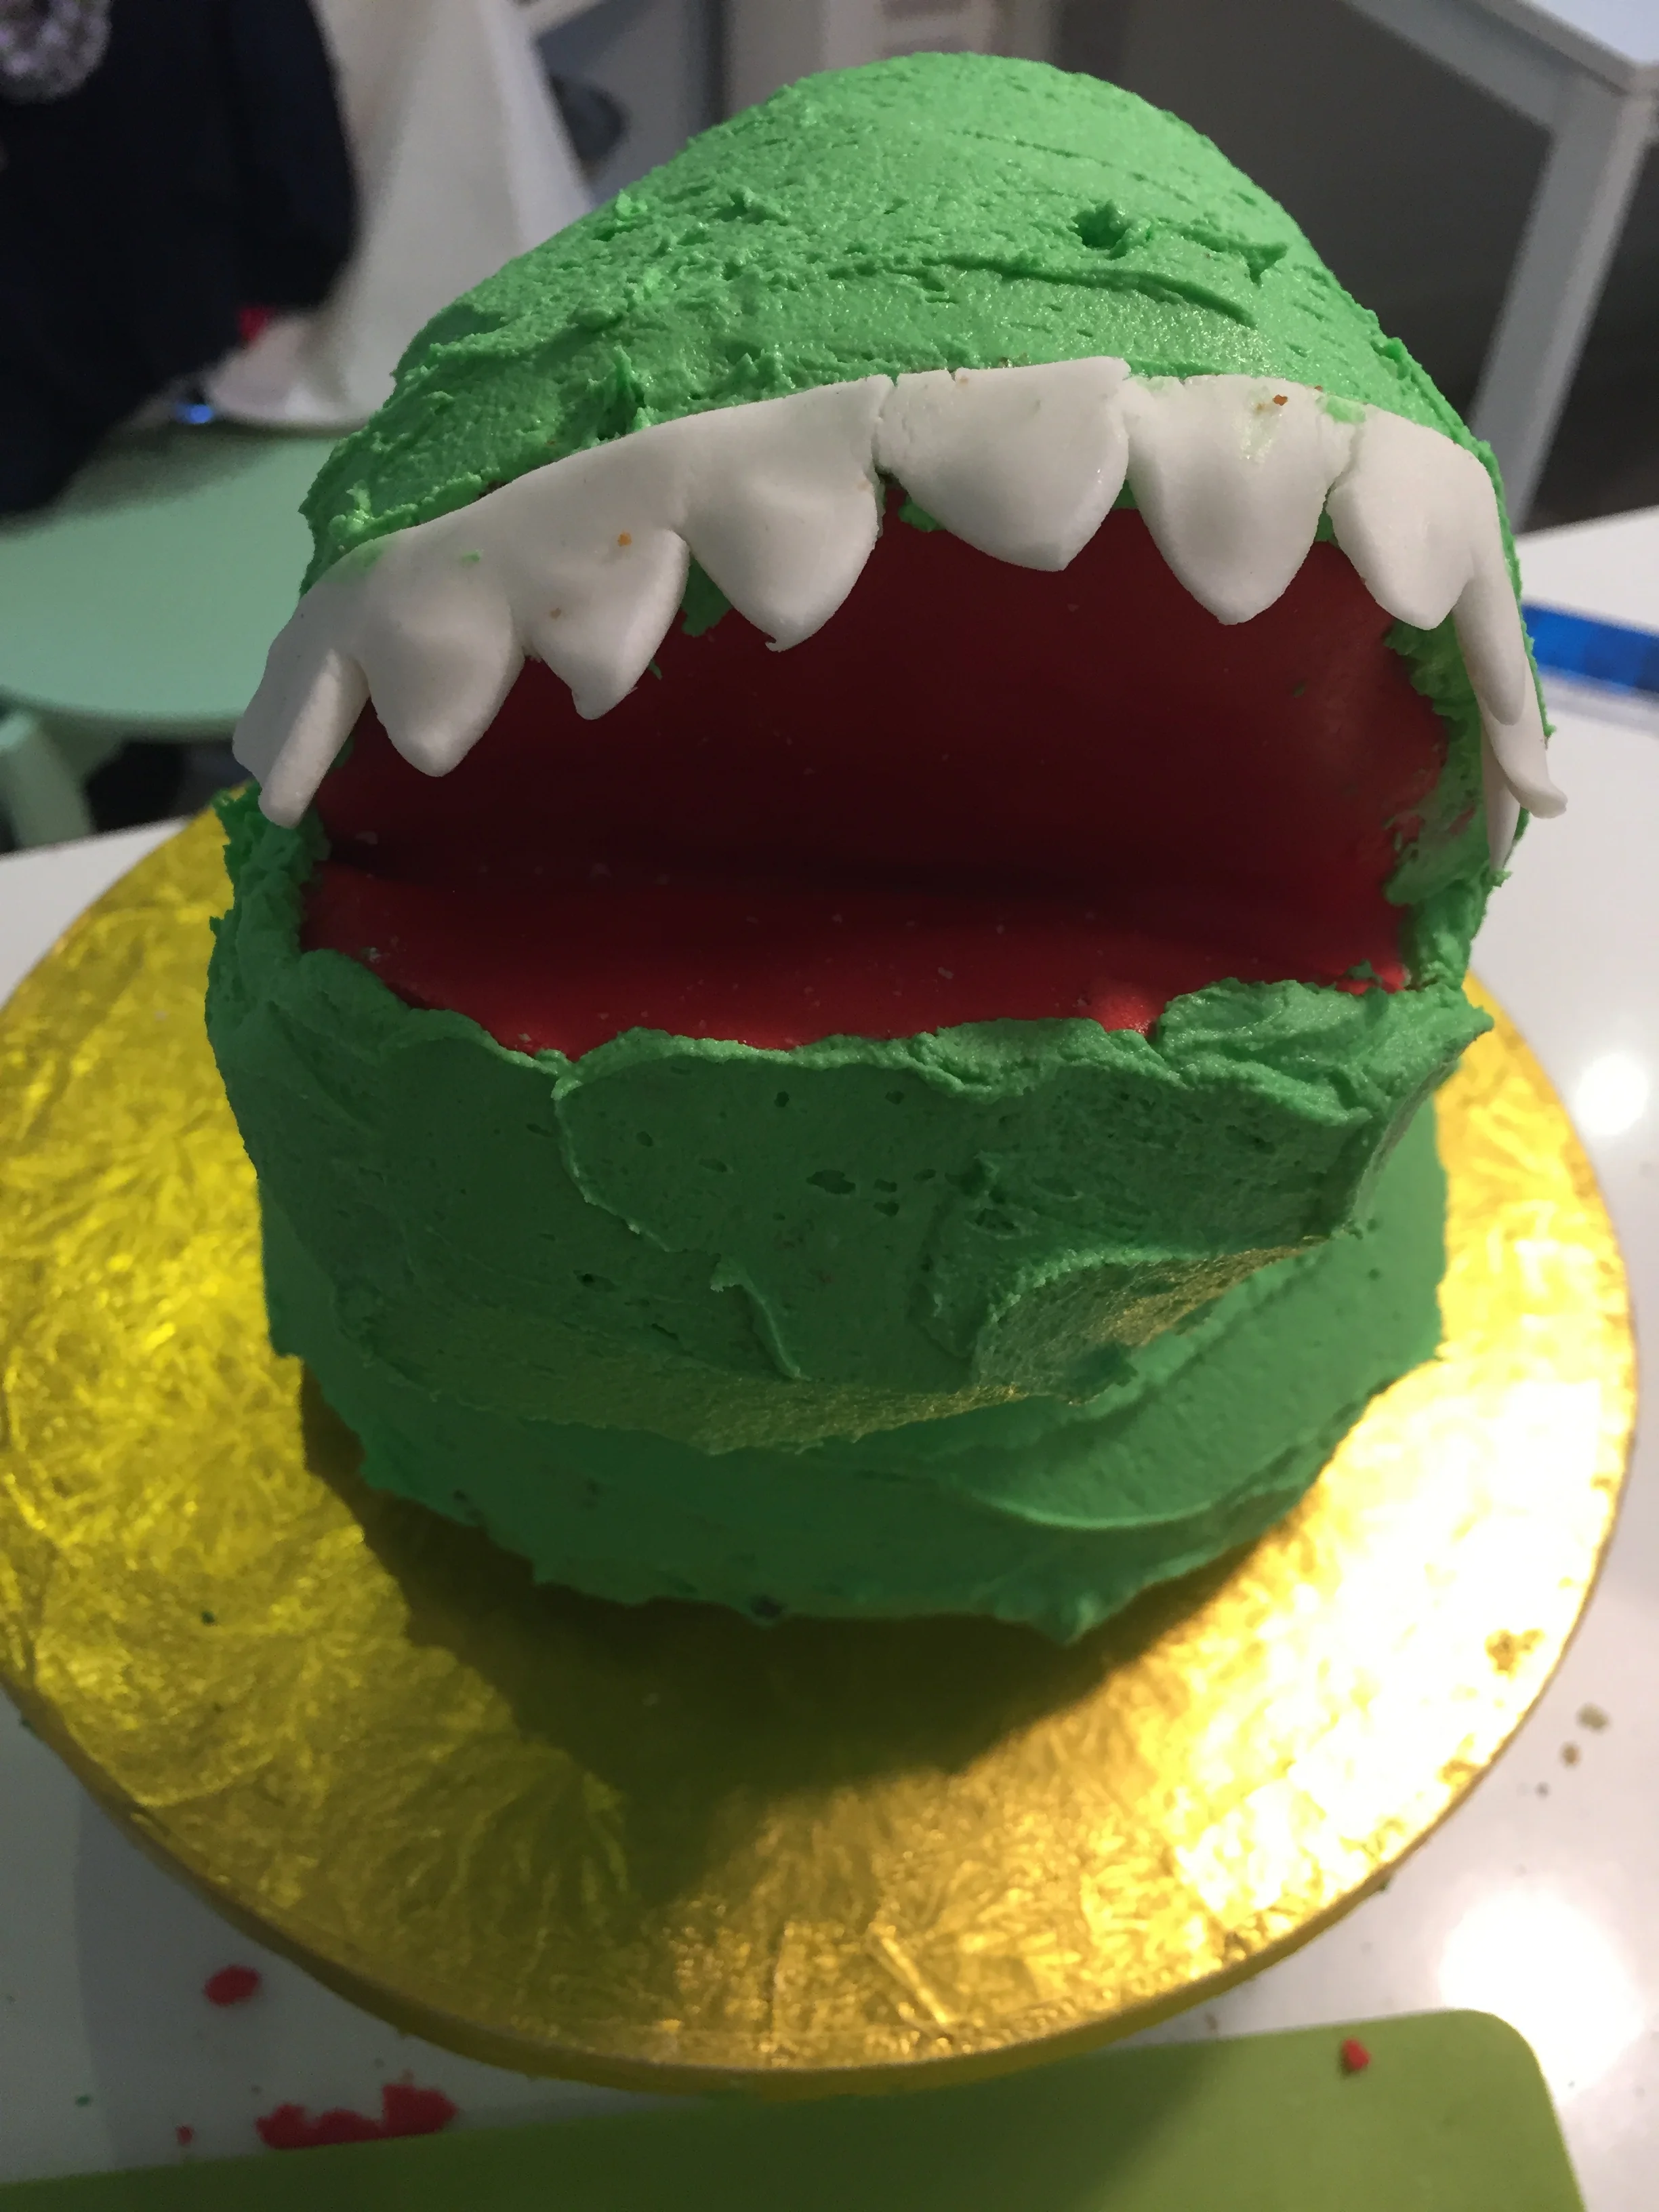
Once the cakes are baked and fully cooled secure the large one, flat side down (you may need to trim it) to a cake board with a dollop of buttercream. Now cut out a wedge from the smaller cake about 2 inches from the flat side. This will be the mouth. Cut an oval of rolled red fondant to the rough size of the wedge. Brush the inside of the wedge with warm jam and then press the oval piece of fondant into it. Trimming if necessary. Then attach the 'head' to the 'body of the dinosaur using wooden skewer applied at different angles to secure it. You will now need to build up the top of the head to create a dome shape. Use the buttercream to do this. Then, using a palette (or butter) knife, cover the whole thing with the green buttercream. You should create a kind of ridge on one side of the 'body' as this is where the tail will be.
Cut out a jagged strip from some rolled out green fondant (I did this freehand) and wrap round one side of the body to make the tail. Then do the same with the white fondant to make a set of teeth. These should stick onto the buttercream. Lastly make the white eyes and black irises using small round cutters (or the bottom of piping nozzles) and stick these in place. If you want you can also add a little red icing to look like blood on the teeth.
To finish of the cake I piped some green buttercream 'grass' onto the cake board to add some more texture.
Let me know how you get on or if you have any questions.
If you would like to create this or something similar in a one to one private lesson with me then call- 020 3573 9135
Biscuit Decorating for Stylist & Pinterest
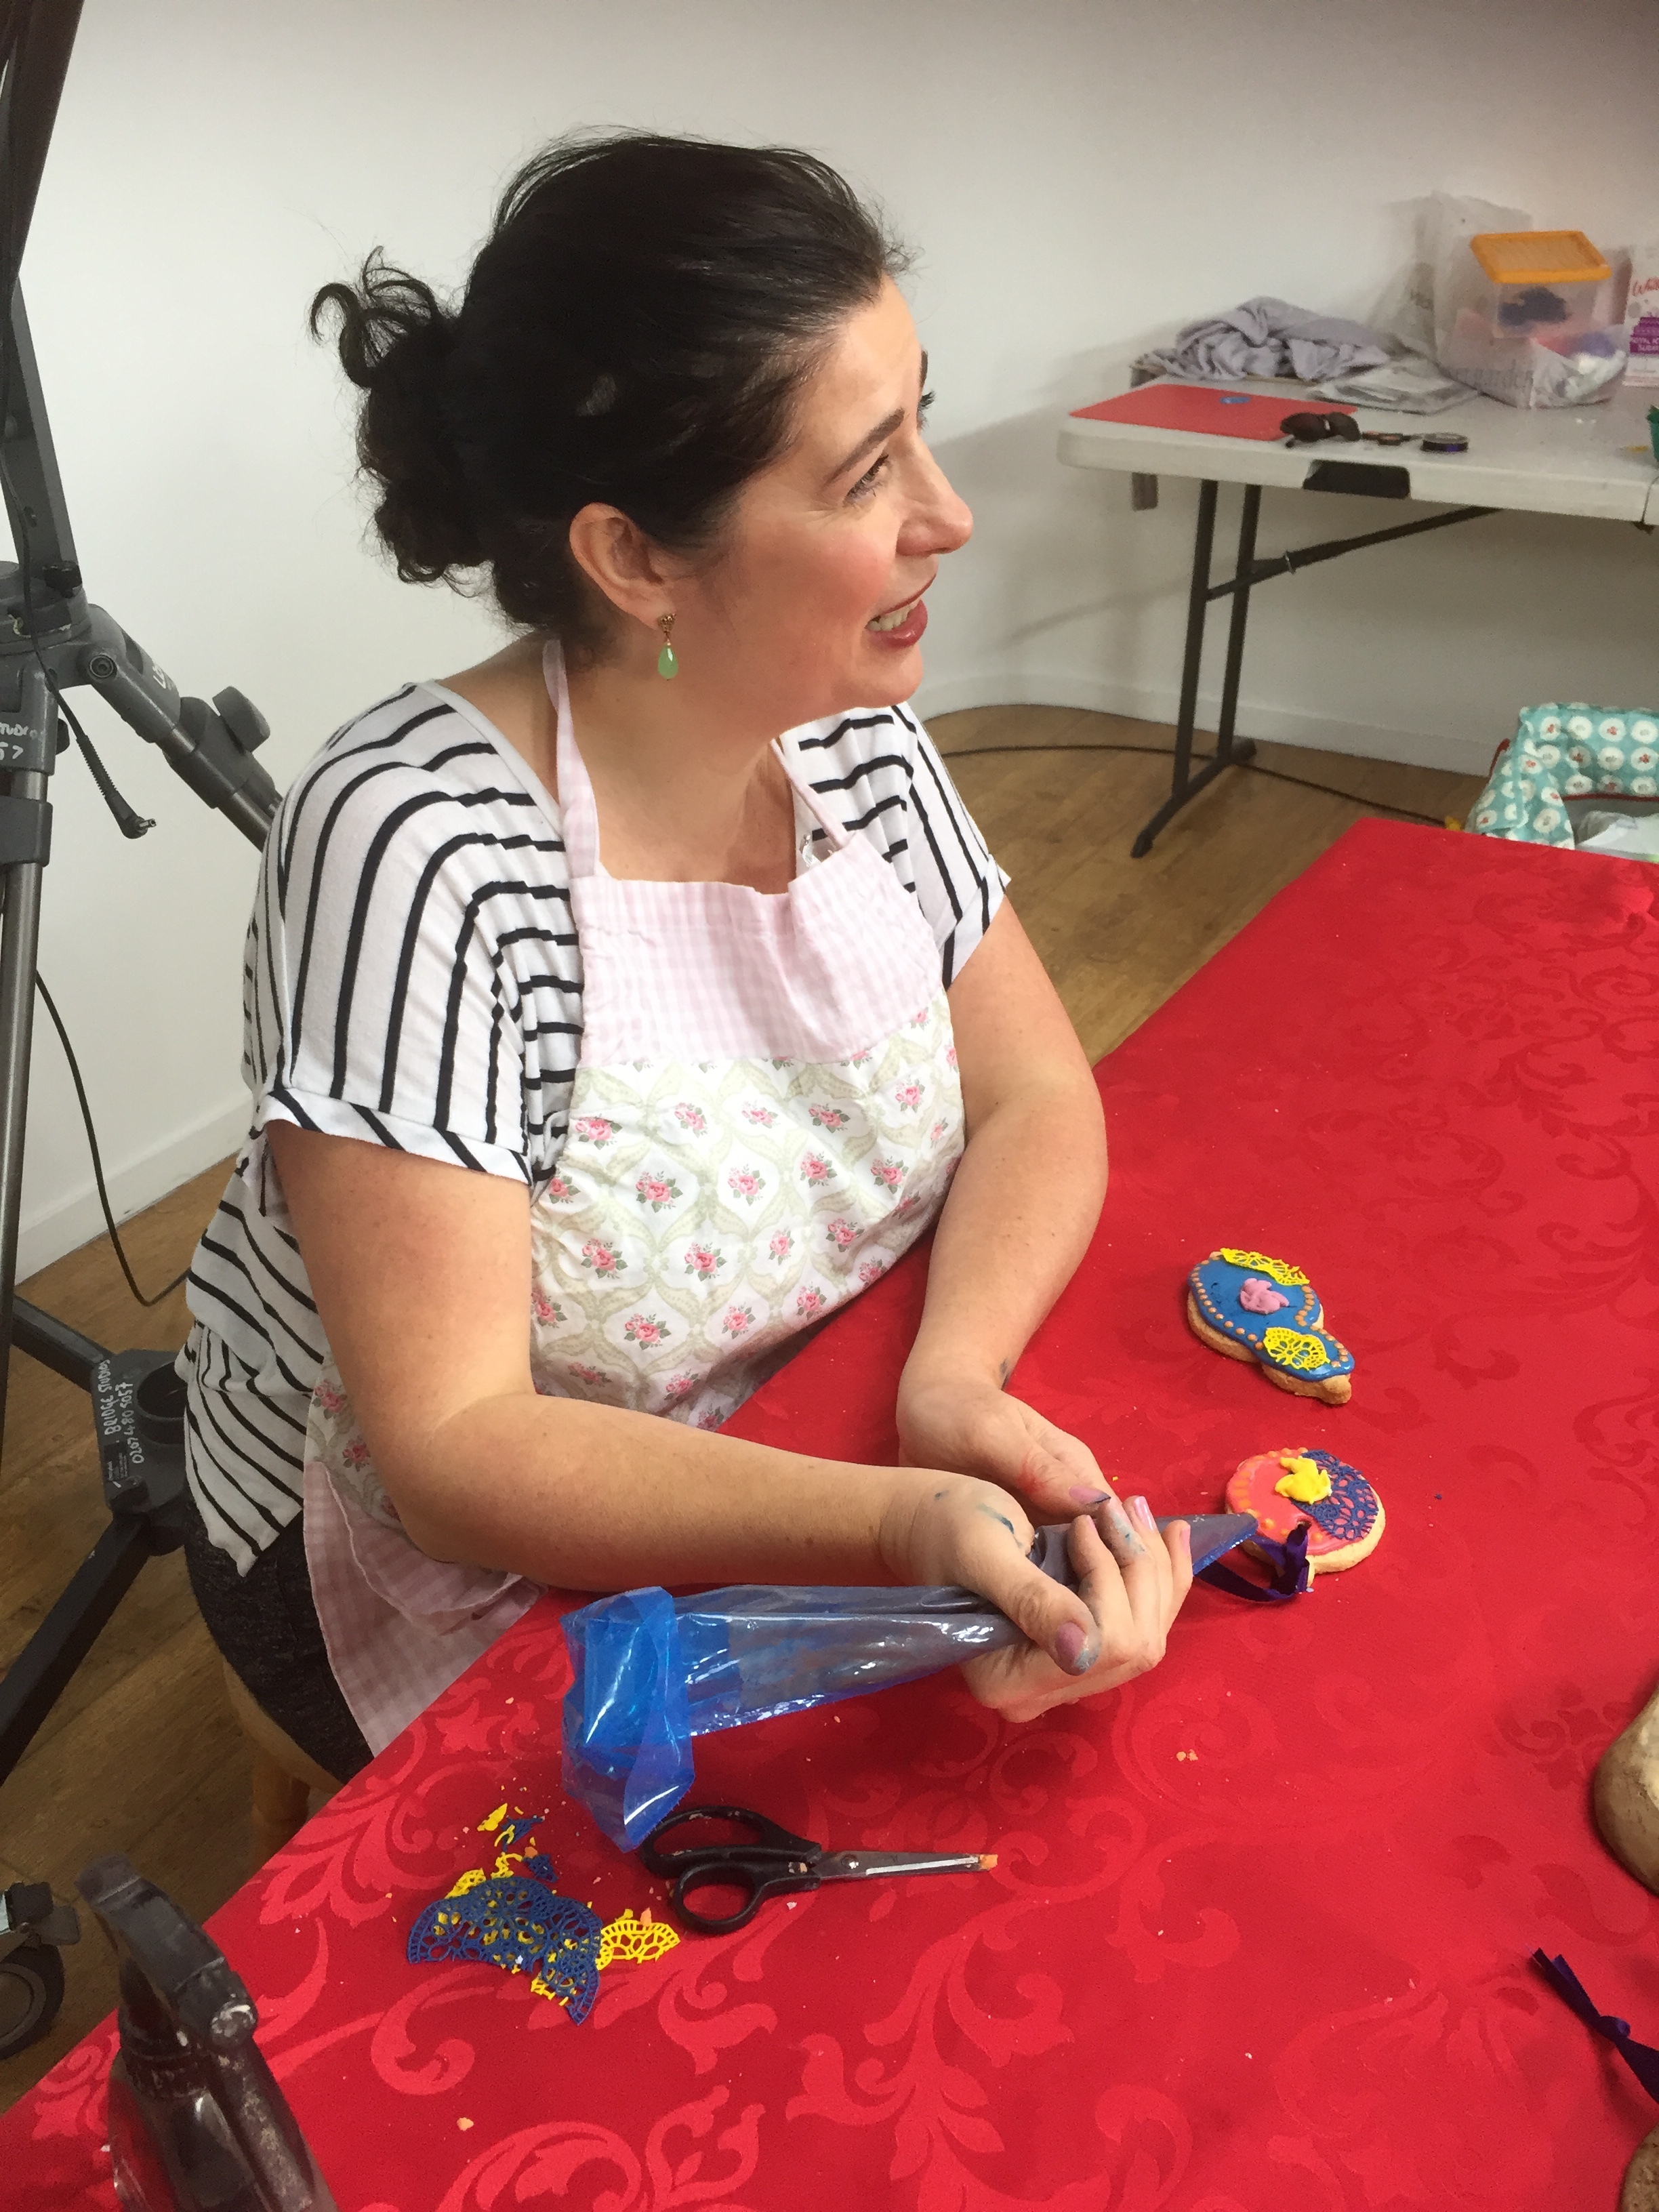
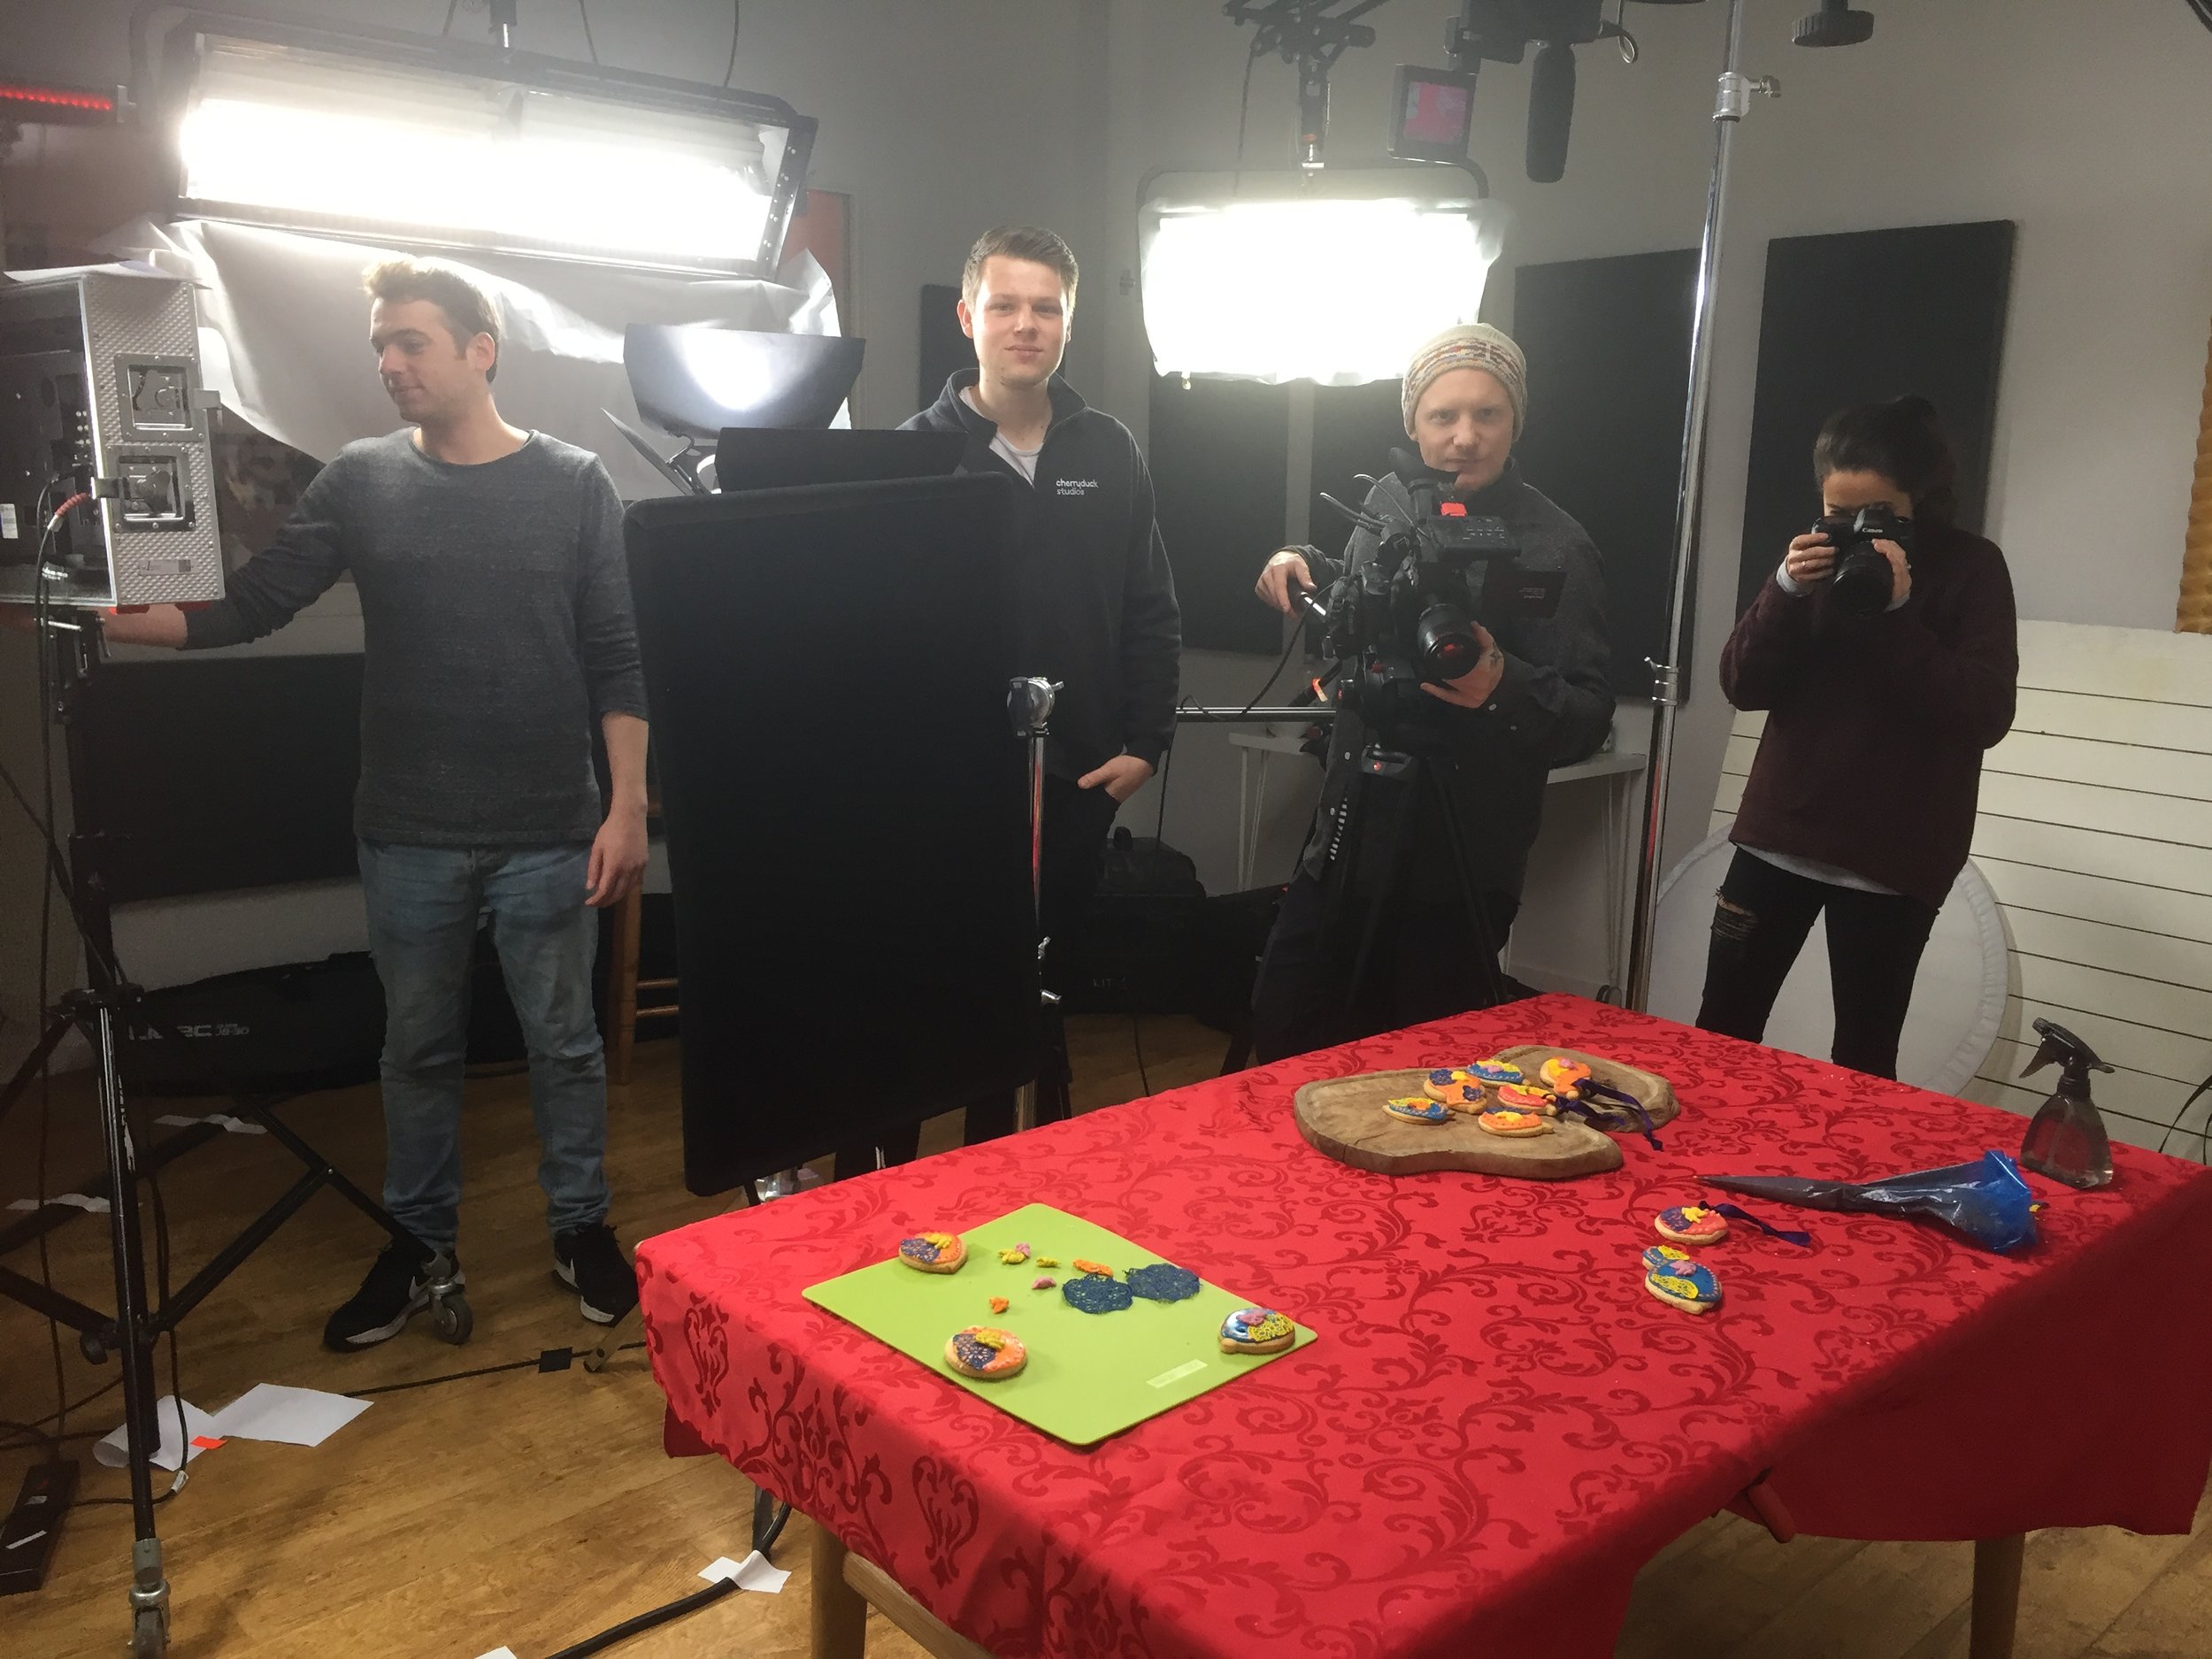
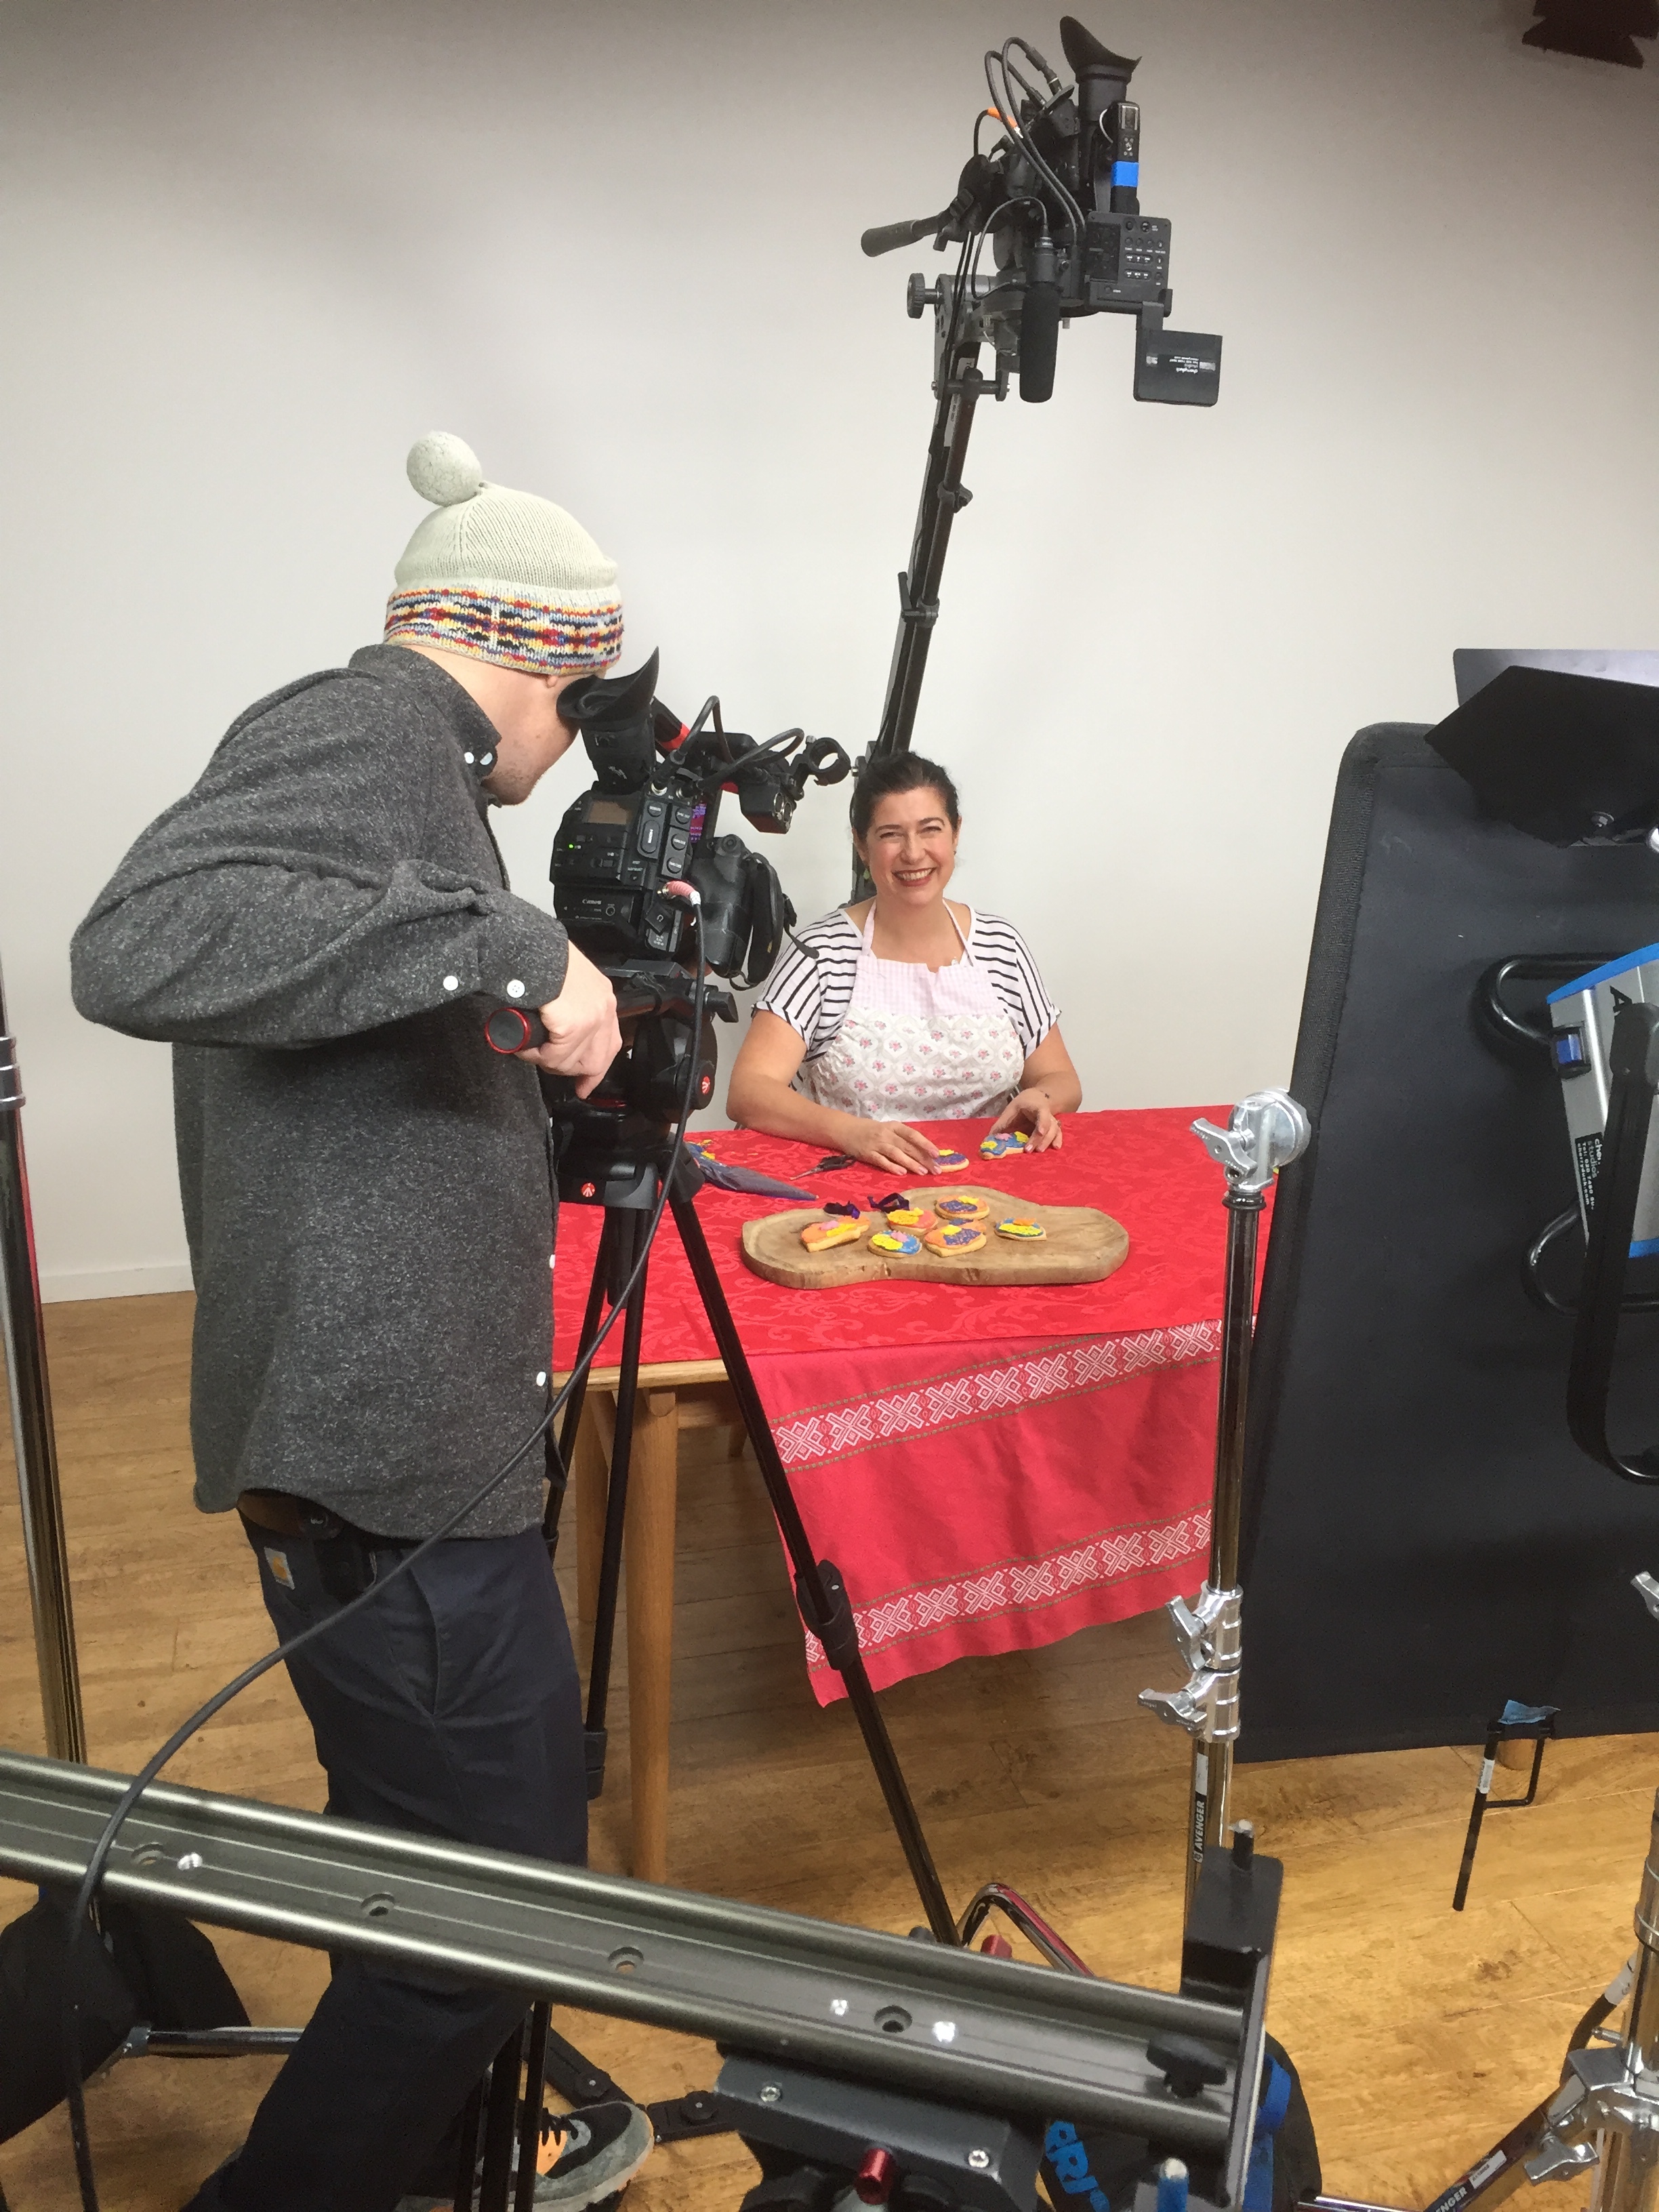
I had so much fun creating the Neon Christmas Biscuits for the Stylist Magazine & Pinterest event. So I was thrilled to find out that they had chosen me to feature in there 'how to' videos for Christmas craft inspiration. Here are some pictures of the day including the lovely crew who shot it. You can see the end result here....
German Biscuit Baking Event
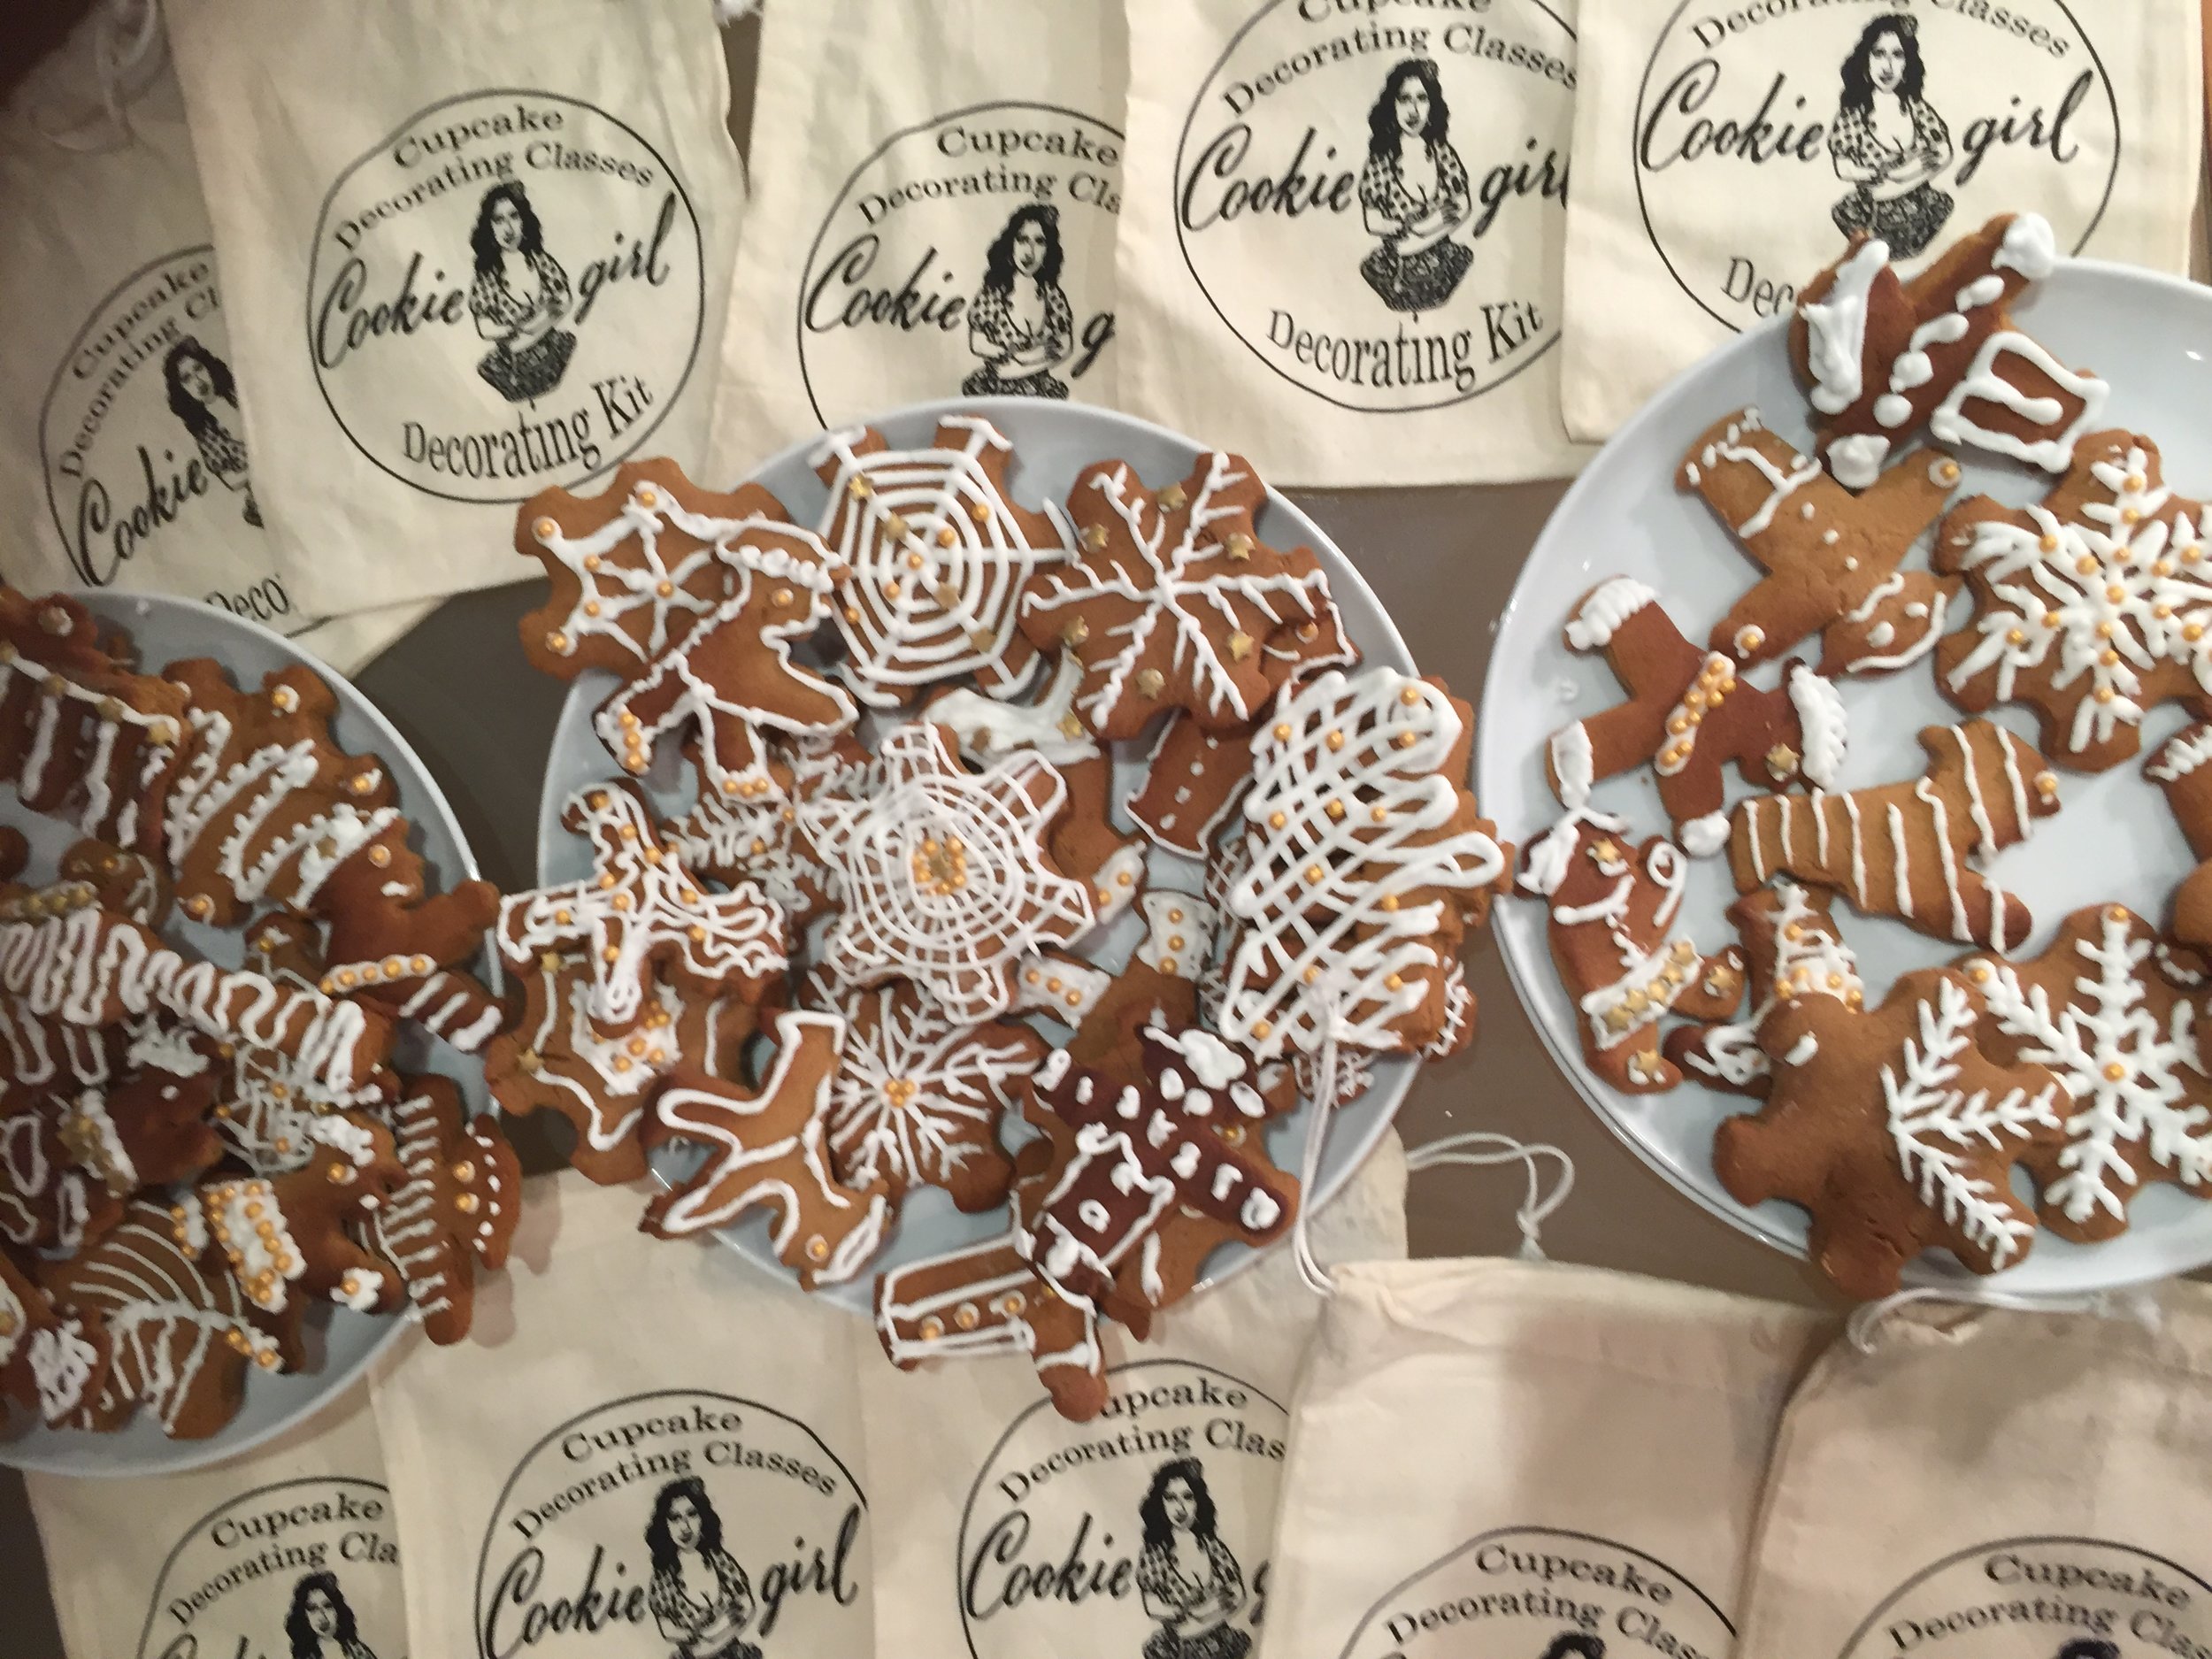
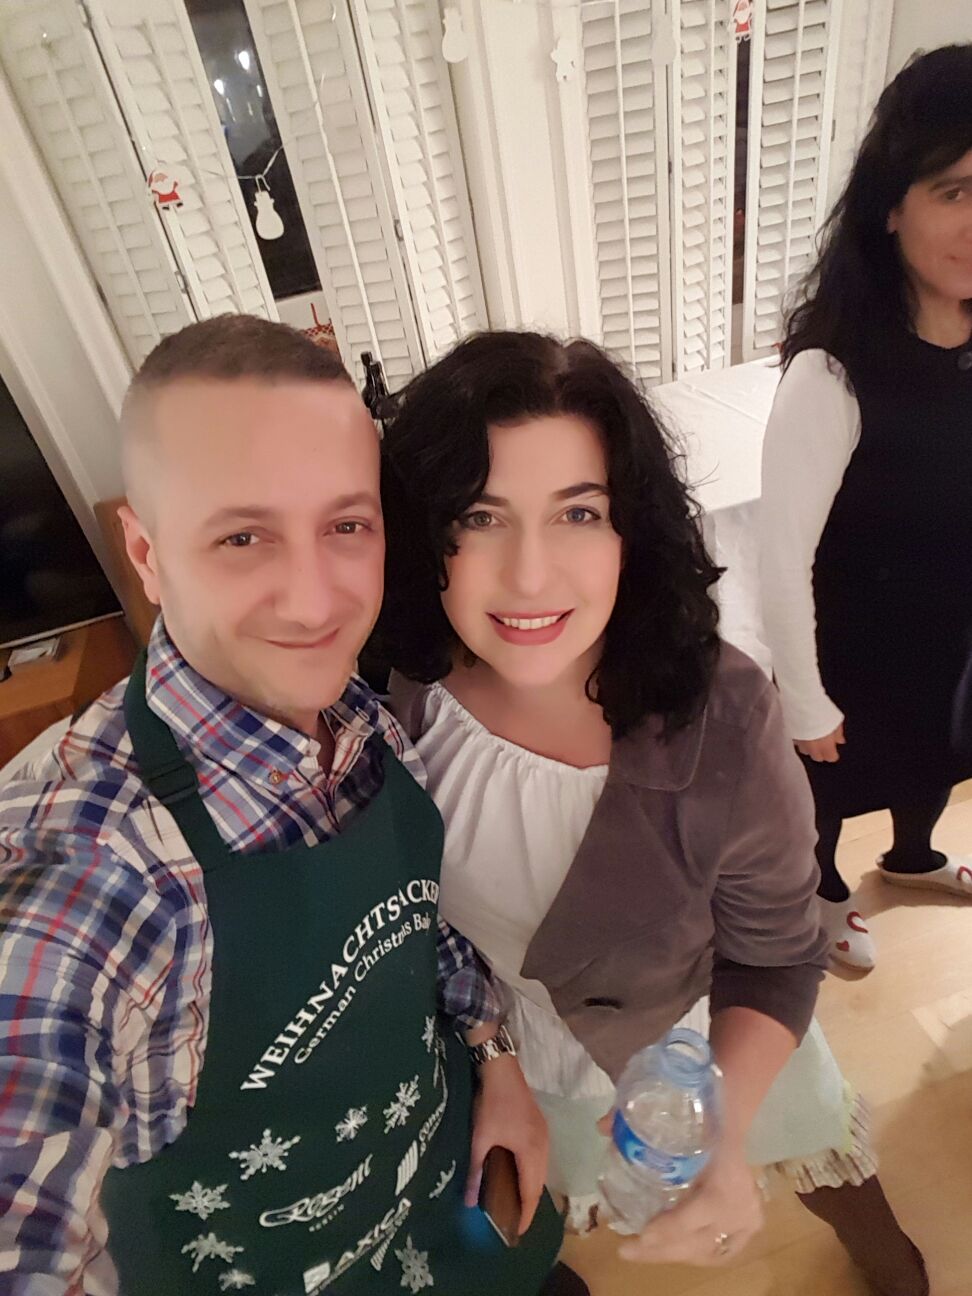
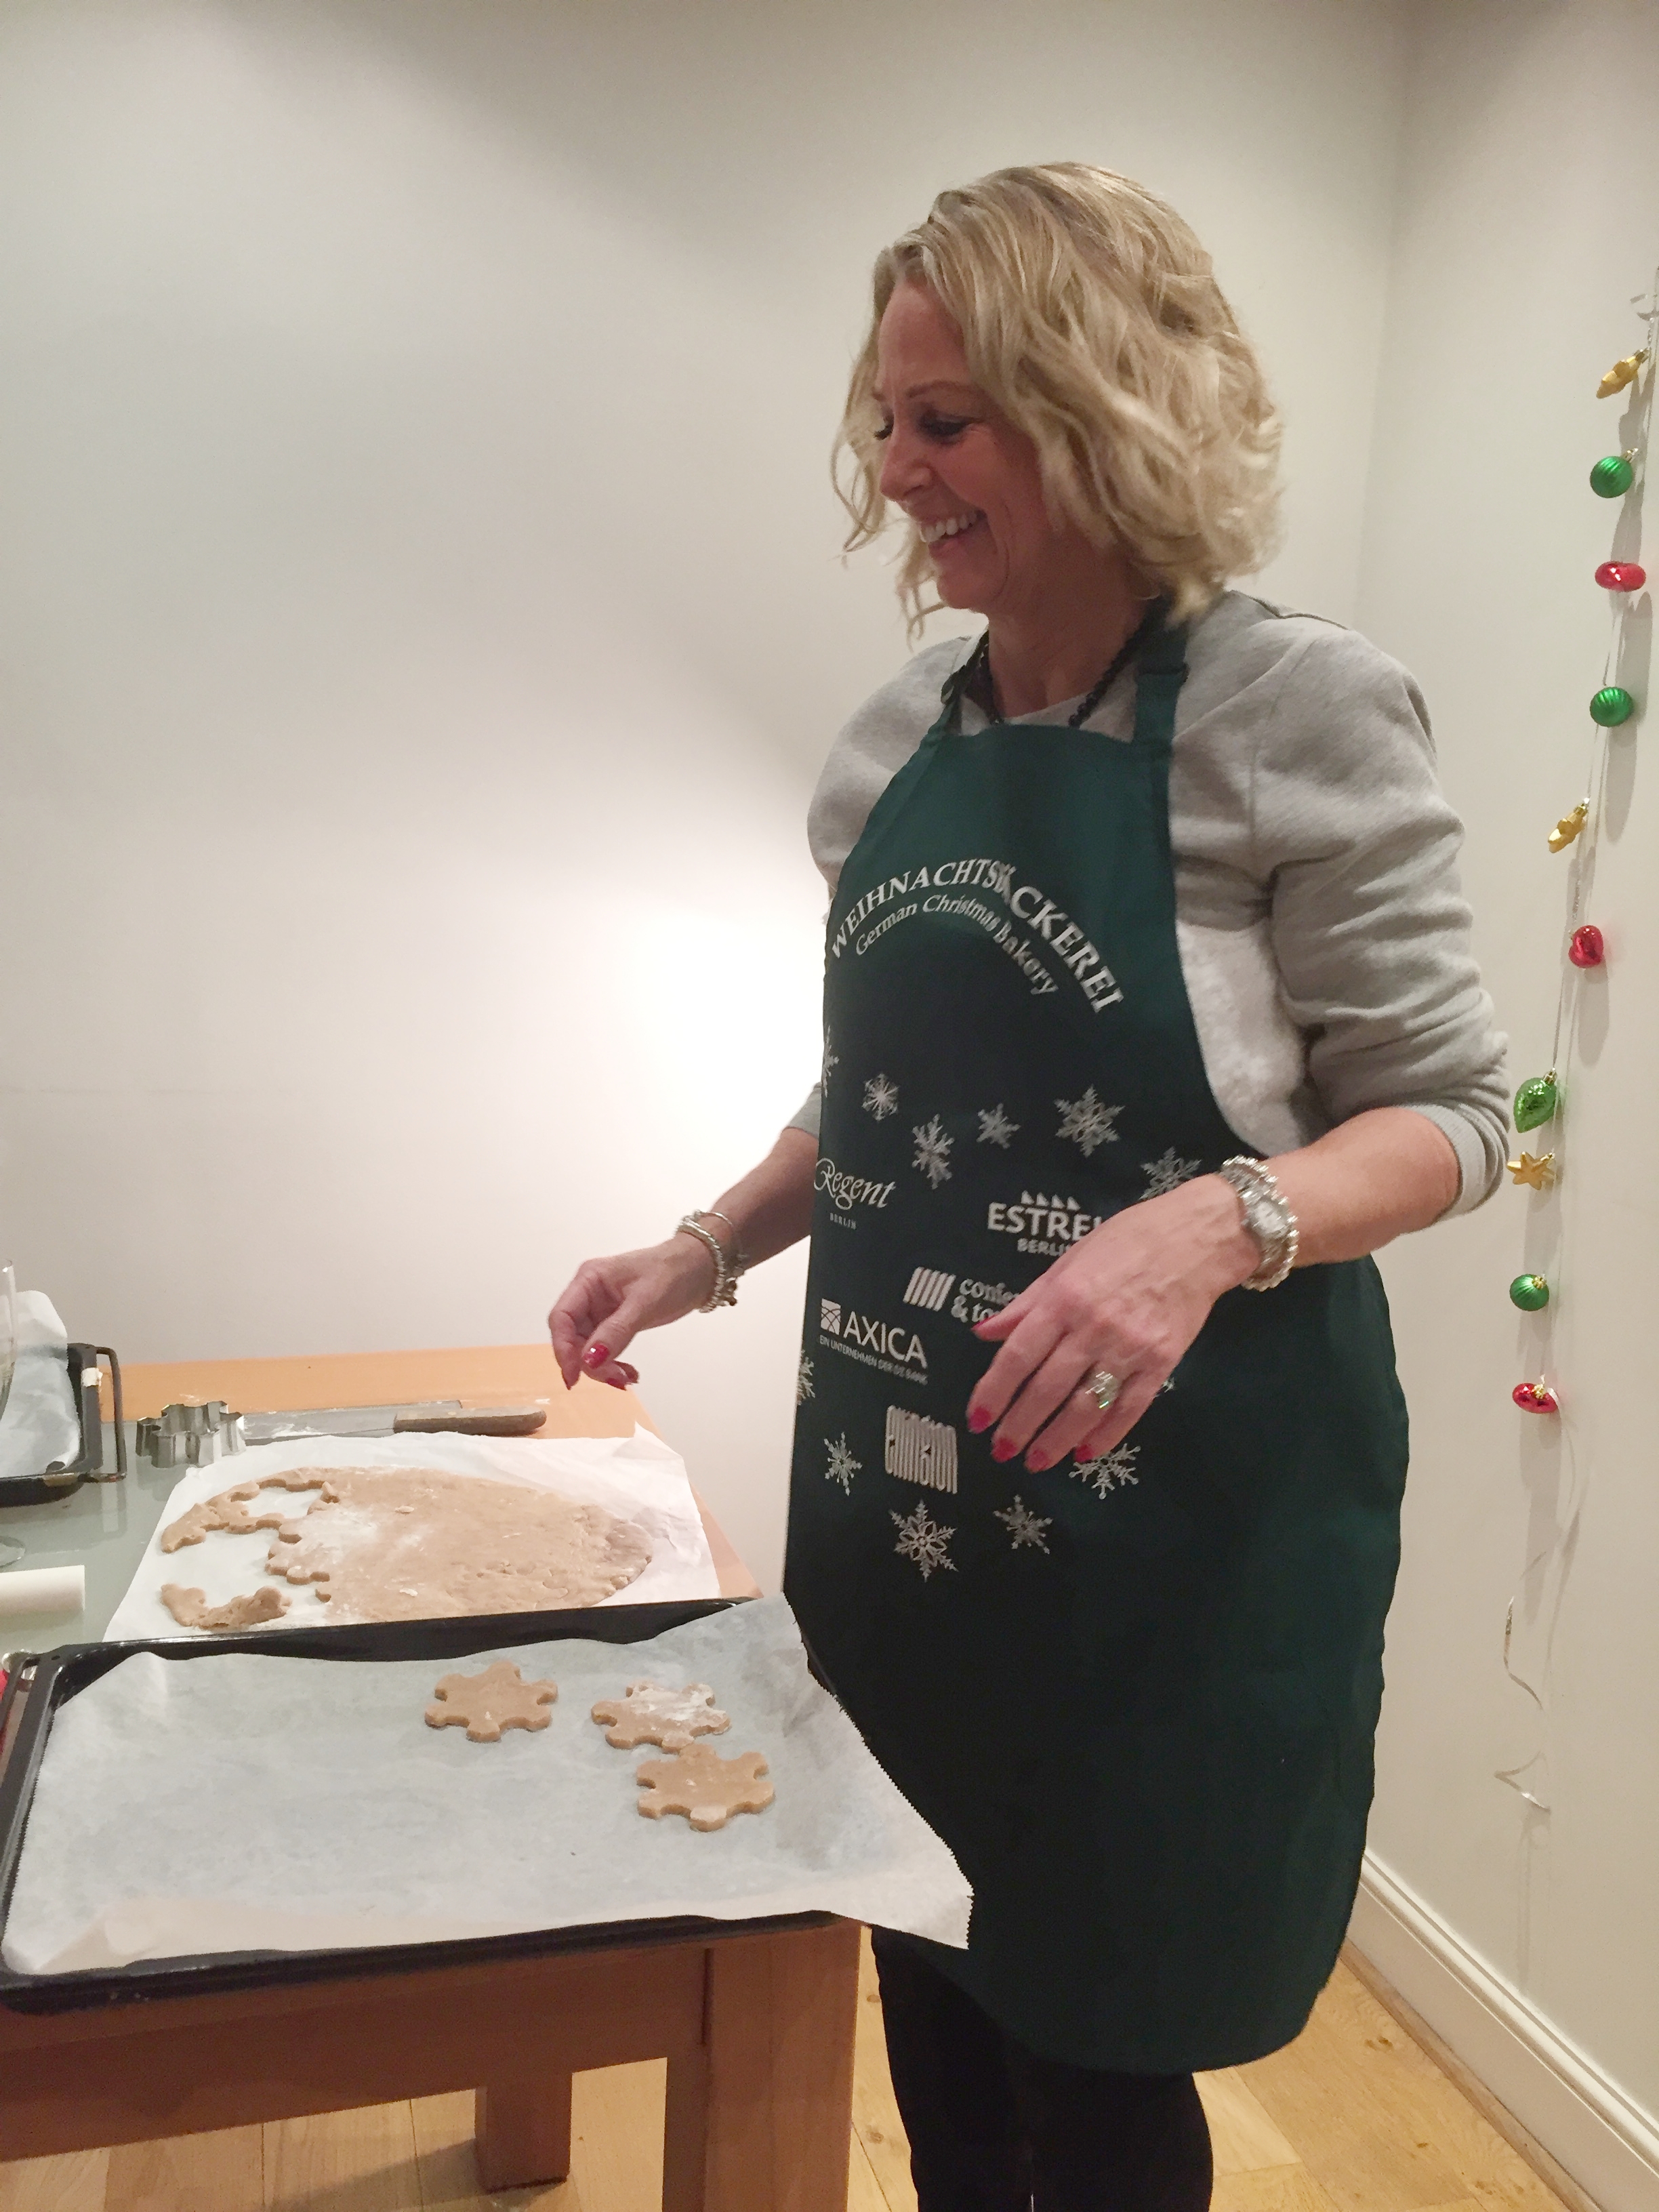
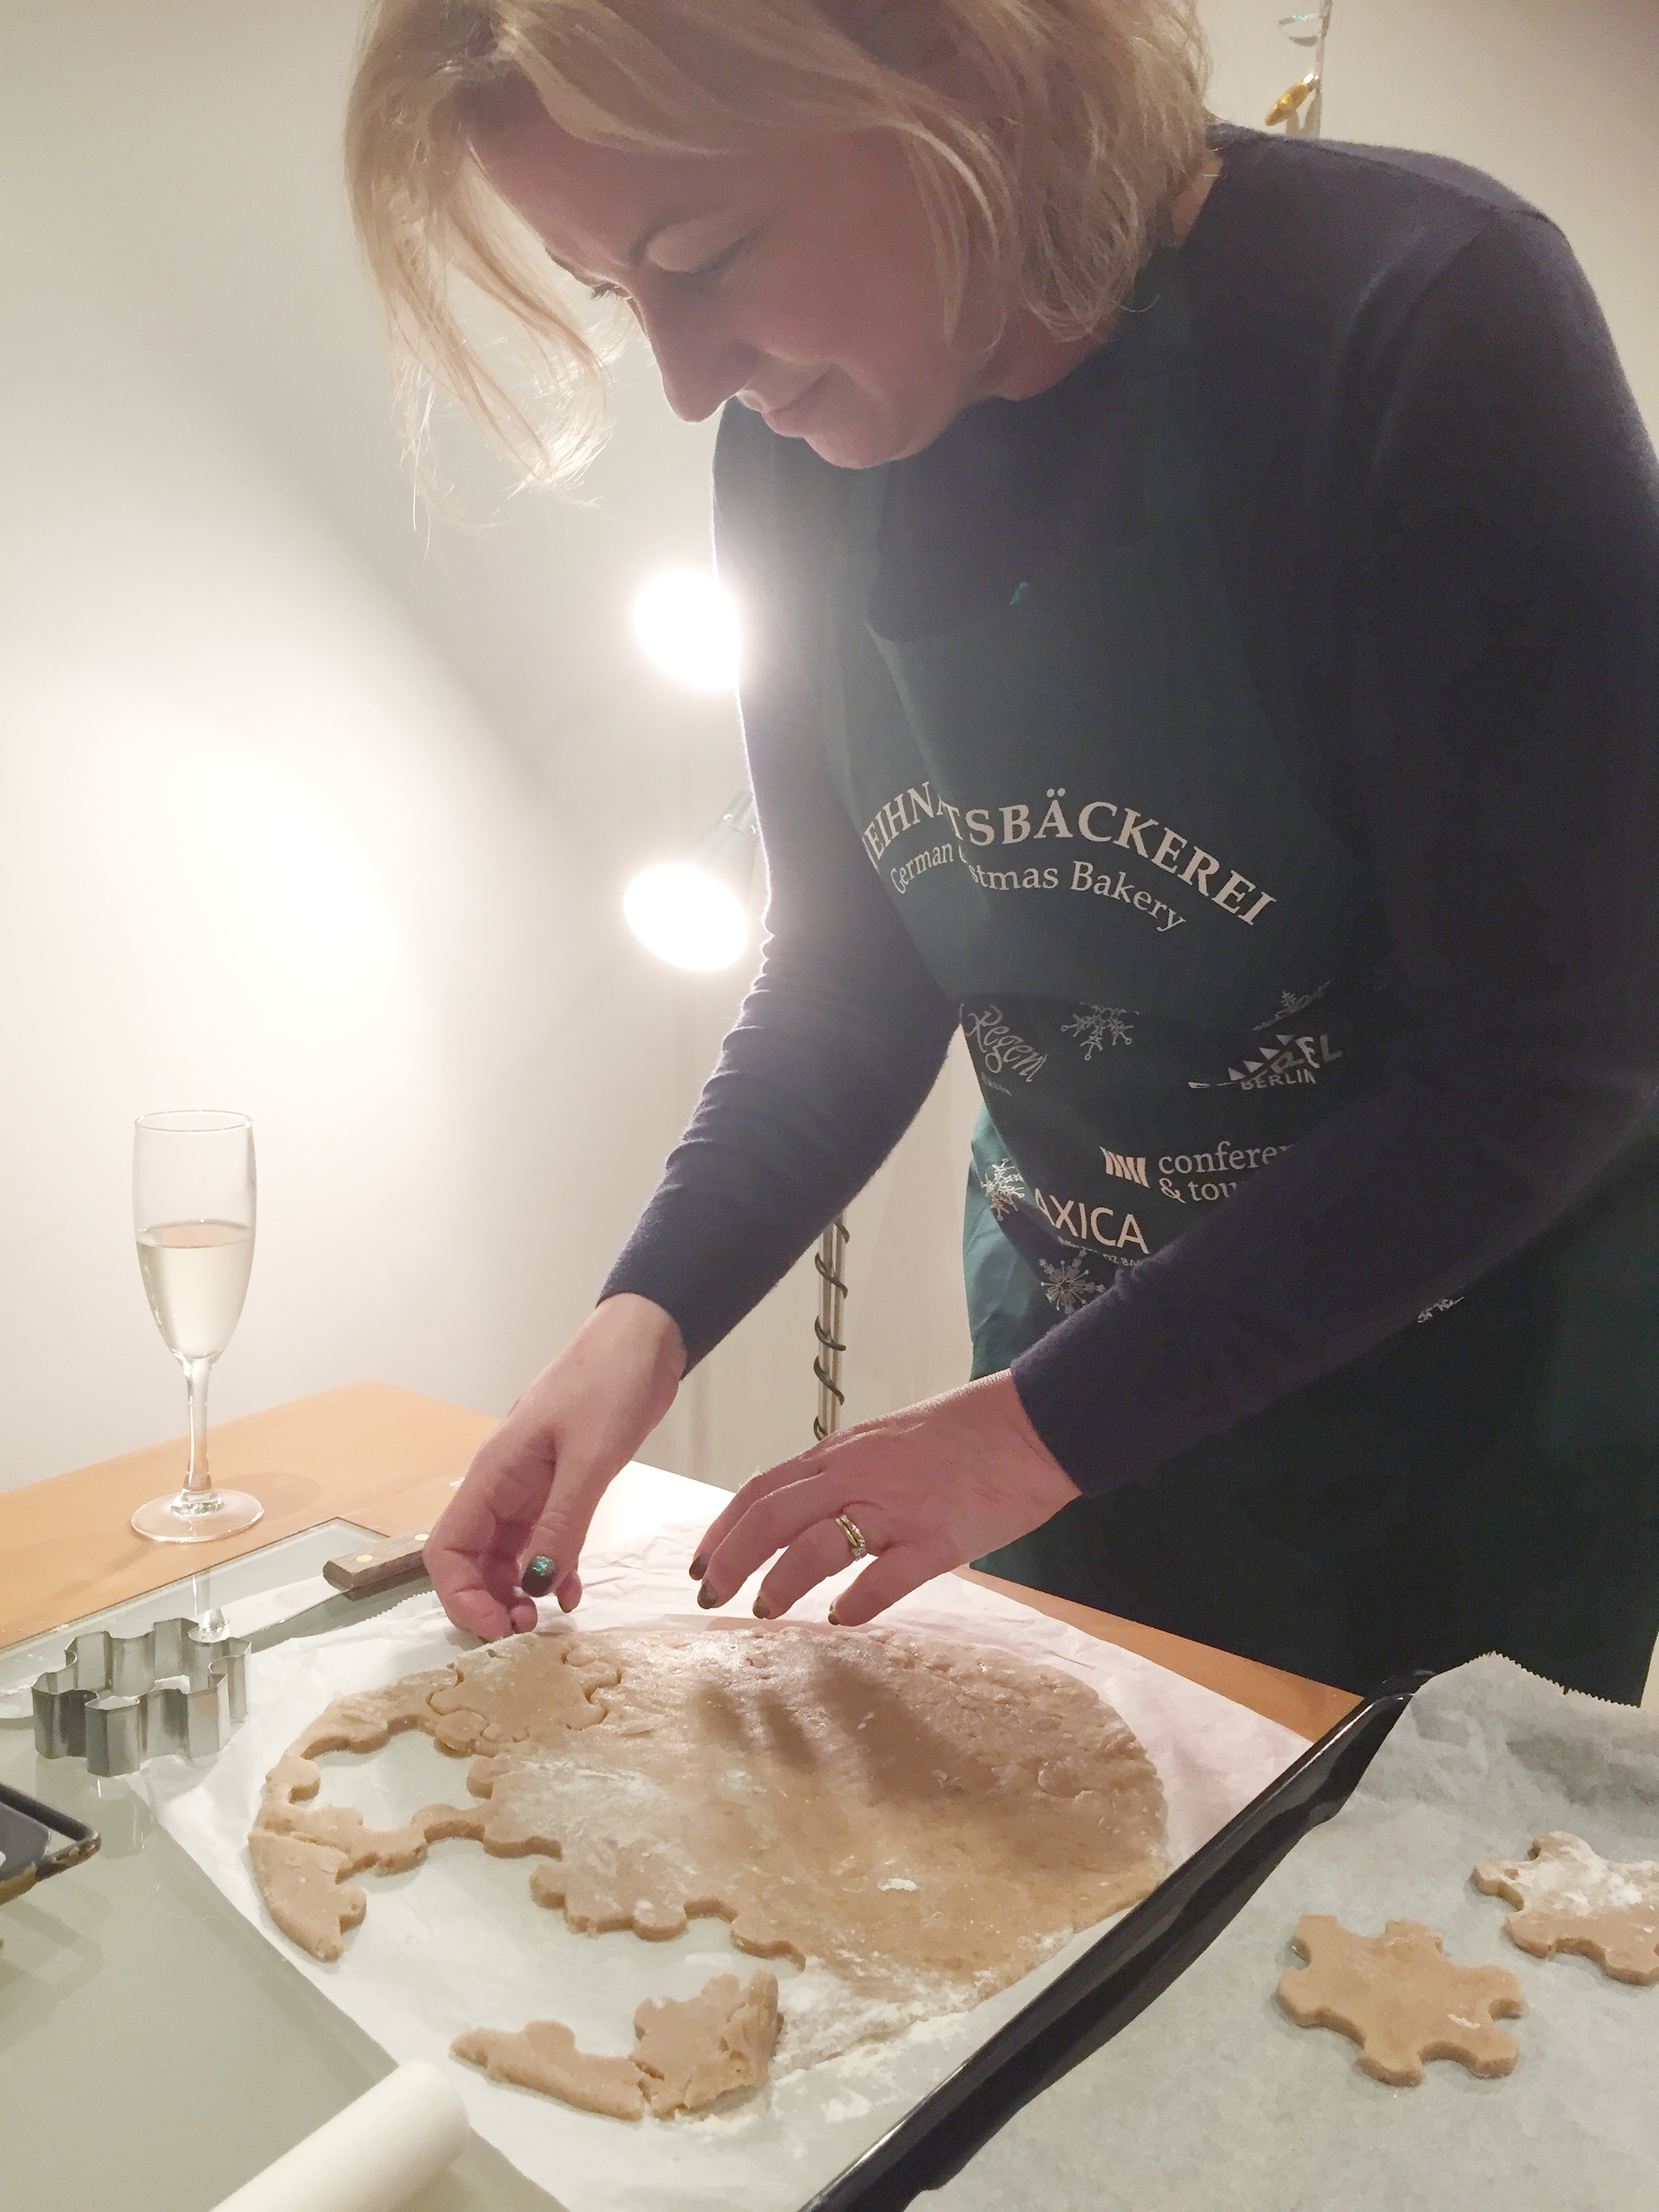
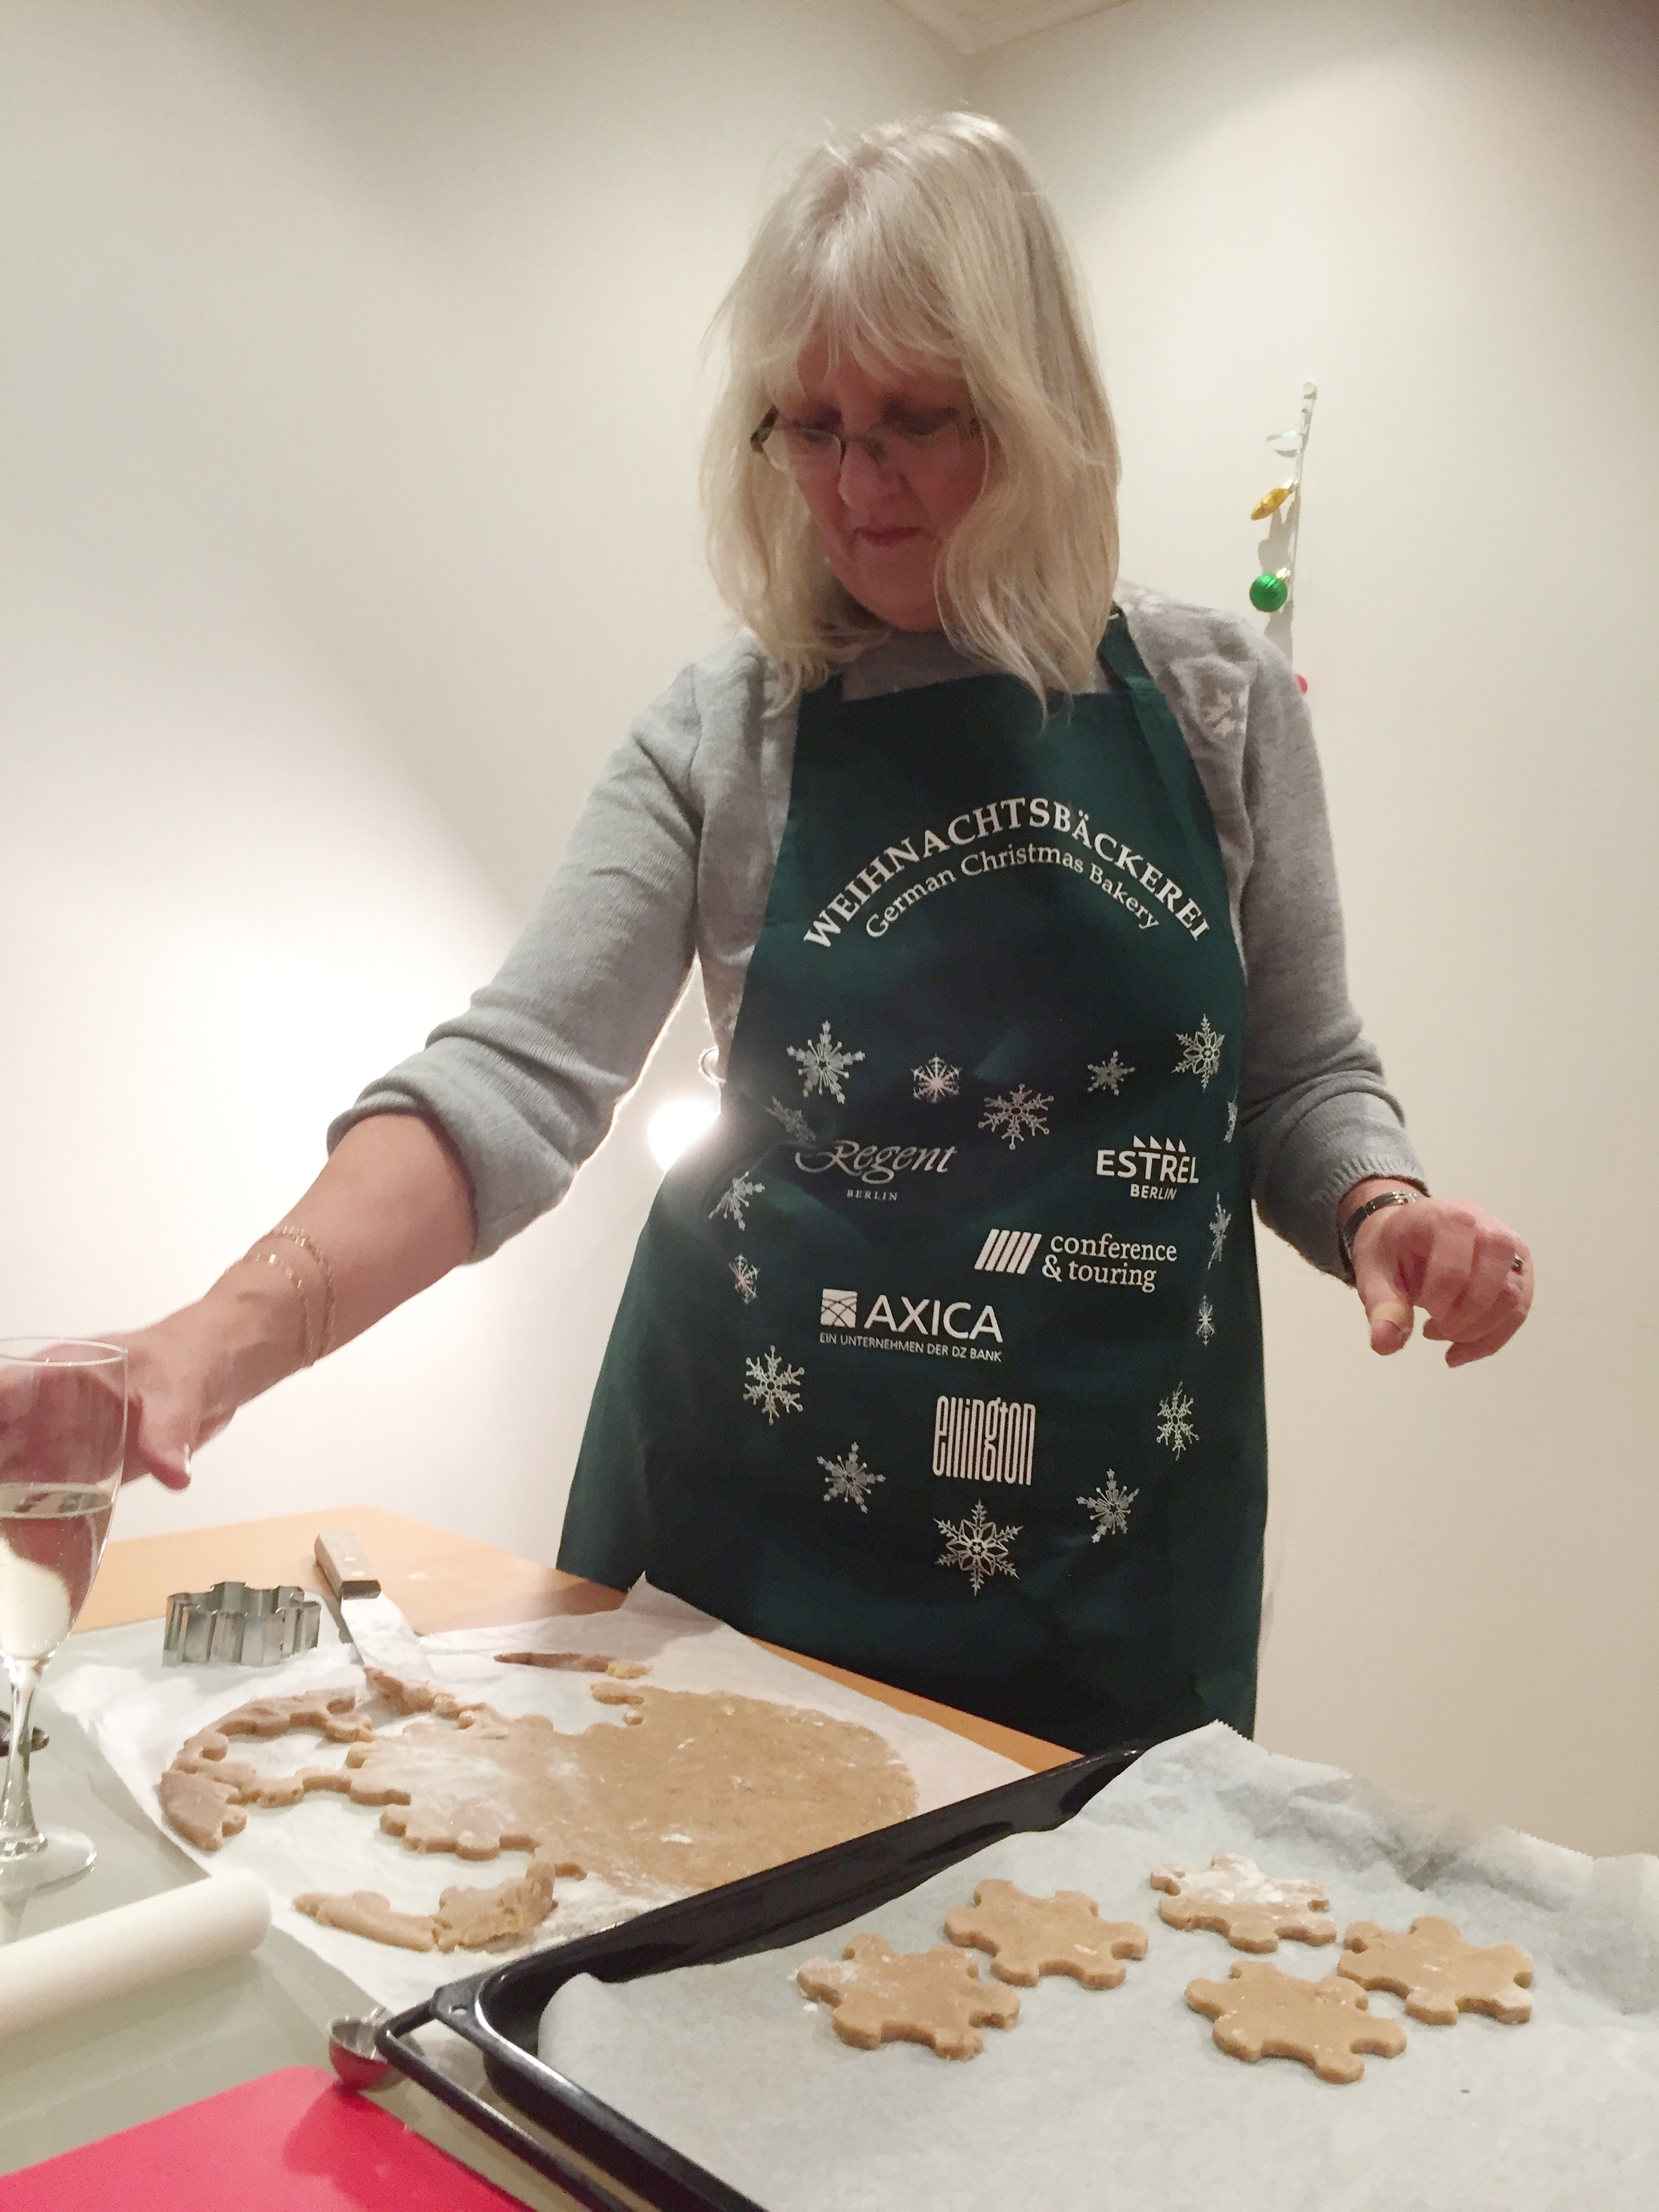
Here are some pictures of the four day event that I hosted on behalf of my lovely German clients- Estrel Berlin, The Ellington Hotel, AXICA, Regent Hotel and Conference & Touring Berlin.
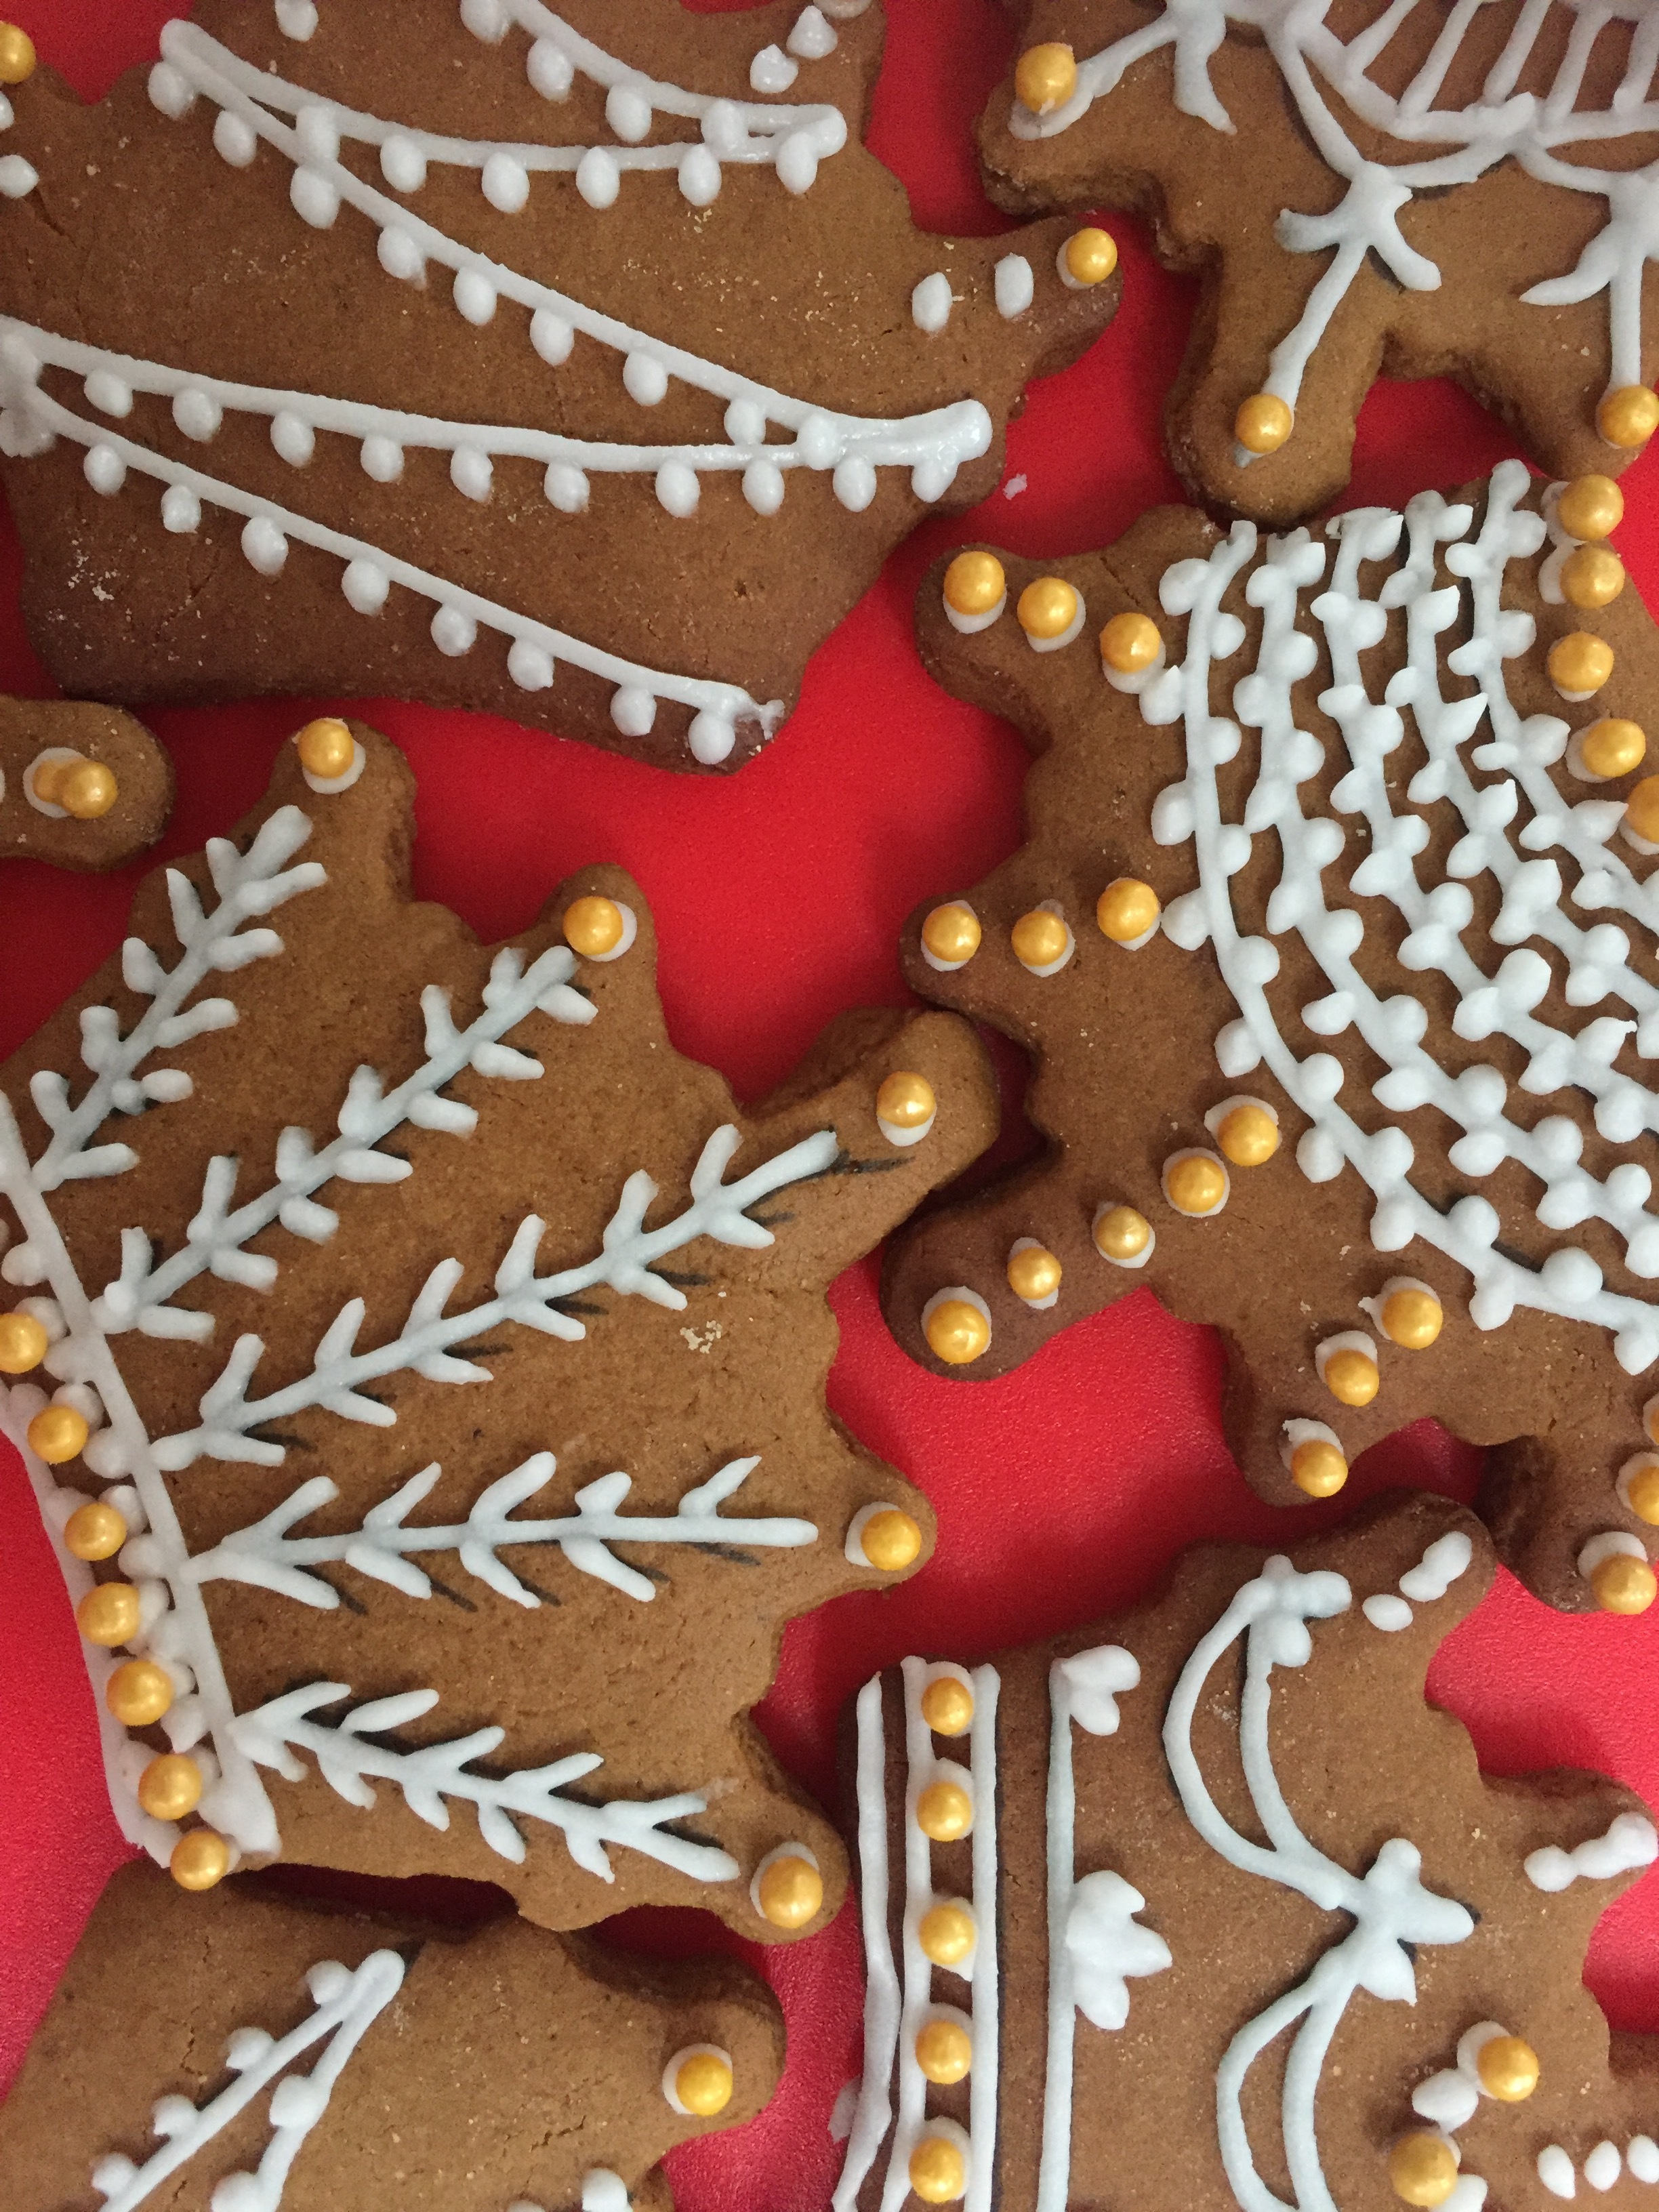
They invited their events company clients to learn how to bake and decorate a variety of delicious, traditional German biscuits using Berlin landmark cookie cutters. they then had great fun piping on icing and decorating with gold sprinkles.
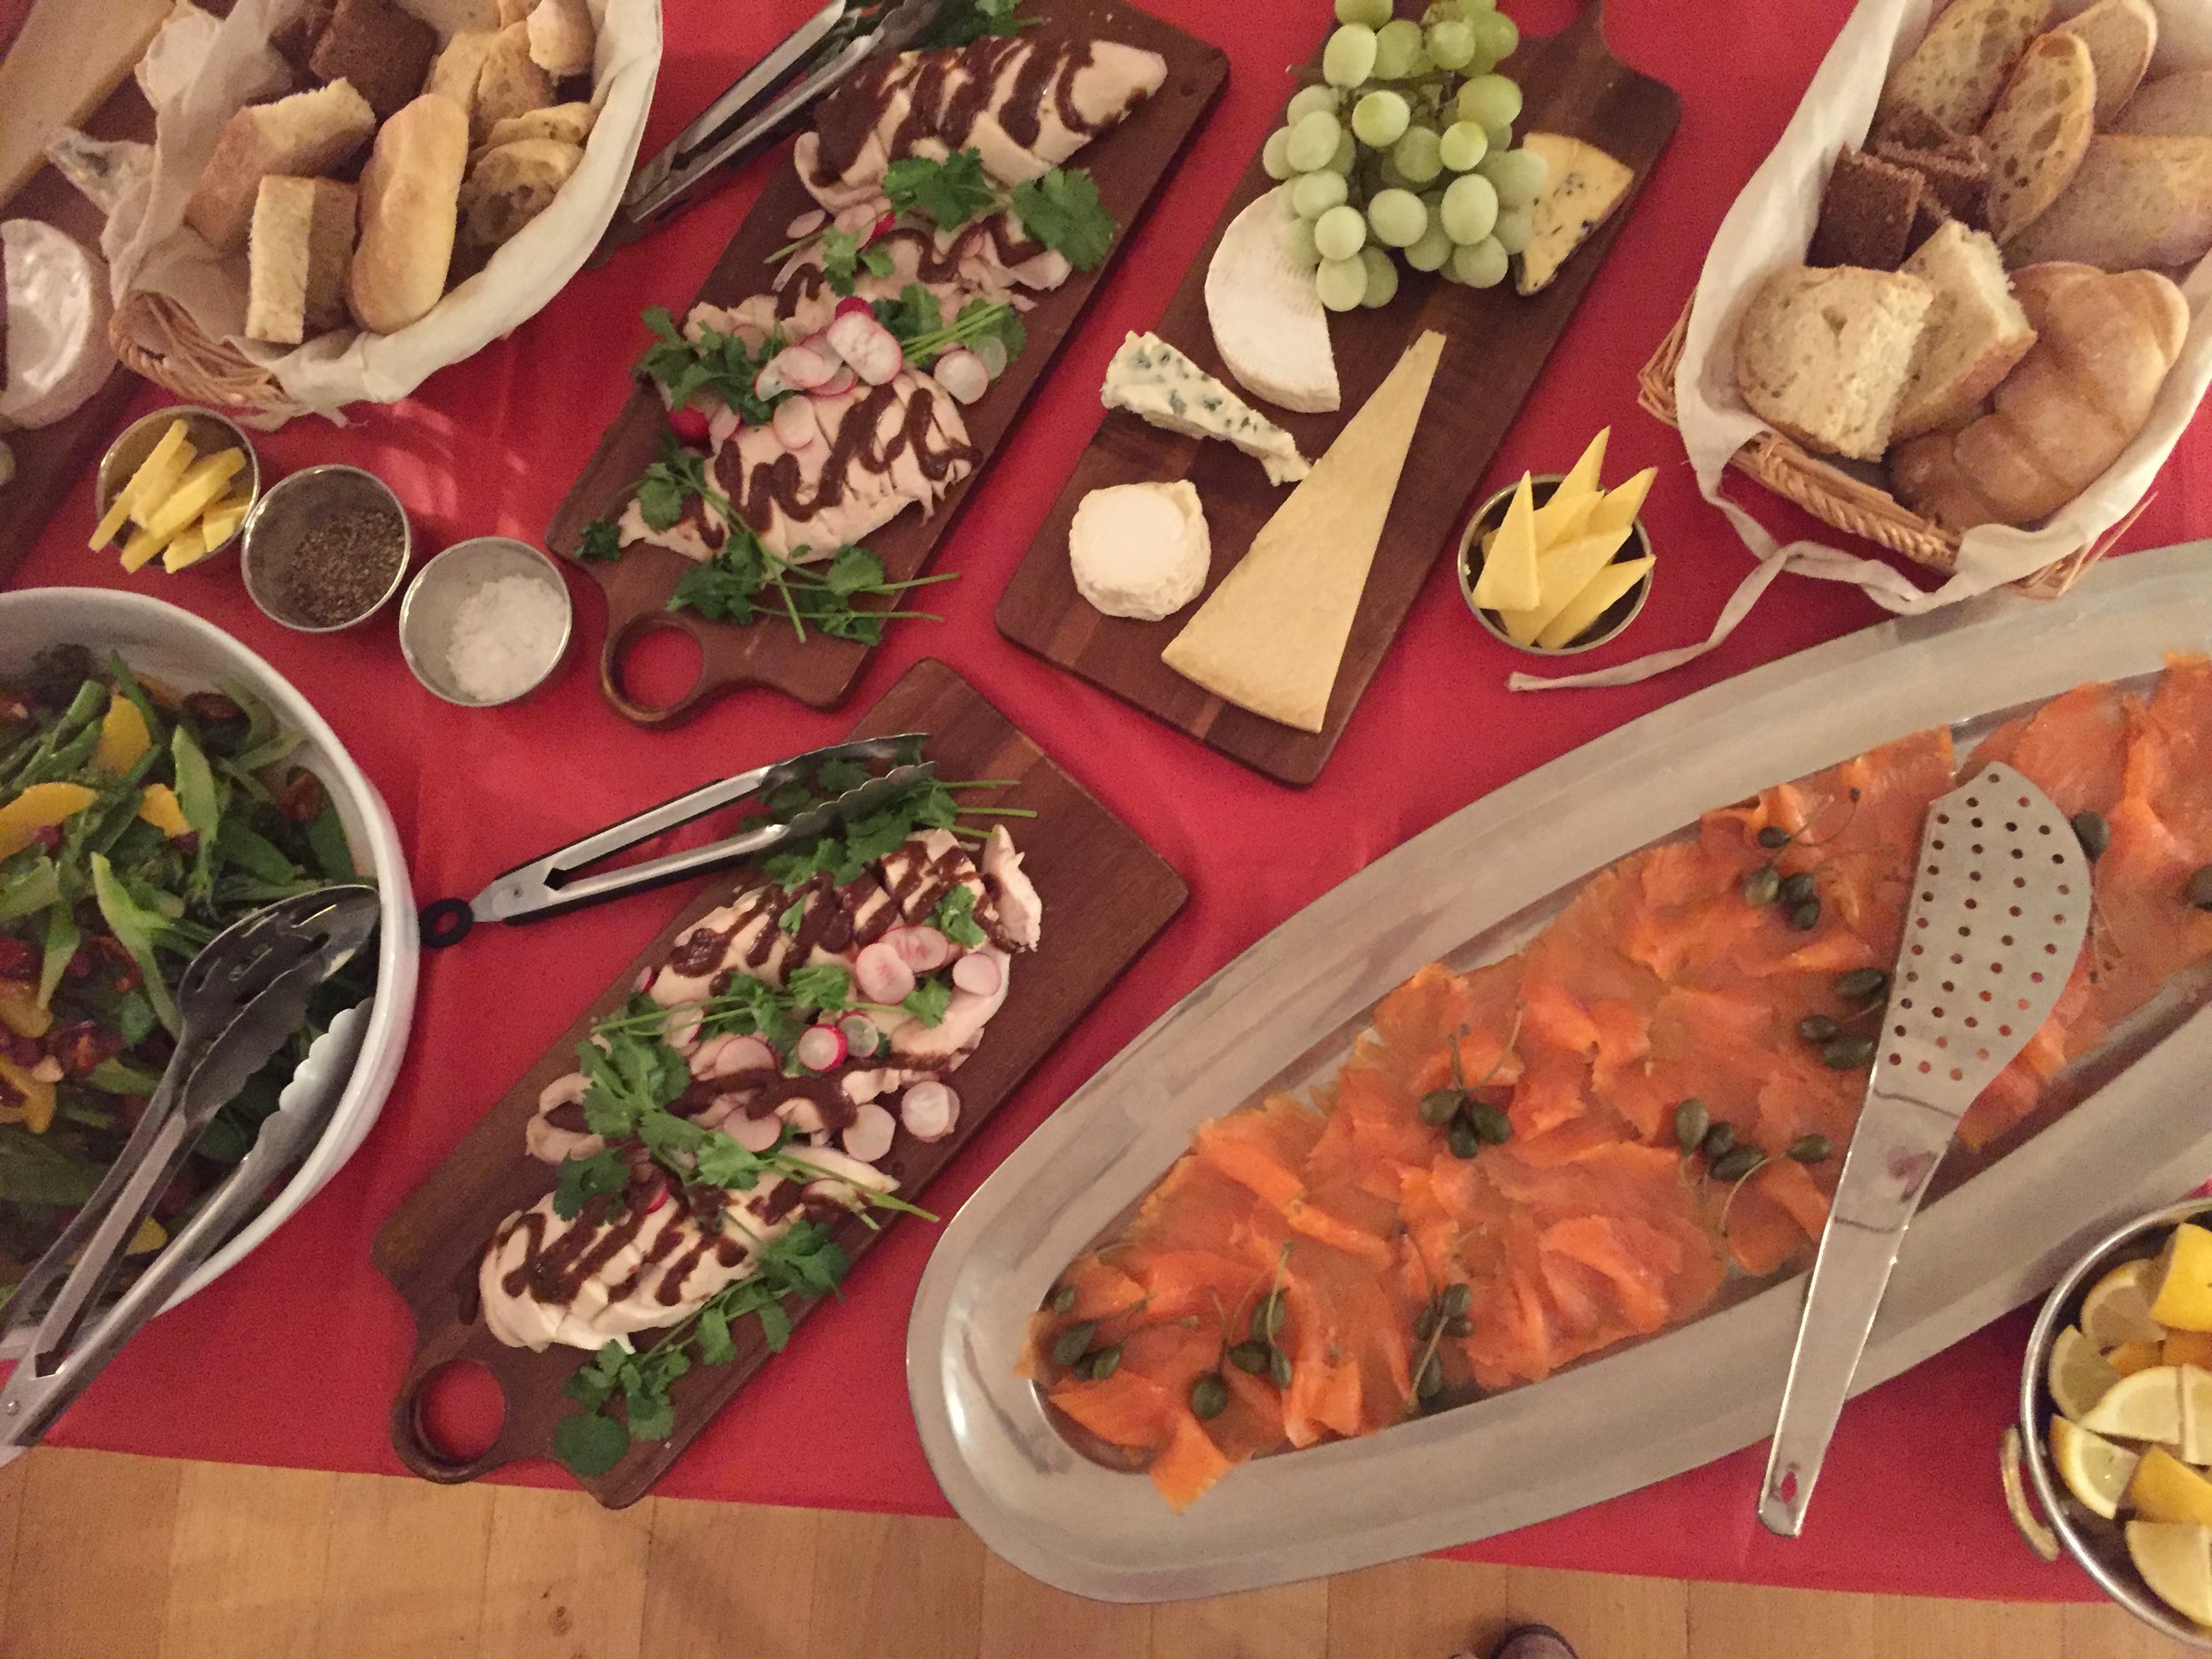
The whole event was deliciously catered for by Salt & Dry. They also made sure that everyone was kept well lubricated with lashings of bubbly. The whole event was brilliantly managed by our lovely German clients with a wonderfully informal atmosphere which ensured a fun filled few hours for everyone involved.
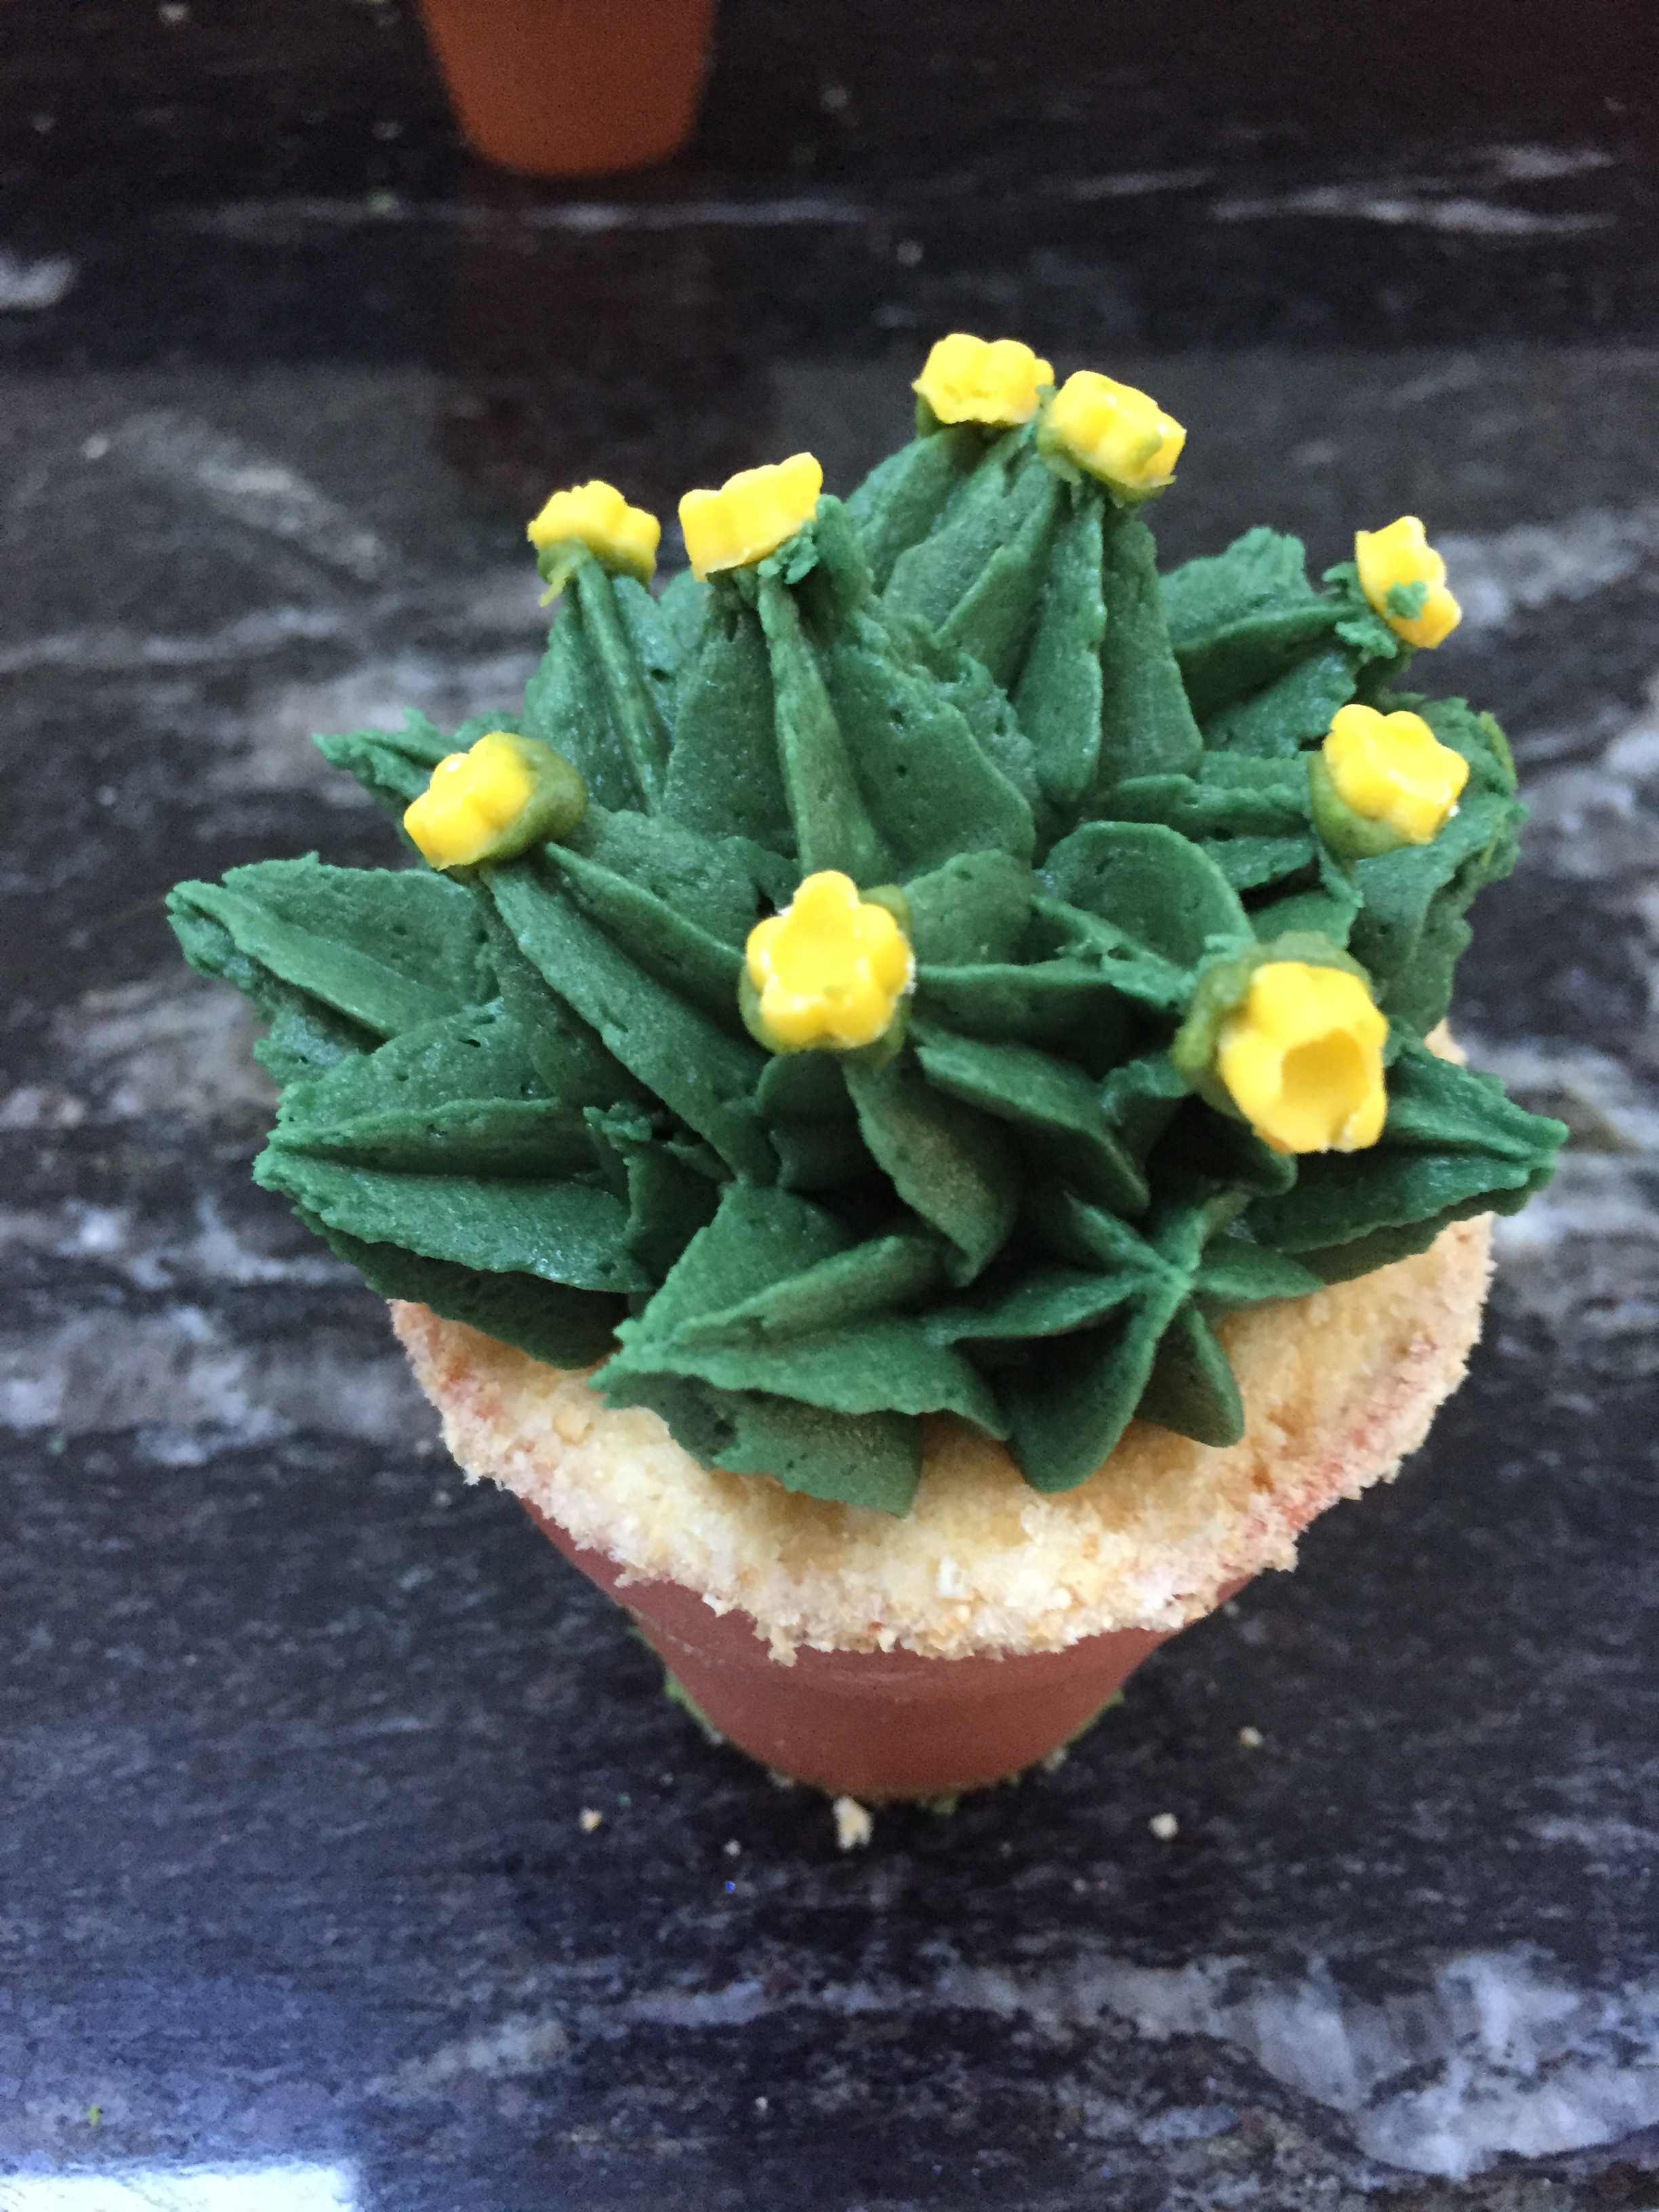
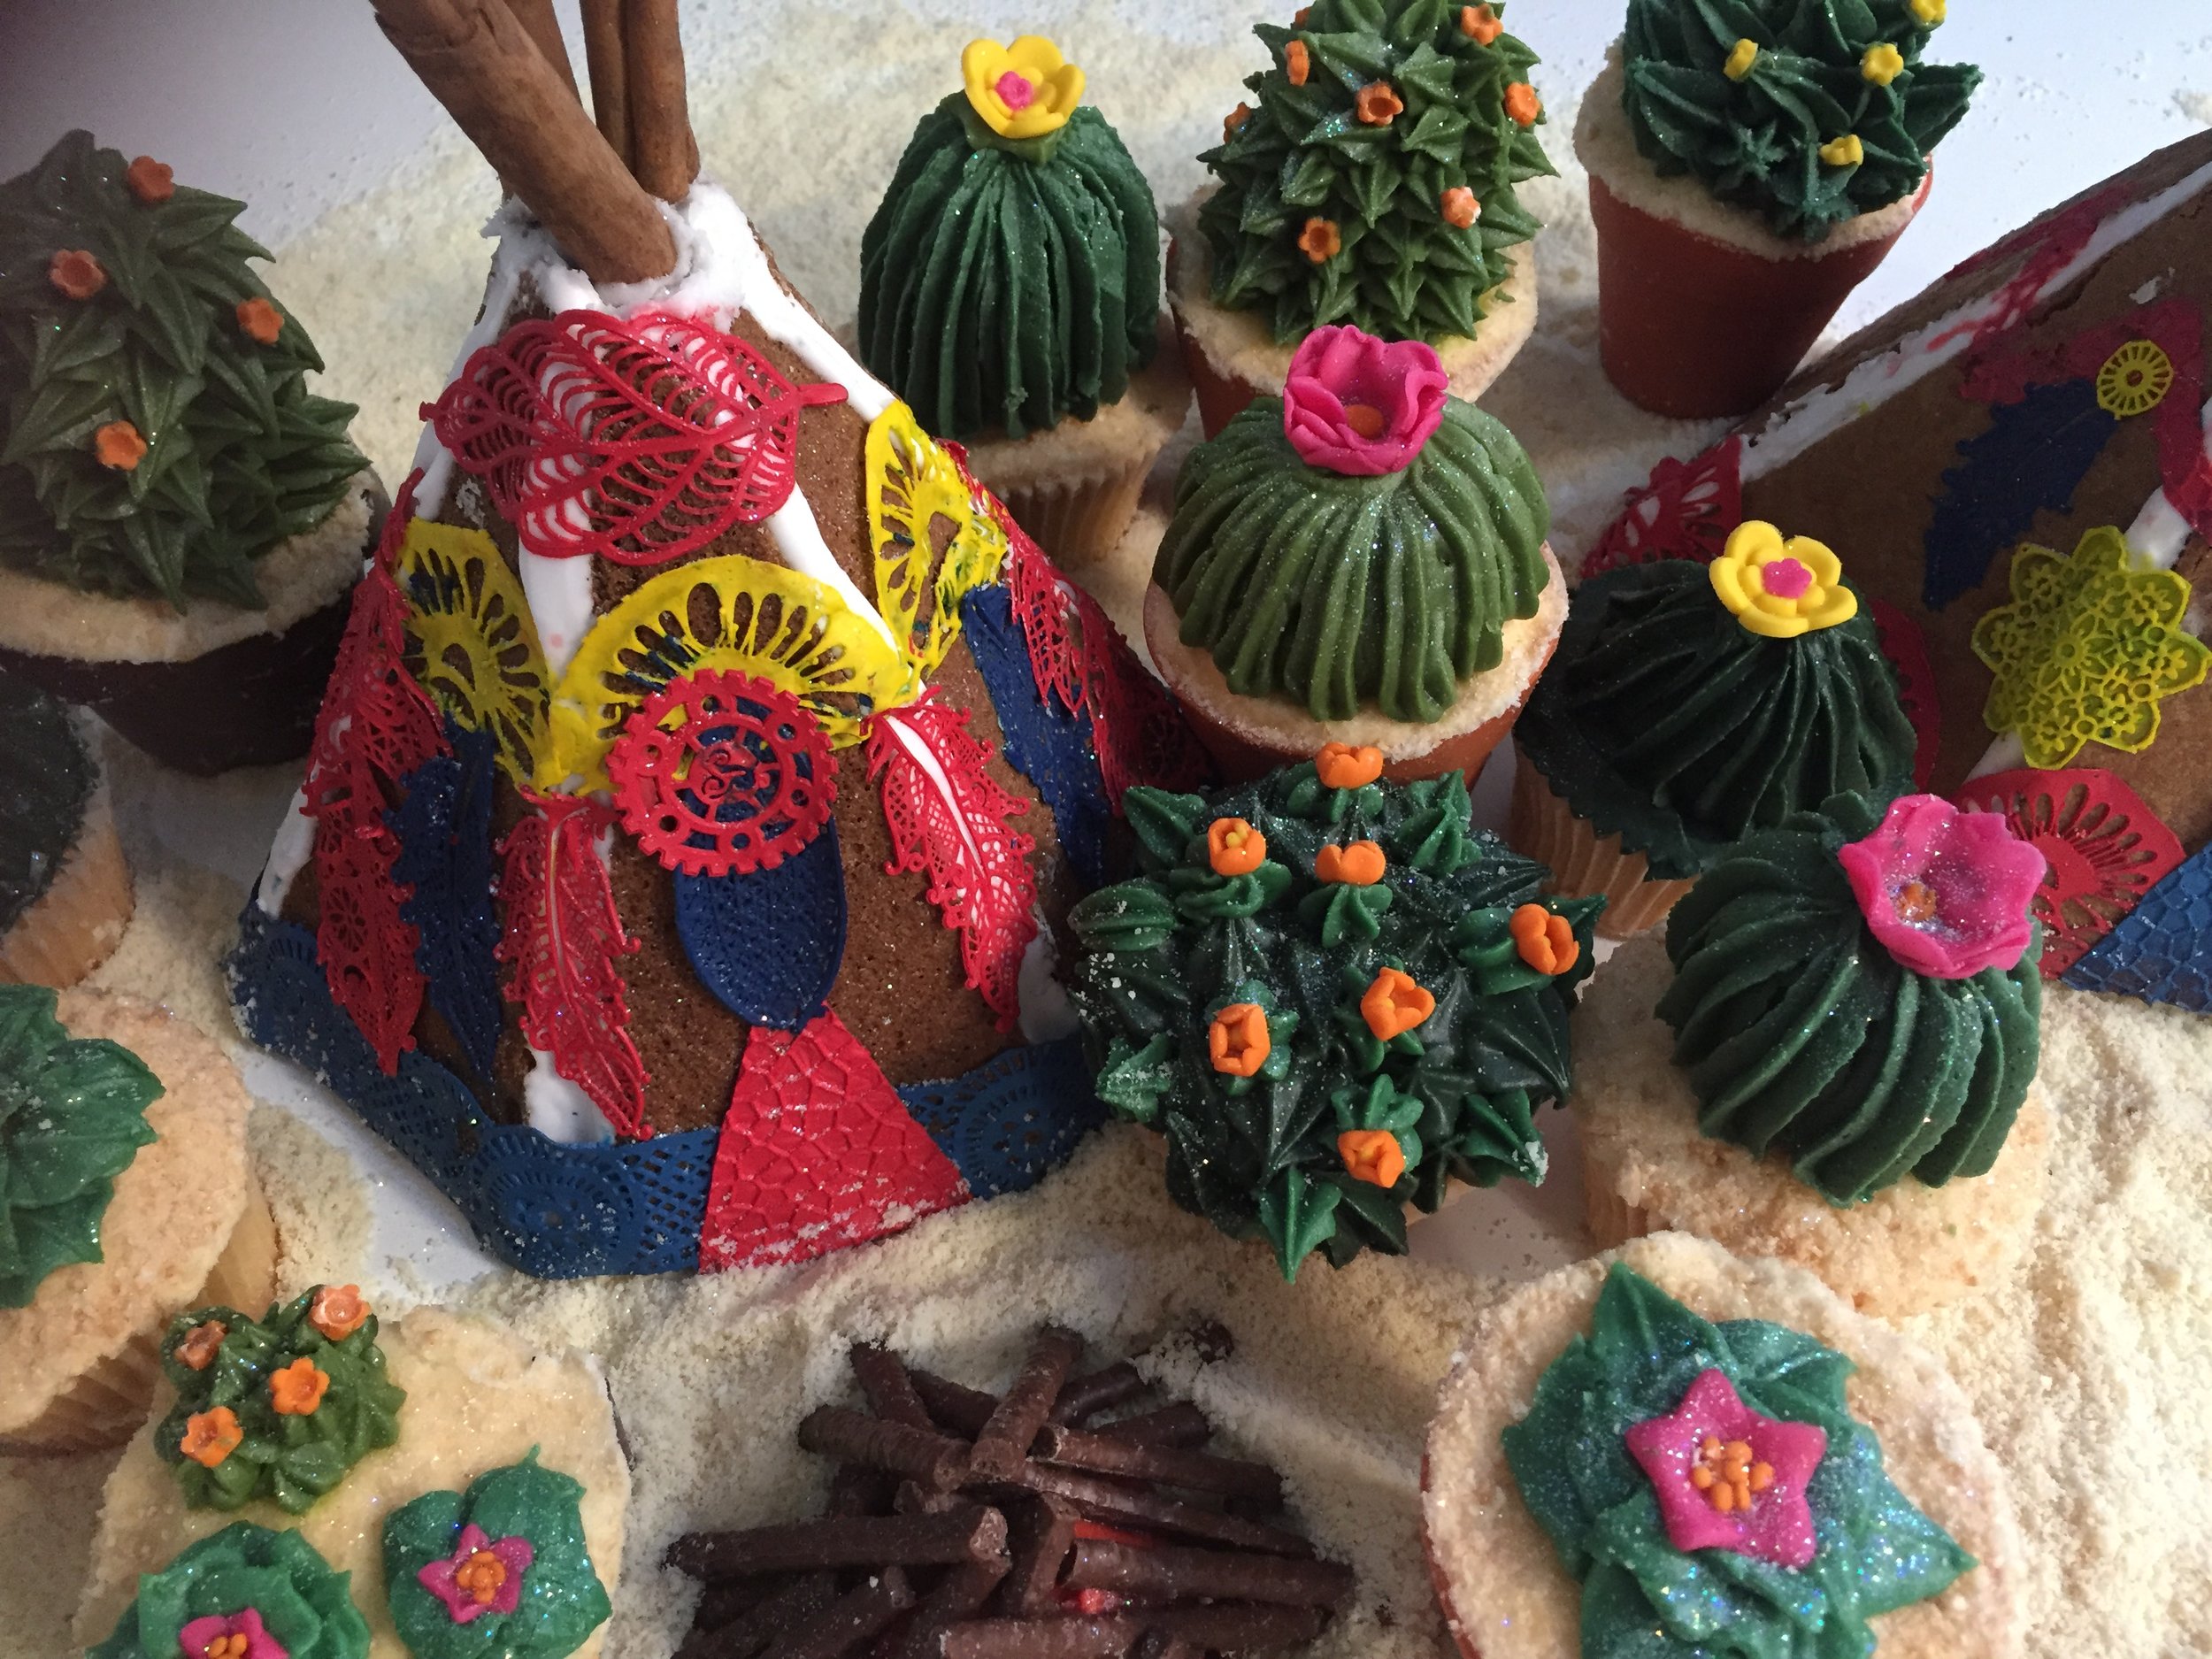
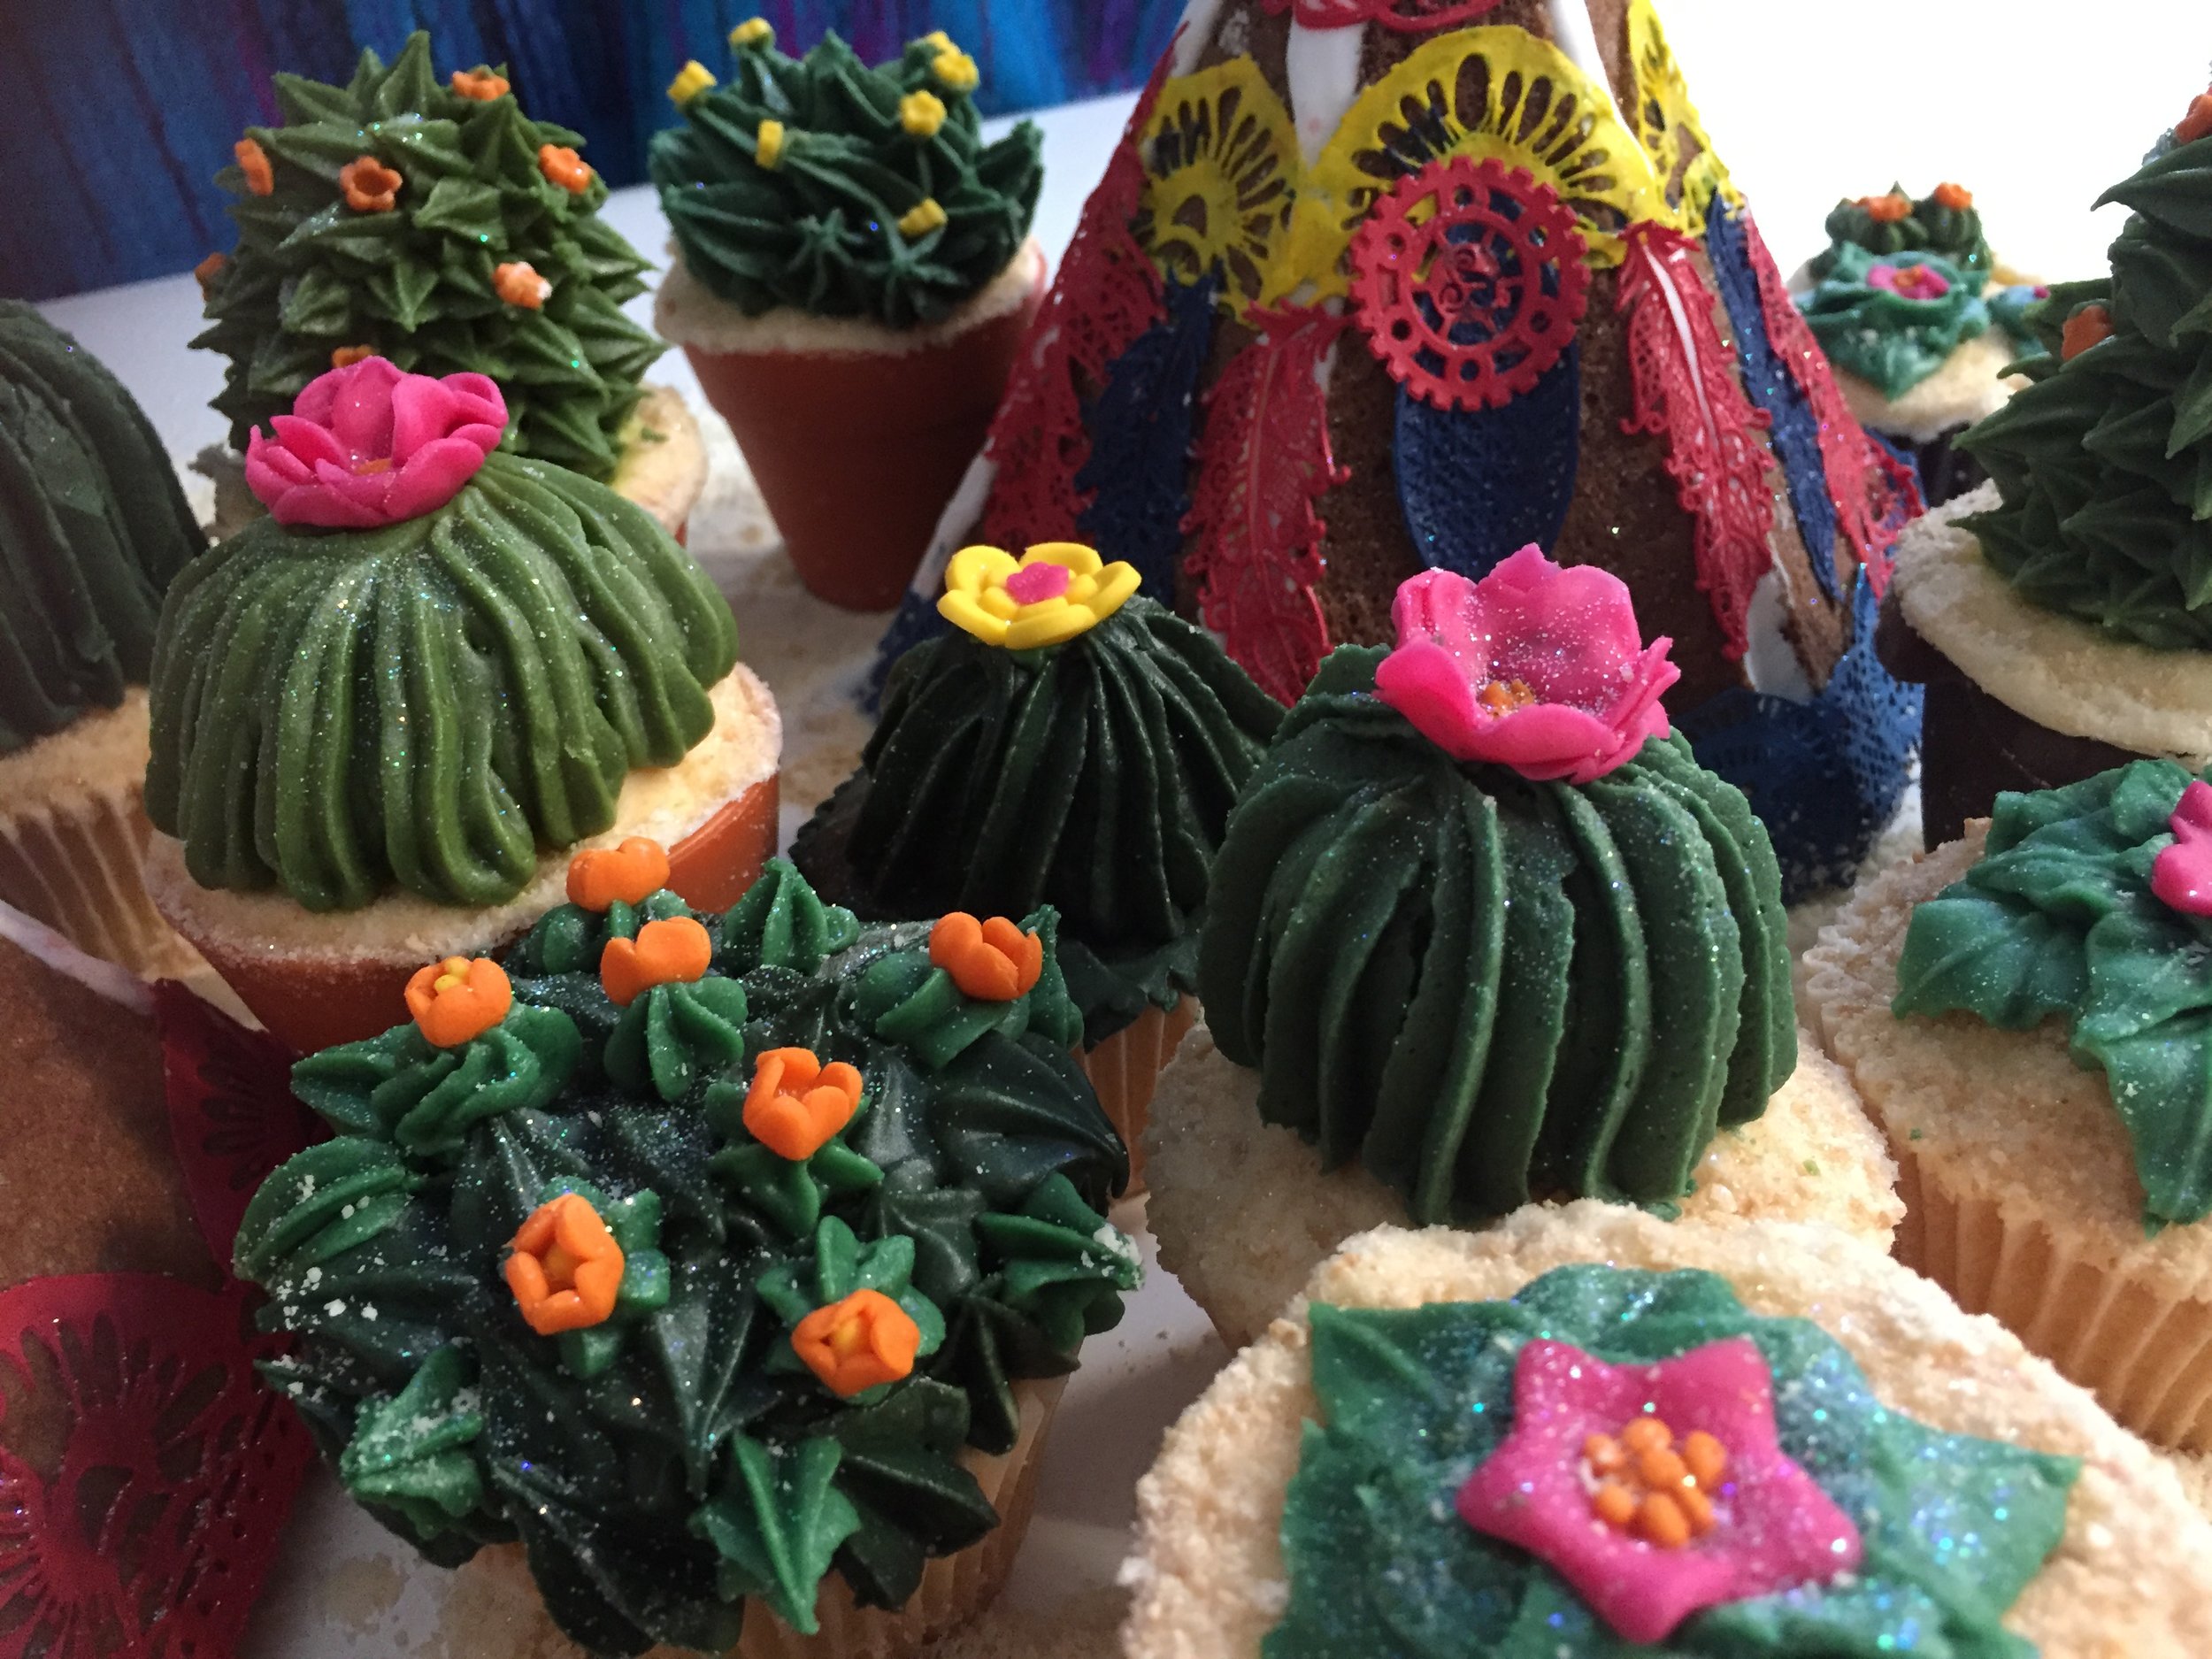
Gingerbread Tipee & Cactus Cupcakes
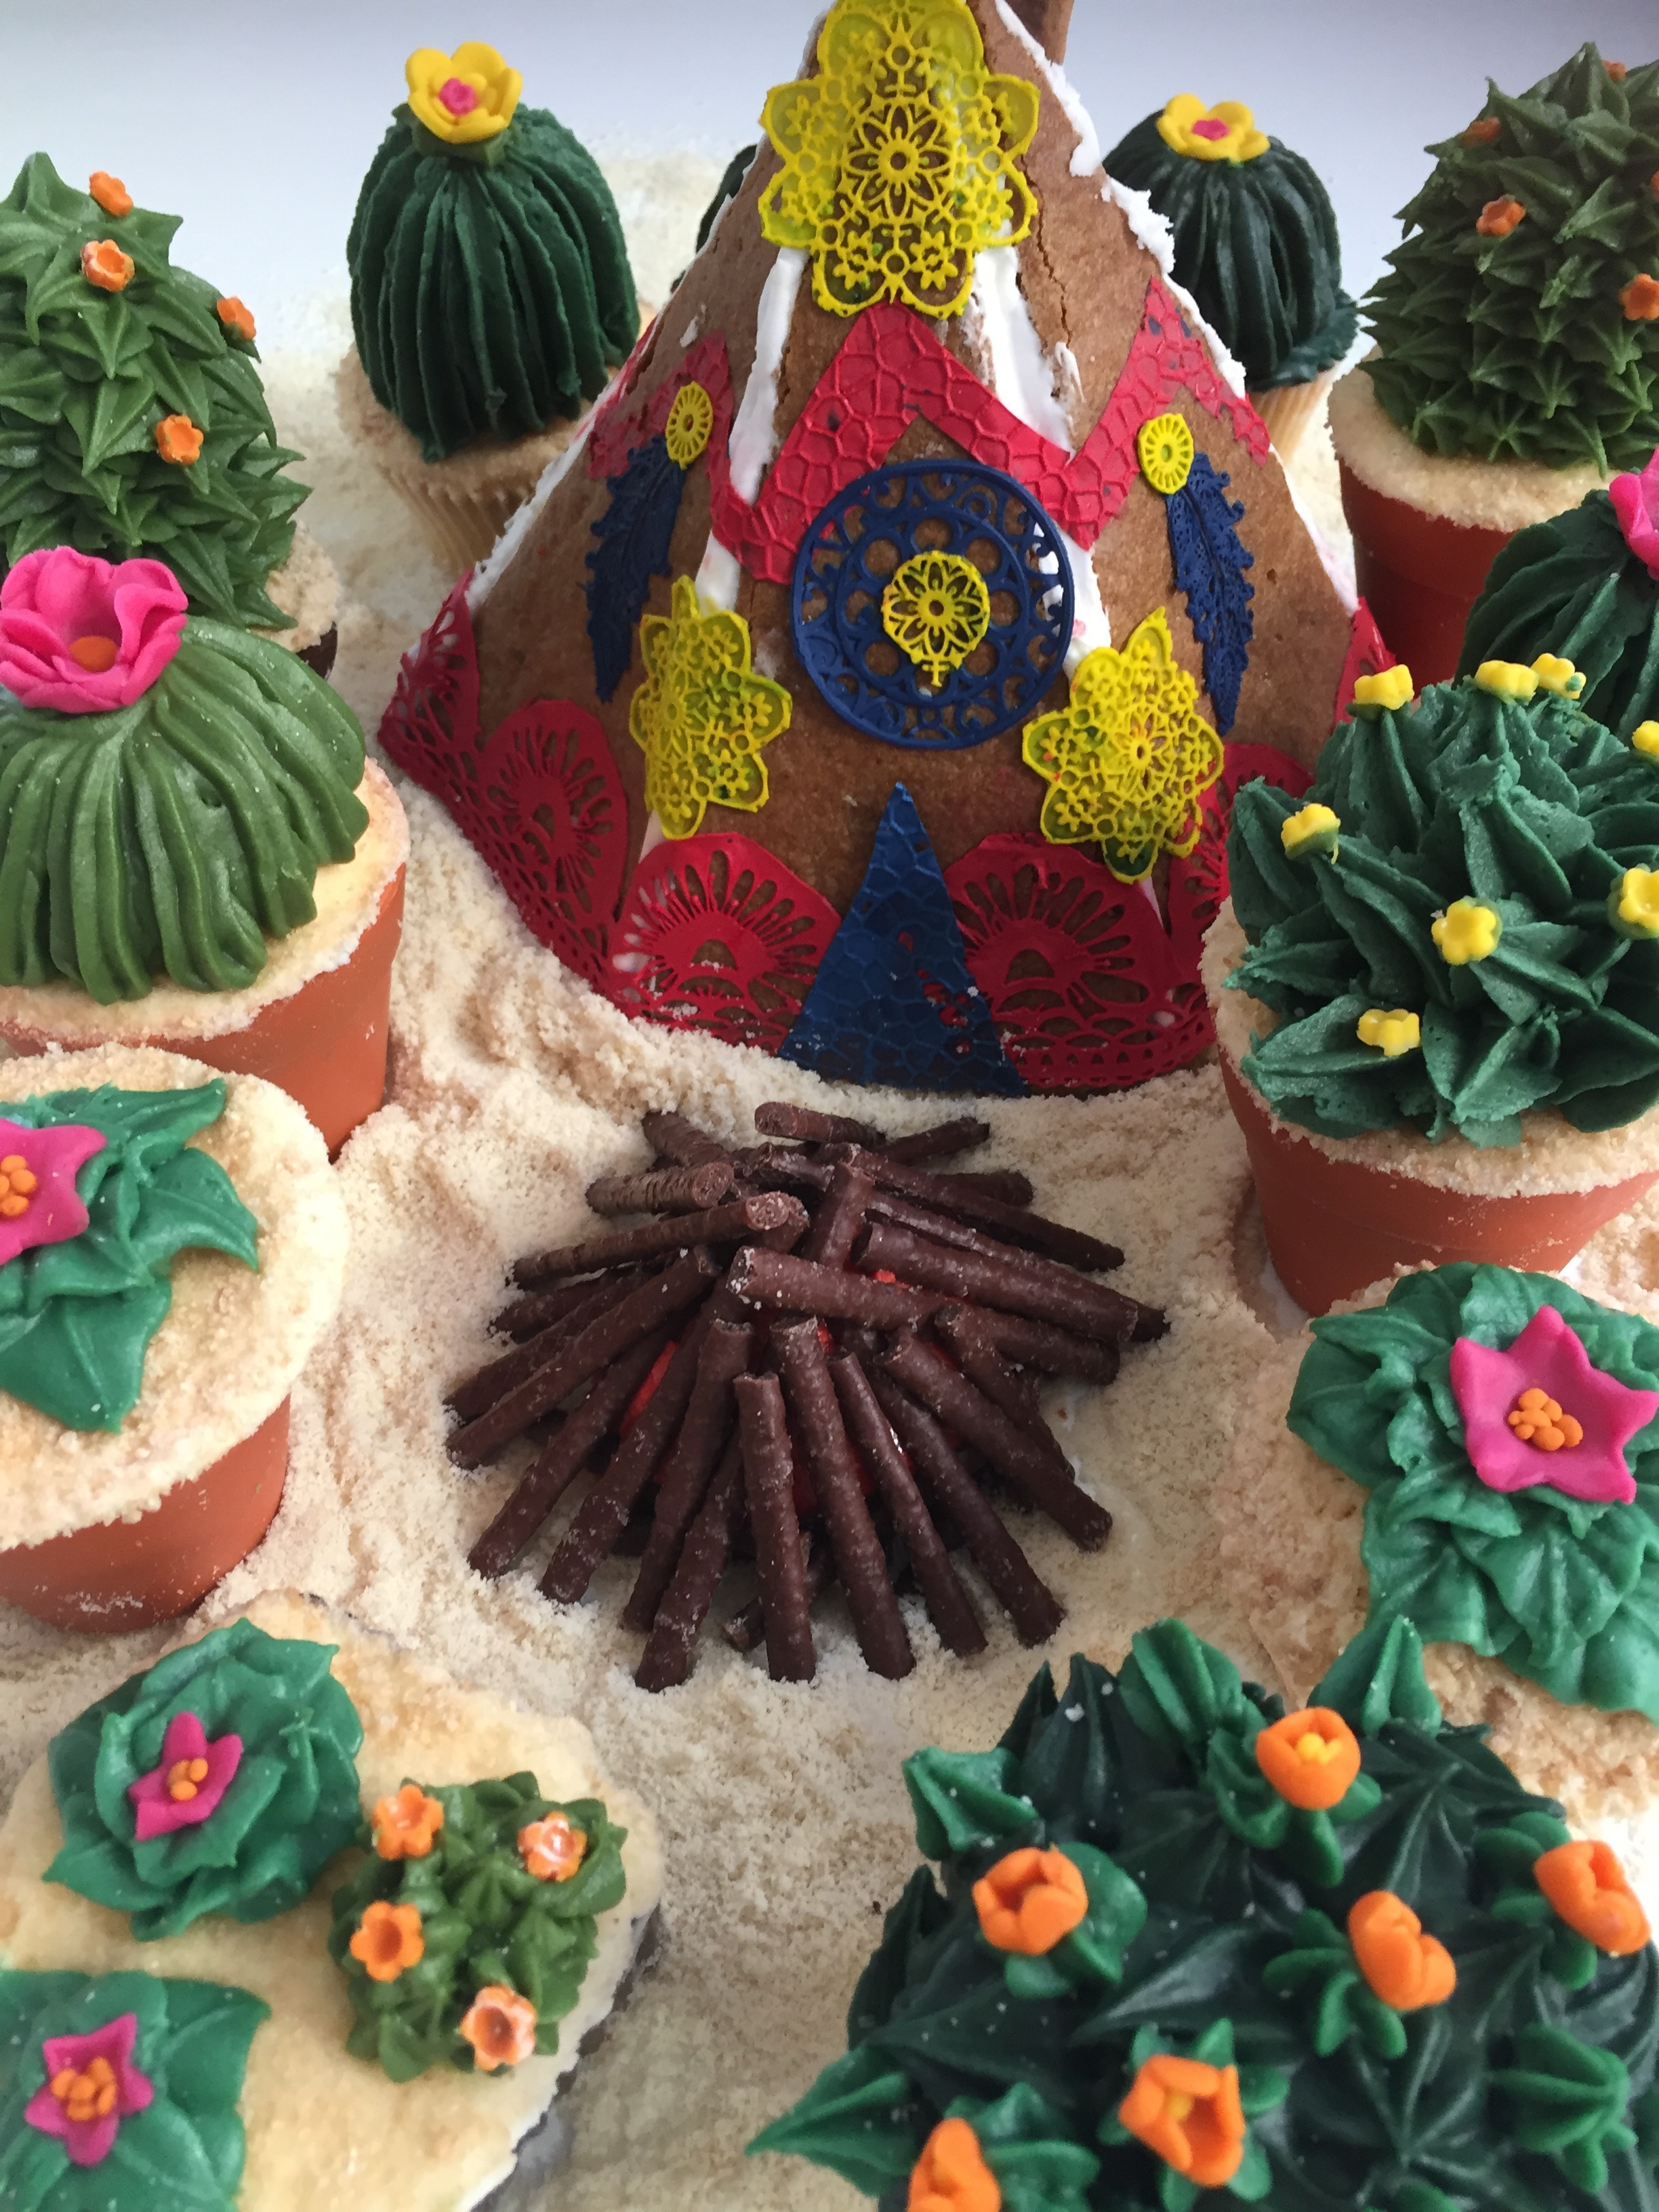
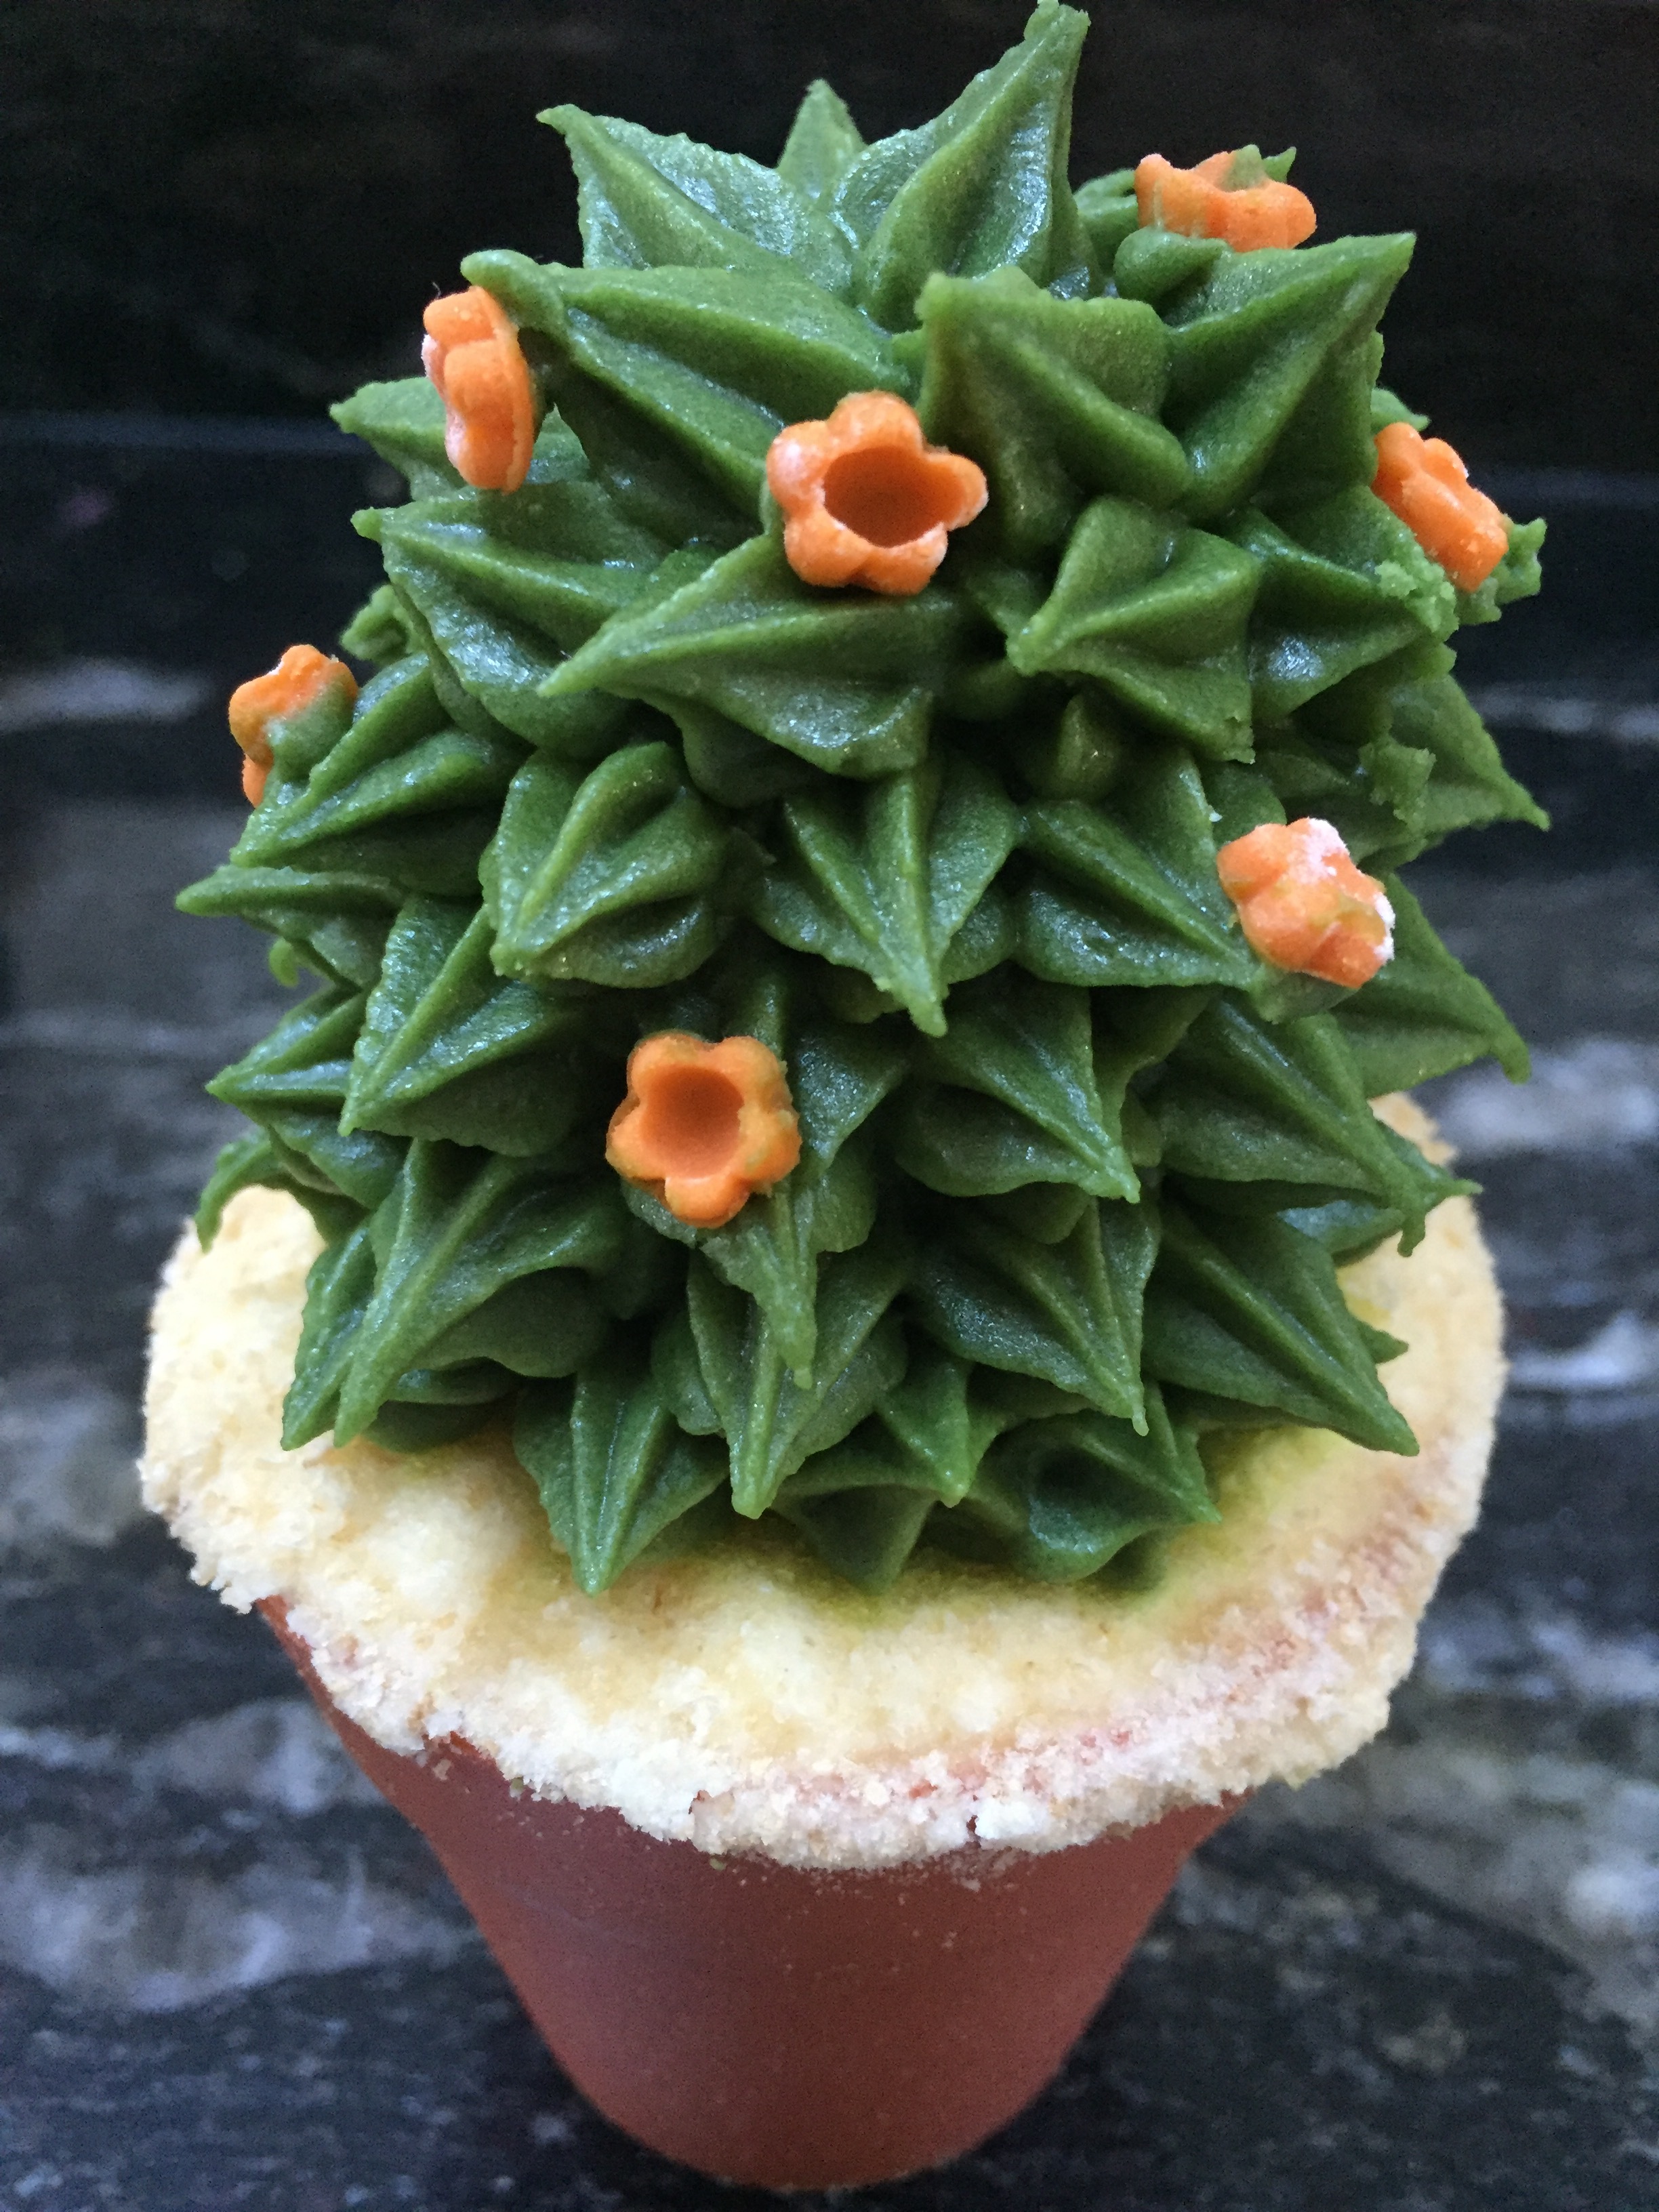
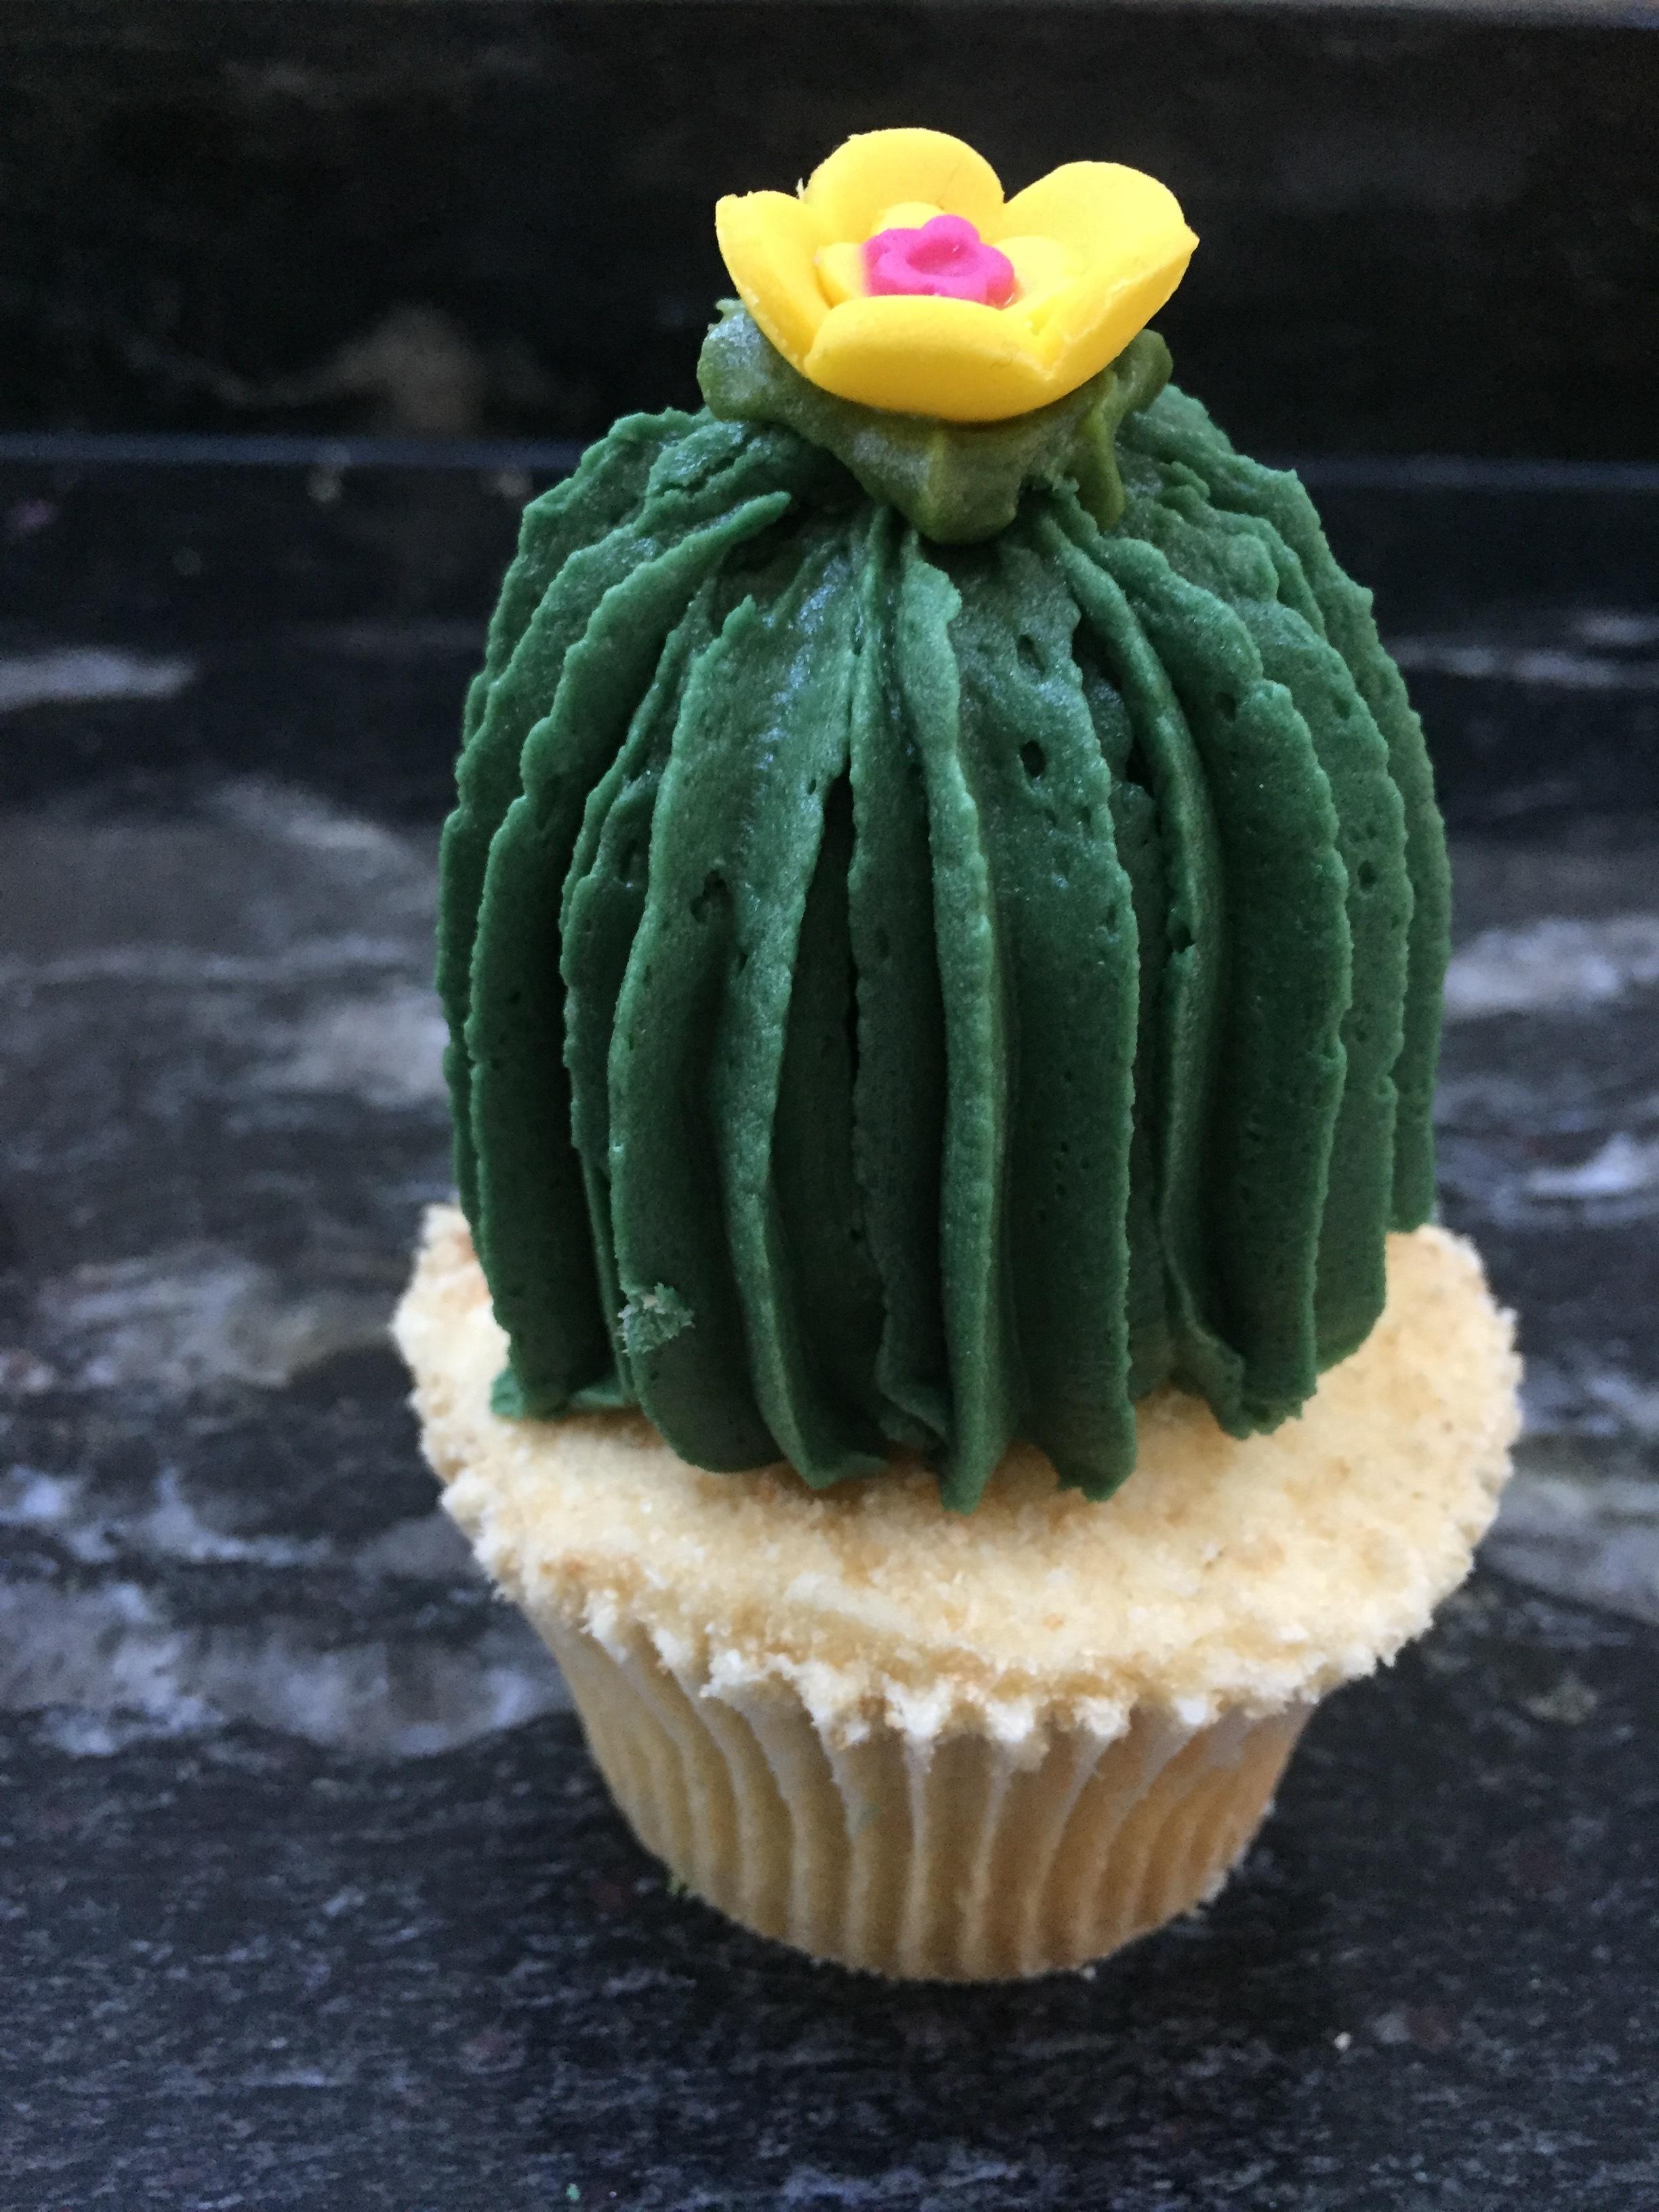
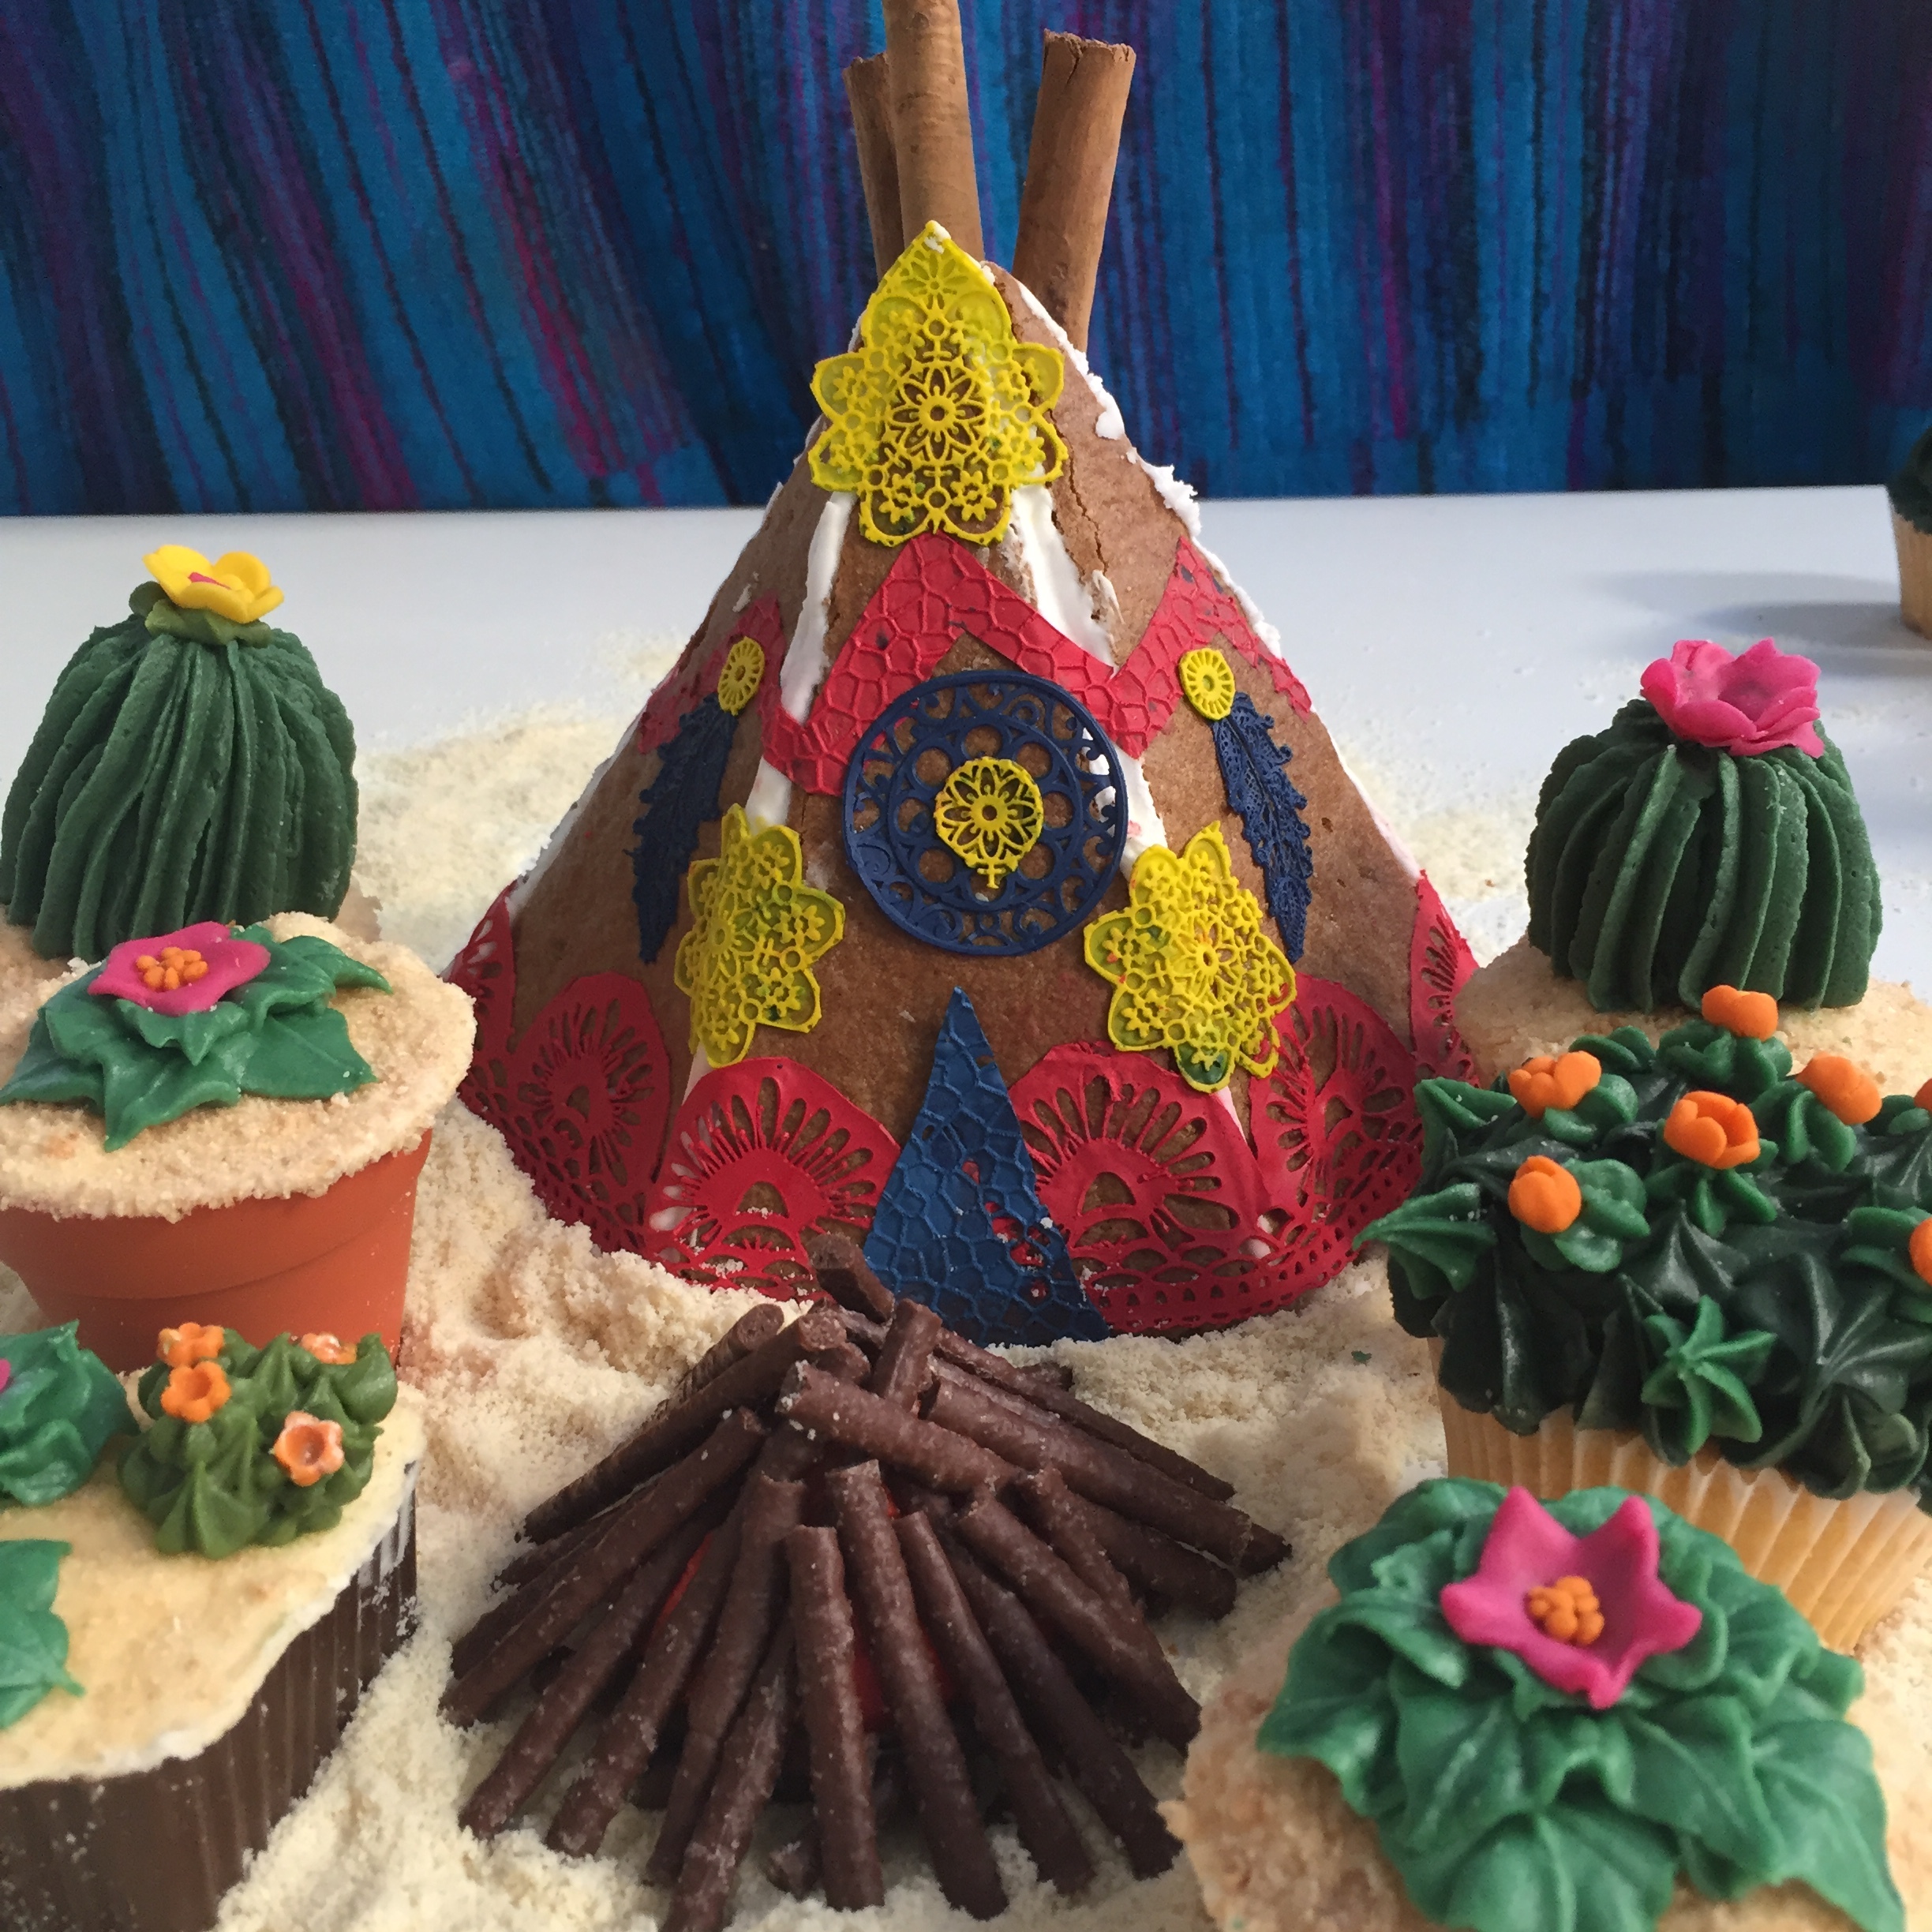
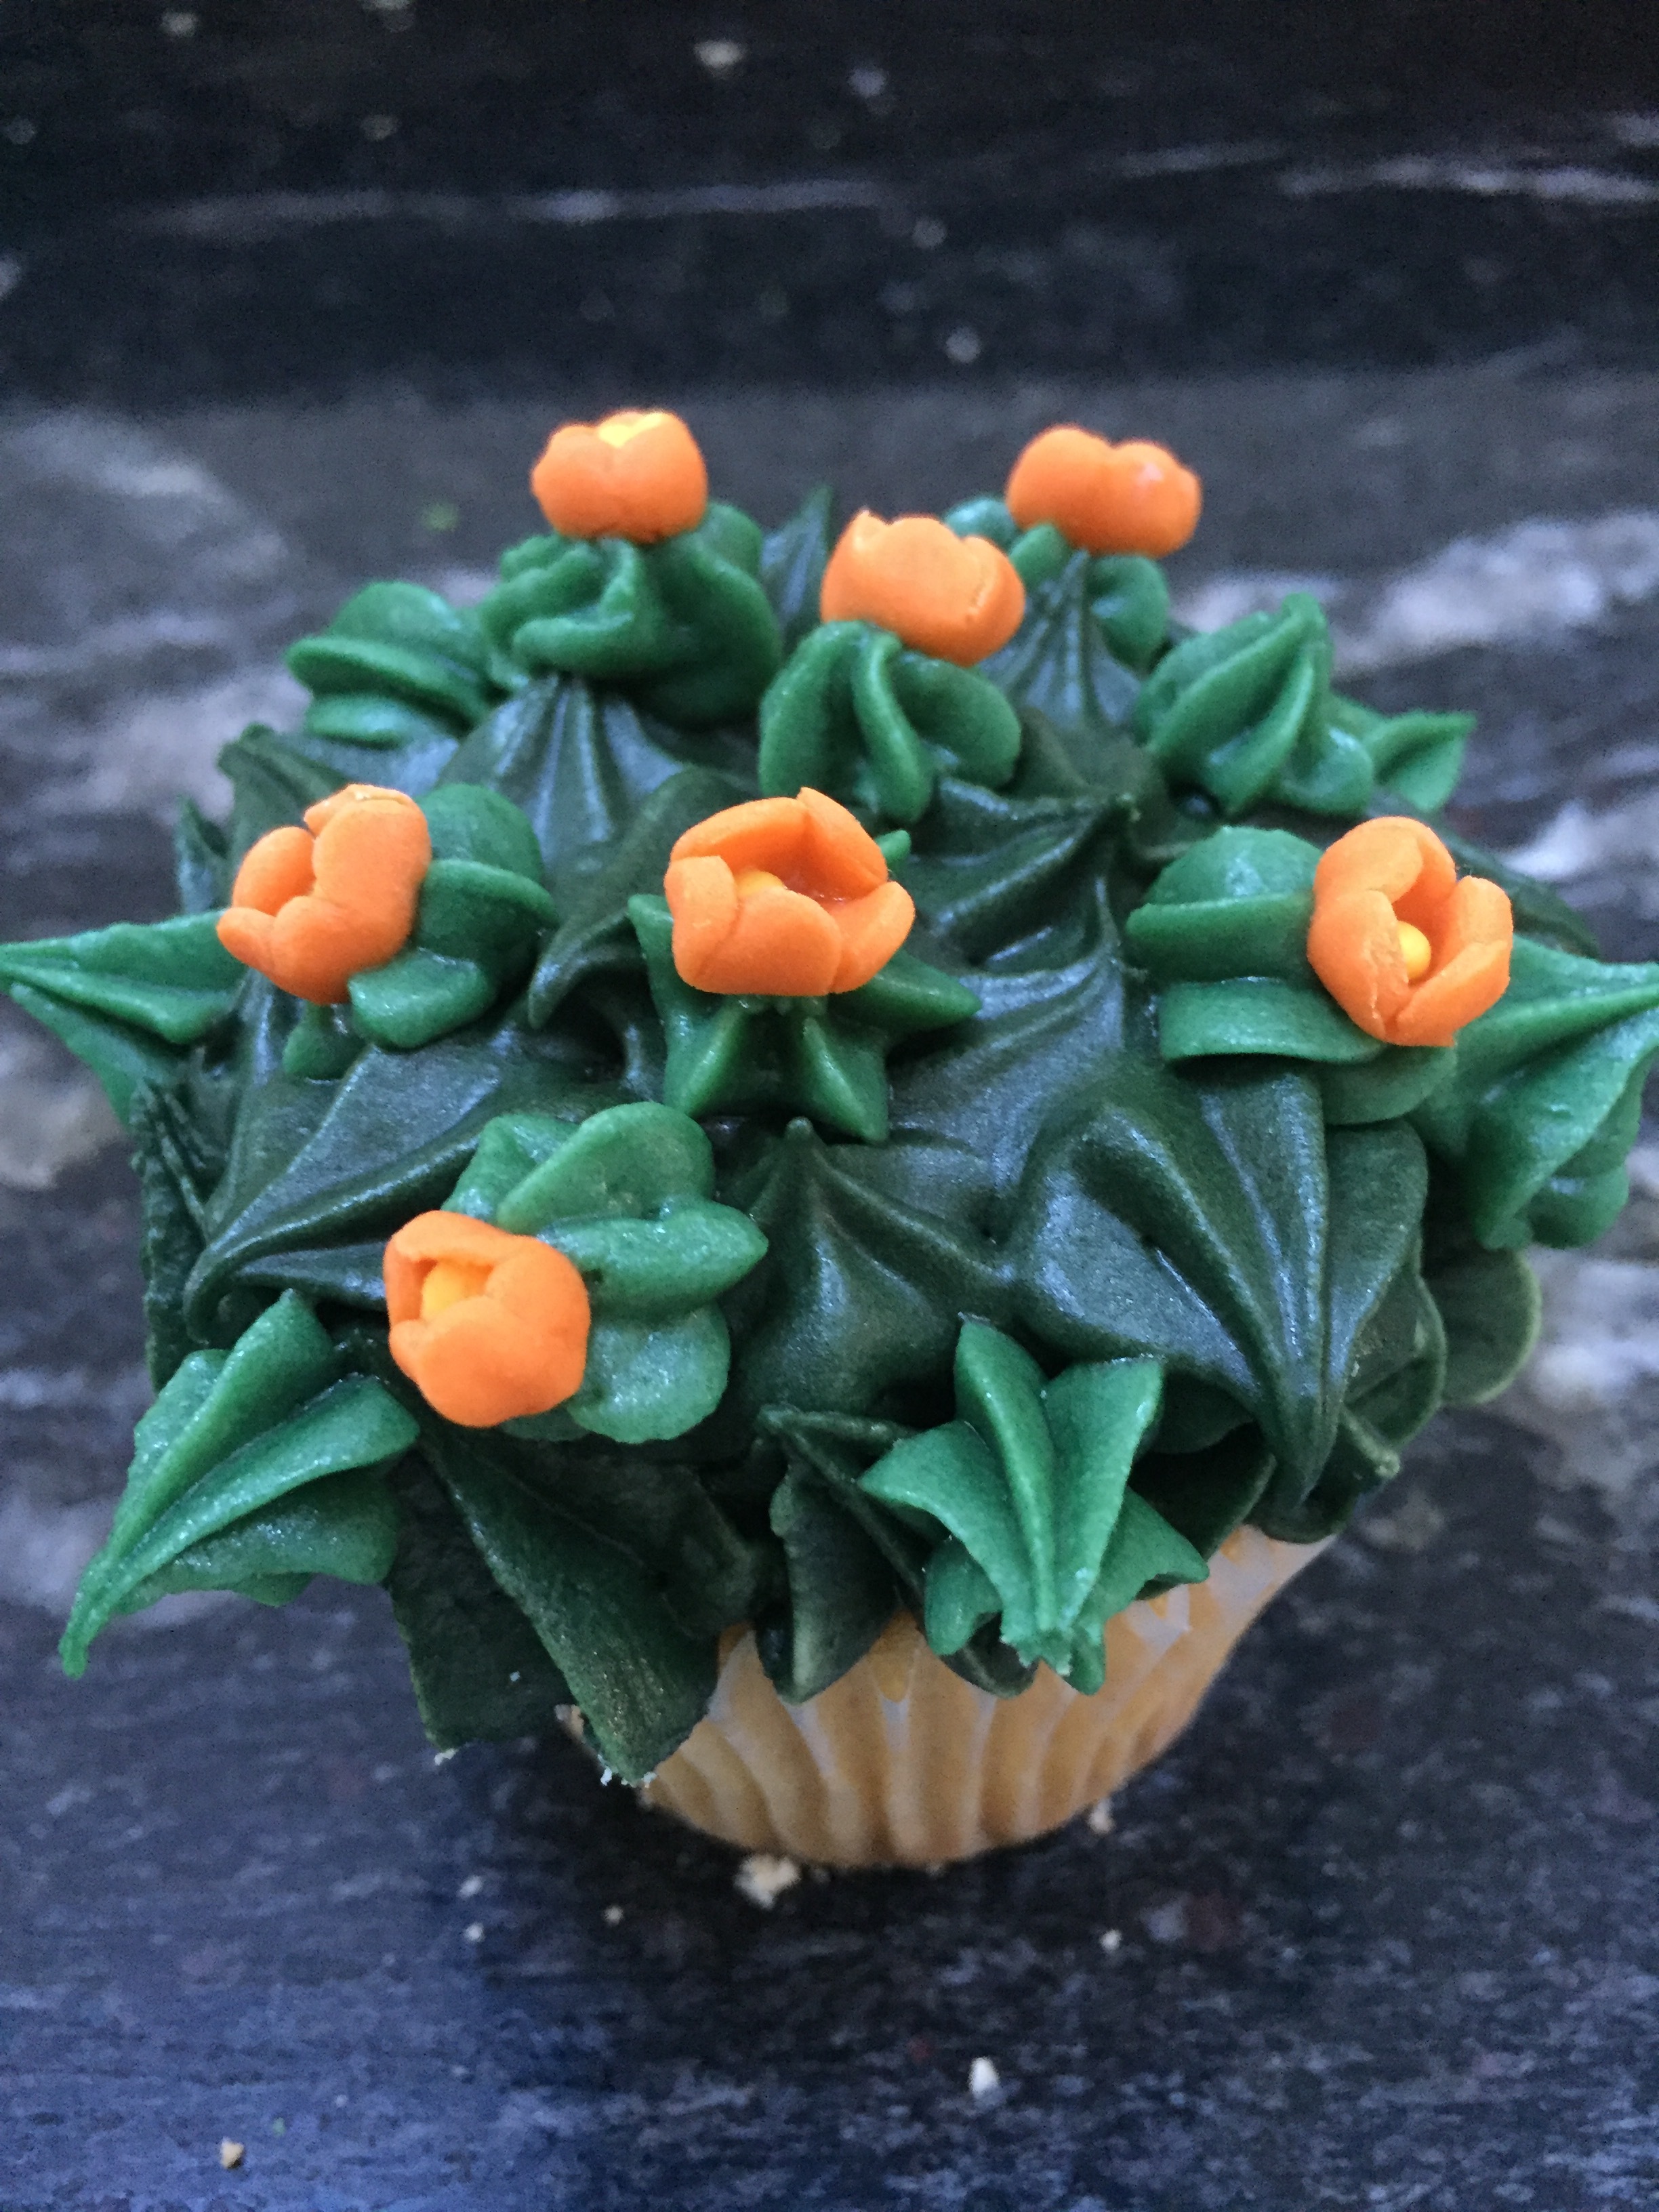
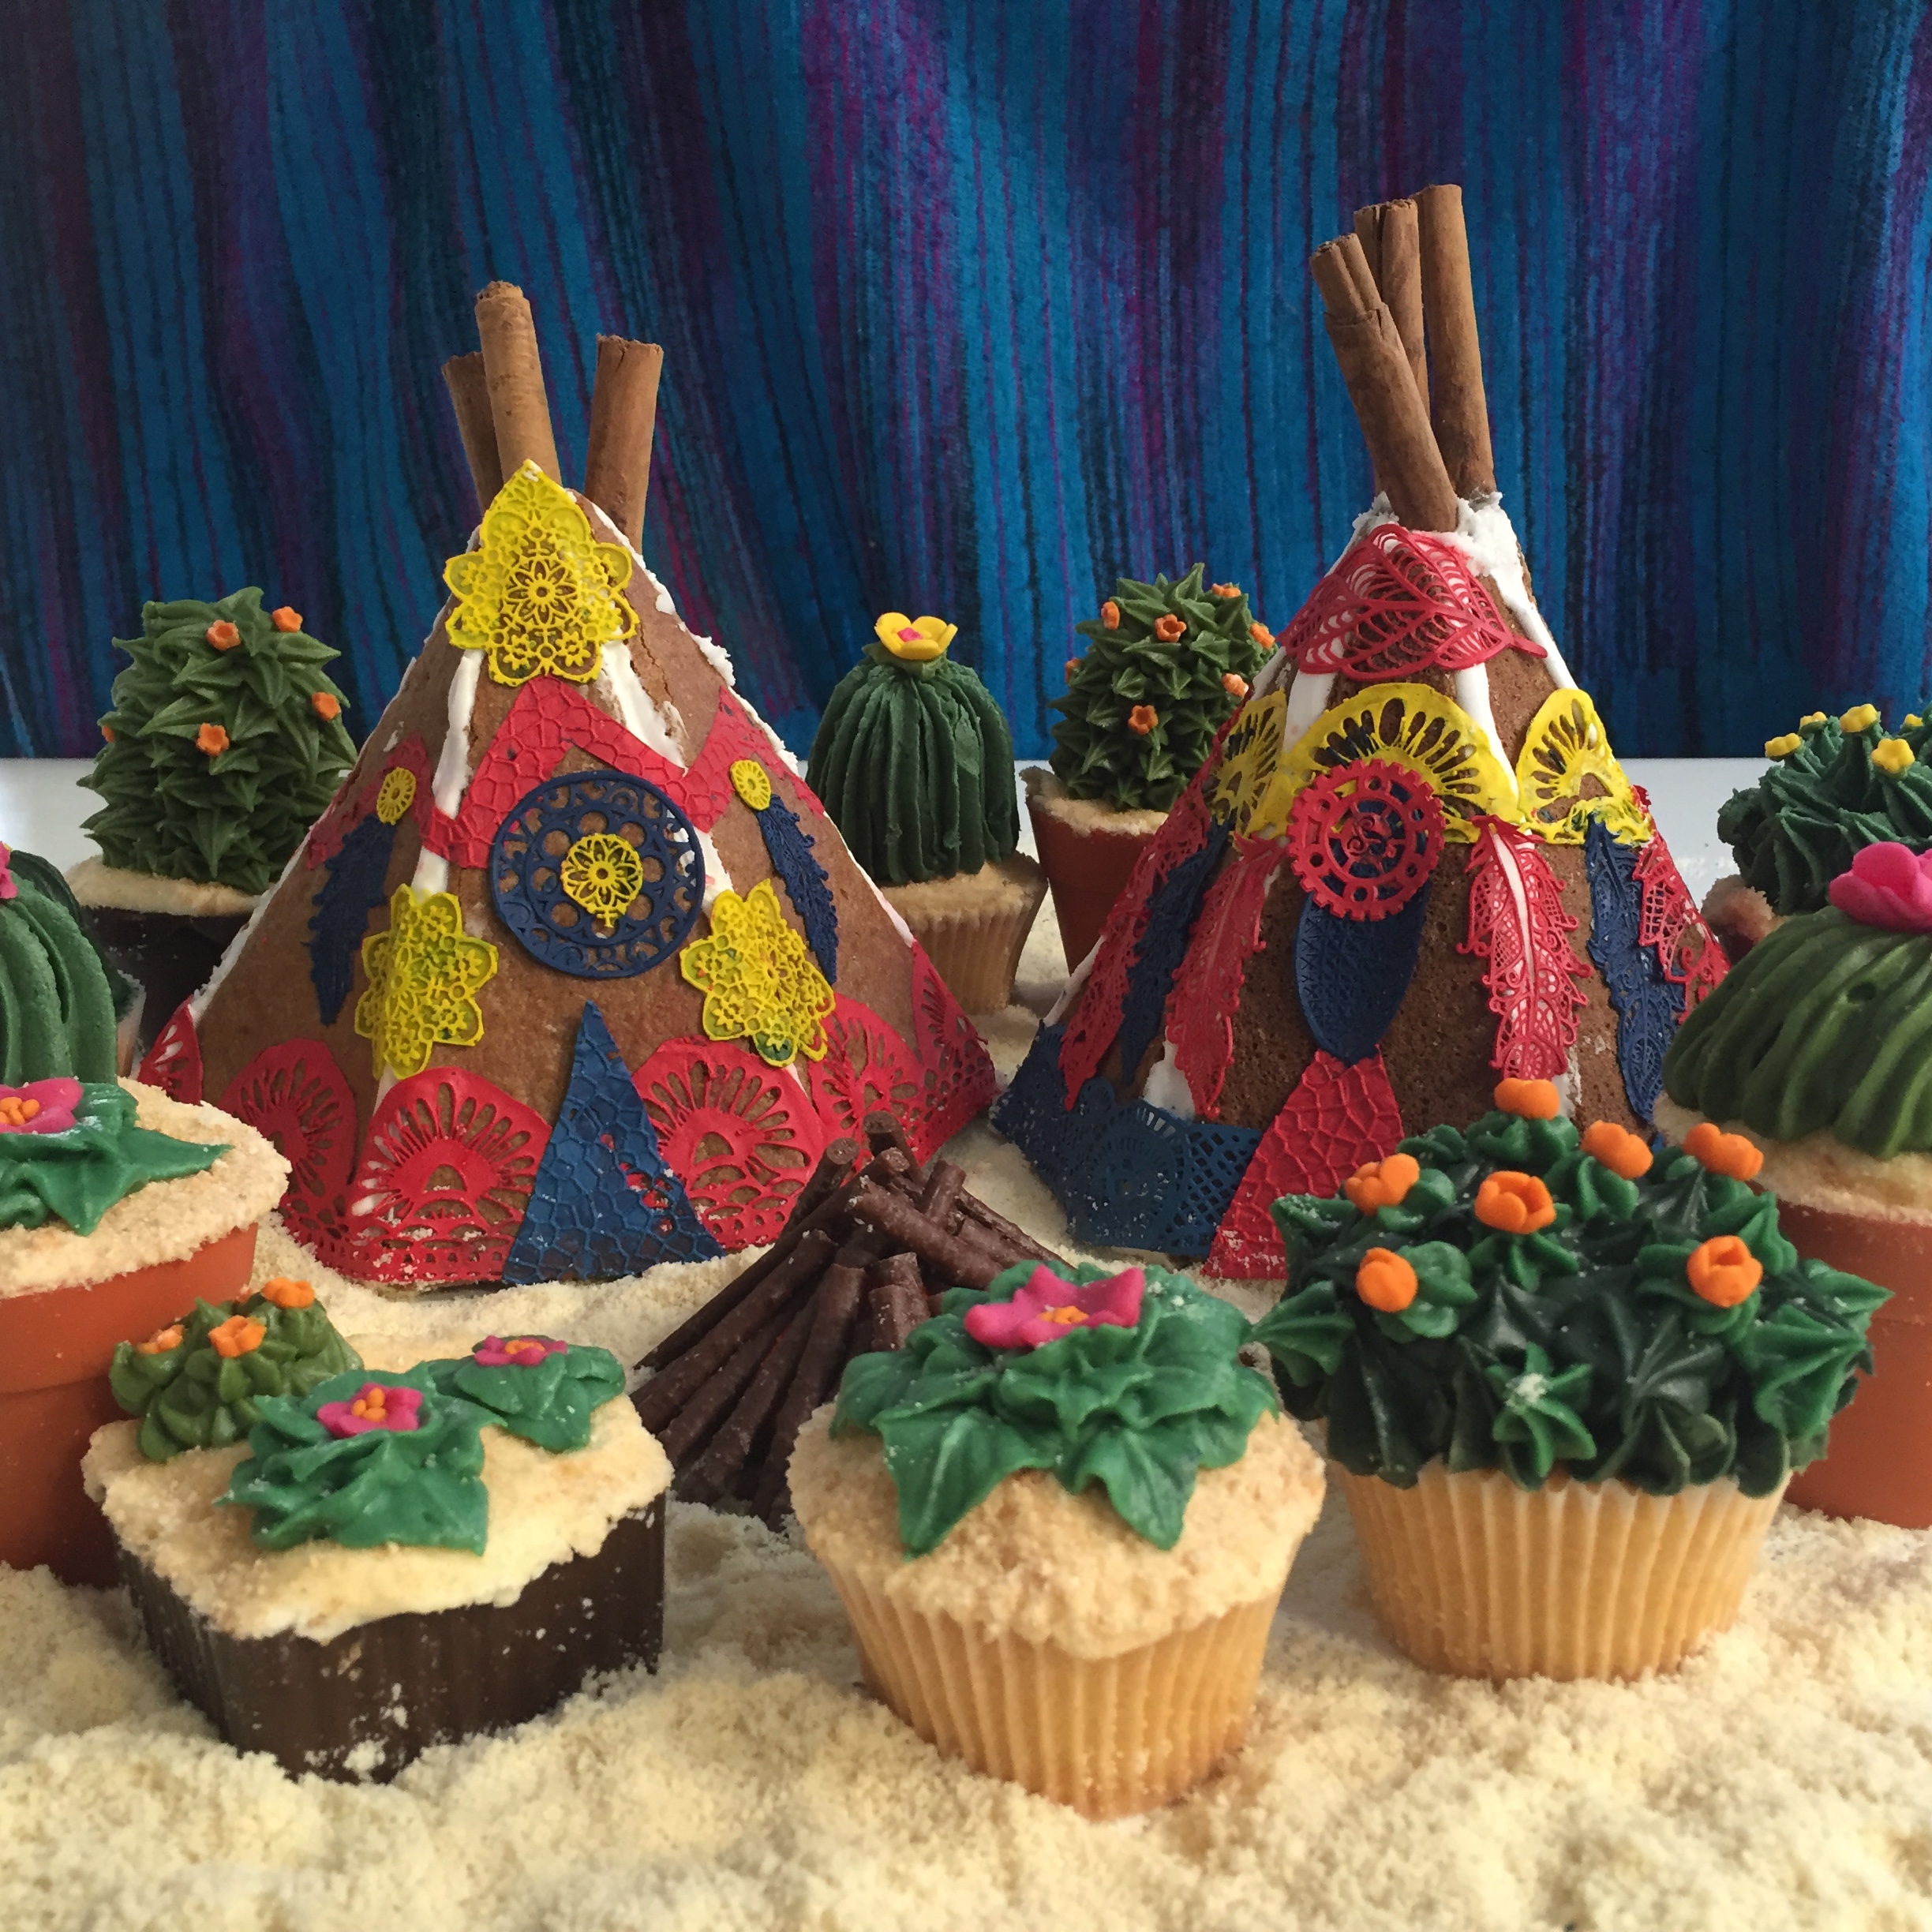
I am so excited about hosting this unique, fun and original Christmas workshop with Habitat. It is taking place on December 14th at 7pm and we have a limited number of places available. If you're quick you may be able to grab some early bird tickets at the incredible price of 48pp. ou will each leave the event with your very own hand crafted Gingerbread Tipee, covered in edible lace. And these brilliantly quirky cupcake cactuses.
i promise I will post the full details of how to make these once I have a minute!
https://www.eventbrite.com/e/gingerbreadtepee-cactus-cupcake-workshop-tickets-29739593926
What's the most unique edible Christmas treats in your repertoire?
Neon Lace Biscuits
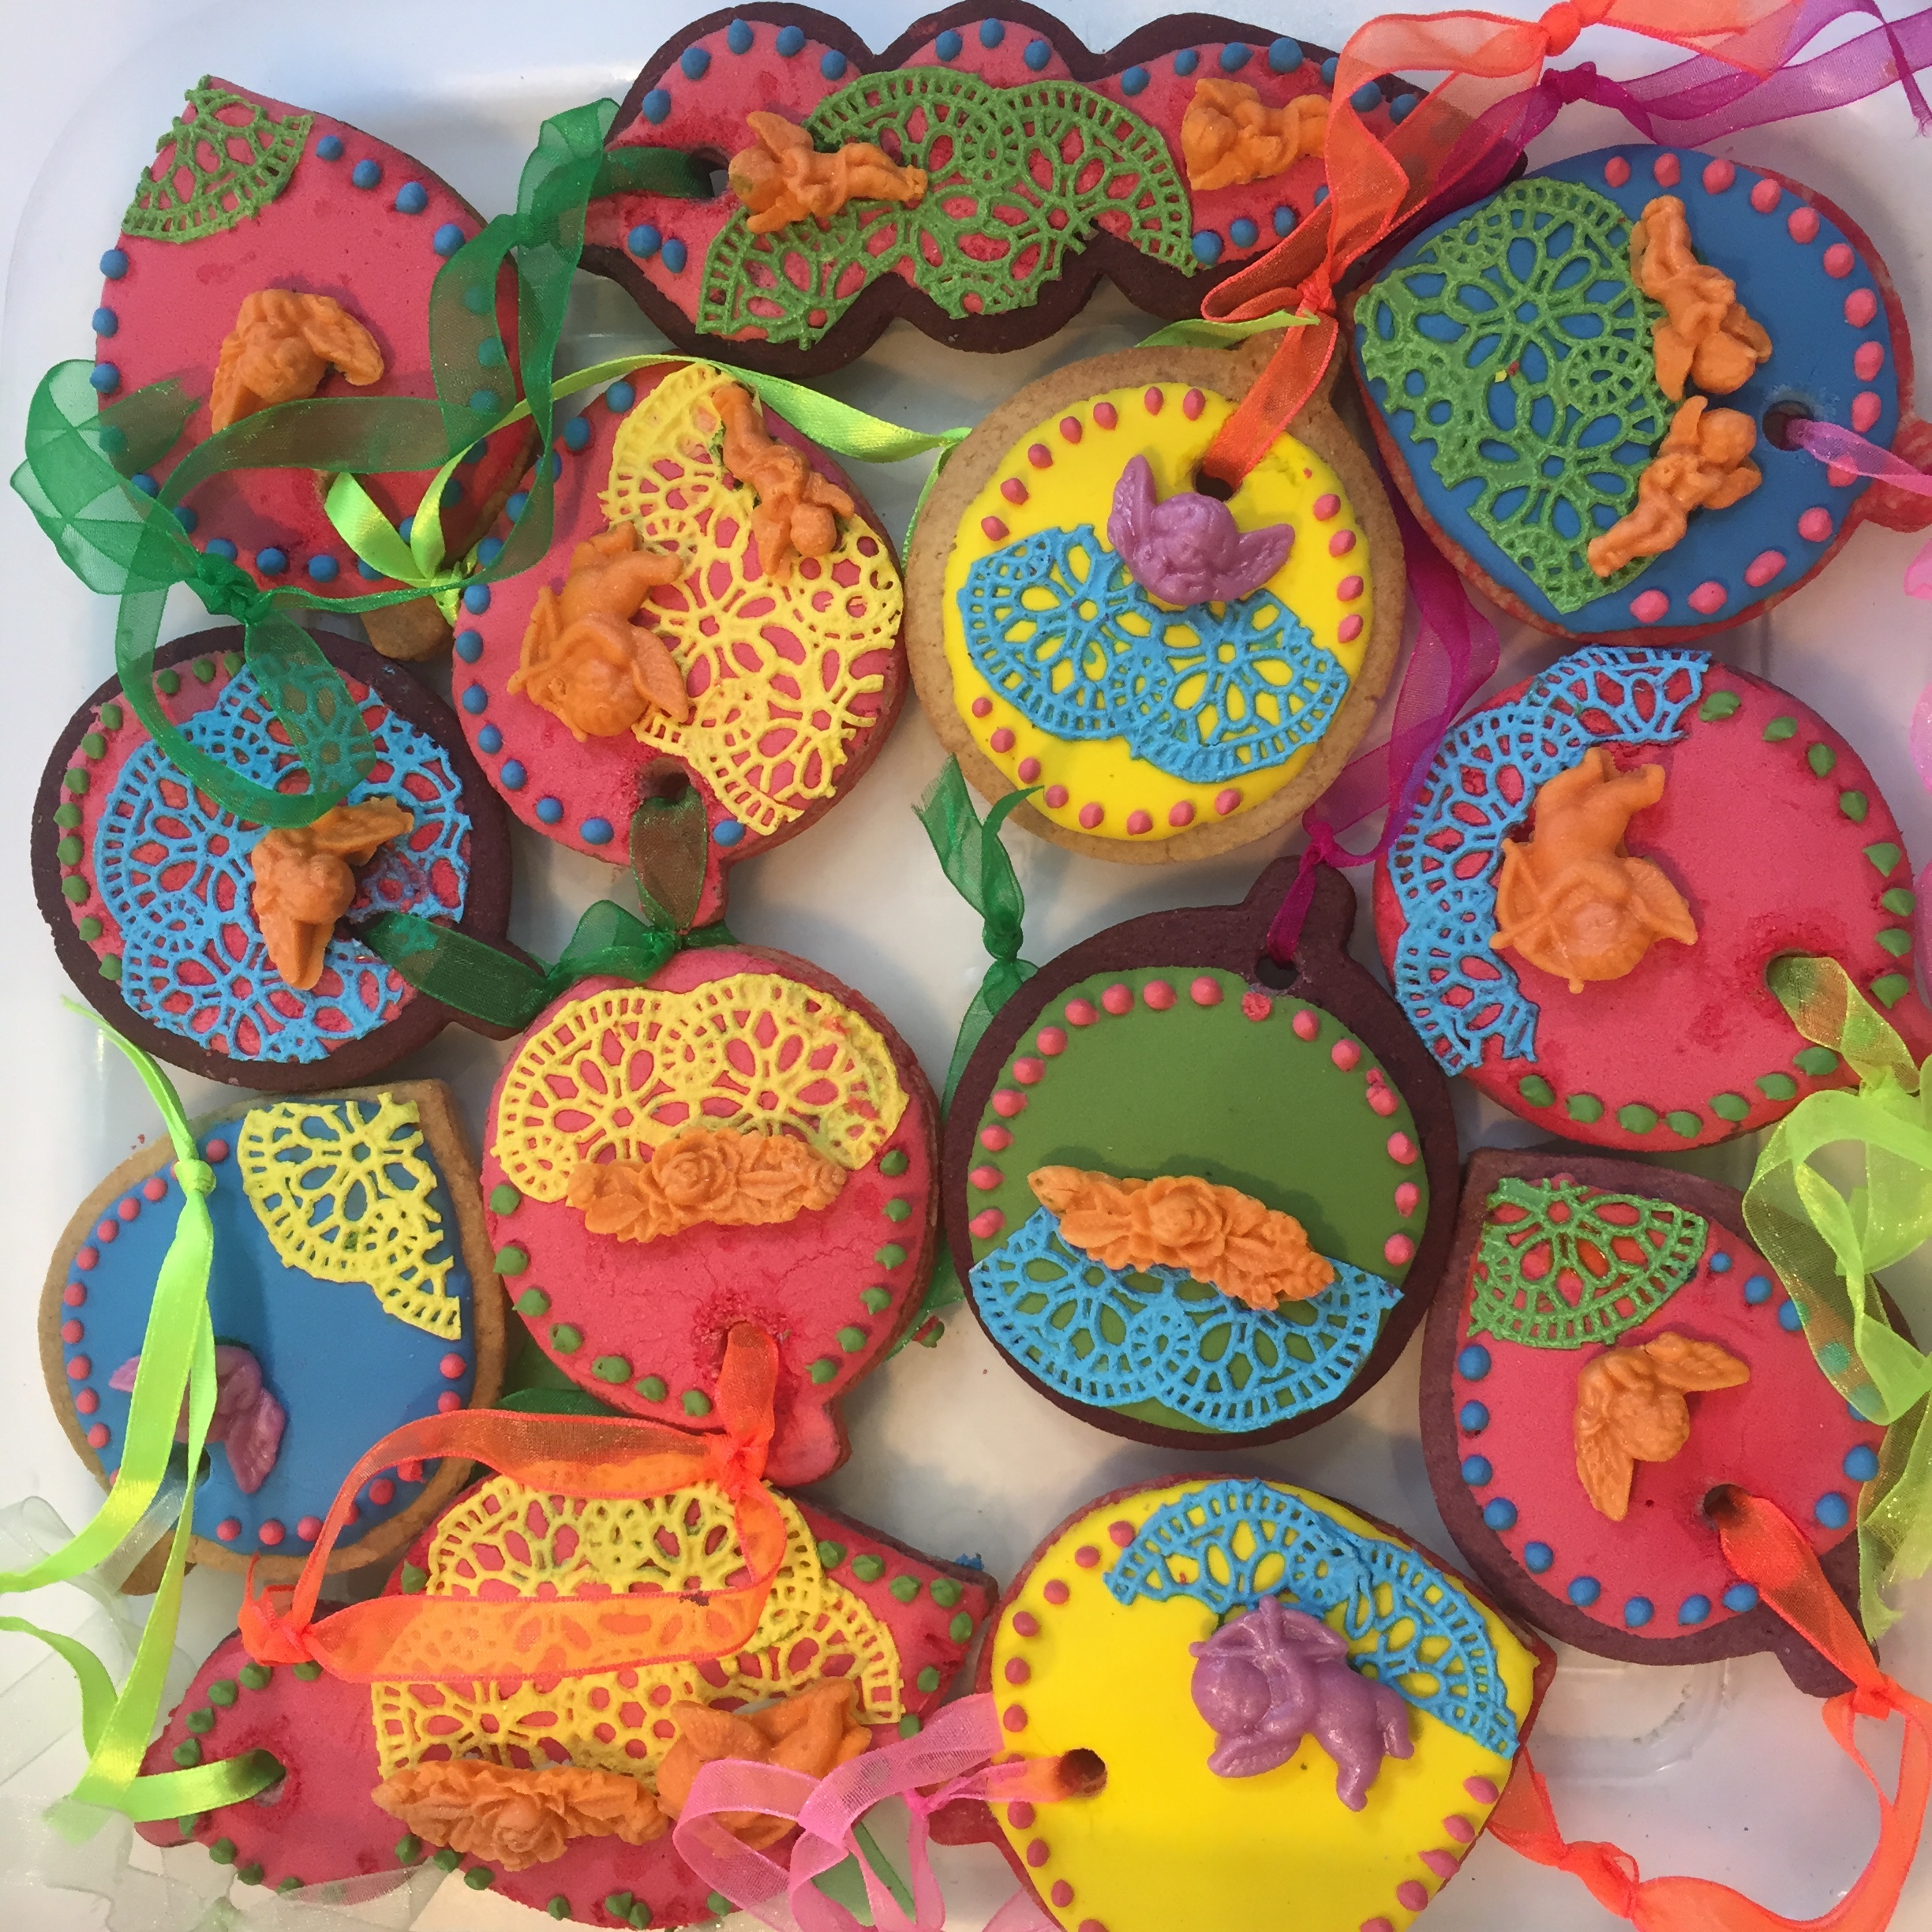
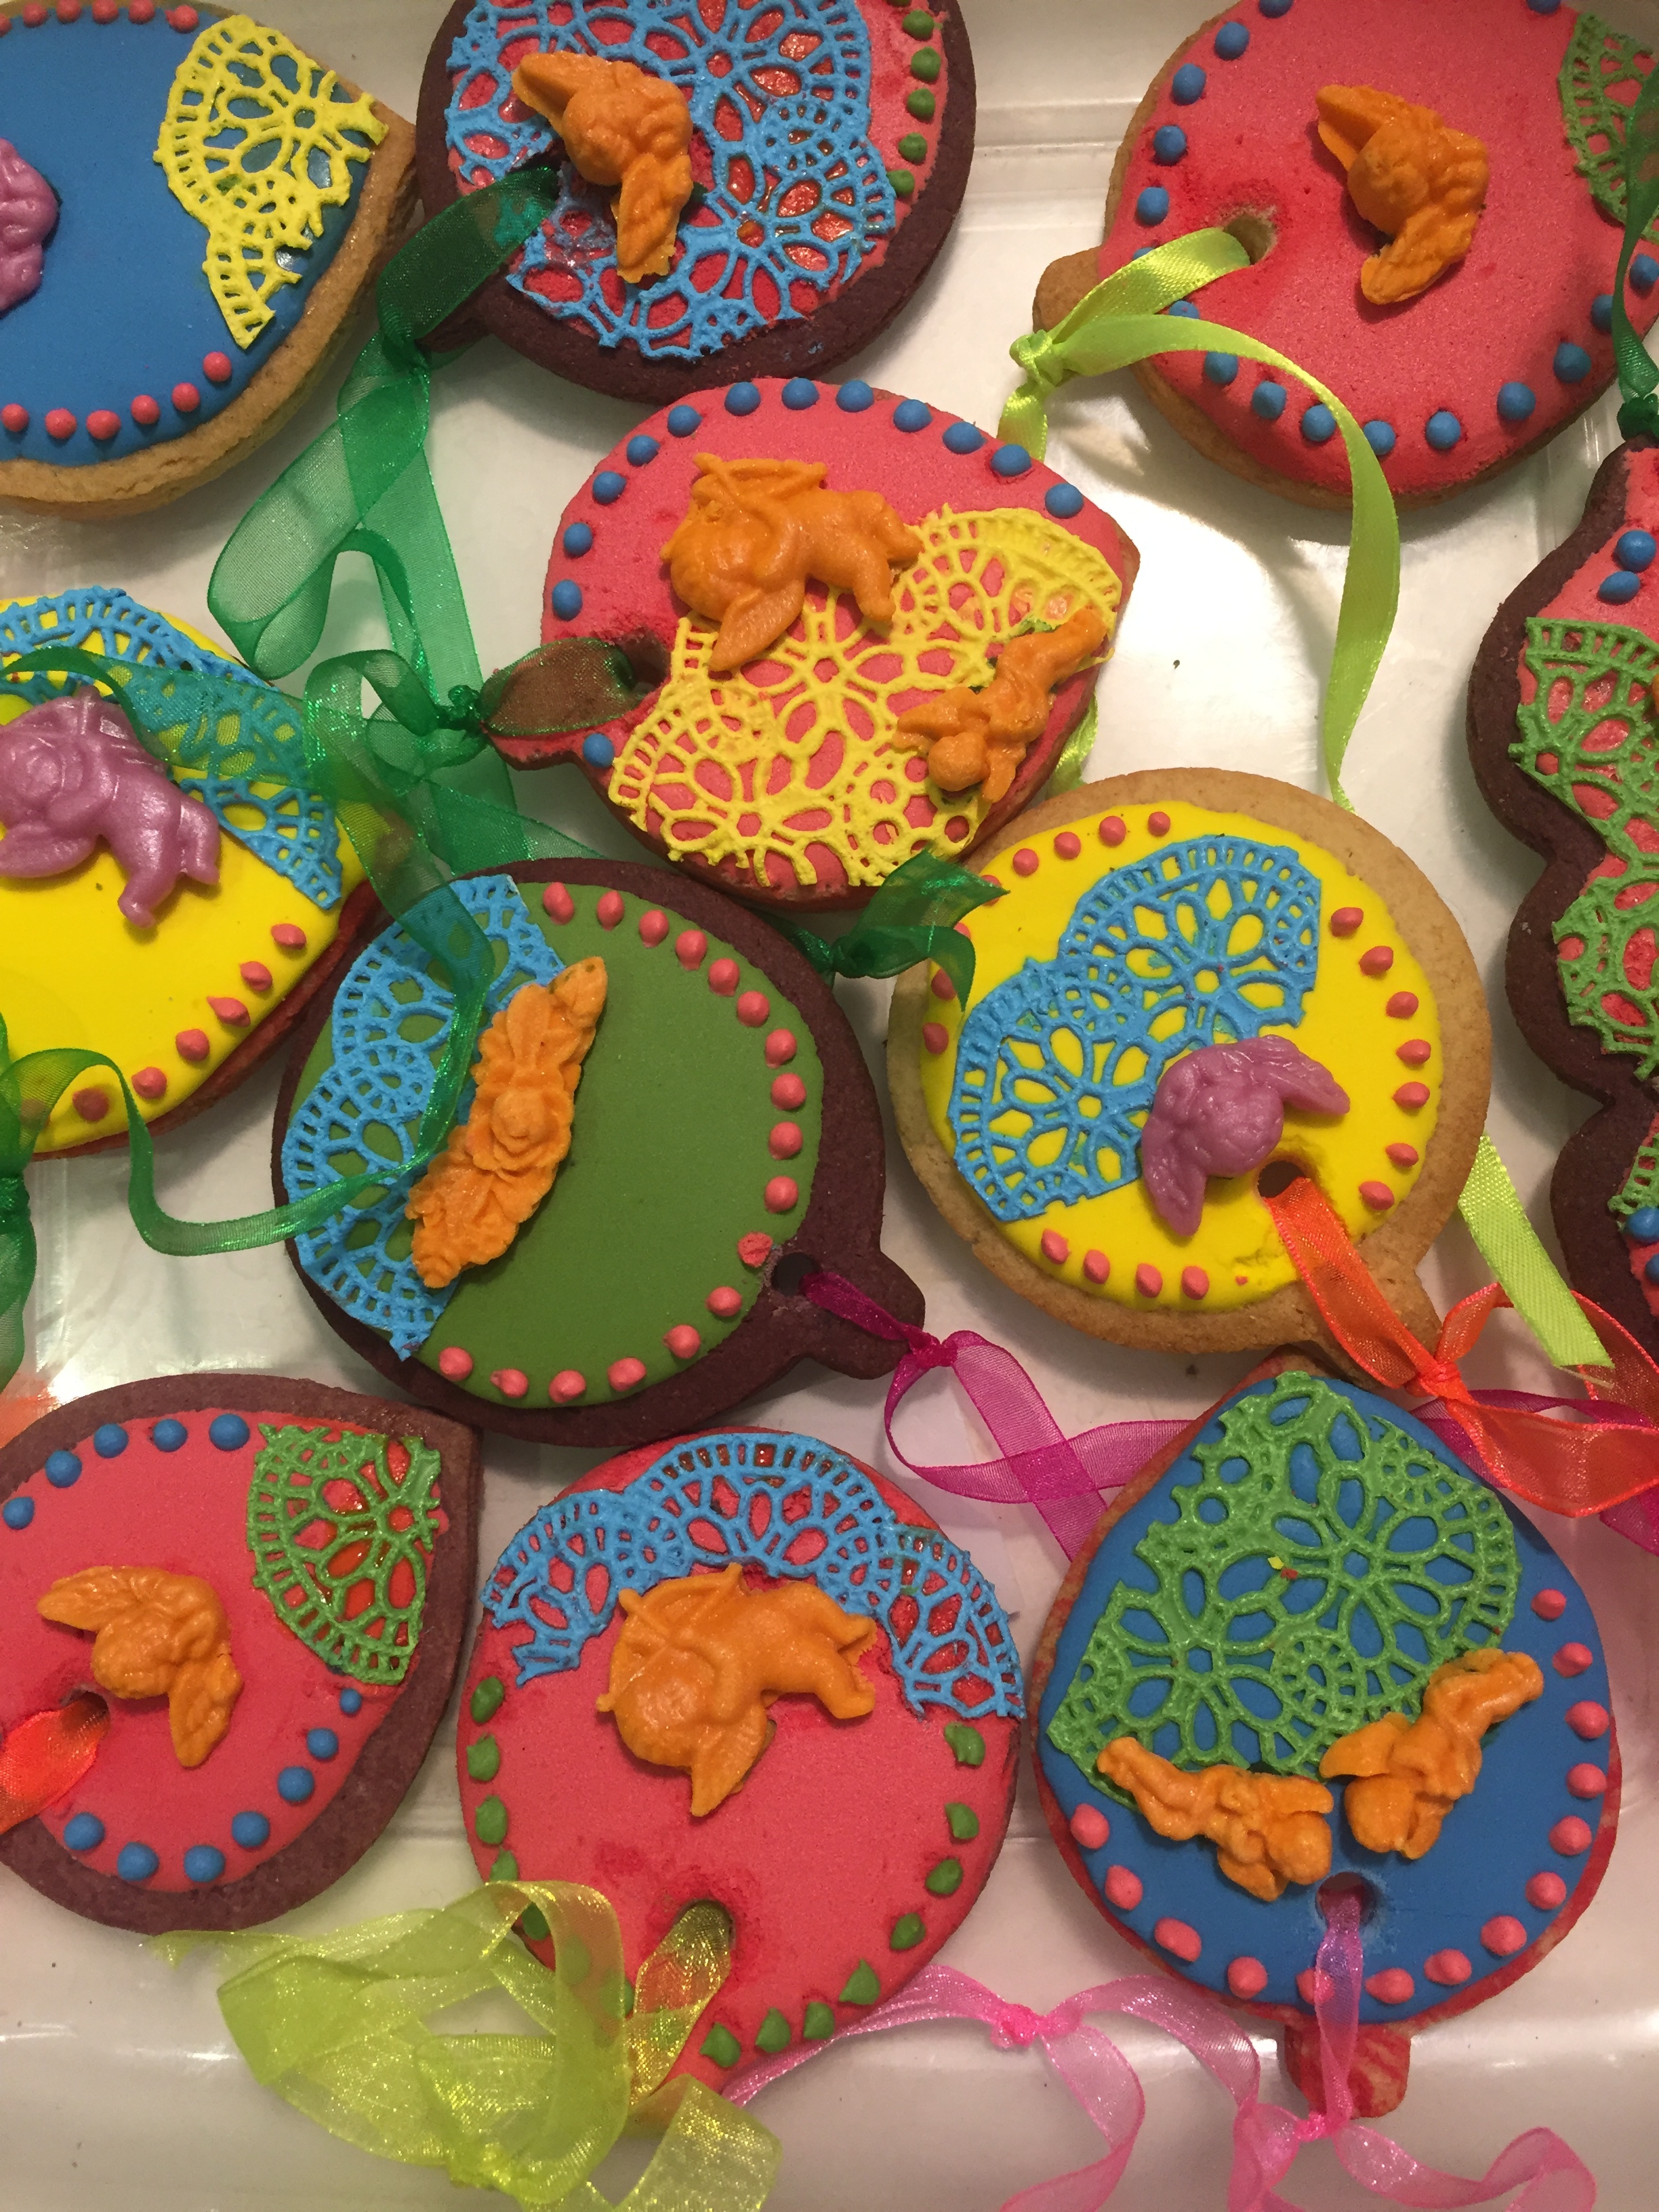
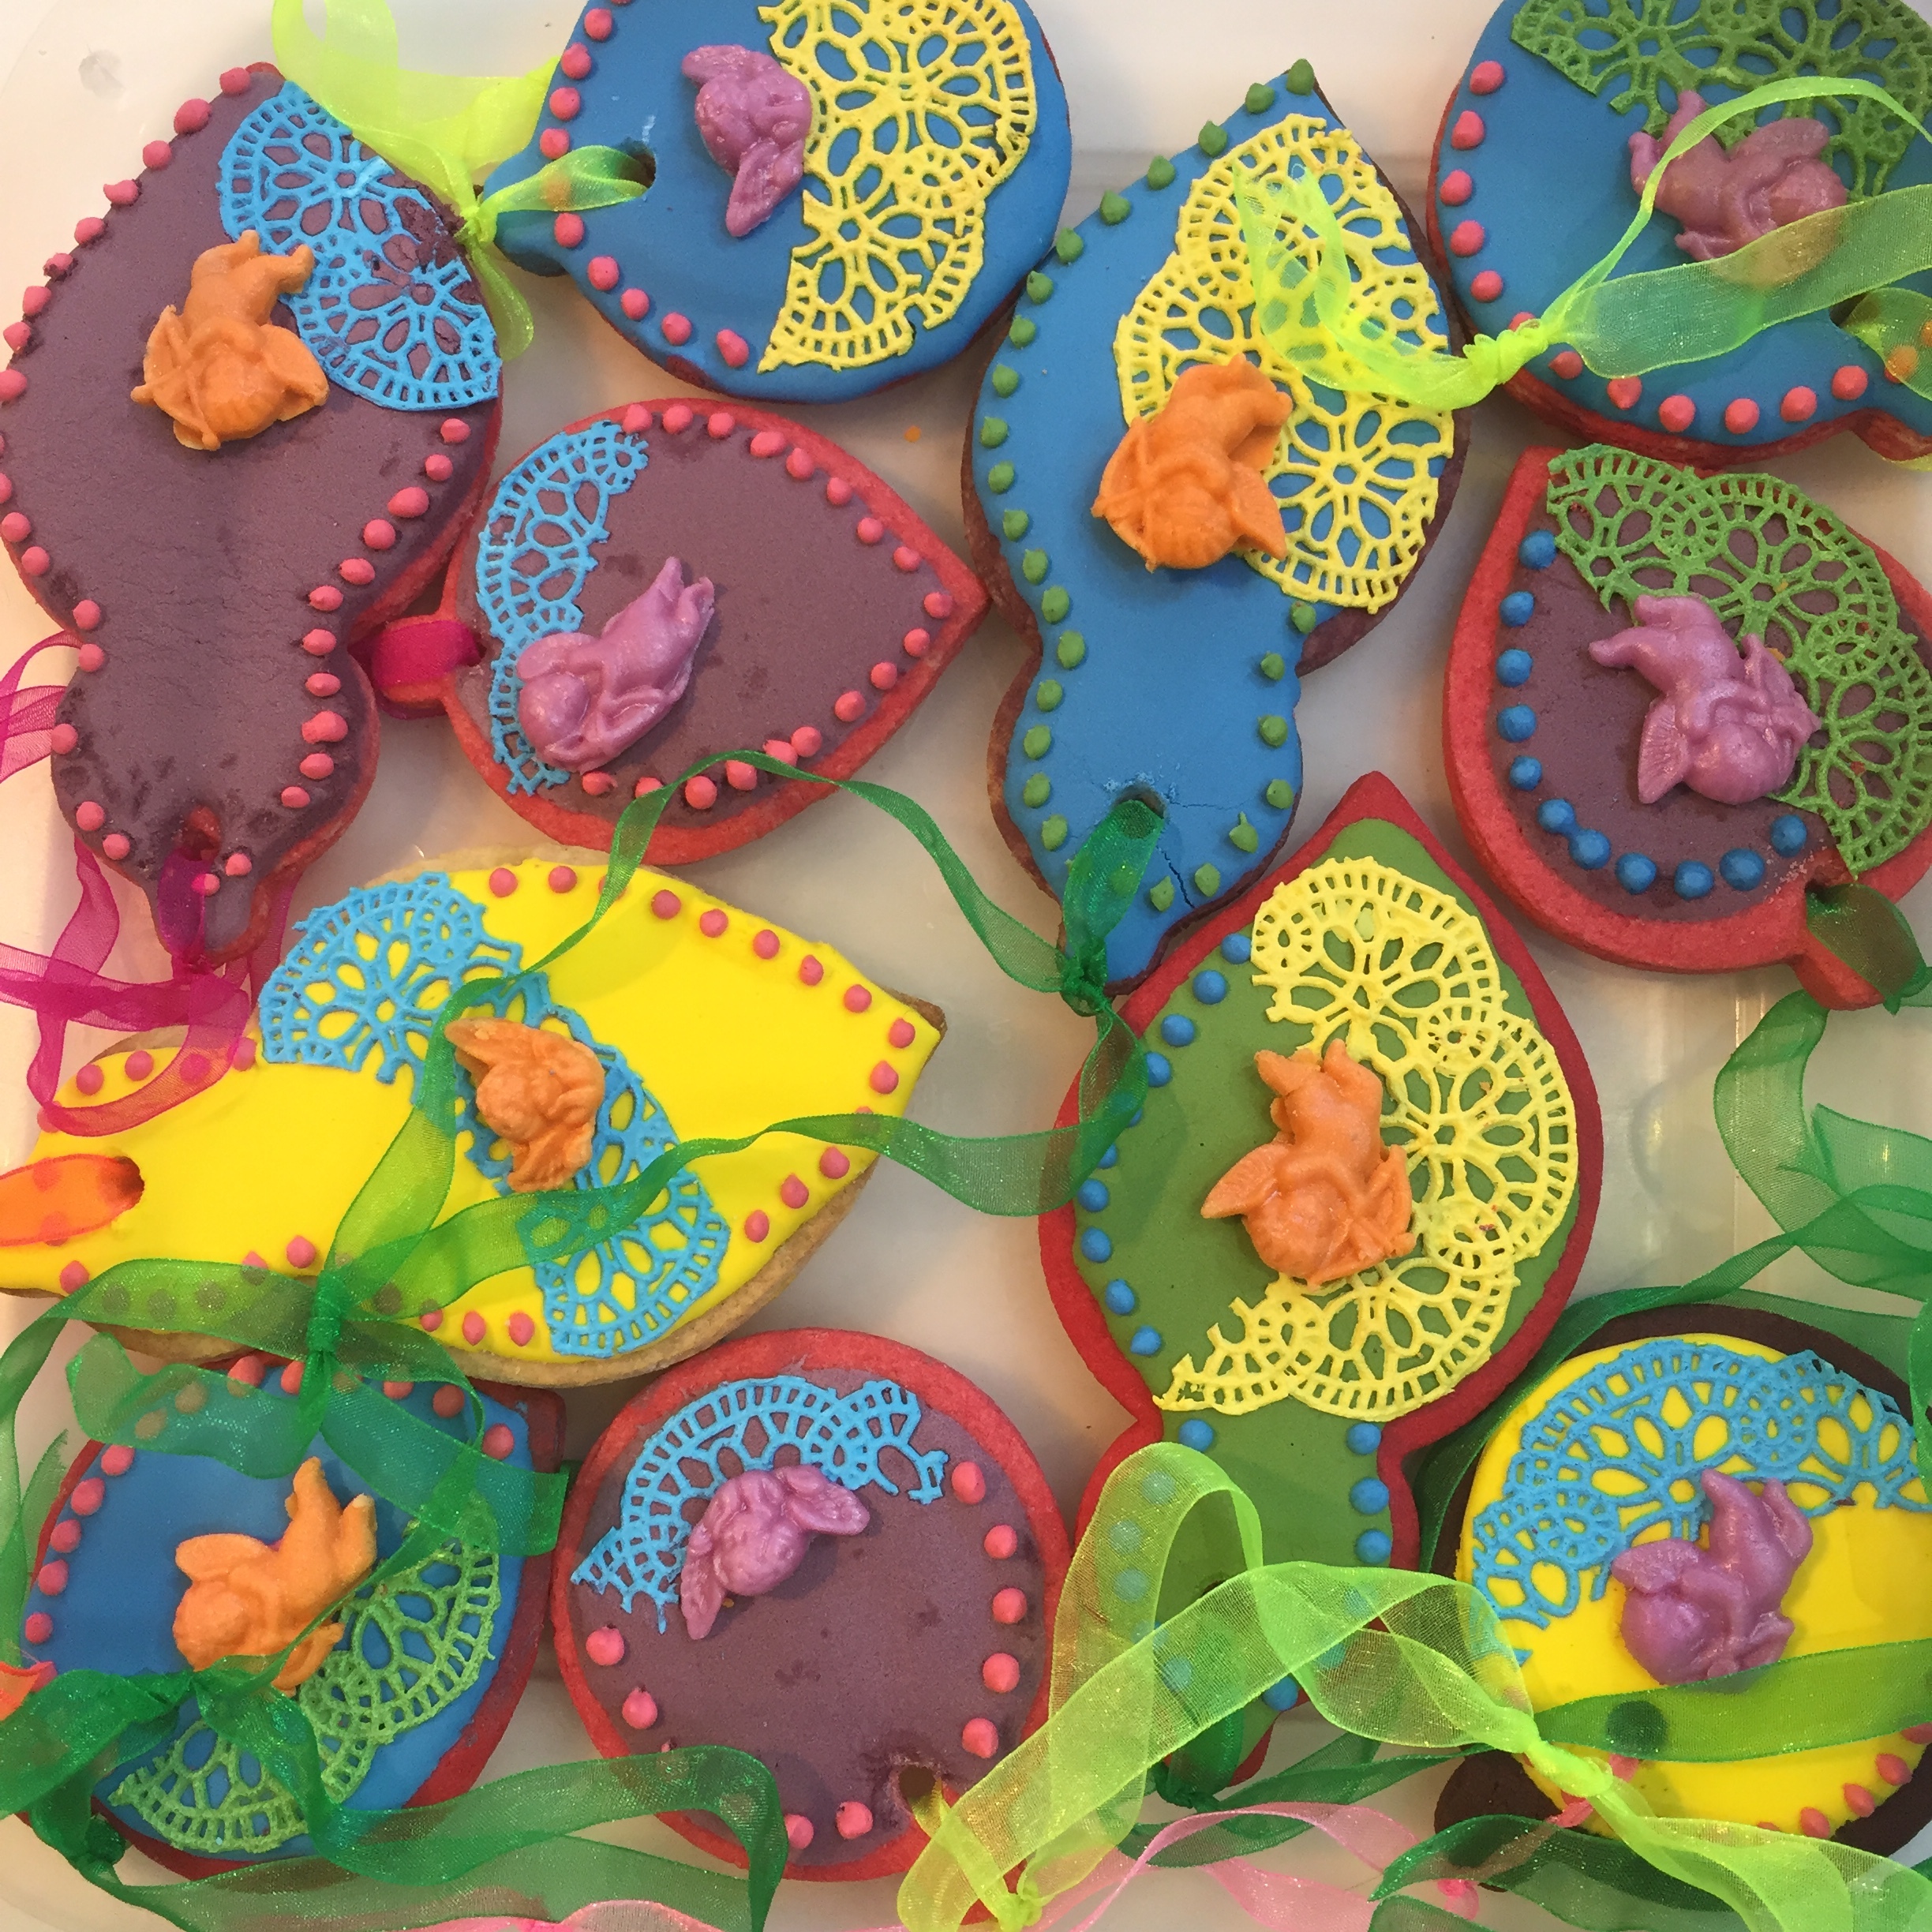
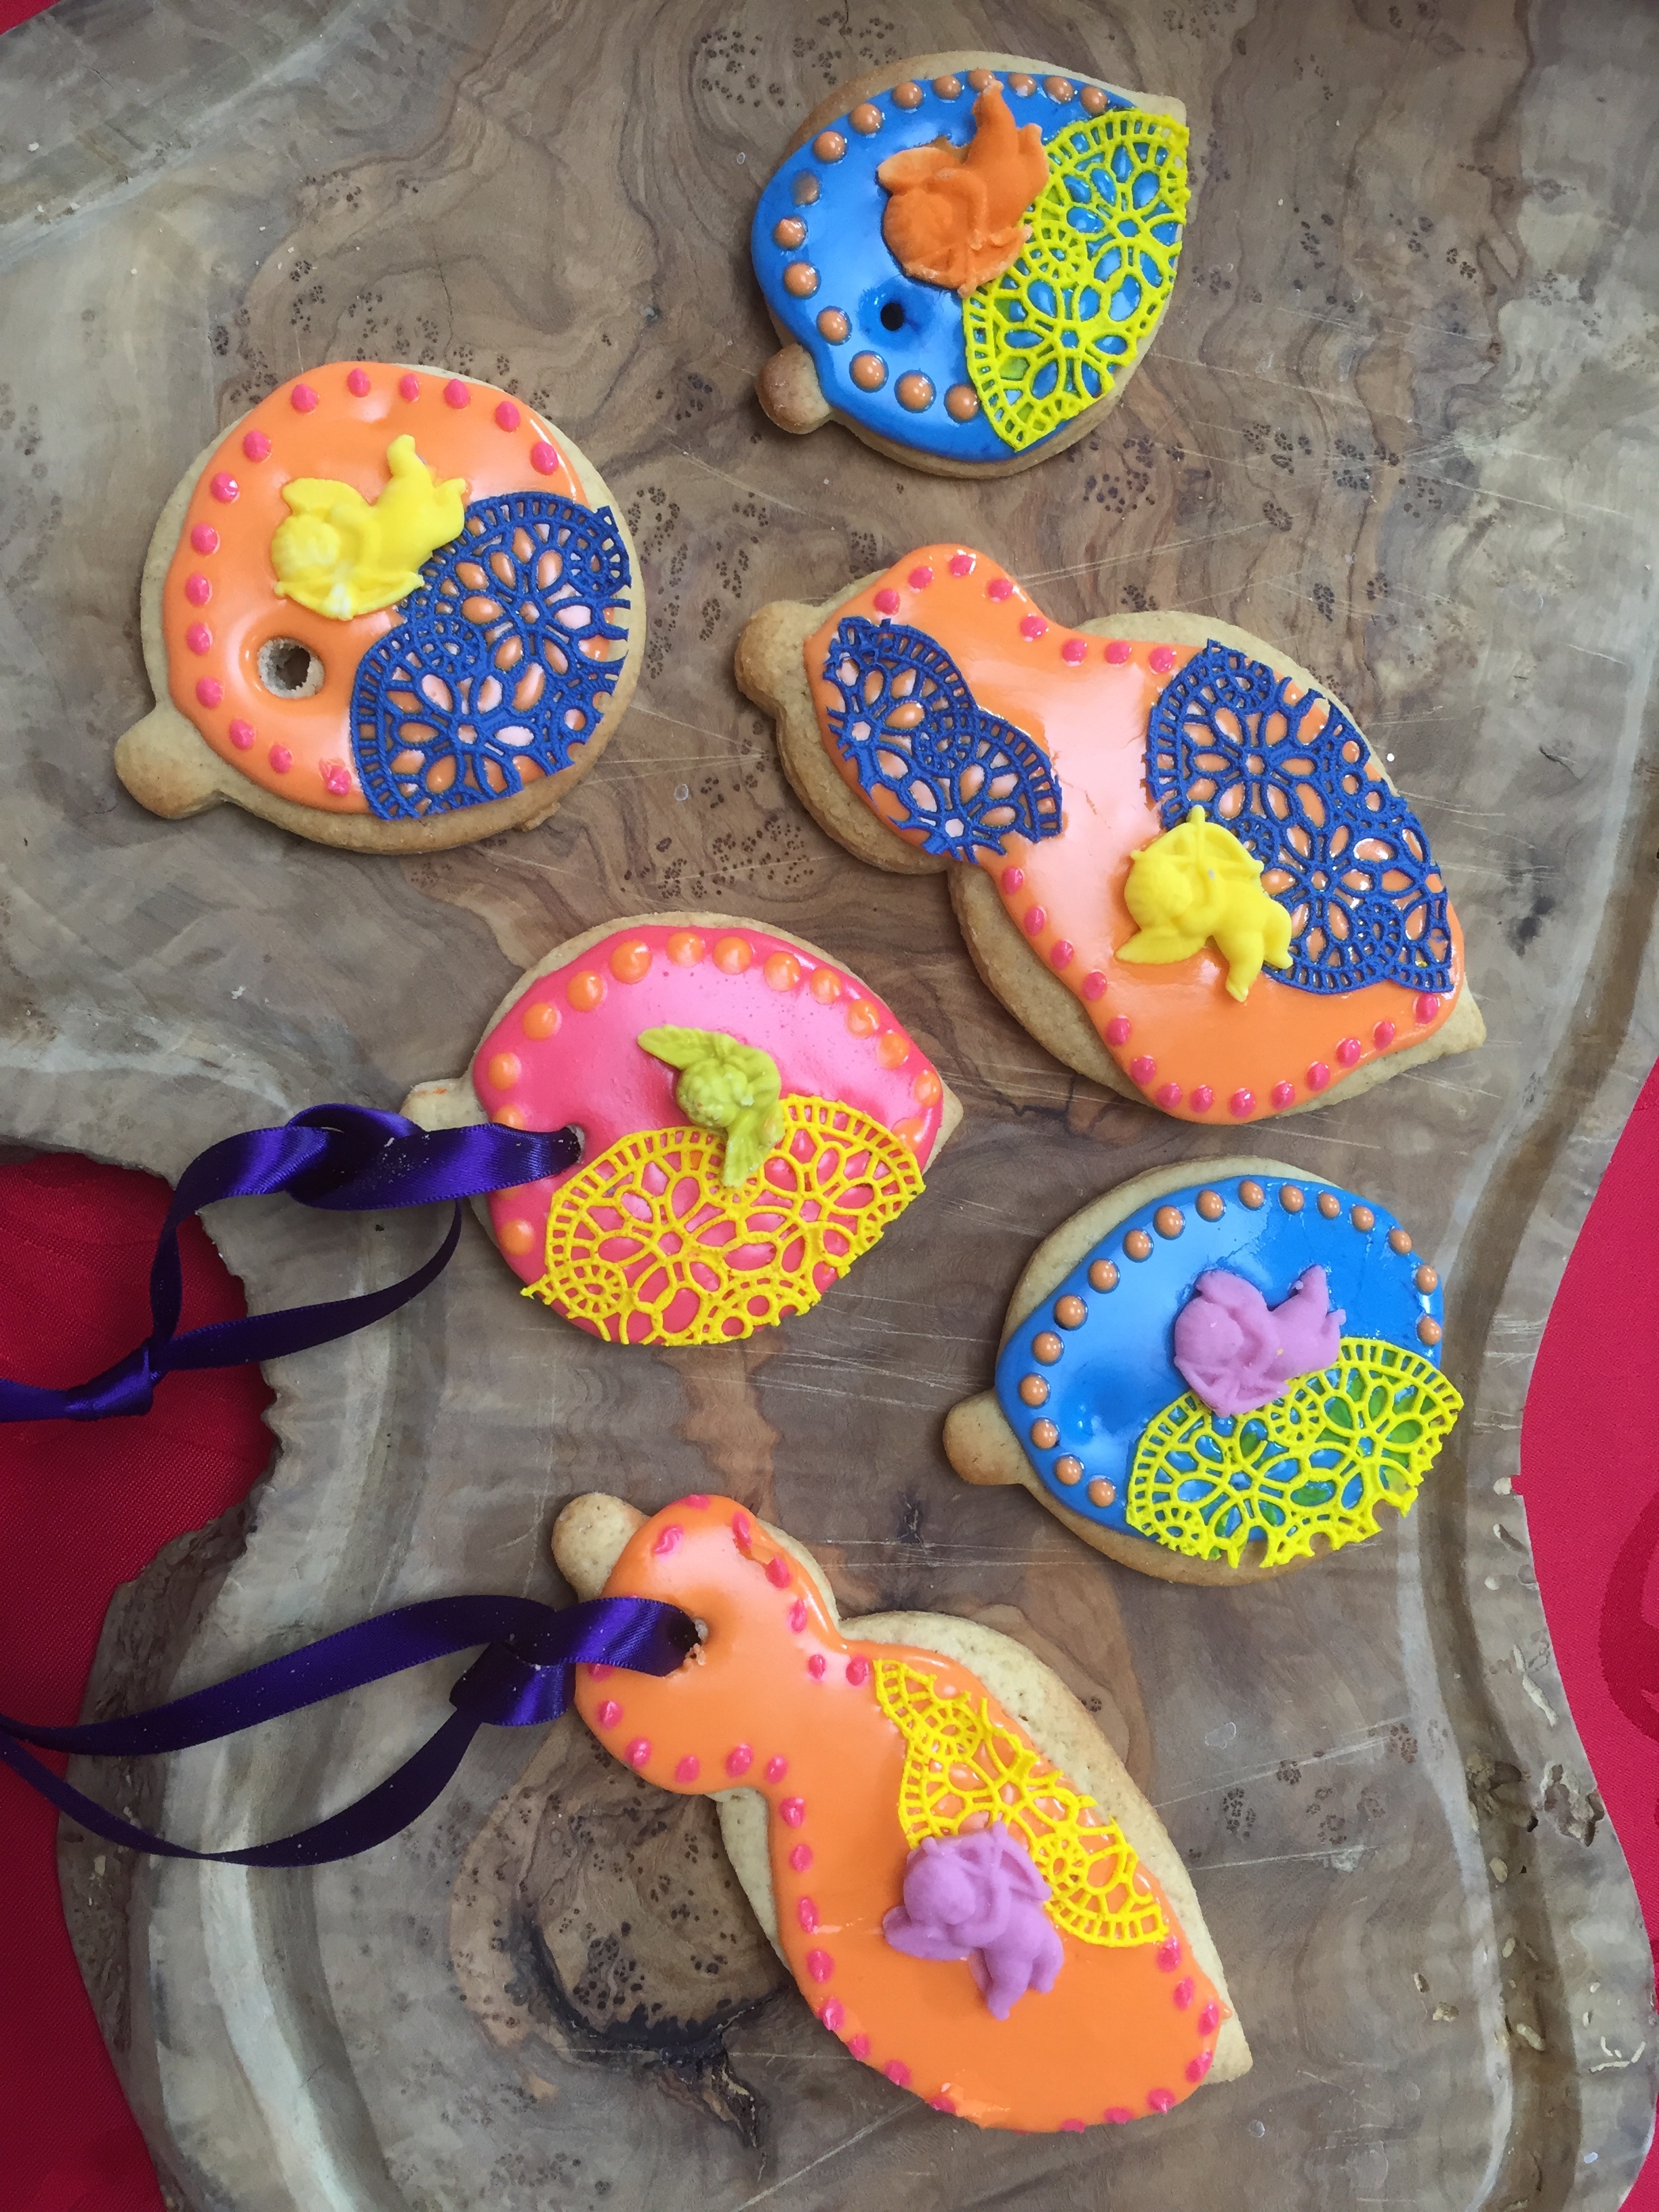
I was thrilled when Stylist Magazine got in touch to ask me to create a cookie decorating workshop for their 'Handmade Christmas' event in conjunction with Pinterest. http://www.stylist.co.uk/life/hand-make-your-christmas-with-stylist-and-pinterest. To be frank since having two small children I've felt like my profile has fallen off a cliff. The business has been ticking over but it seems like ages since I've been asked to do anything in the public eye. As I only had an hour and most attendees would be inexperienced, I knew that I had to create something that was fairly simple to get to grips with. Any of you that have worked with piping royal icing will know that it is not a skill that you can take from 'zero to hero' in an hours class. So using edible cake lace felt like a real breakthrough. Especially now you can get pre coloured mix. i also made some sugarpaste cherubs as decoration. I needed to do everything in neon colours to fit with Stylist Magazines vision of the event. They wanted to get away from traditional colours and do something really modern and funky. I'm really pleased with the way they came out.
Here's how I did it-
You will need-
Cookie Dough
Ingredients:
(makes 15 - 20)
350g plain flour
100g self raising flour
125g sugar
125g cold butter, cubed
125g golden syrup
1 large egg
Mix together the flours and the sugar. Use your fingertips to rub in the butter until it resembles breadcrumbs. Make a well in the centre and add the syrup and egg. Mix well and then turn the dough onto a clean work surface.
Pull the mixture into a ball and divide it into two even sized discs. Wrap in cling film and chill for half an hour or until ready to use it.
Once you are ready to make the biscuits first preheat the oven to 170 degrees. Then roll out each disc between two pieces of parchment (grease proof) paper until they are 5mm thick. Use your cutters to cut out a variety of bauble shapes. Space them out on a baking paper lined oven tray and cook for 15 to 20 mins. They are ready when they are golden brown. If in doubt check the cookies underneath where it should be easier to see that they are cooked.
Put the cookies onto a cooling rack and make sure they are fully cooled before you ice and decorate them. If you want to hang them on the tree then this would be the time to make the holes for the ribbon. I find the easiest way to do this is with an electric drill. Alternatively you can use a chopstick or similar to create the hole although you should do that while the dough is still soft.
Now you are ready to ice them
Icing Recipe
150ml cold water
900g royal icing mix
Whisk the water and icing sugar together with an electric for 5 minutes on a low speed. The icing should have to consistency of toothpaste. This is perfect for piping outlines but if you want to keep it simple and use a palette or butter knife to cover the cookies then add water a drop or two at a time until it is spreading consistency*.
Split the icing into smaller bowls and tint each one a different colour.
Use a palette knife to spread a layer across the biscuit and whilst still dry add on sprinkles and/or edible lace and sugar paste adornments if using. Once the icing has set you can pipe dots of contrasting colour using the thick ‘outline’ icing.
Mixing bowl/mixer
Wooden spoon
Rolling pin
Grease proof paper
Bauble cookie cutters (dotcomgiftshop.com)
Baking tray
Electric whisk
Food colour paste
Palette knife
Disposable piping bags
Neon ribbon
To decorate-
These are what I used for my cookies as I have a lot of these things amongst my stock.
If you don’t want to invest in so much then pick and chose what you ant or try something completely different-
Edible paint
edible cake lace (order on ebay or buy your own kit to make it from thecakedecoratingcompany.co.uk
Cherub moulds thecakedecoratingcompany.co.uk
Lustre dust thecakedecoratingcompany.co.uk
Tips on icing-
The easiest icing for beginners to work with is thicker than the usual ‘flooding’ consistency so you don’t have to pipe an outline. When you do want to pipe outlines you can rest your arm on the table or use one hand to steady the other.
The main problem people have with icing is getting the consistency wrong. If you want to cover the cookies withouthaving to do any piping then you want the icing to be thicker than ‘flooding’ consistency. When you take a spoonful of the ’spreading’ icing and drop it back into the bowl it should take between 10 and 15 seconds to settle back into a smooth surface. Flooding icing is thinner and will settle in 5 to 10 seconds and outlining icing should be very thick (about the consistency of toothpaste). Don’t beat your icing on high speed as this will create air bubbles. Once the icing is mixed leave in a bowl with a damp cloth over it for 15 mins to settle.
The most common reason that biscuits come out heavy is due to the dough being overworked. As soon as the ingredients are combined turn out the mixture and quickly bring it together into a ball. Handling the dough as little as possible will ensure the best results.
The easiest way to make the hole in the cookies is to use an electric drill. Make sure that you put the whole in the top part of the oven but at the widest point. If you do this to near the ‘neck’ or in the small ‘hook’ part of the bauble there is a good chance that your cookie will break. Be prepared that some of the biscuits will get broken so make a few more than you need.
Do this once the biscuits are decorated and dry. (You can speed up this process by popping the biscuits back into the oven at a low temperature (70 degrees).
Duck Cake
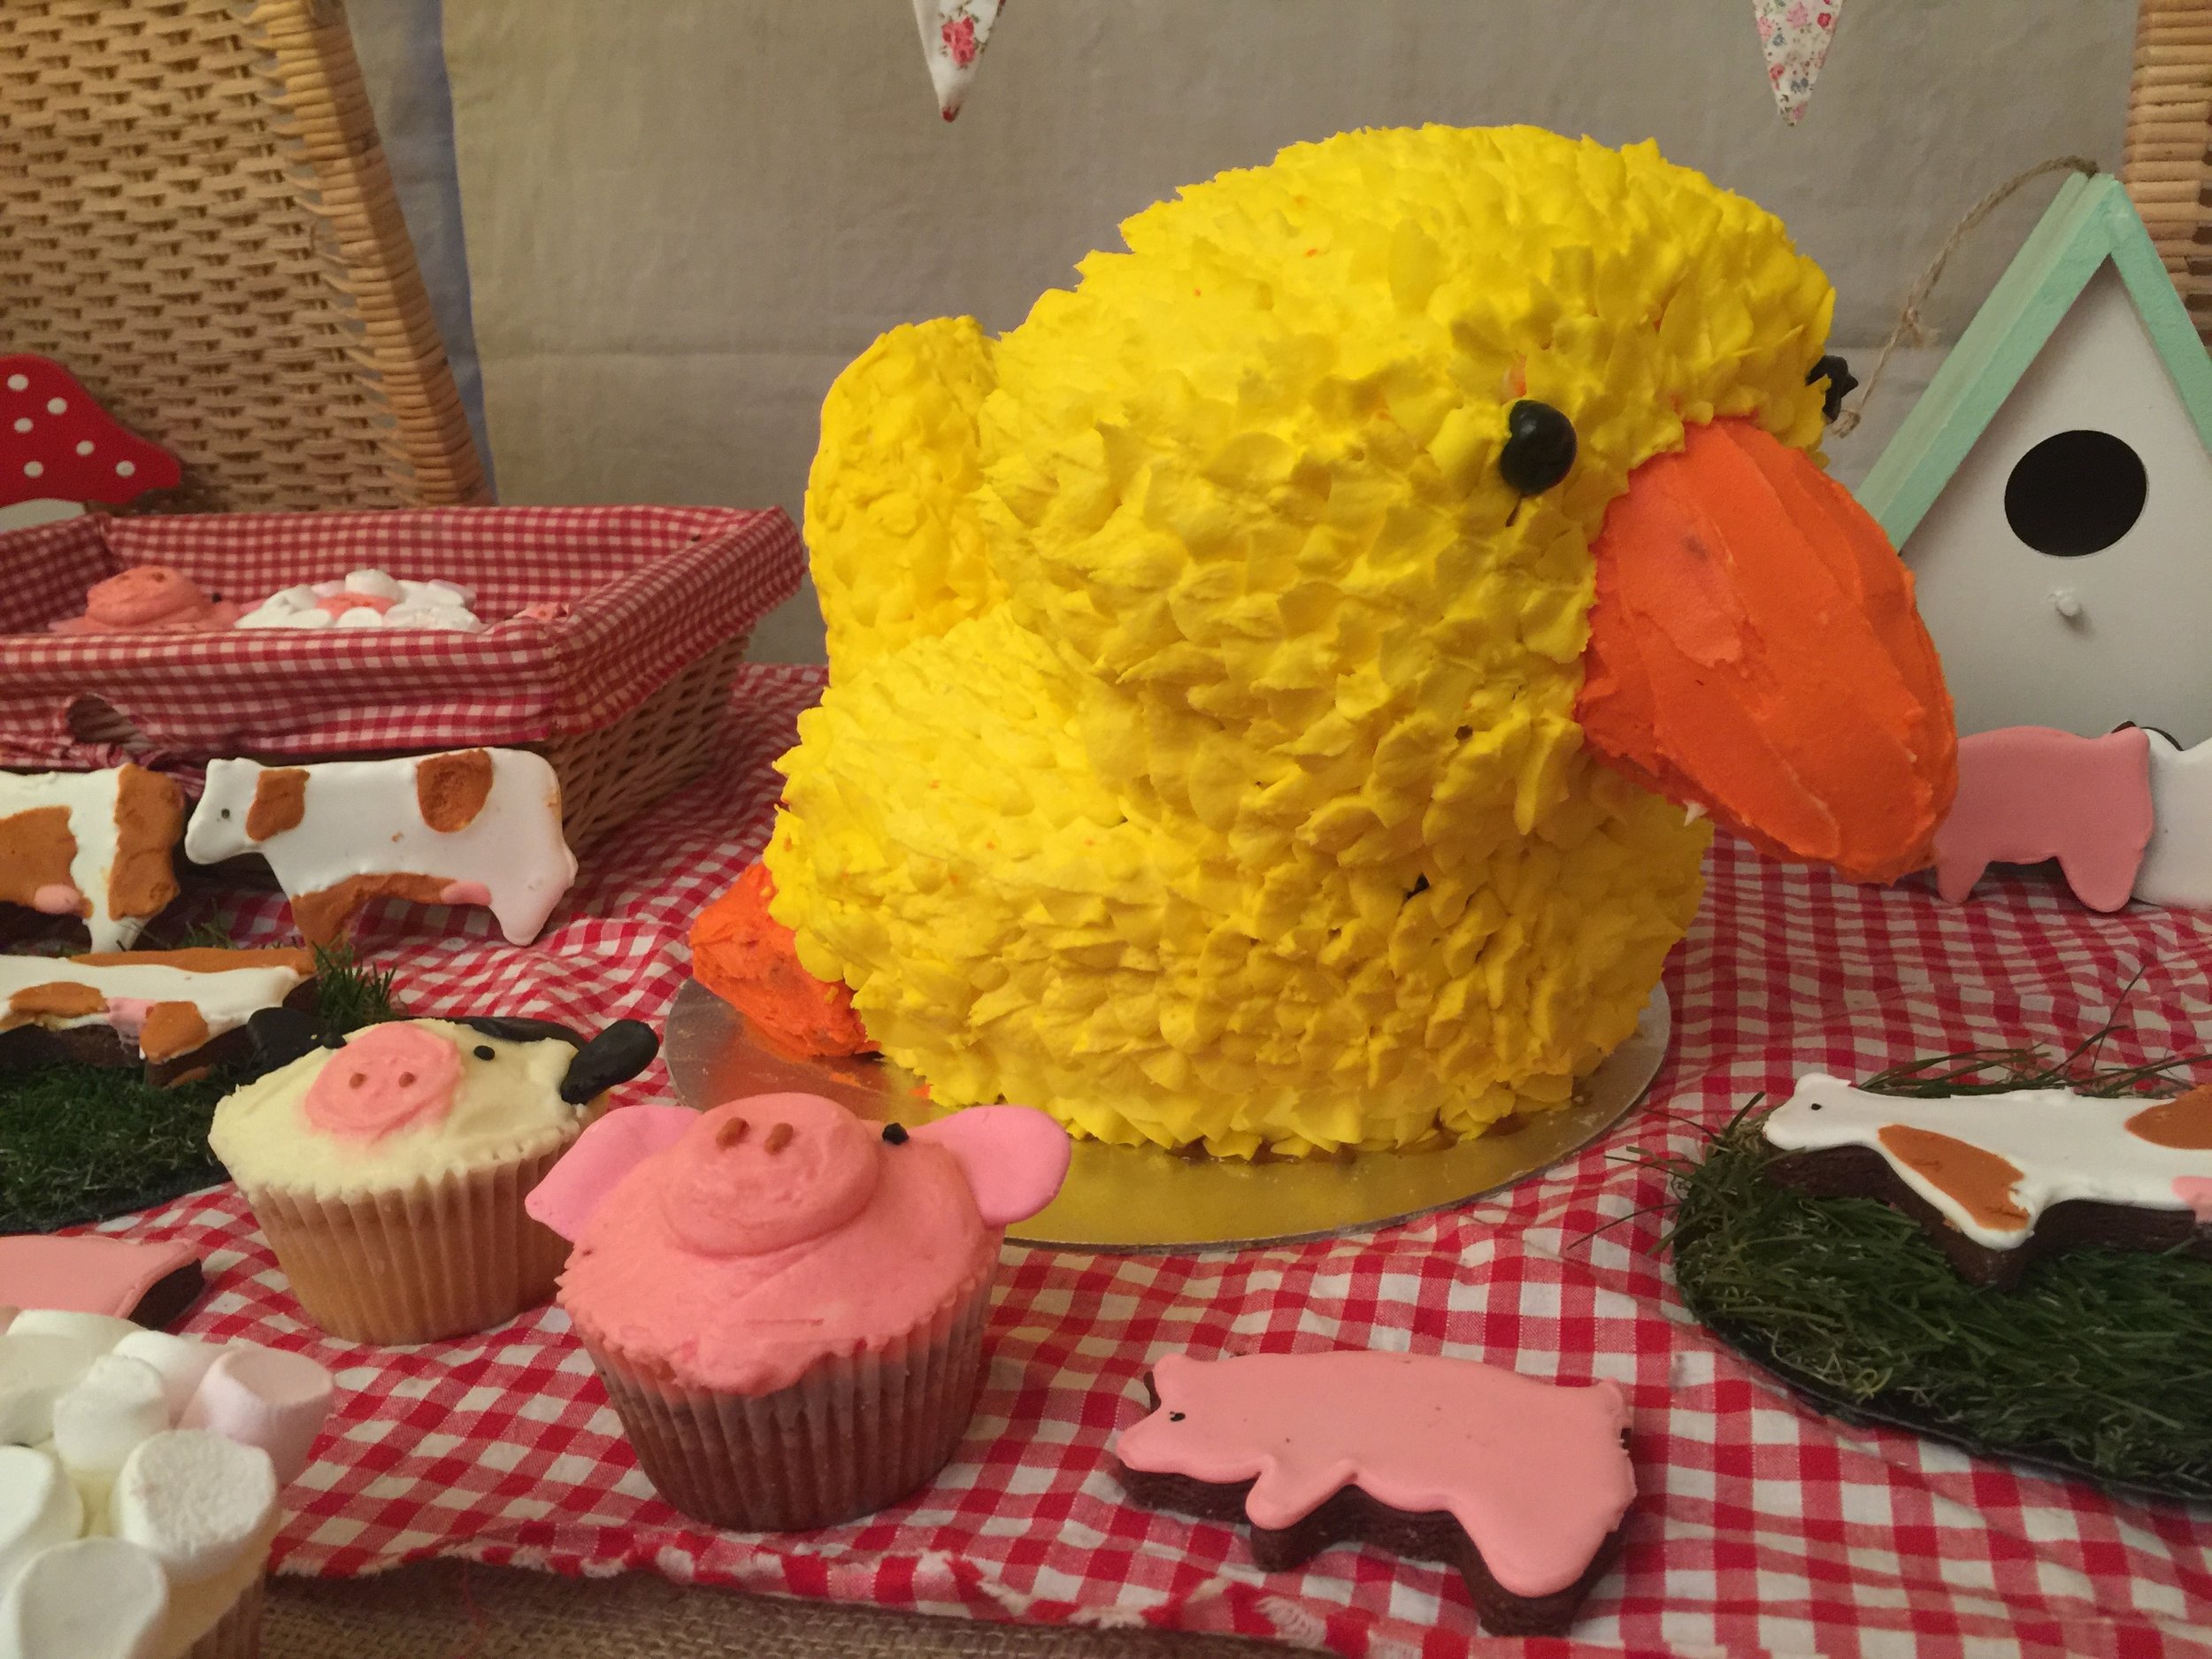
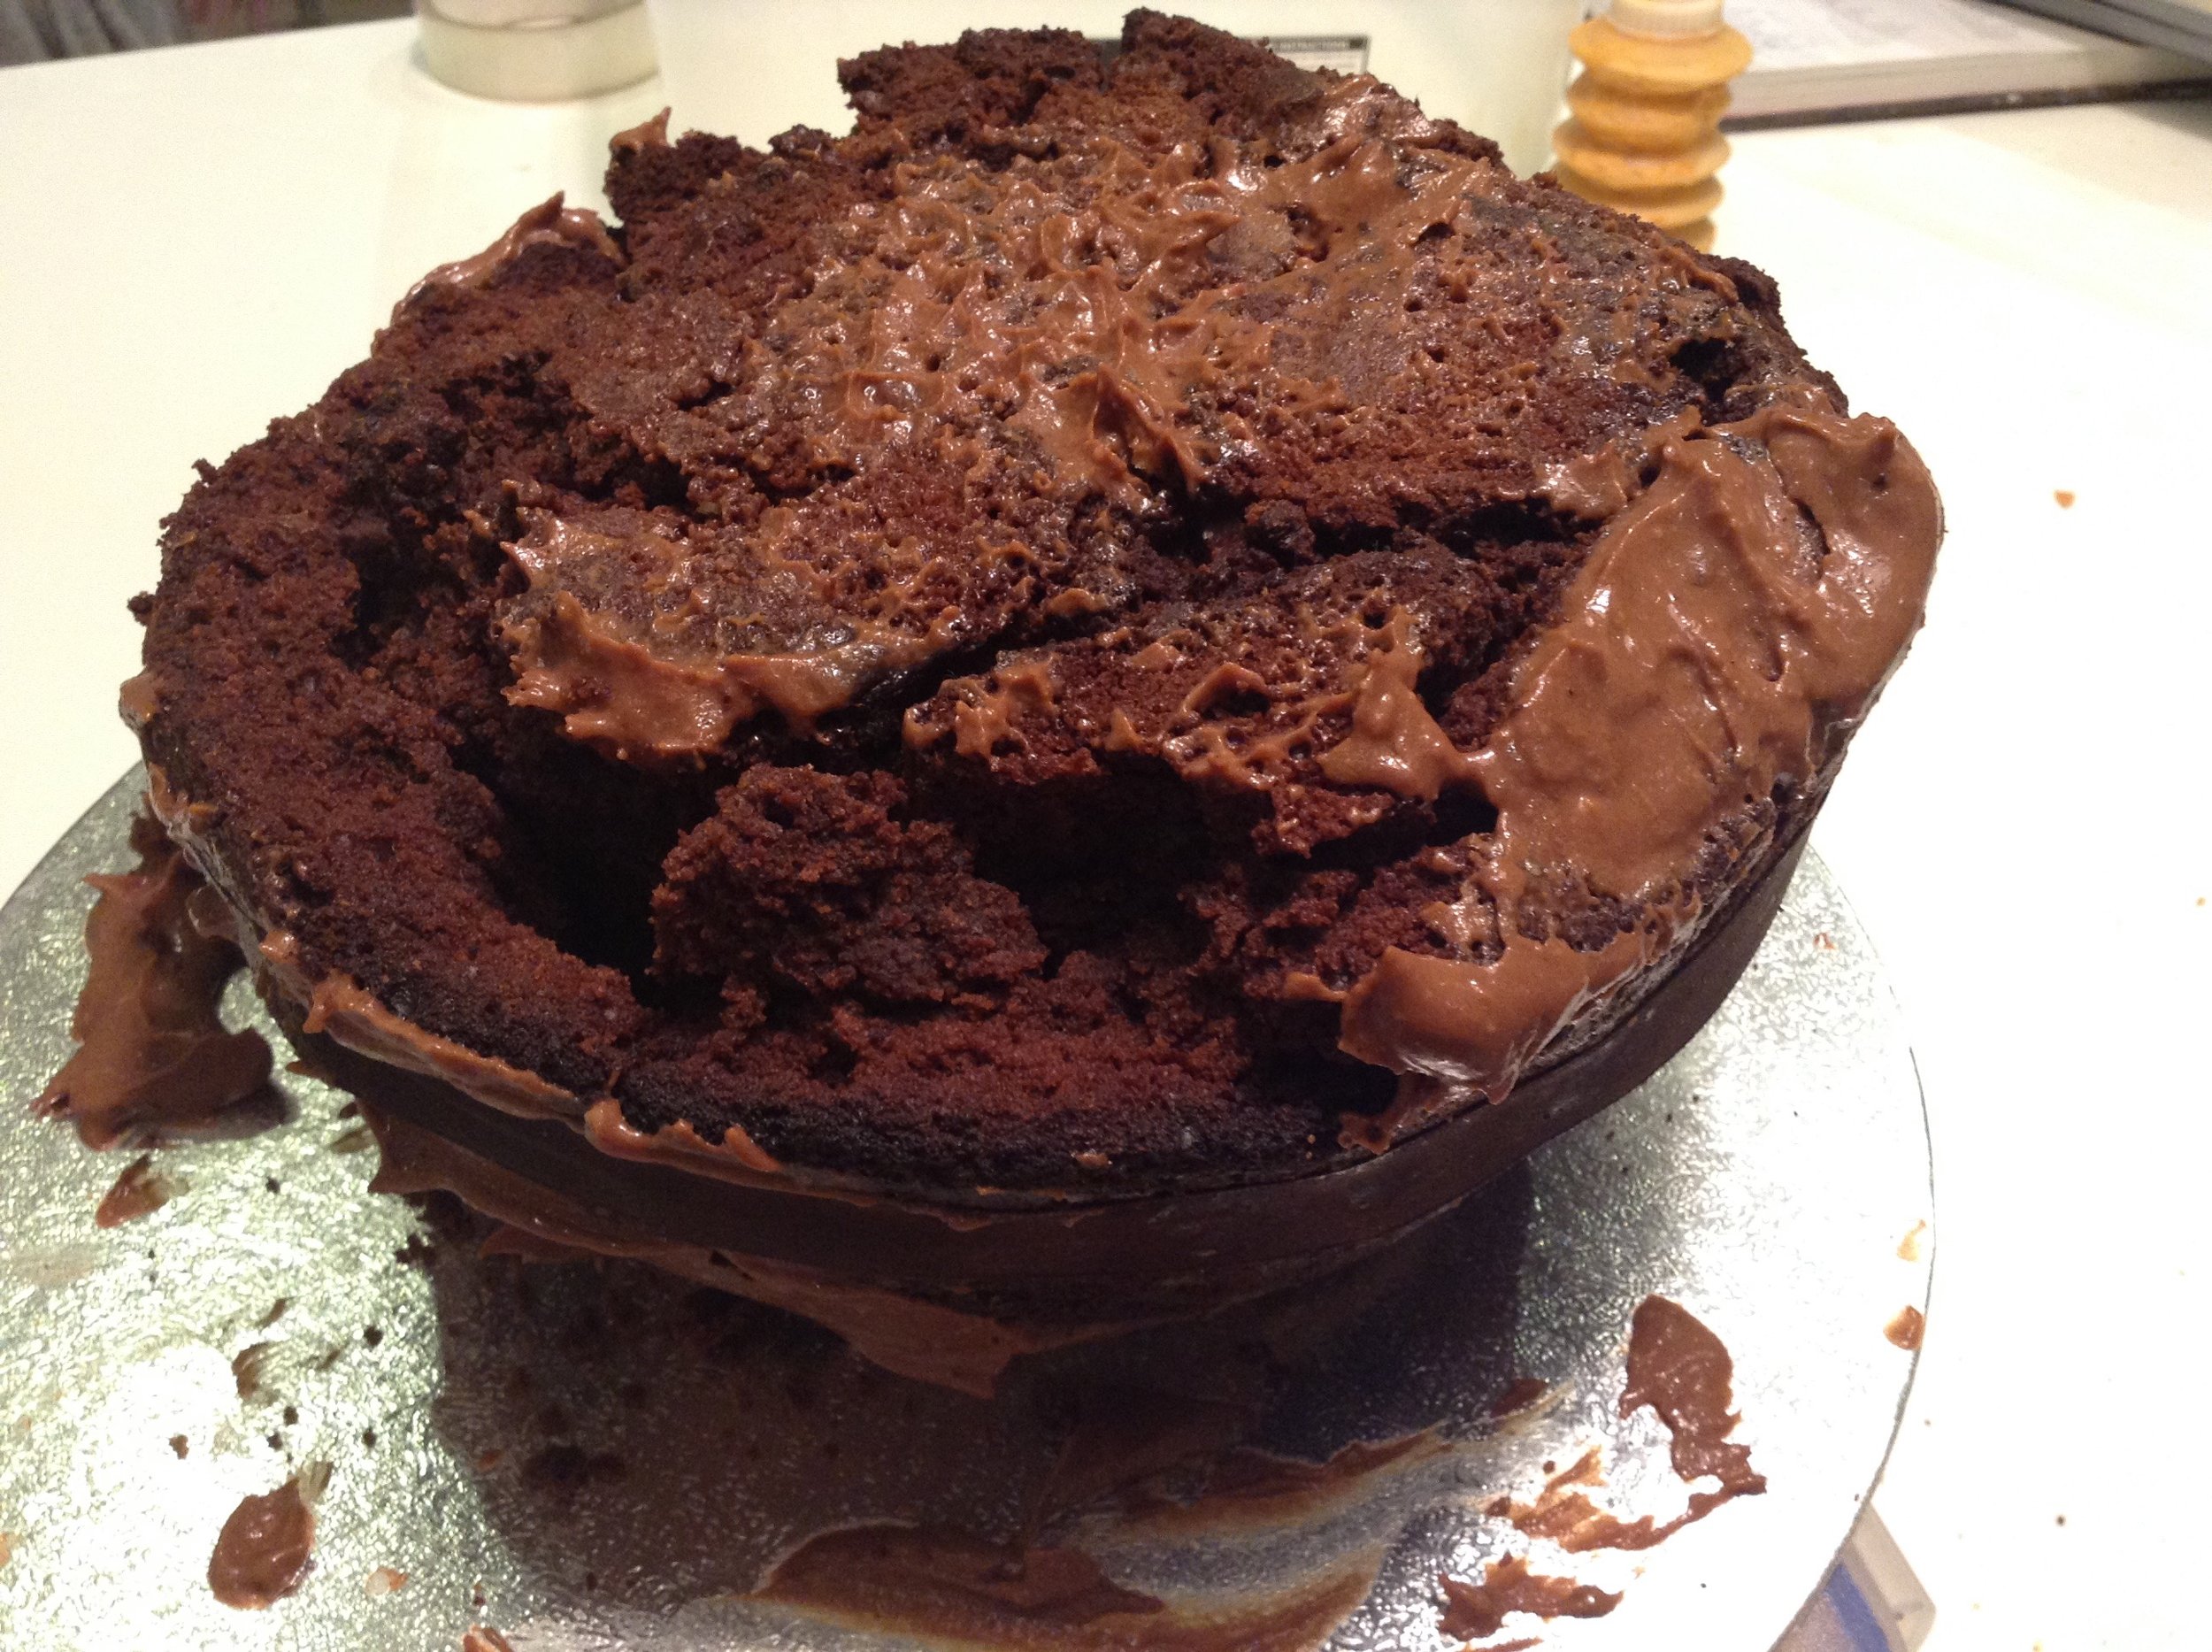
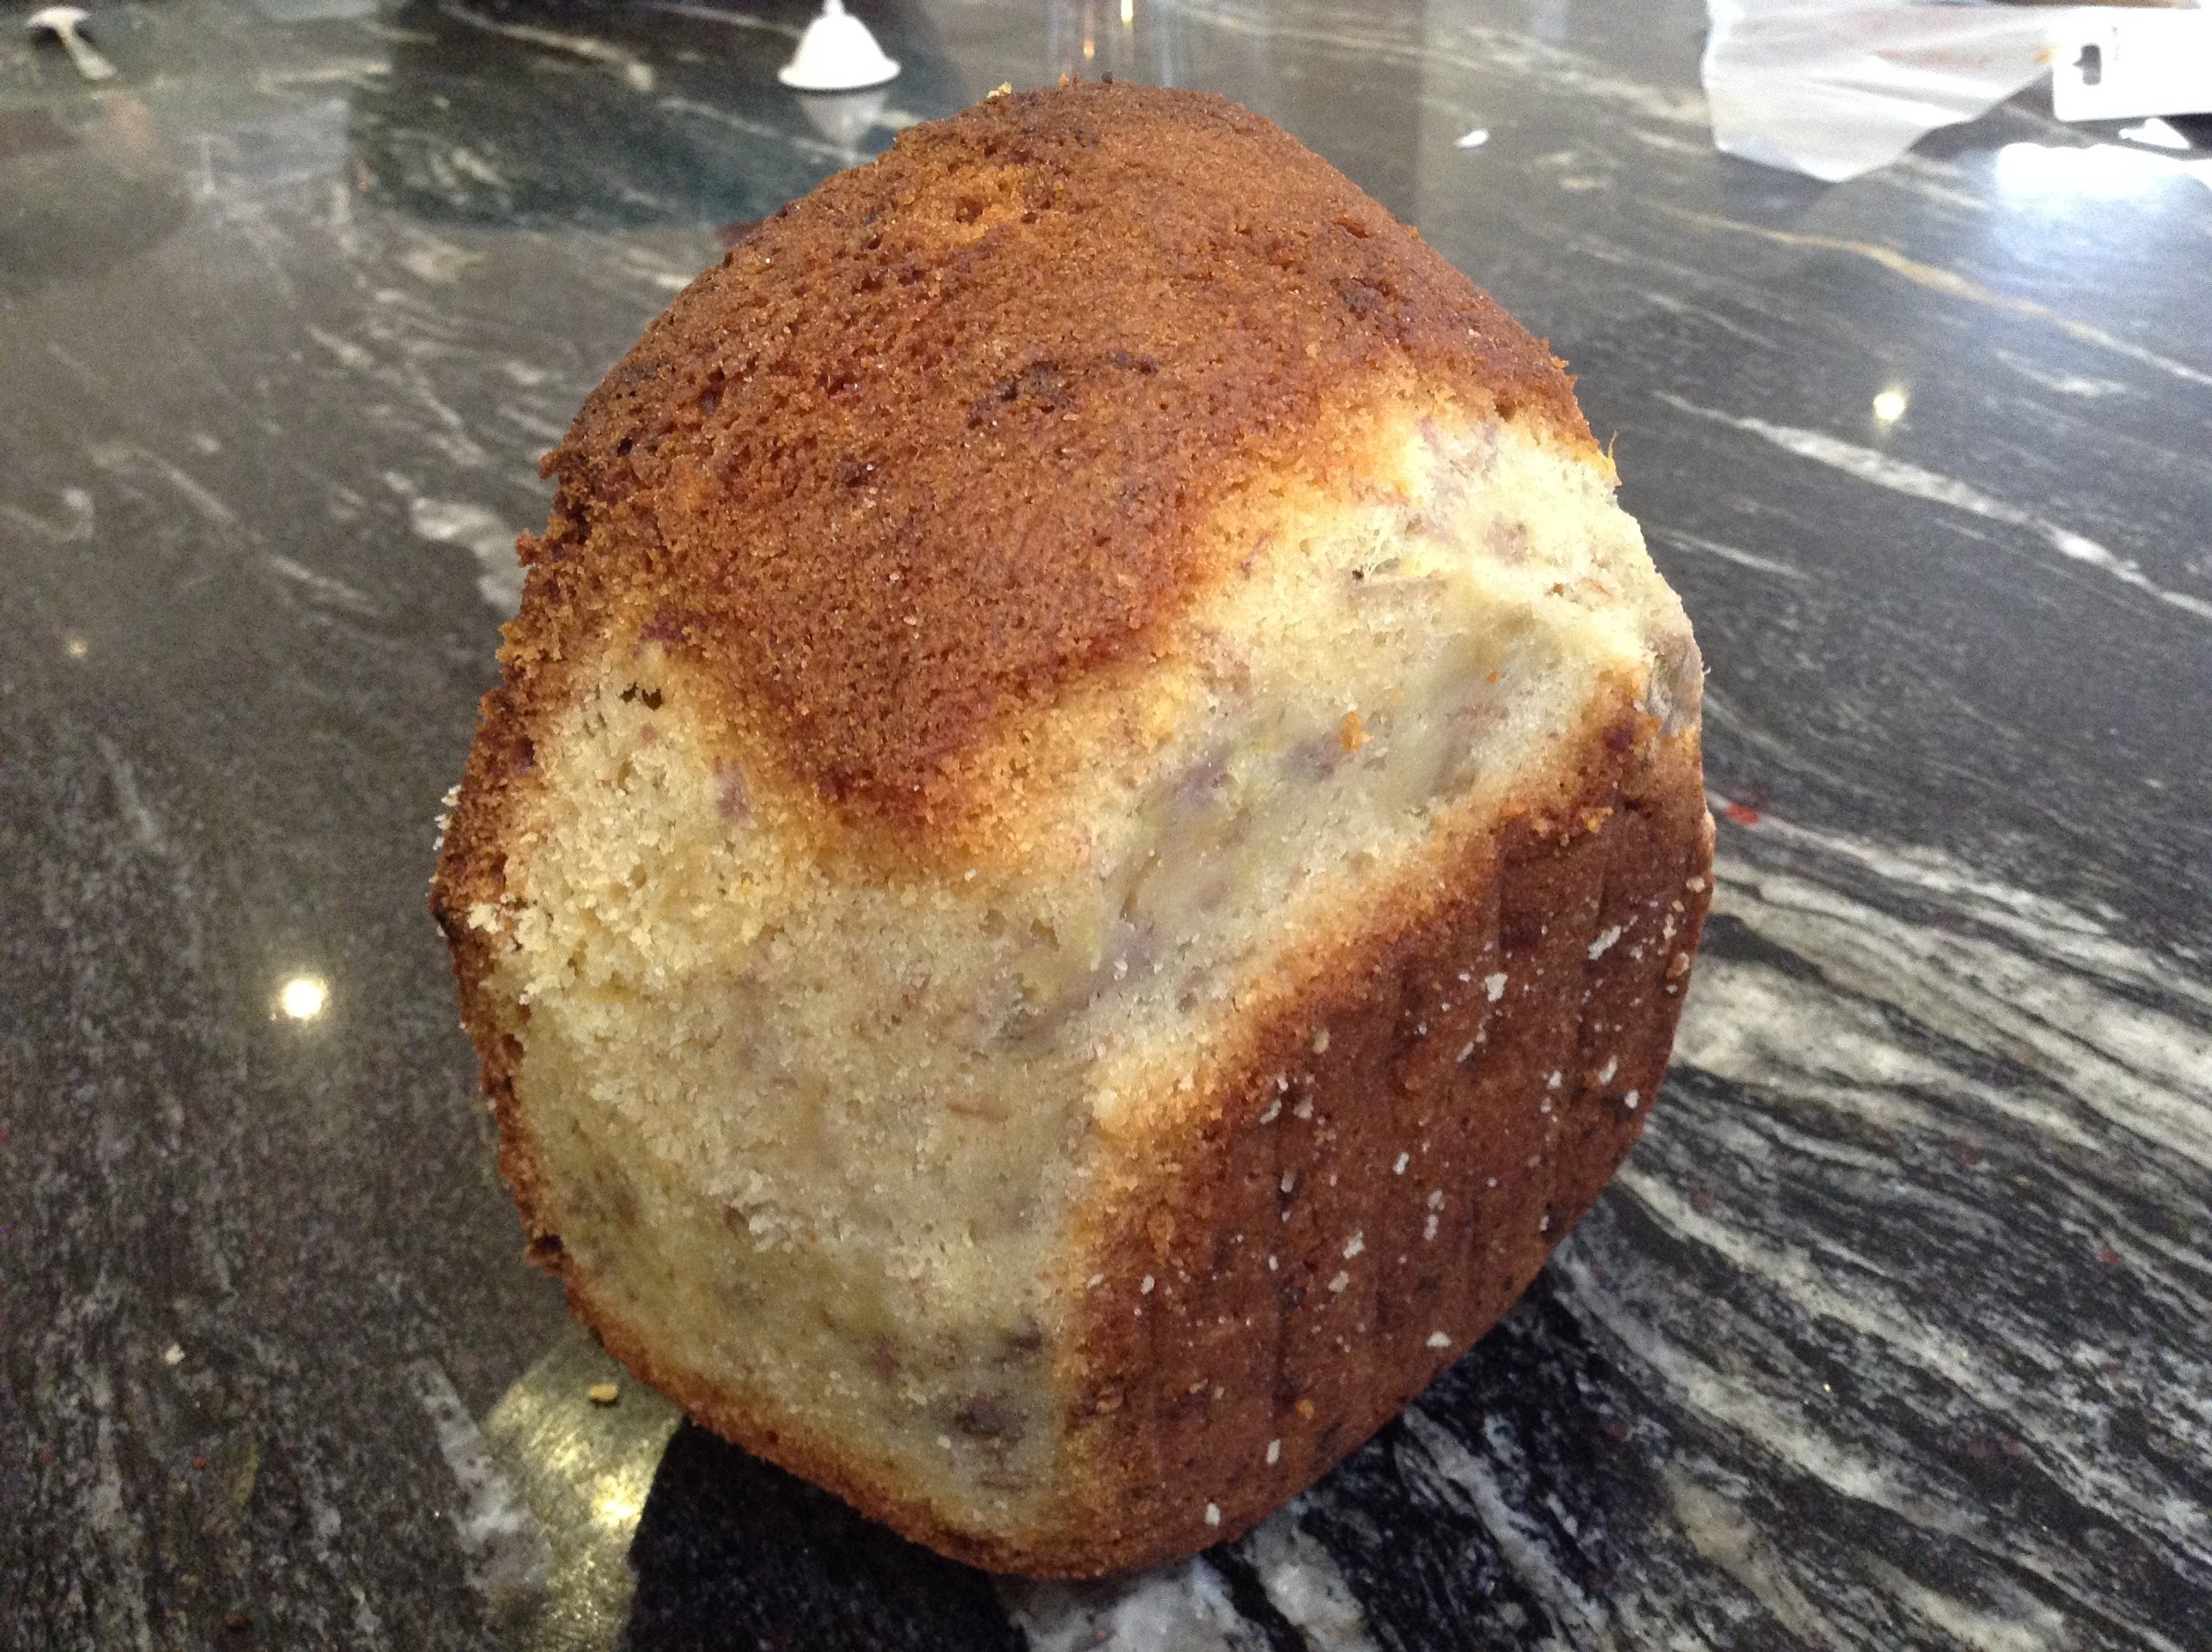
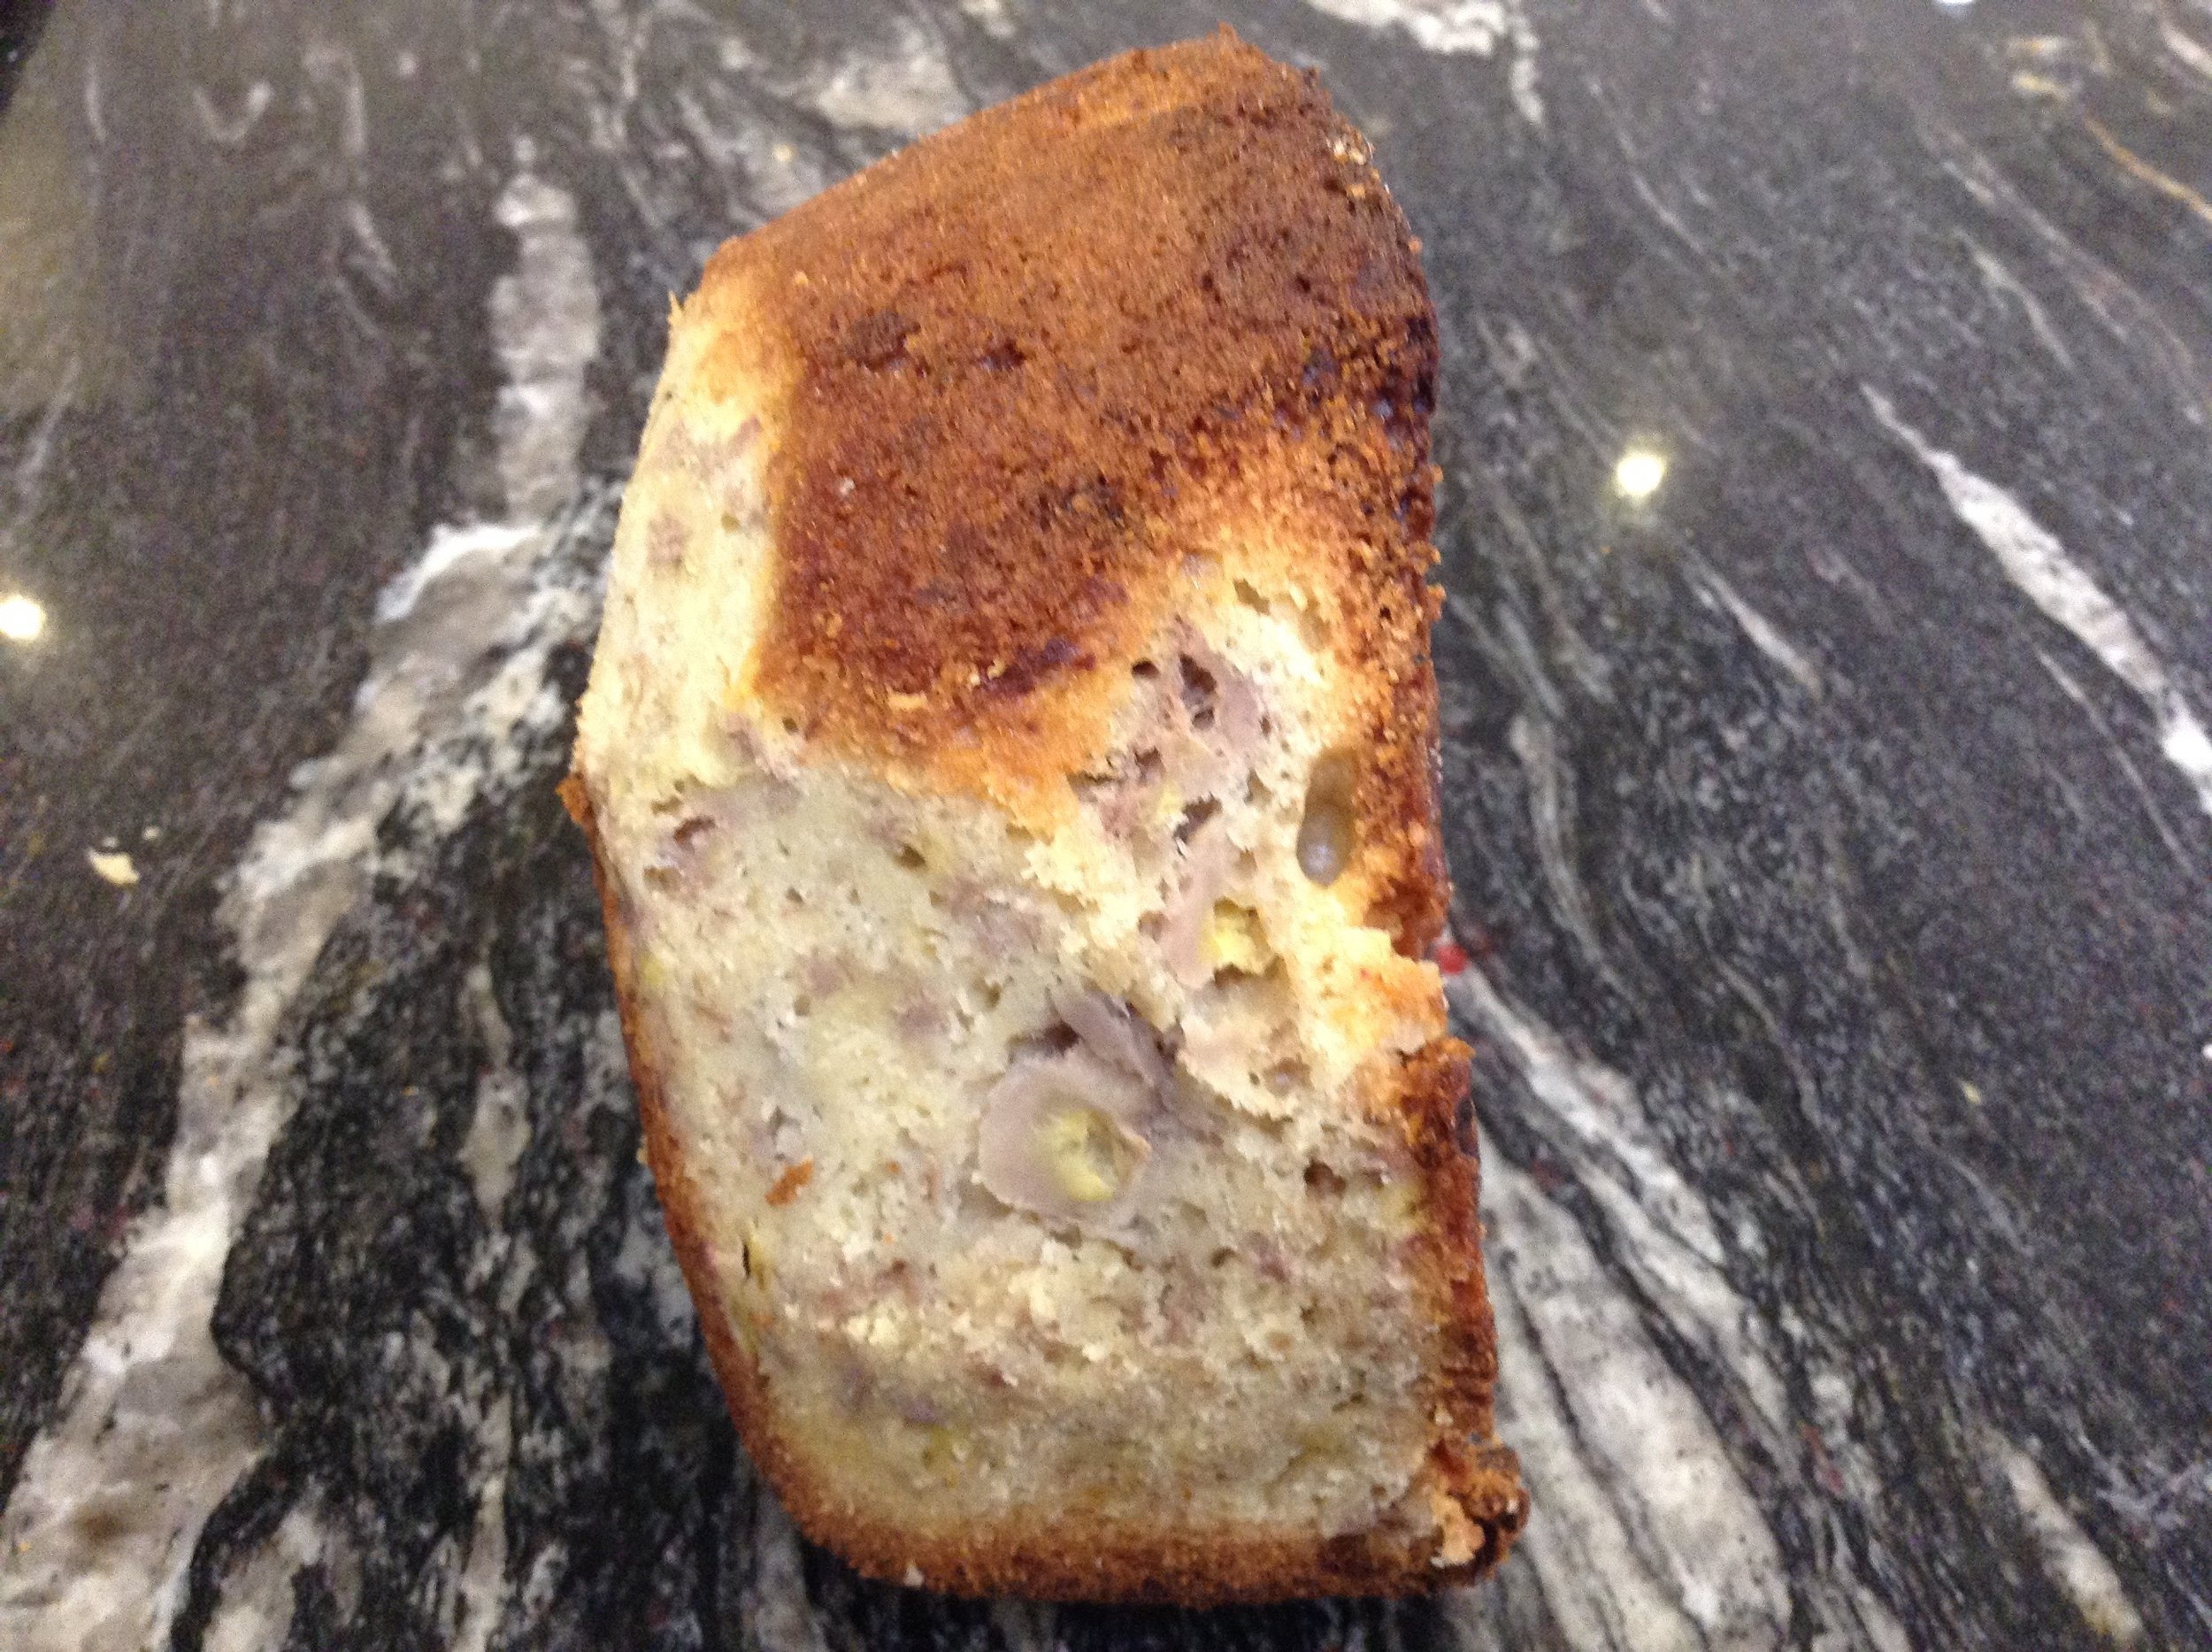
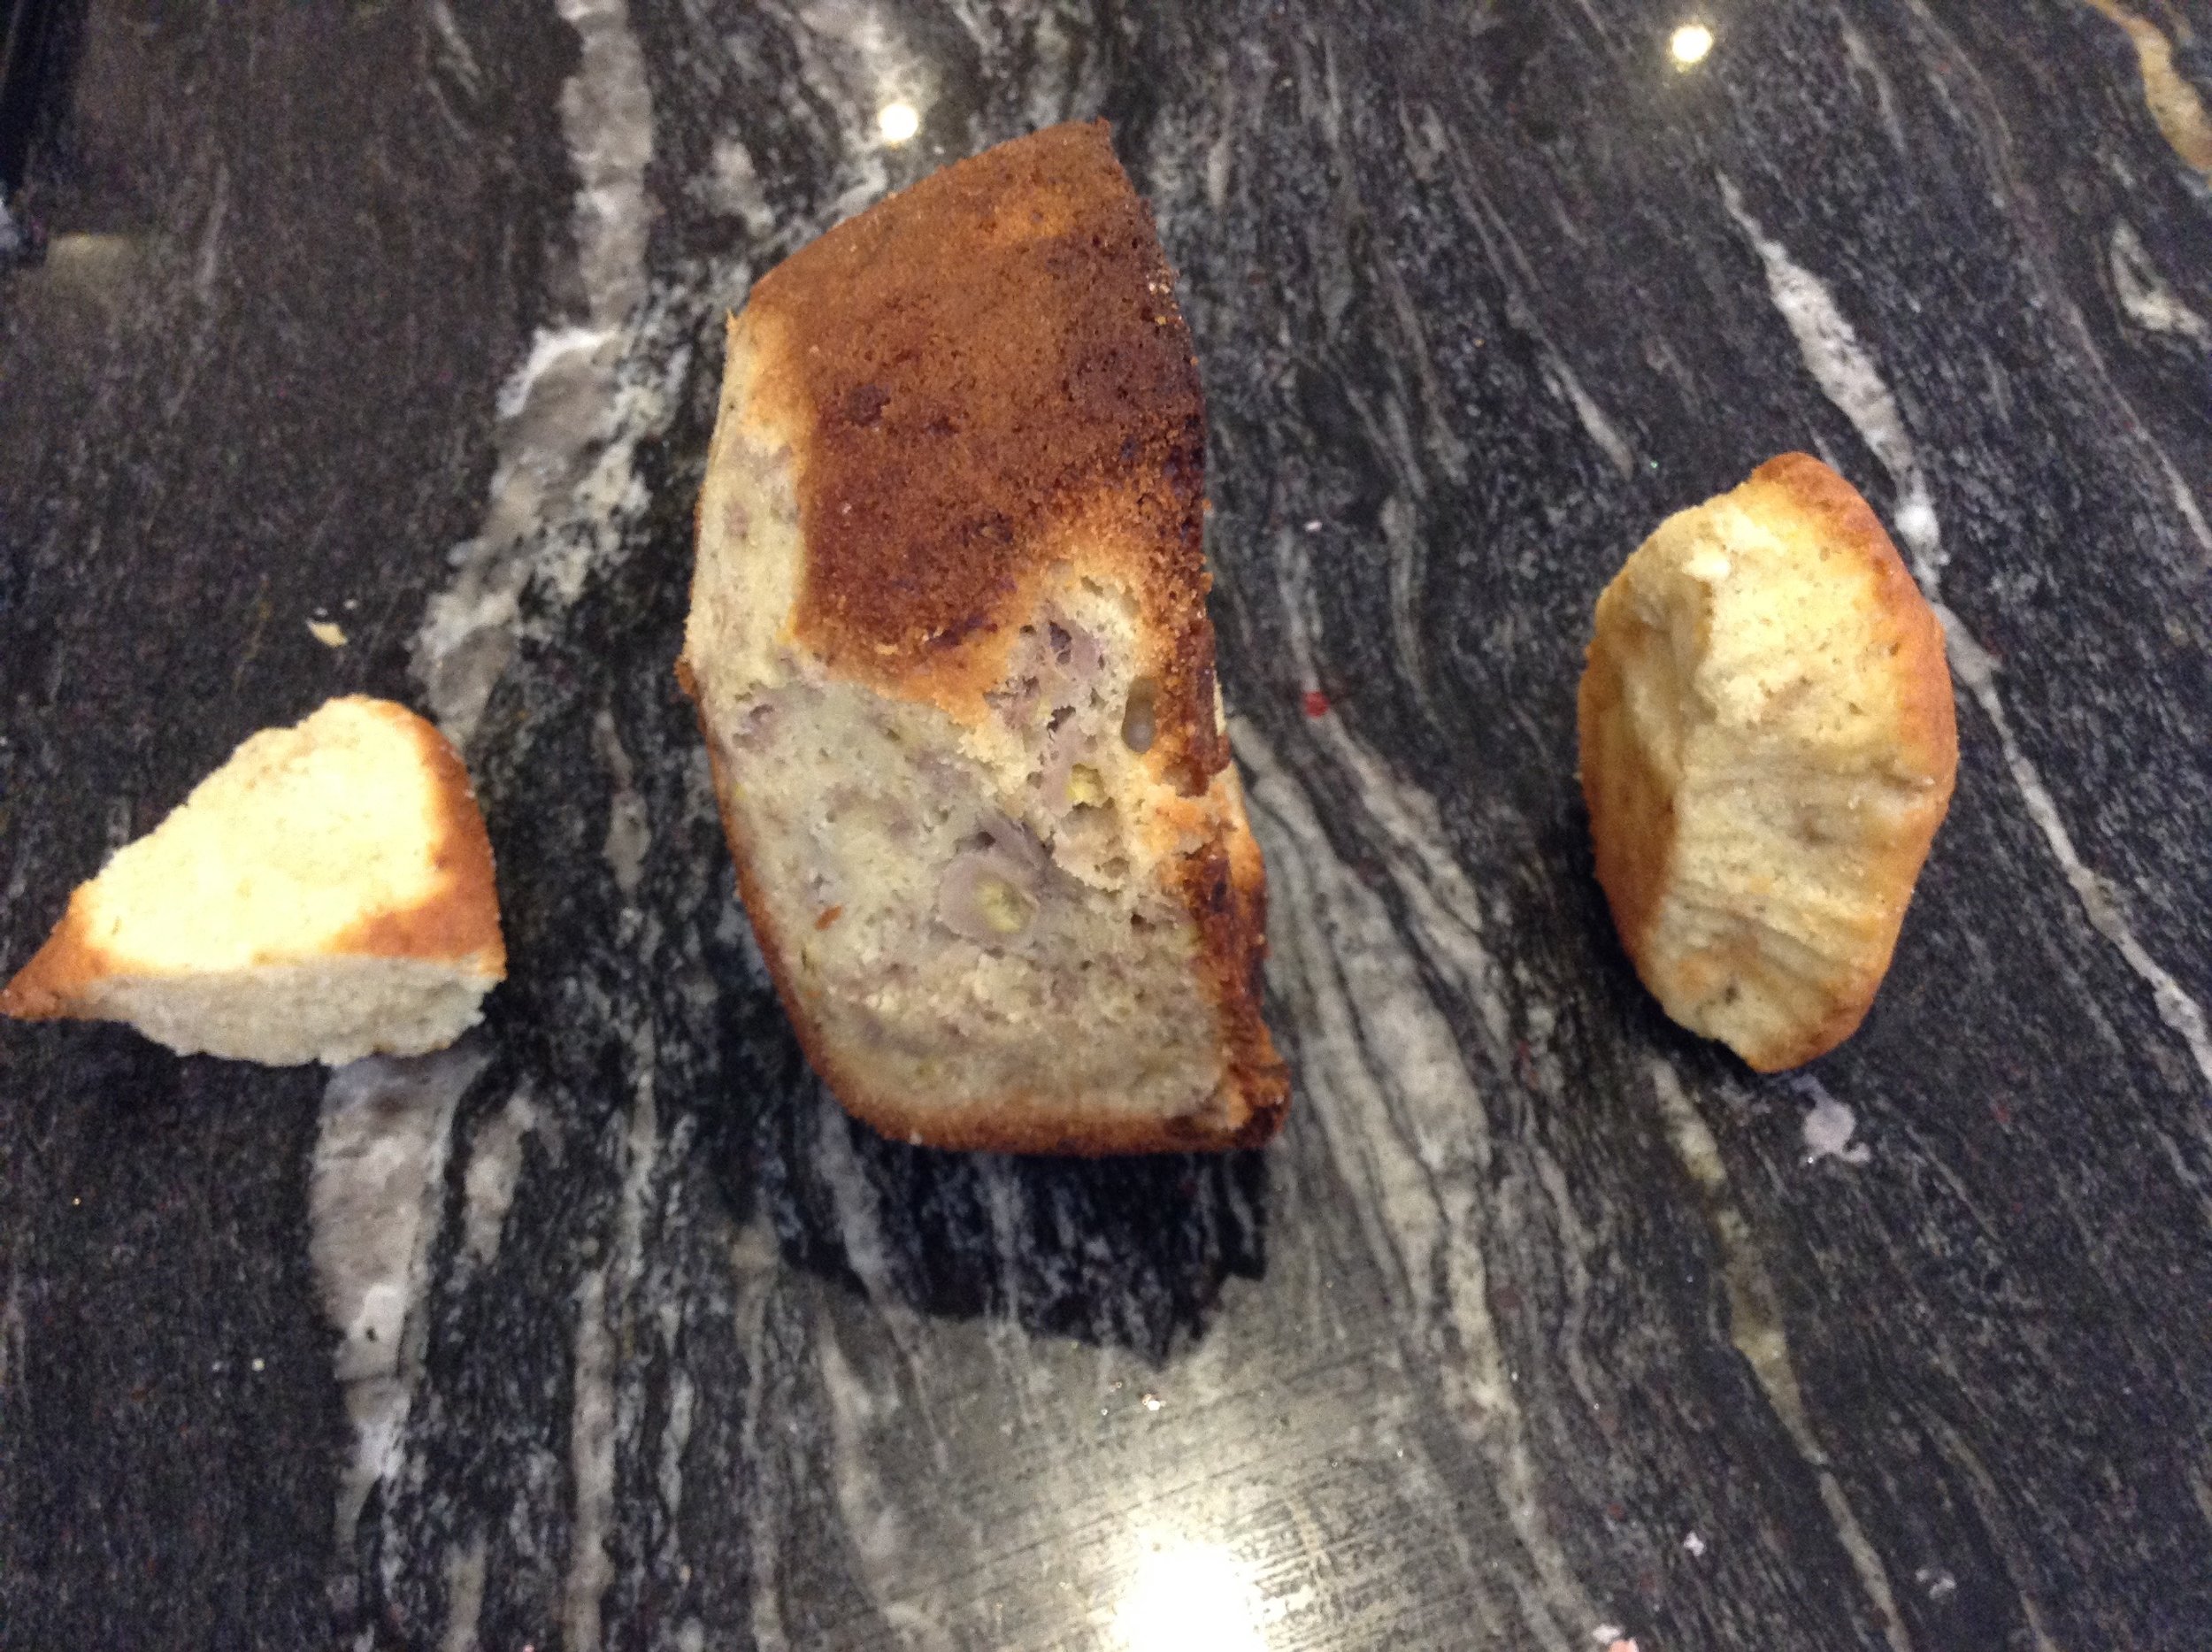
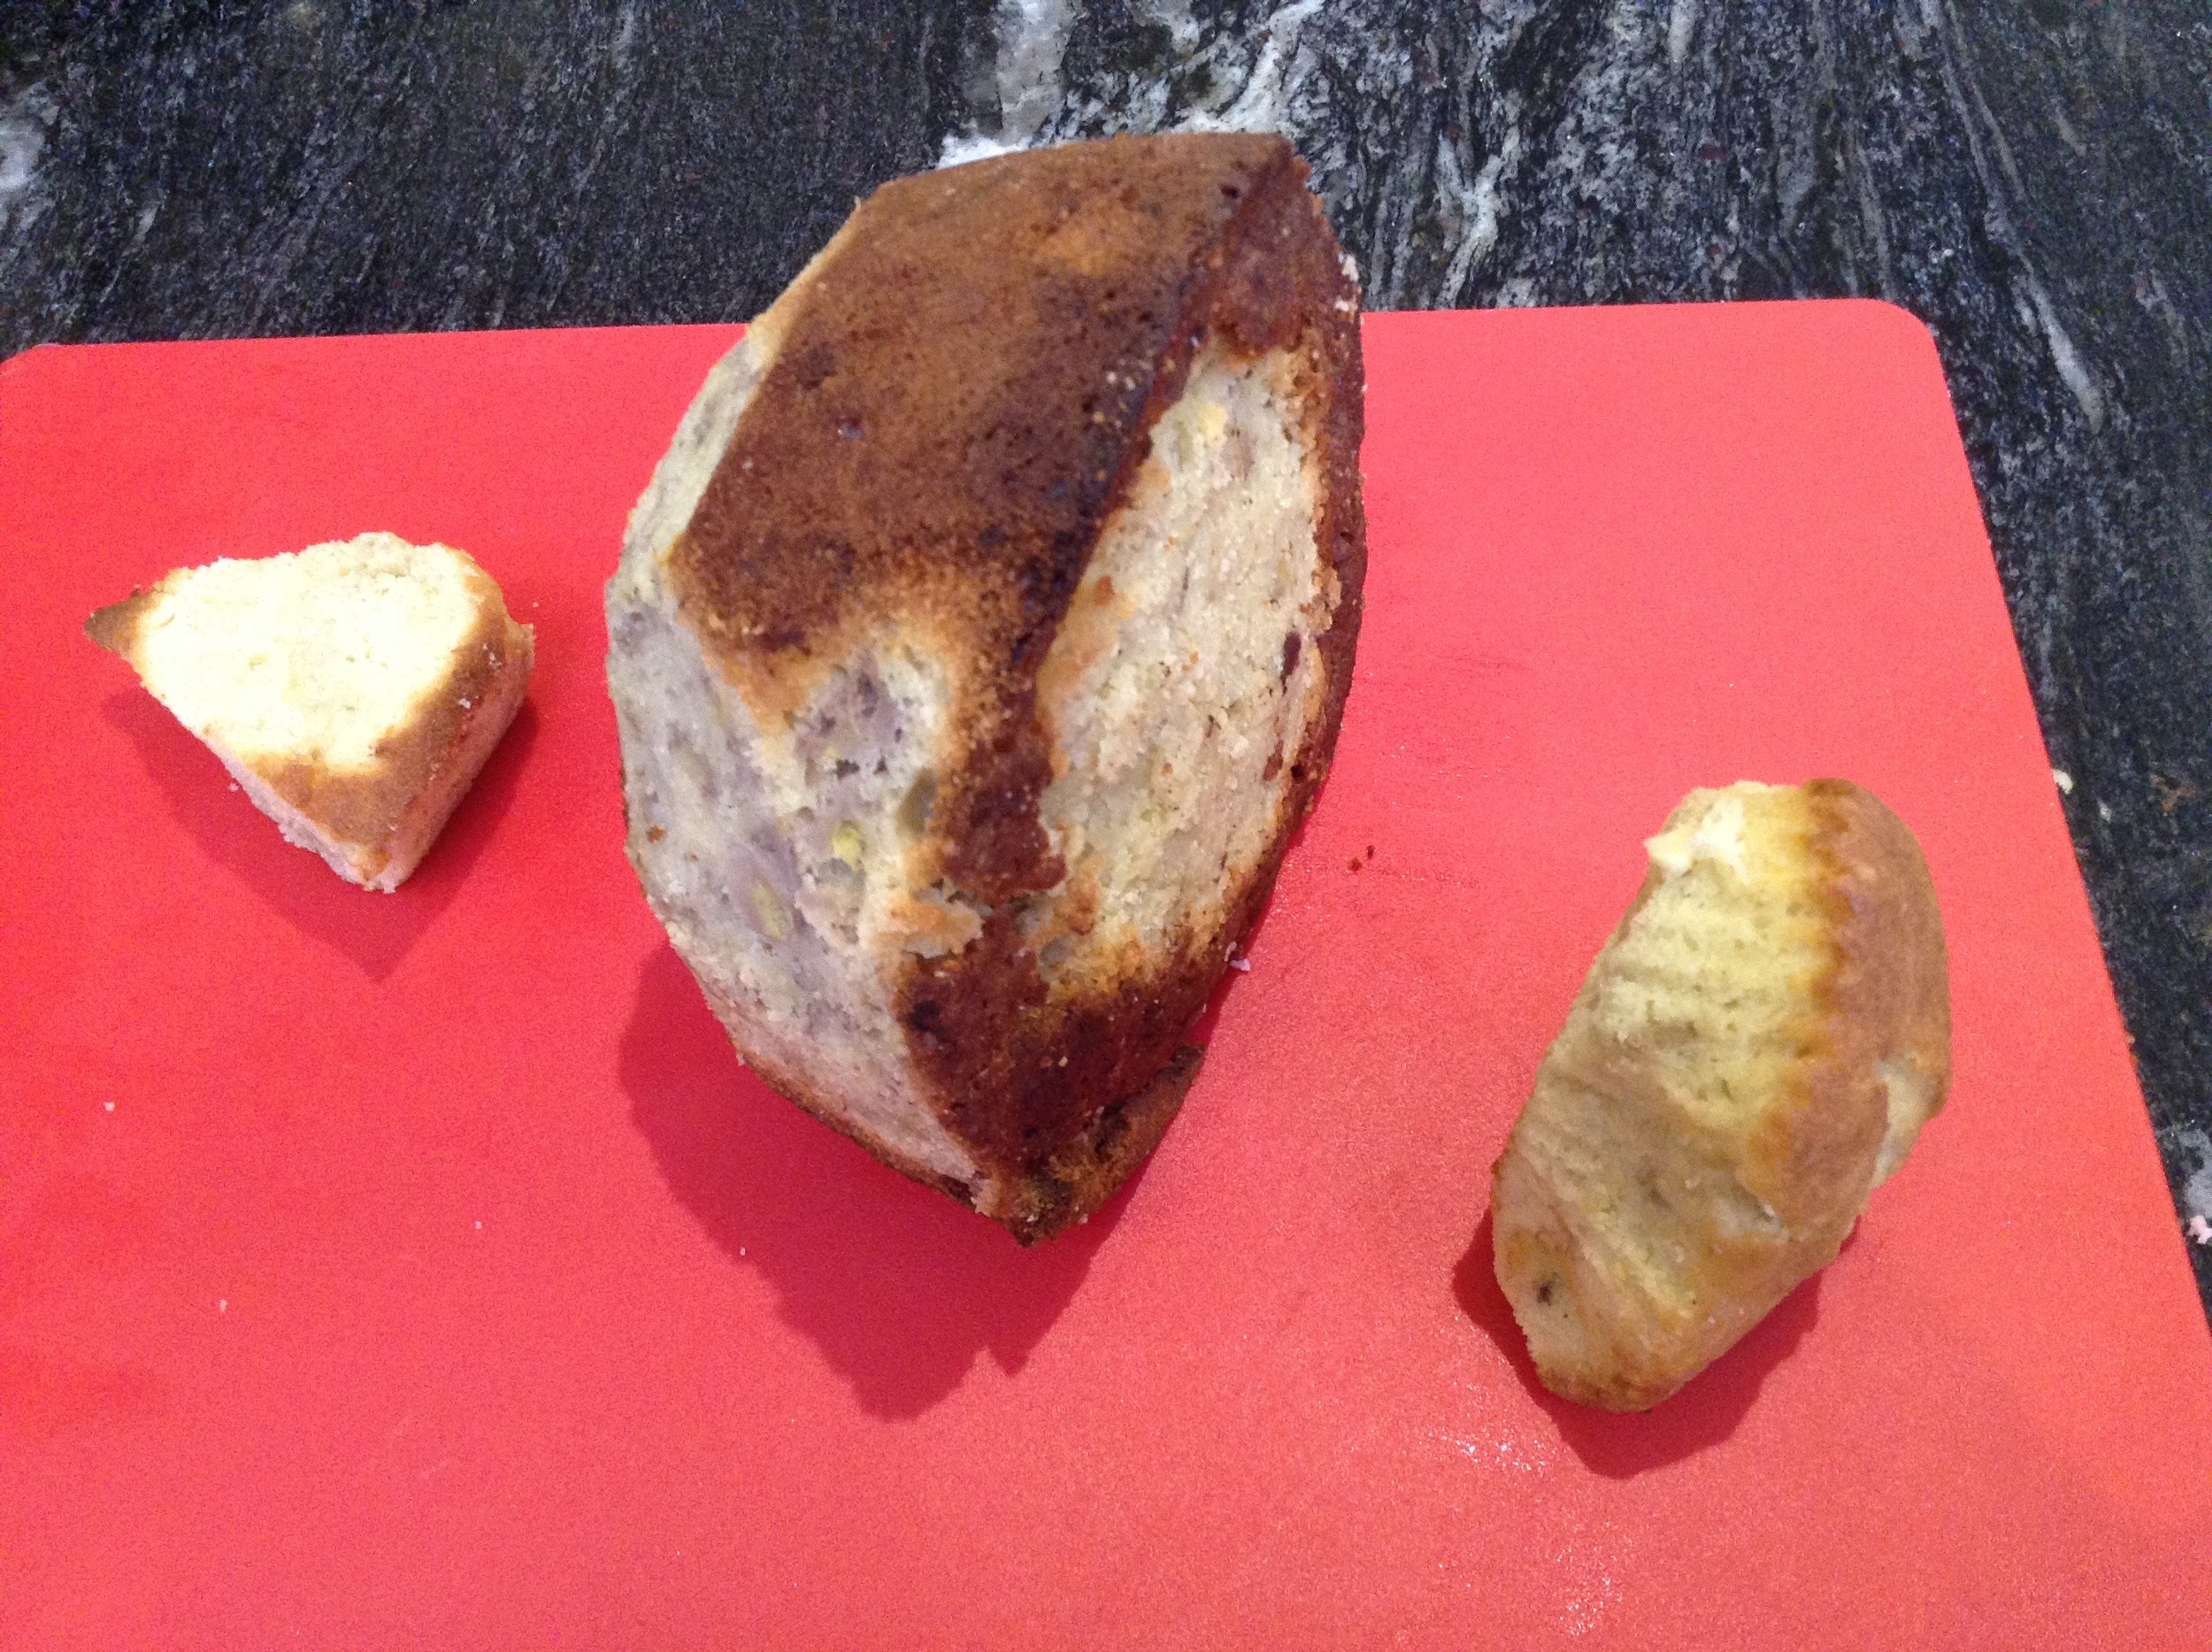
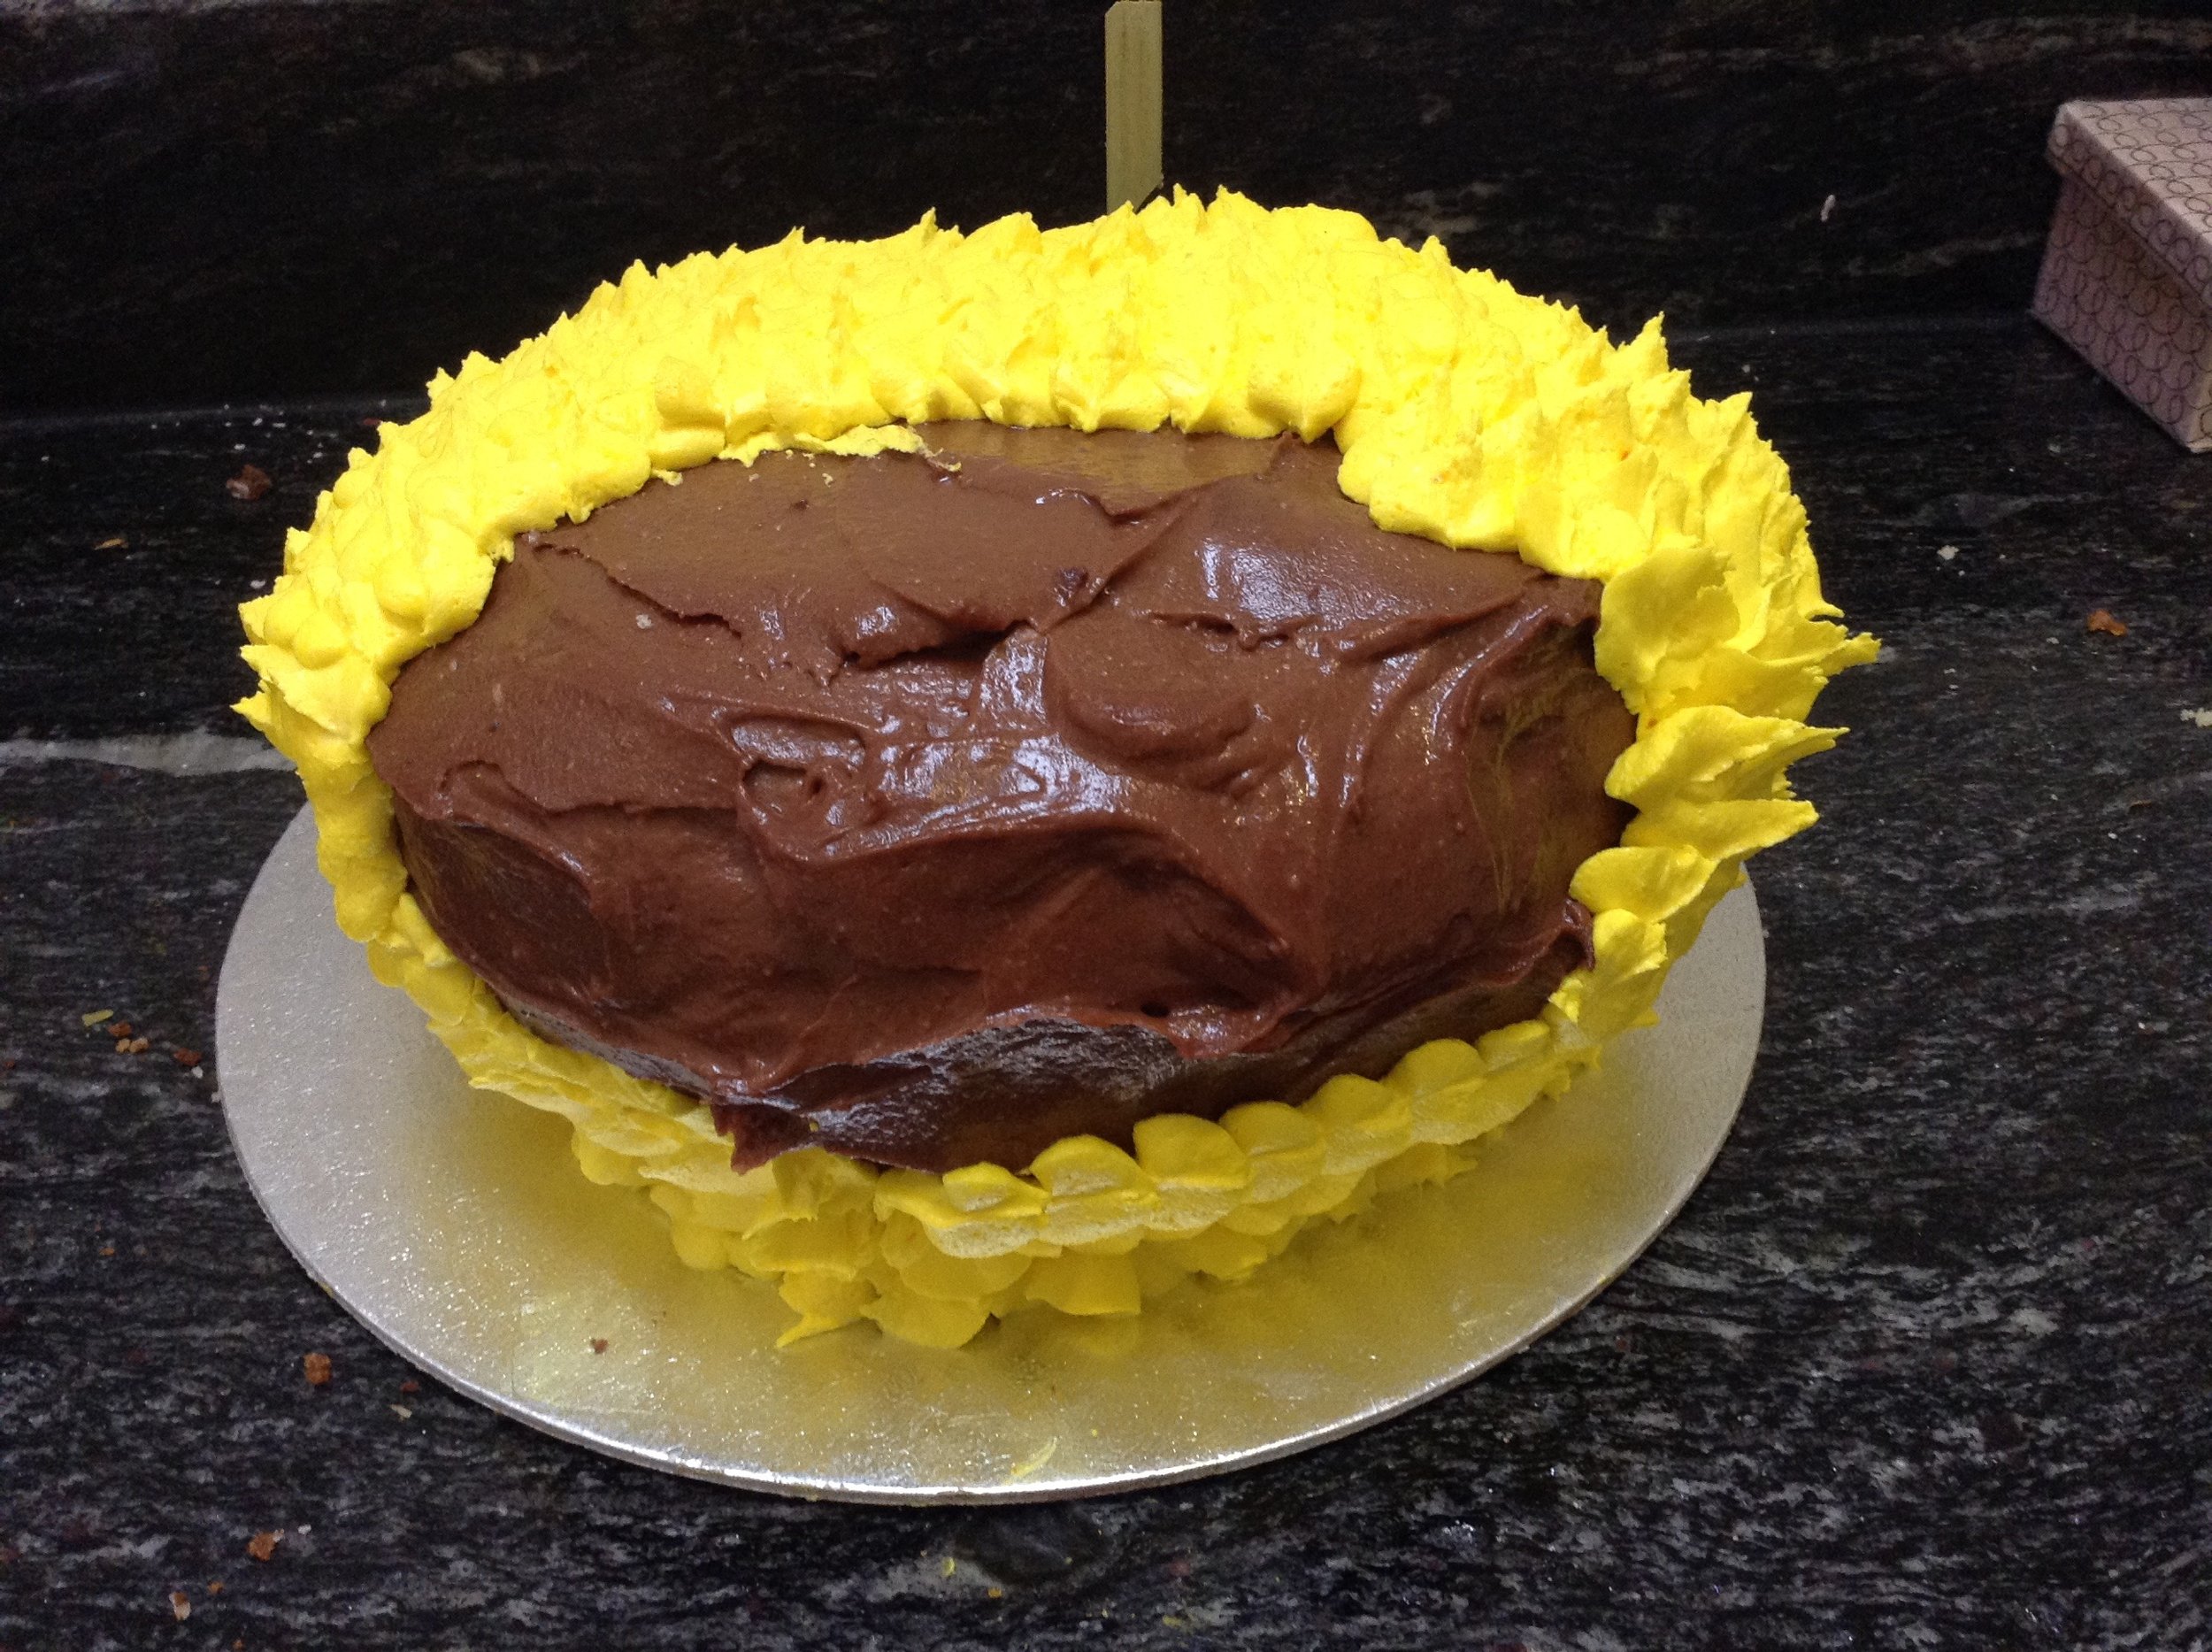
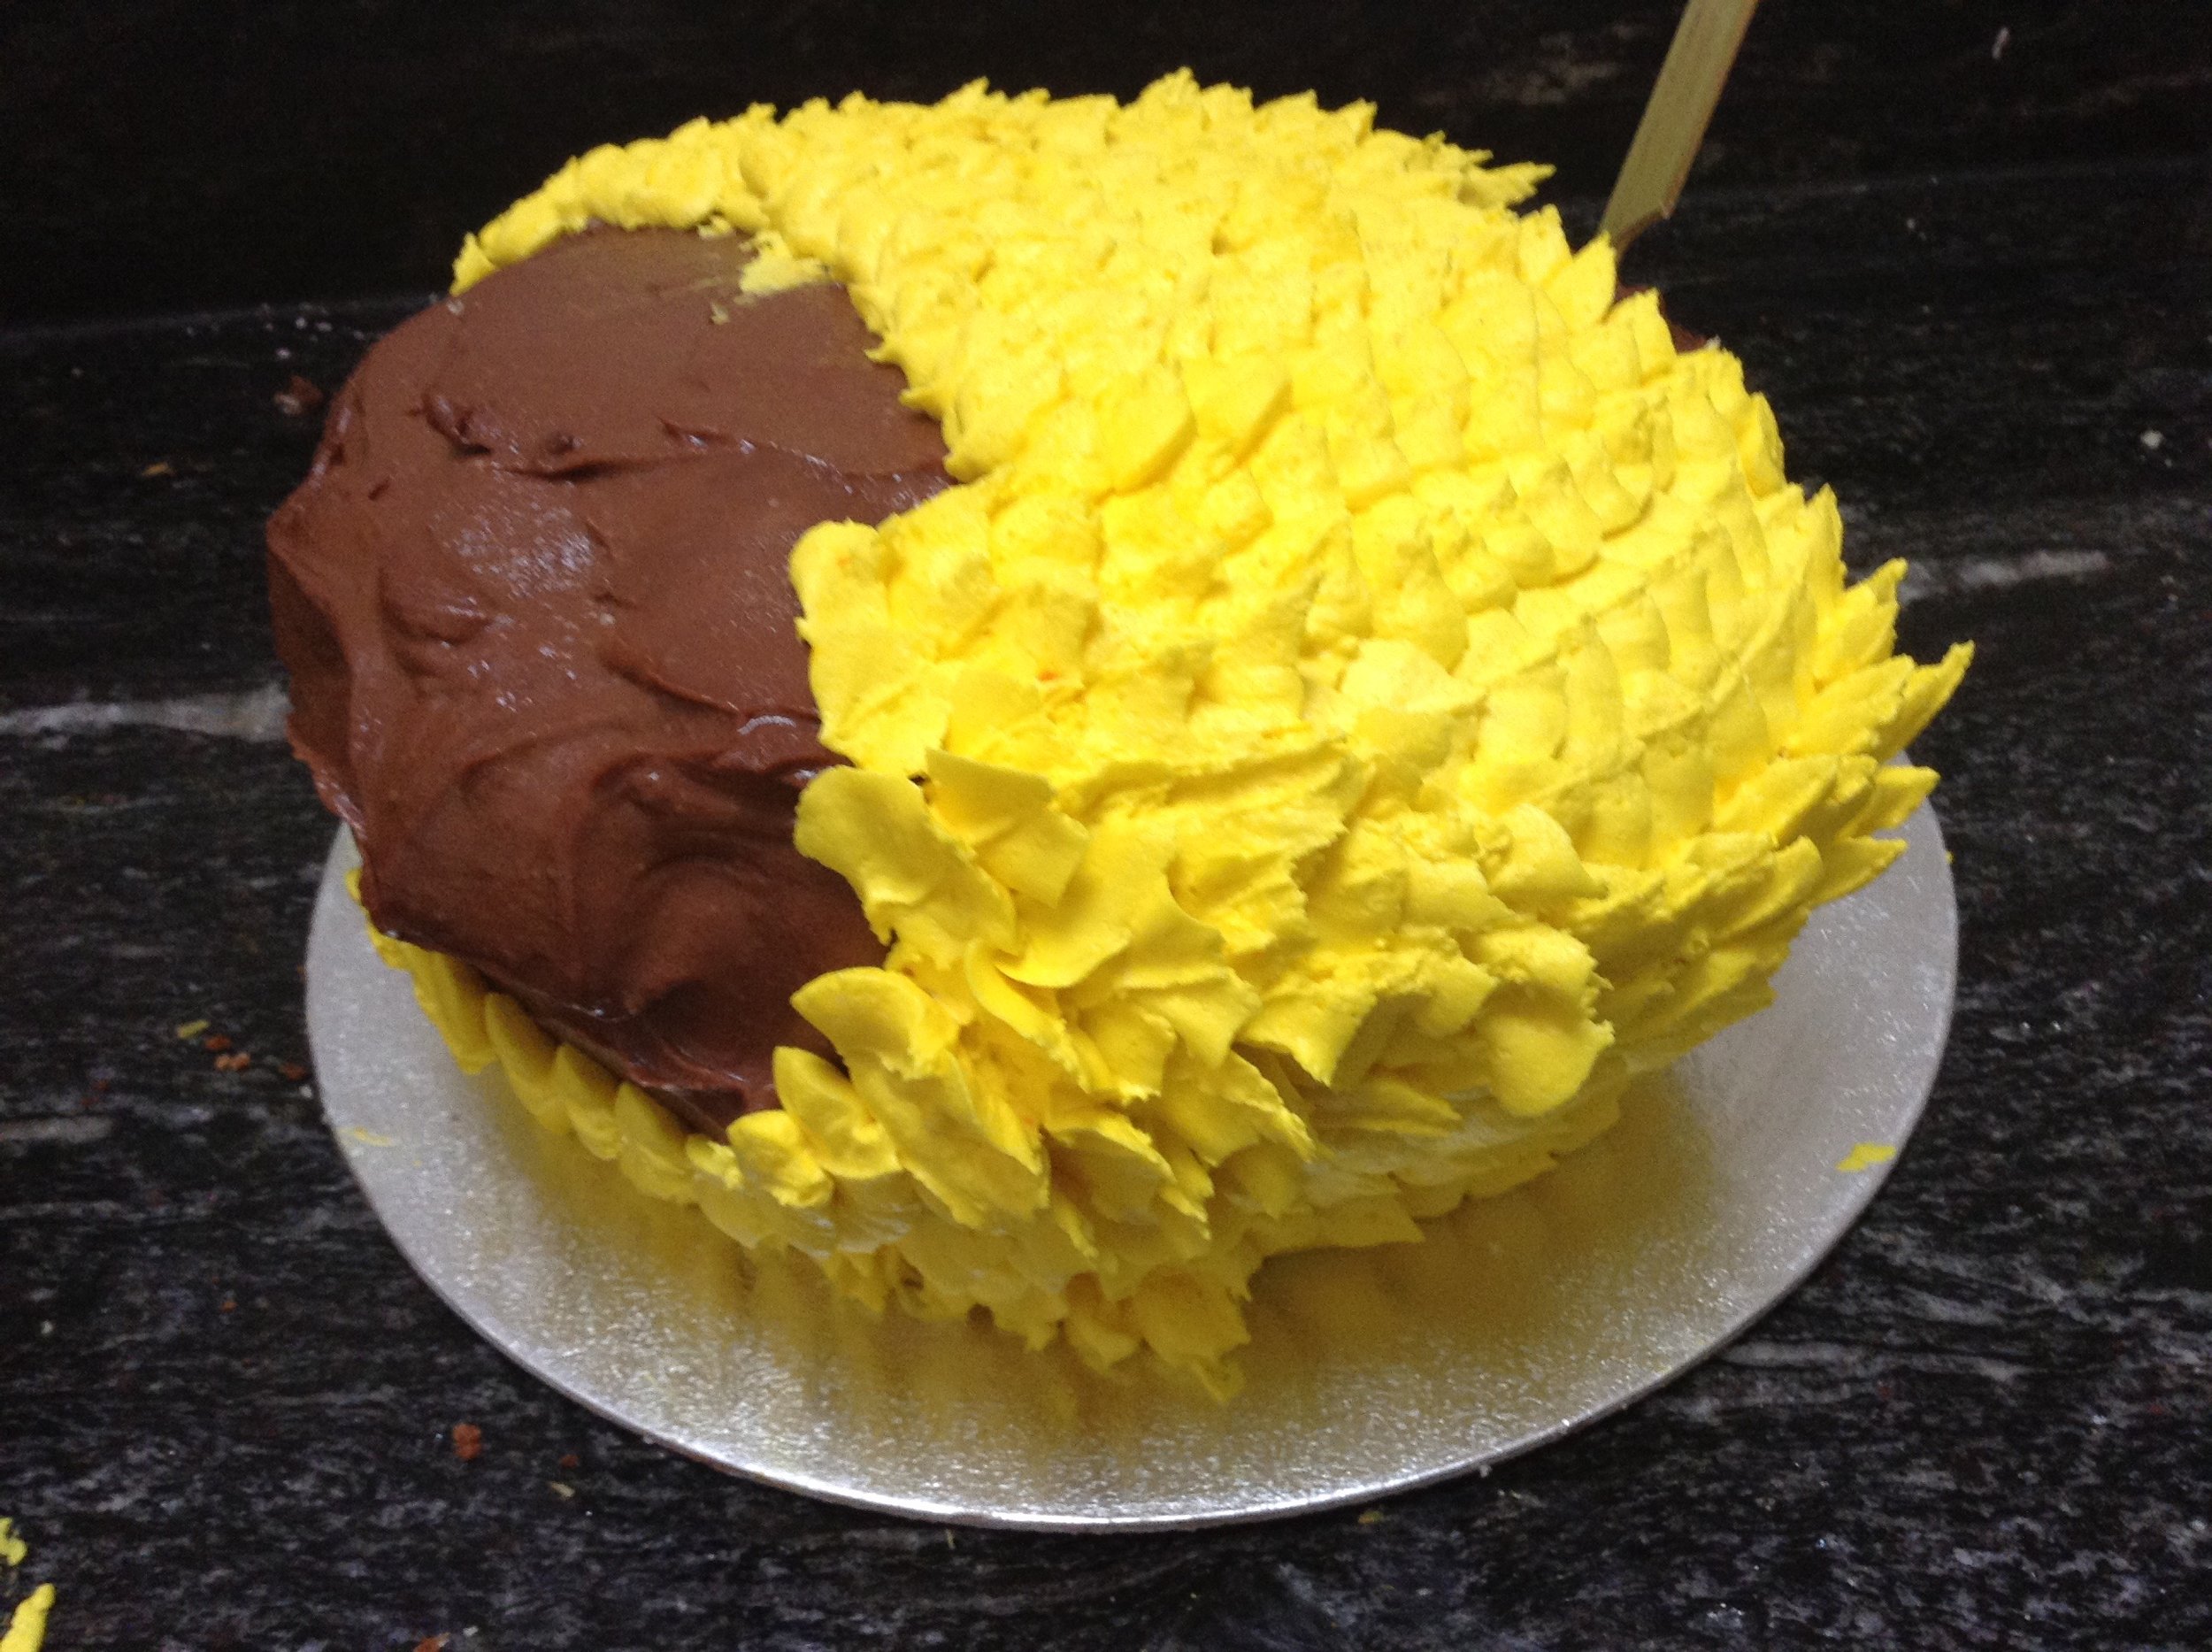
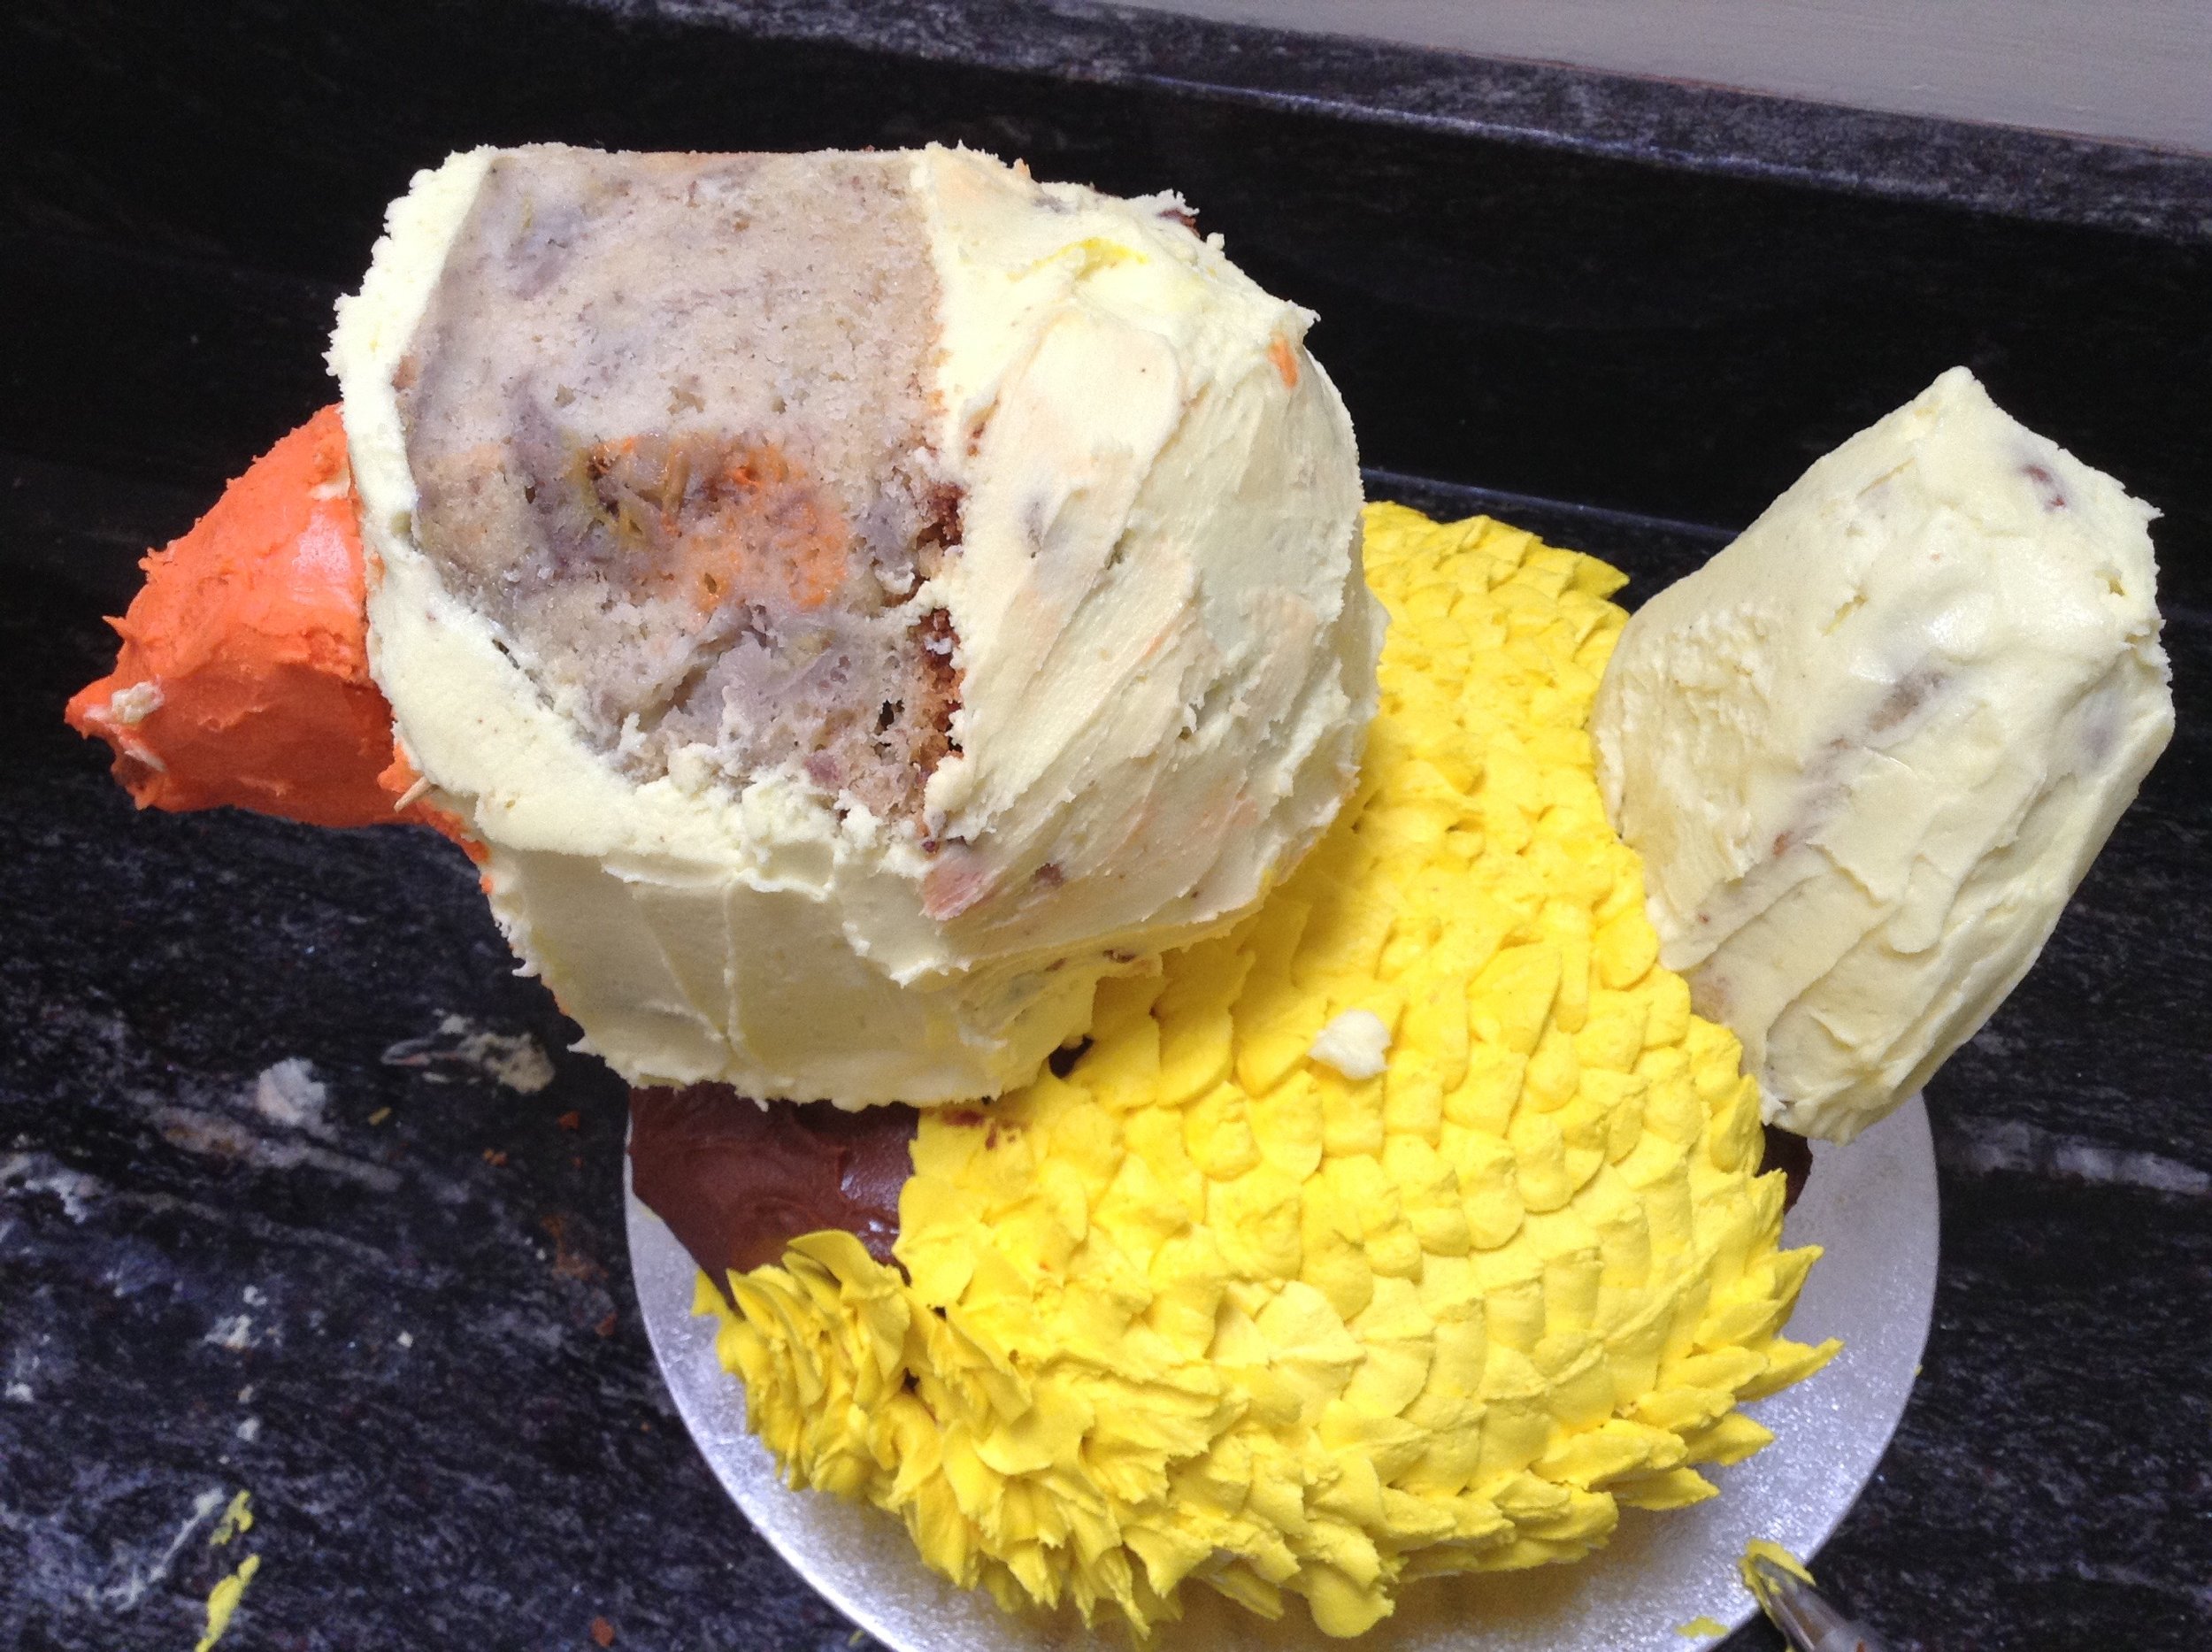
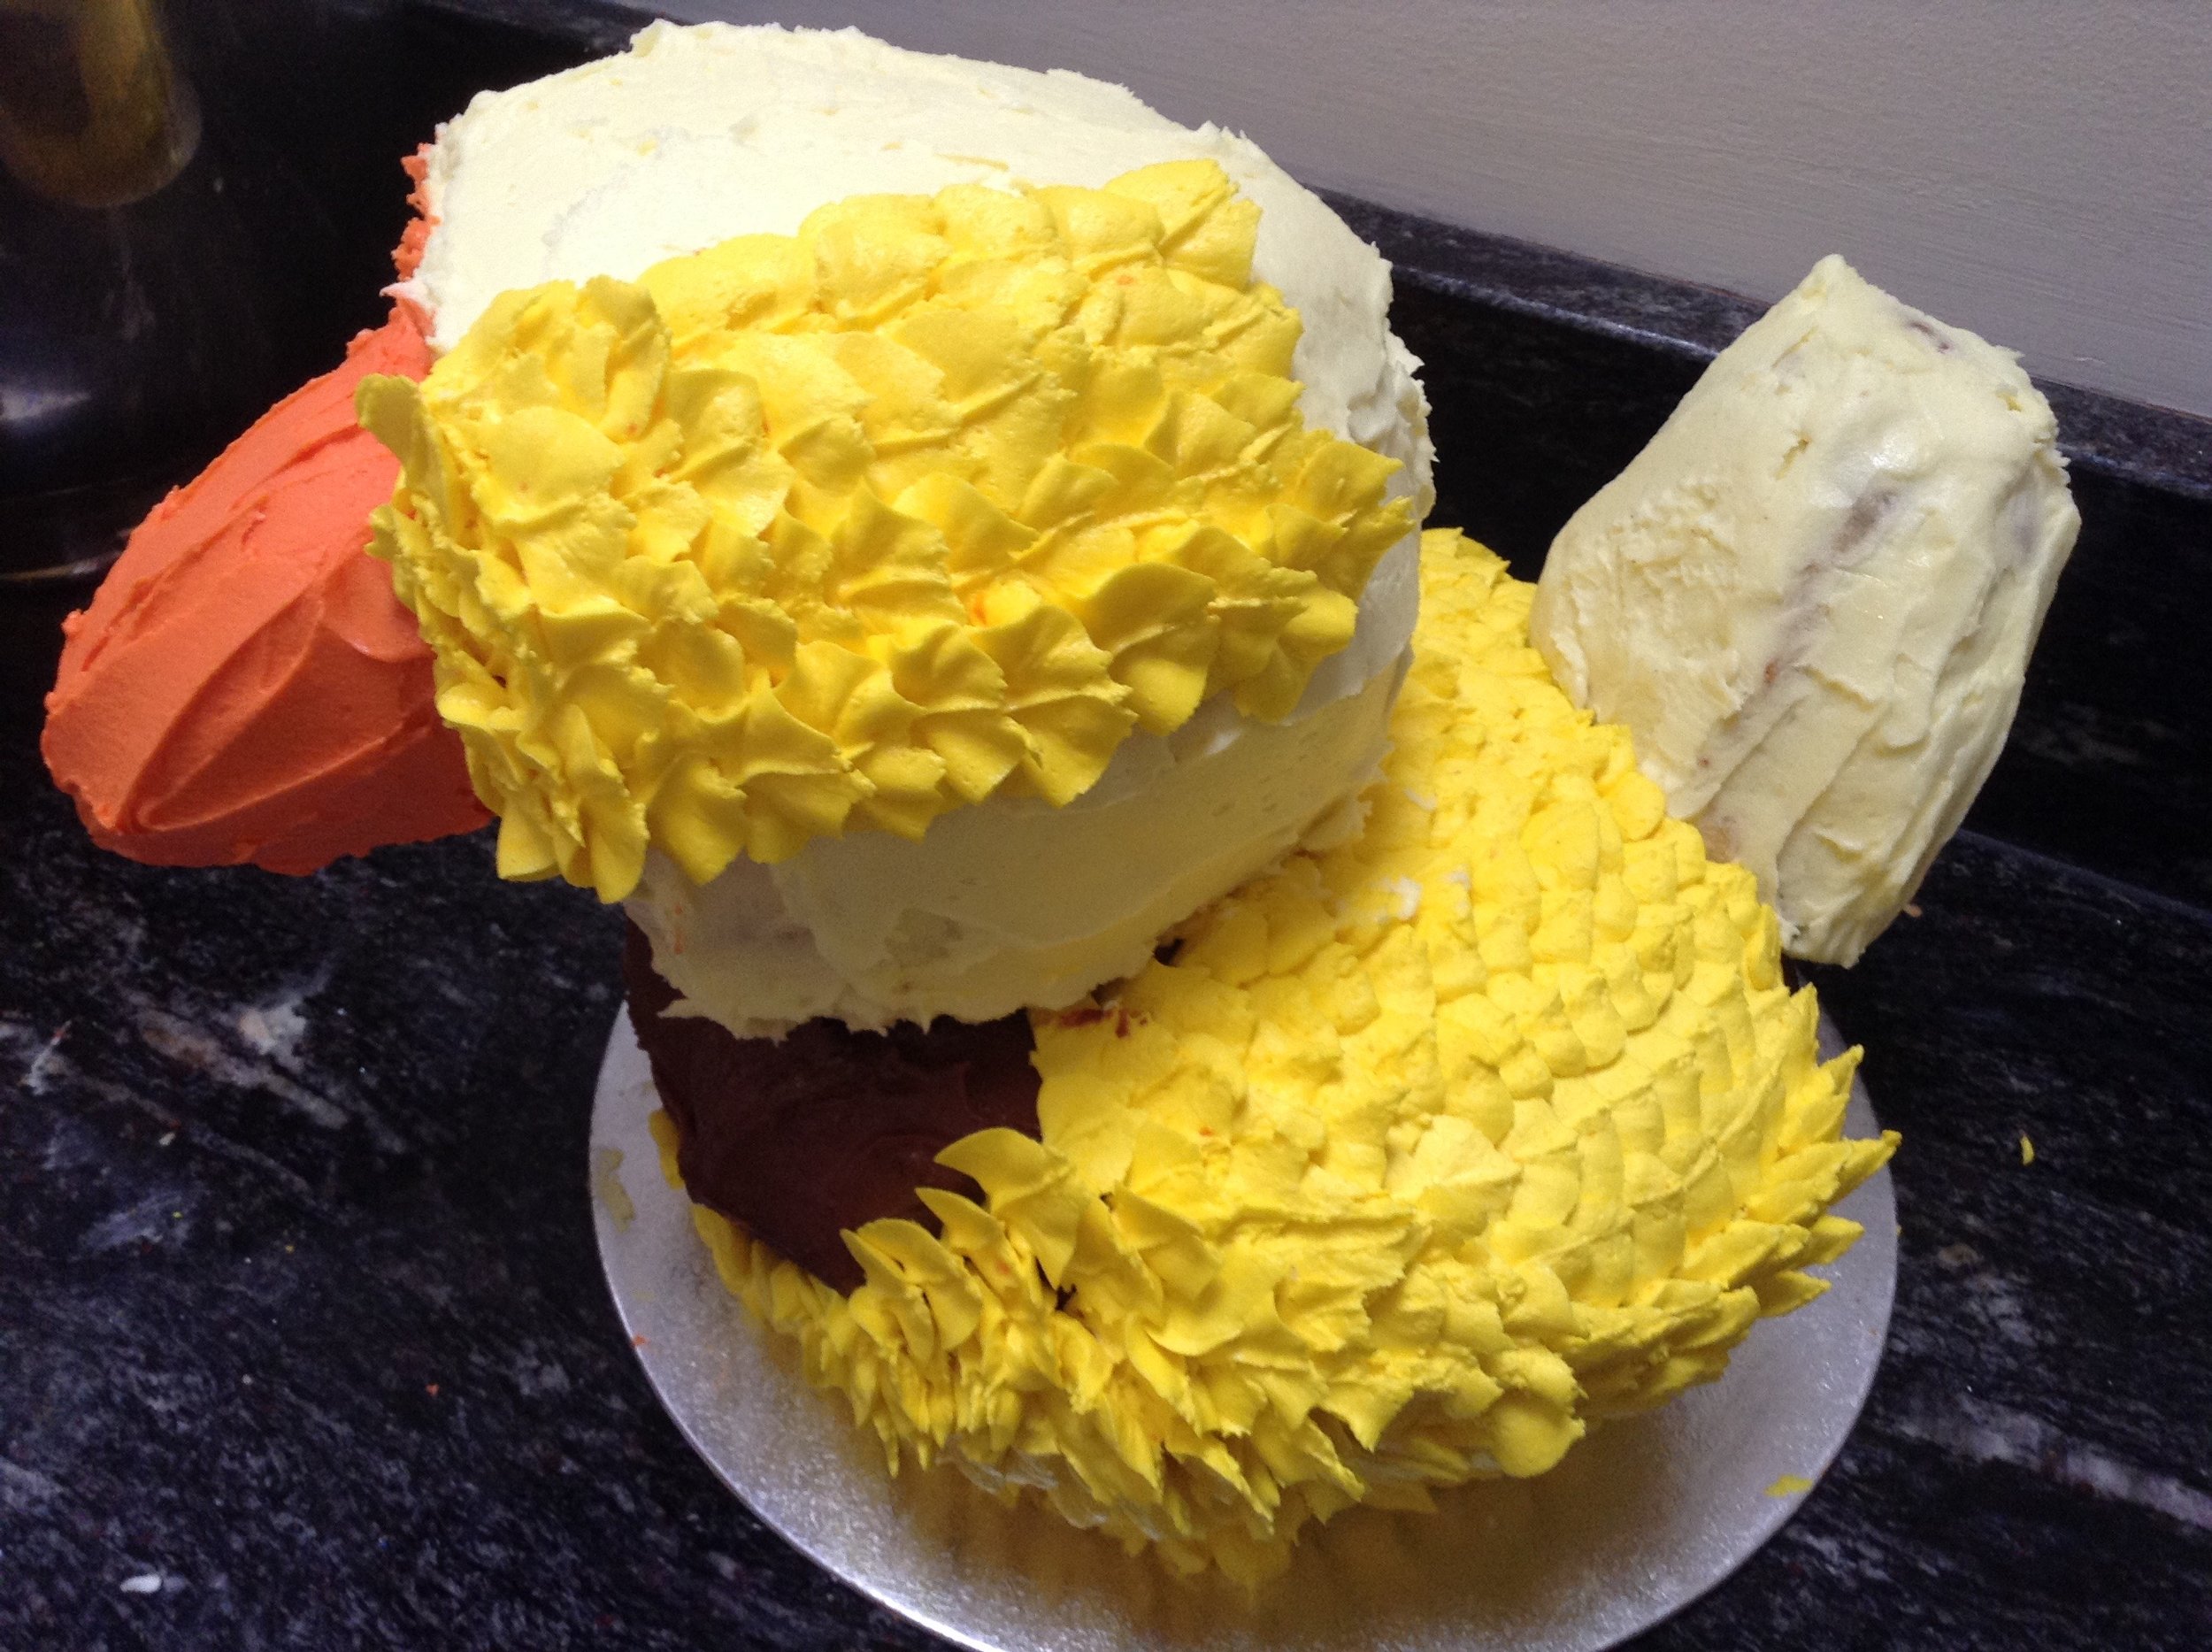
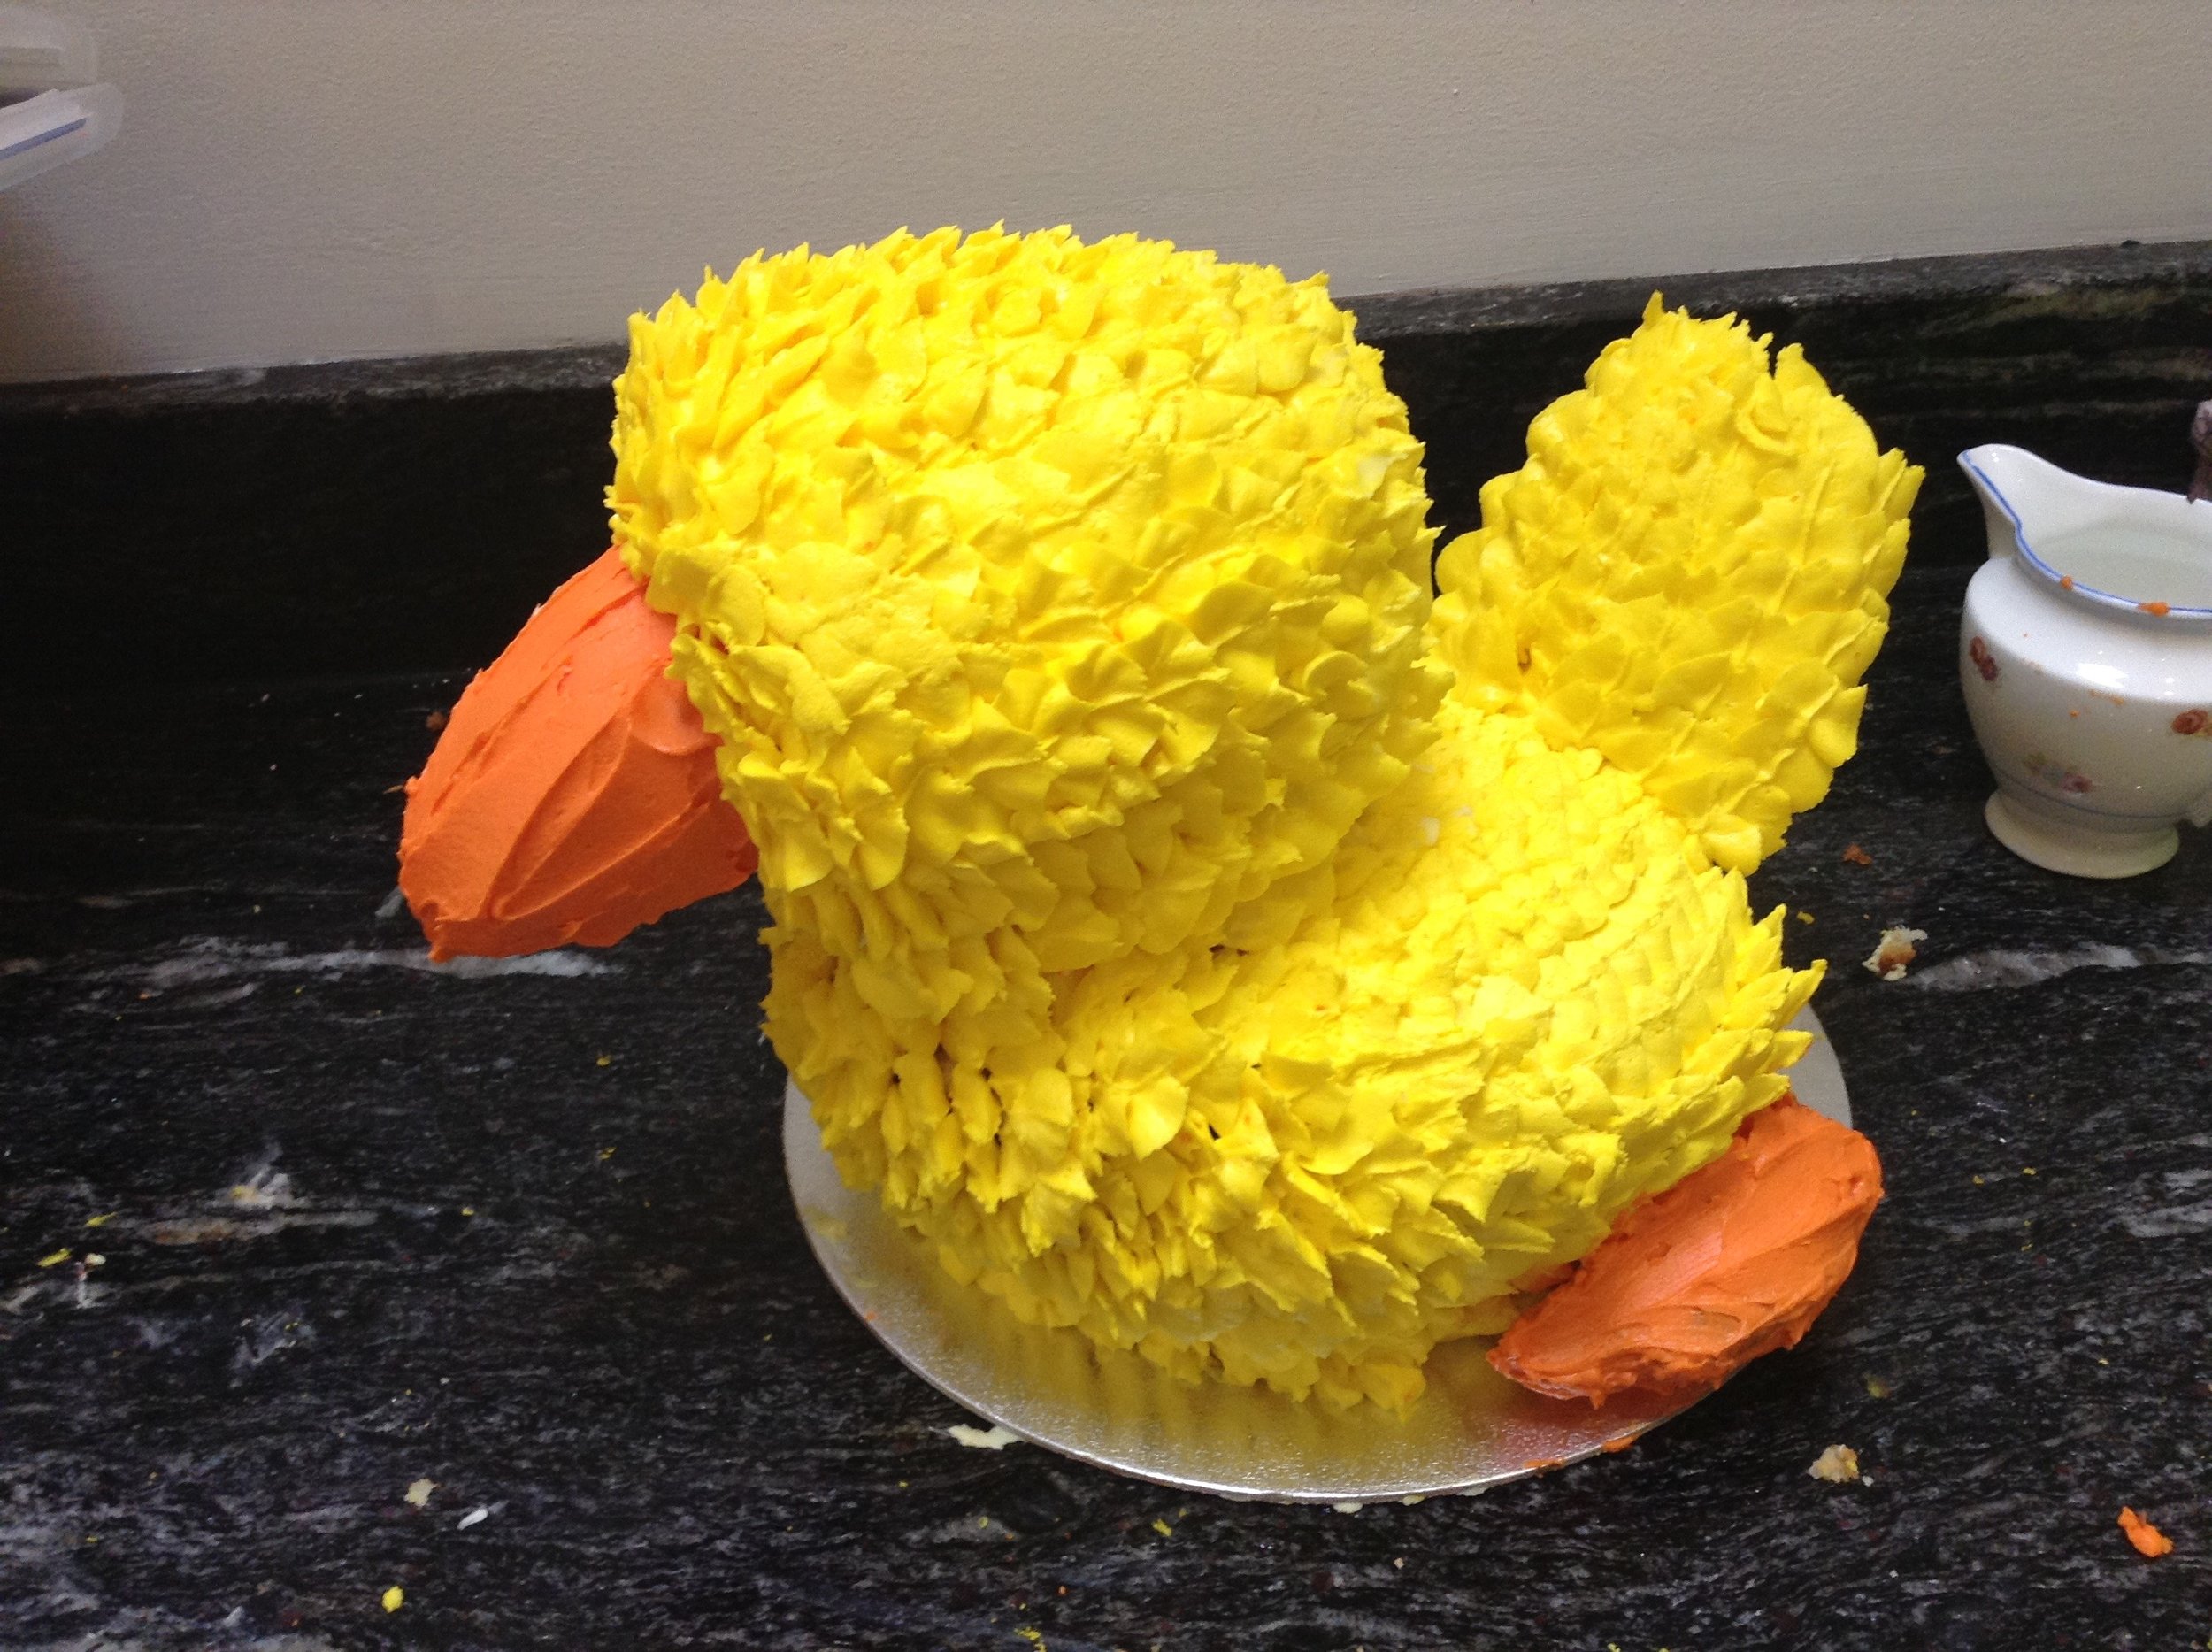
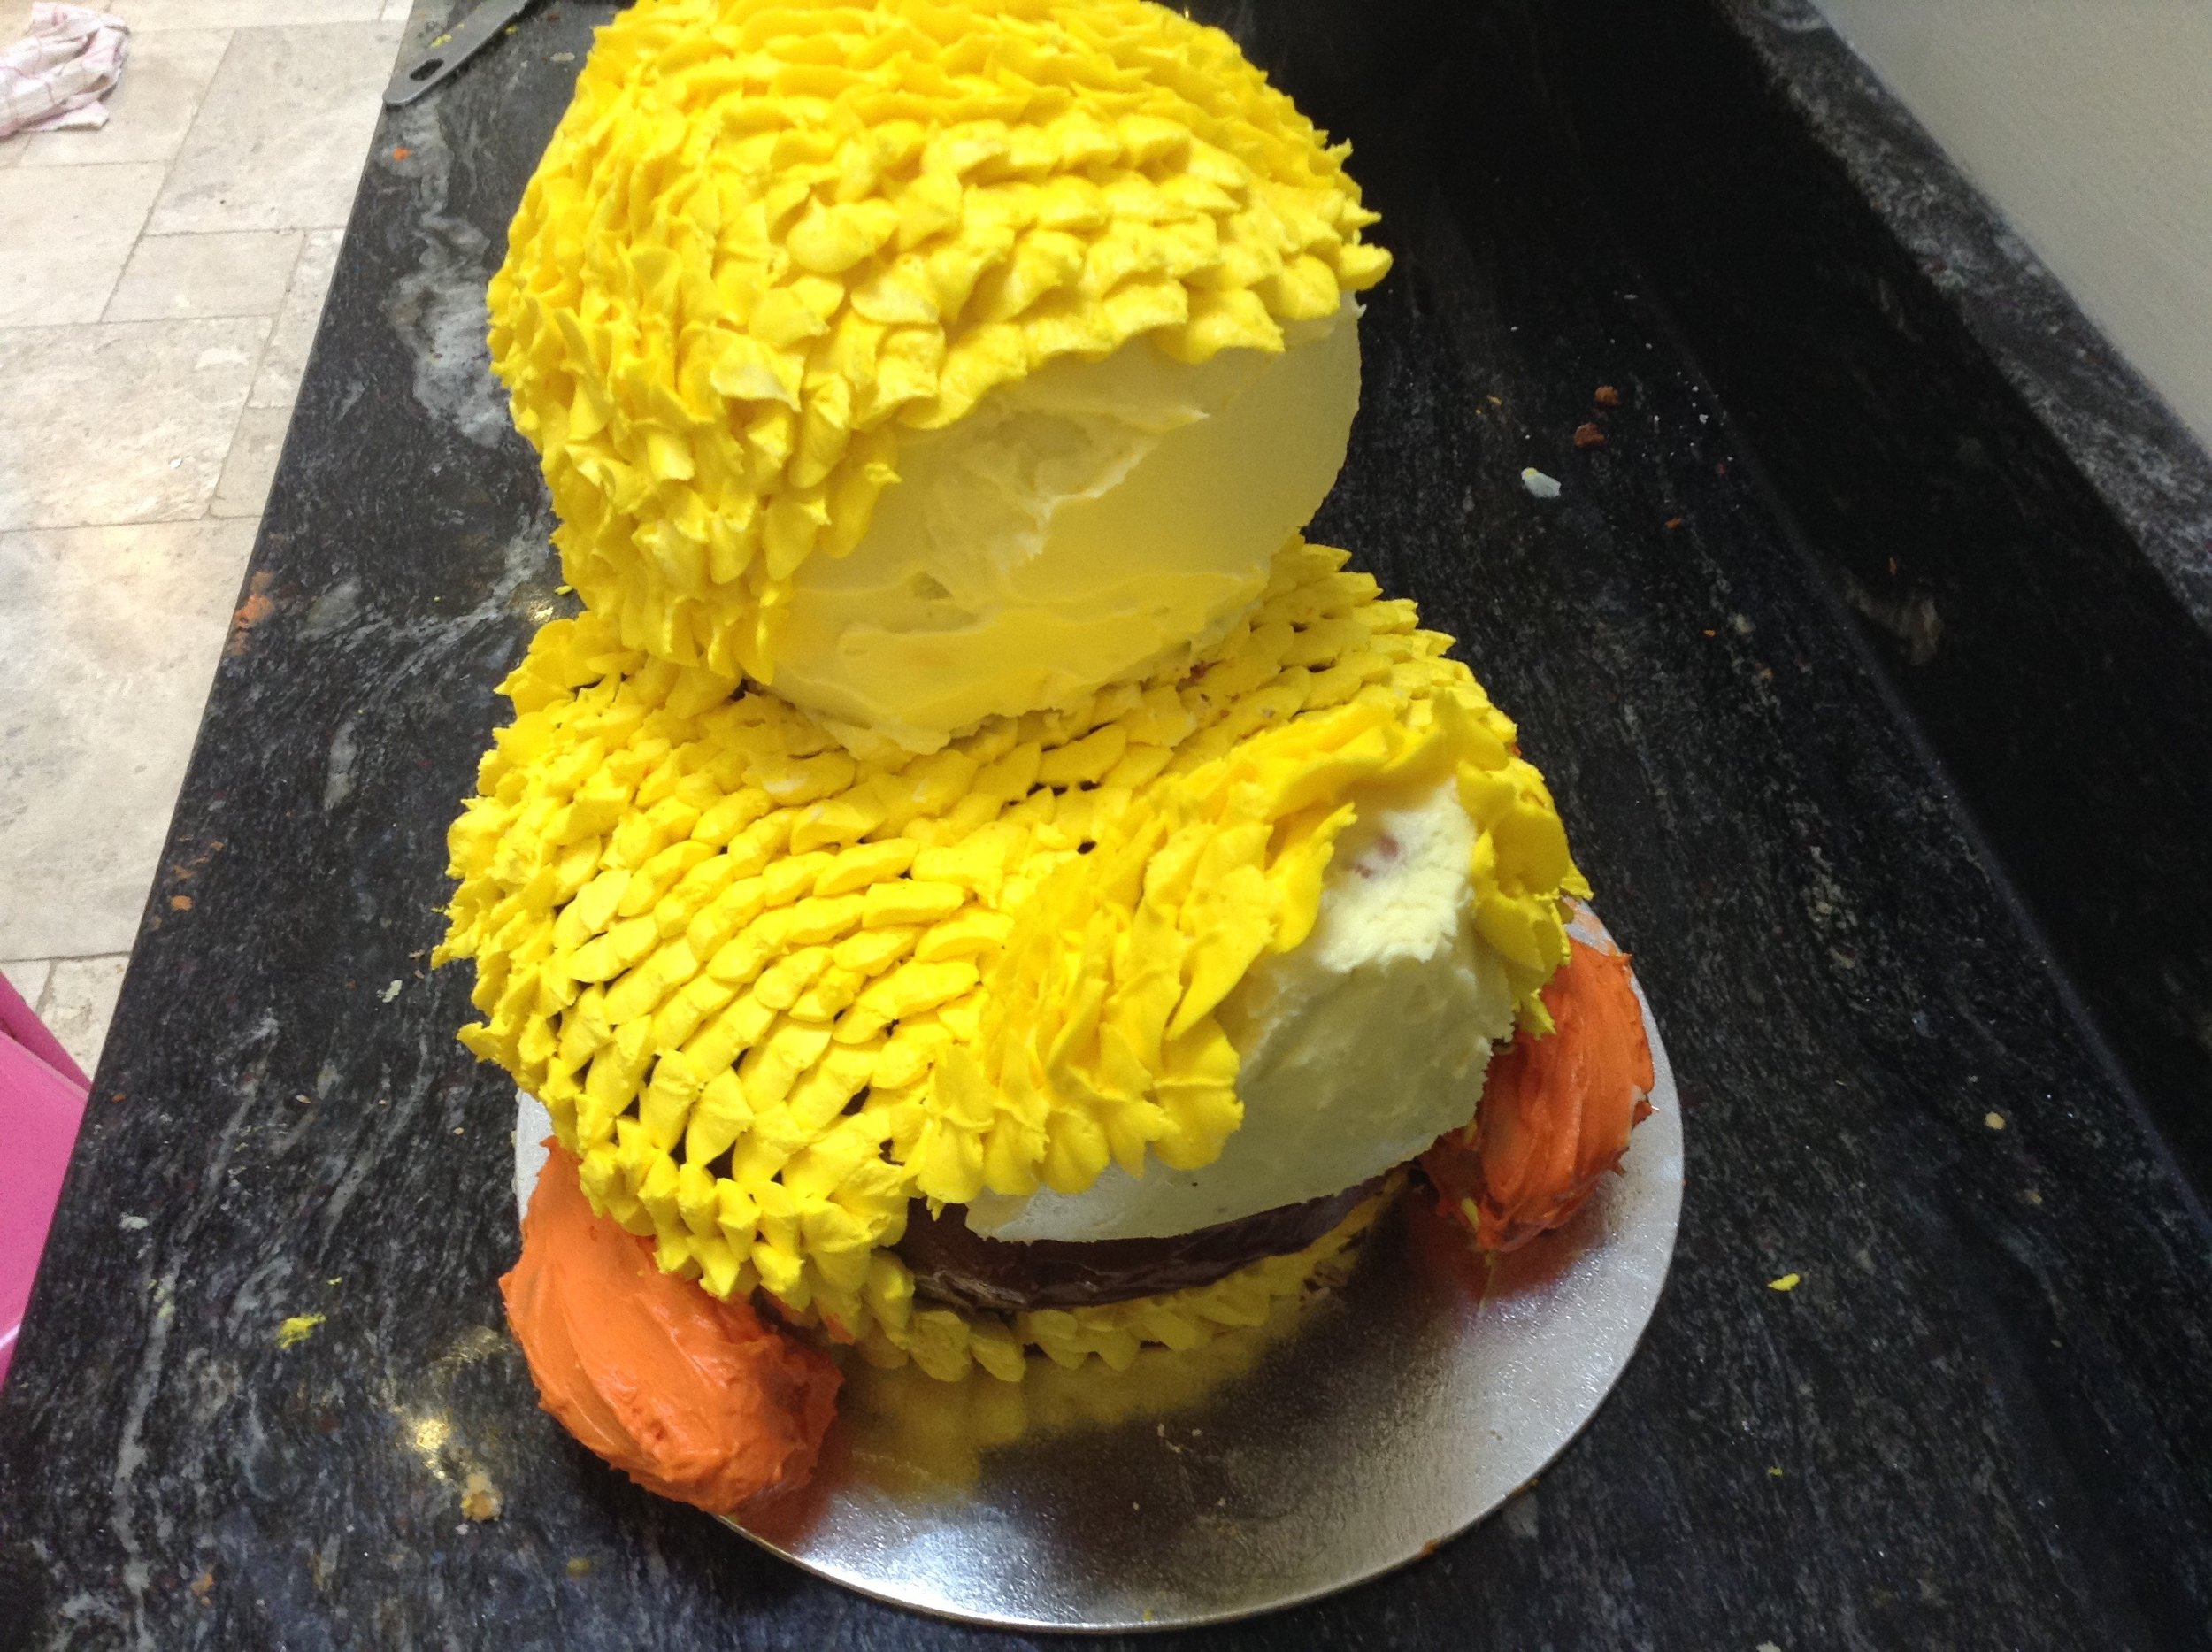
This is the cake that I made for my little girls 2nd birthday party. It was a Old Macdonald farm theme so I decided to do a duck cake which she loved. As much as possible I like to use pudding basins to make animal cakes as I prefer the 3D effect to doing a flat cut out type. The base of the cake was a mud cake recipe which was not that great (as you can see from the photo) so I'd probably stick with a basic sponge next time.
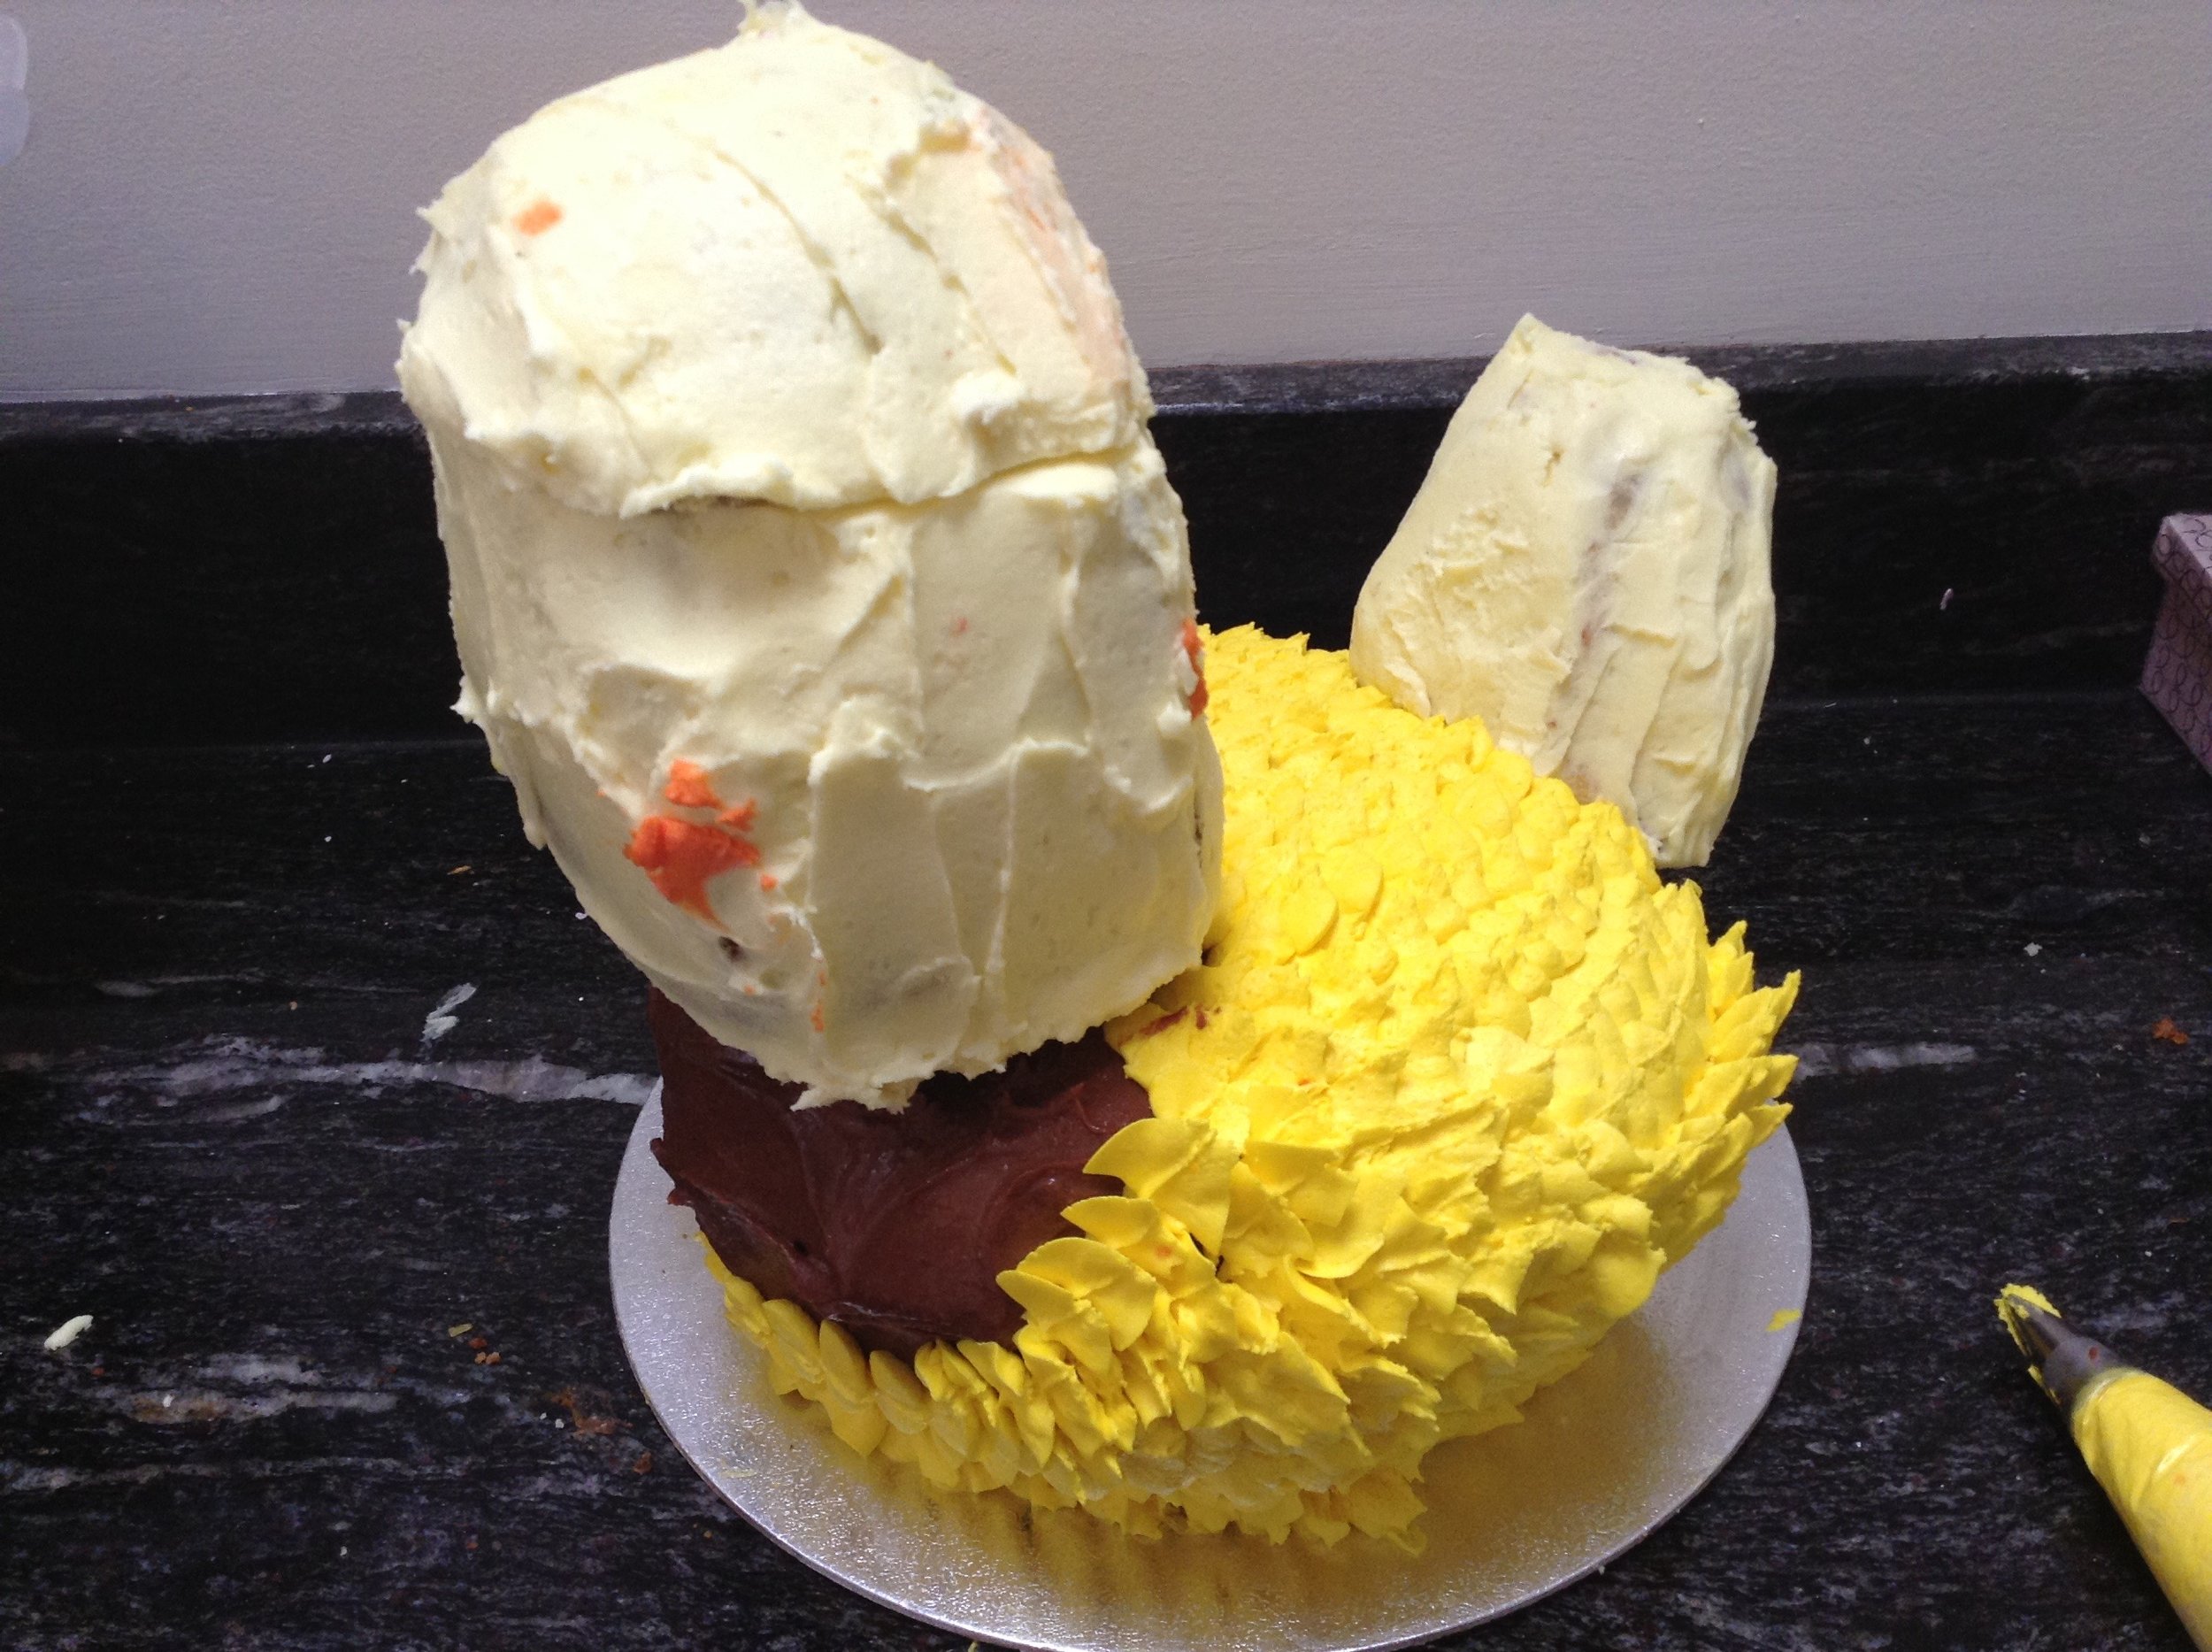
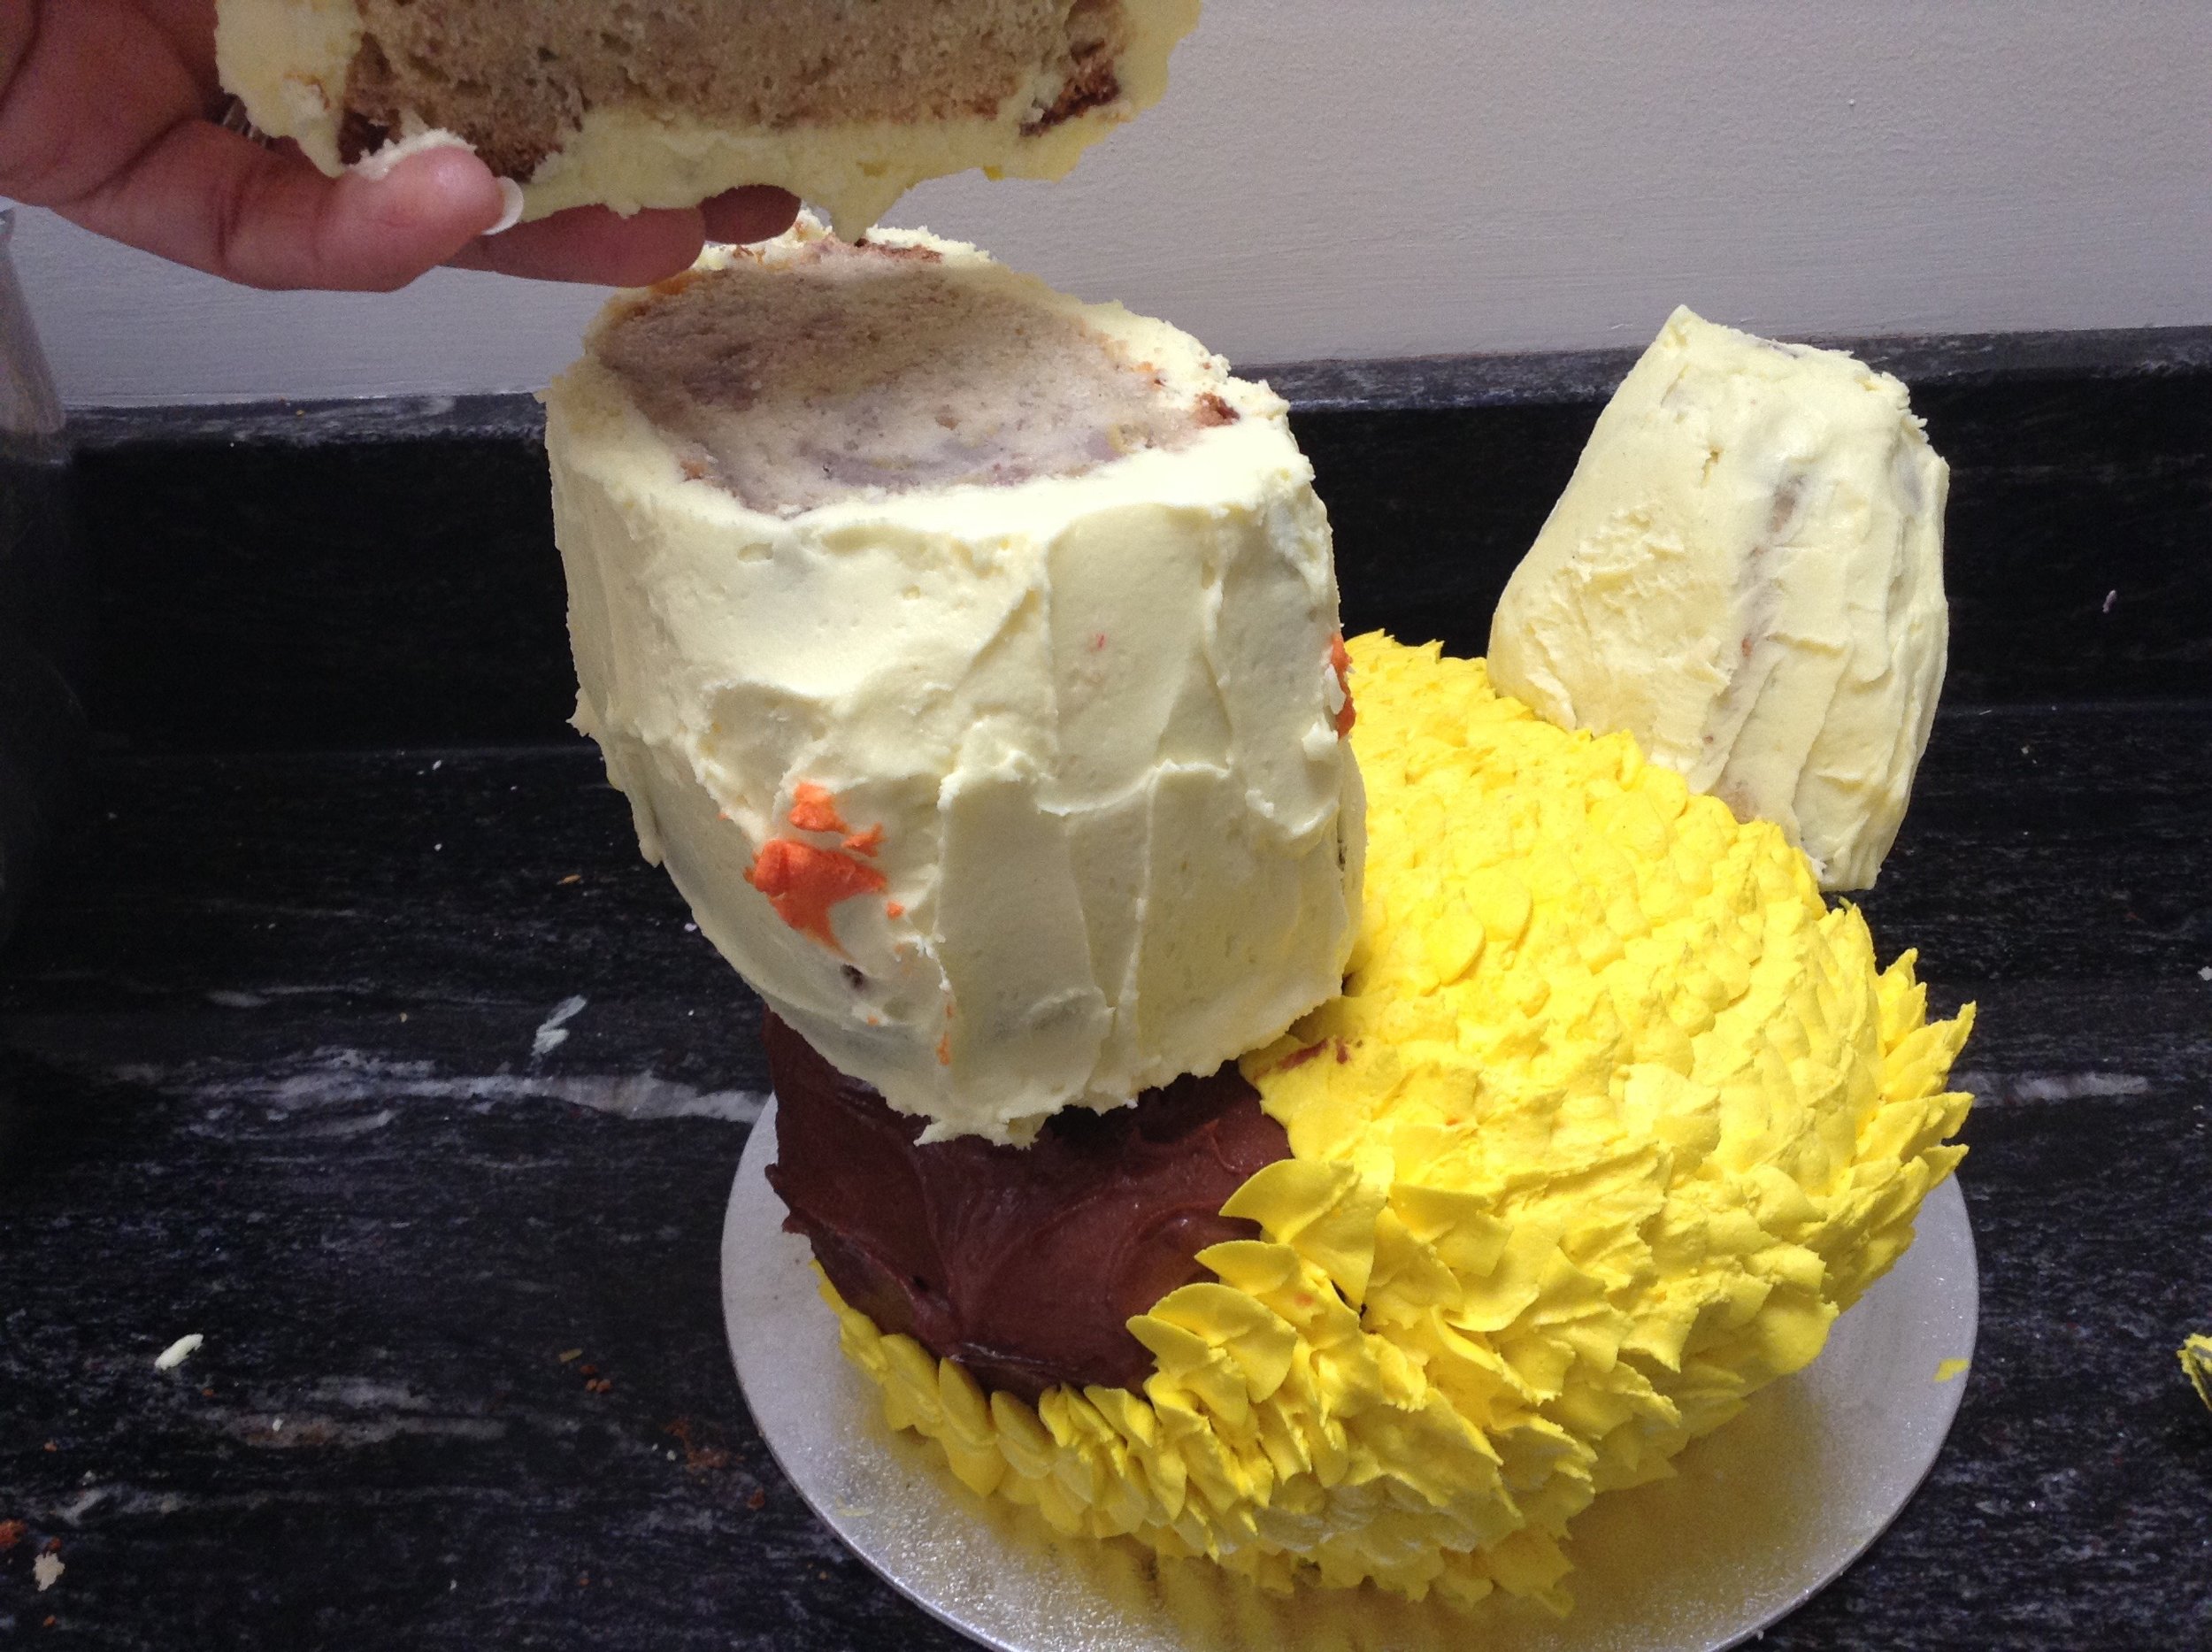
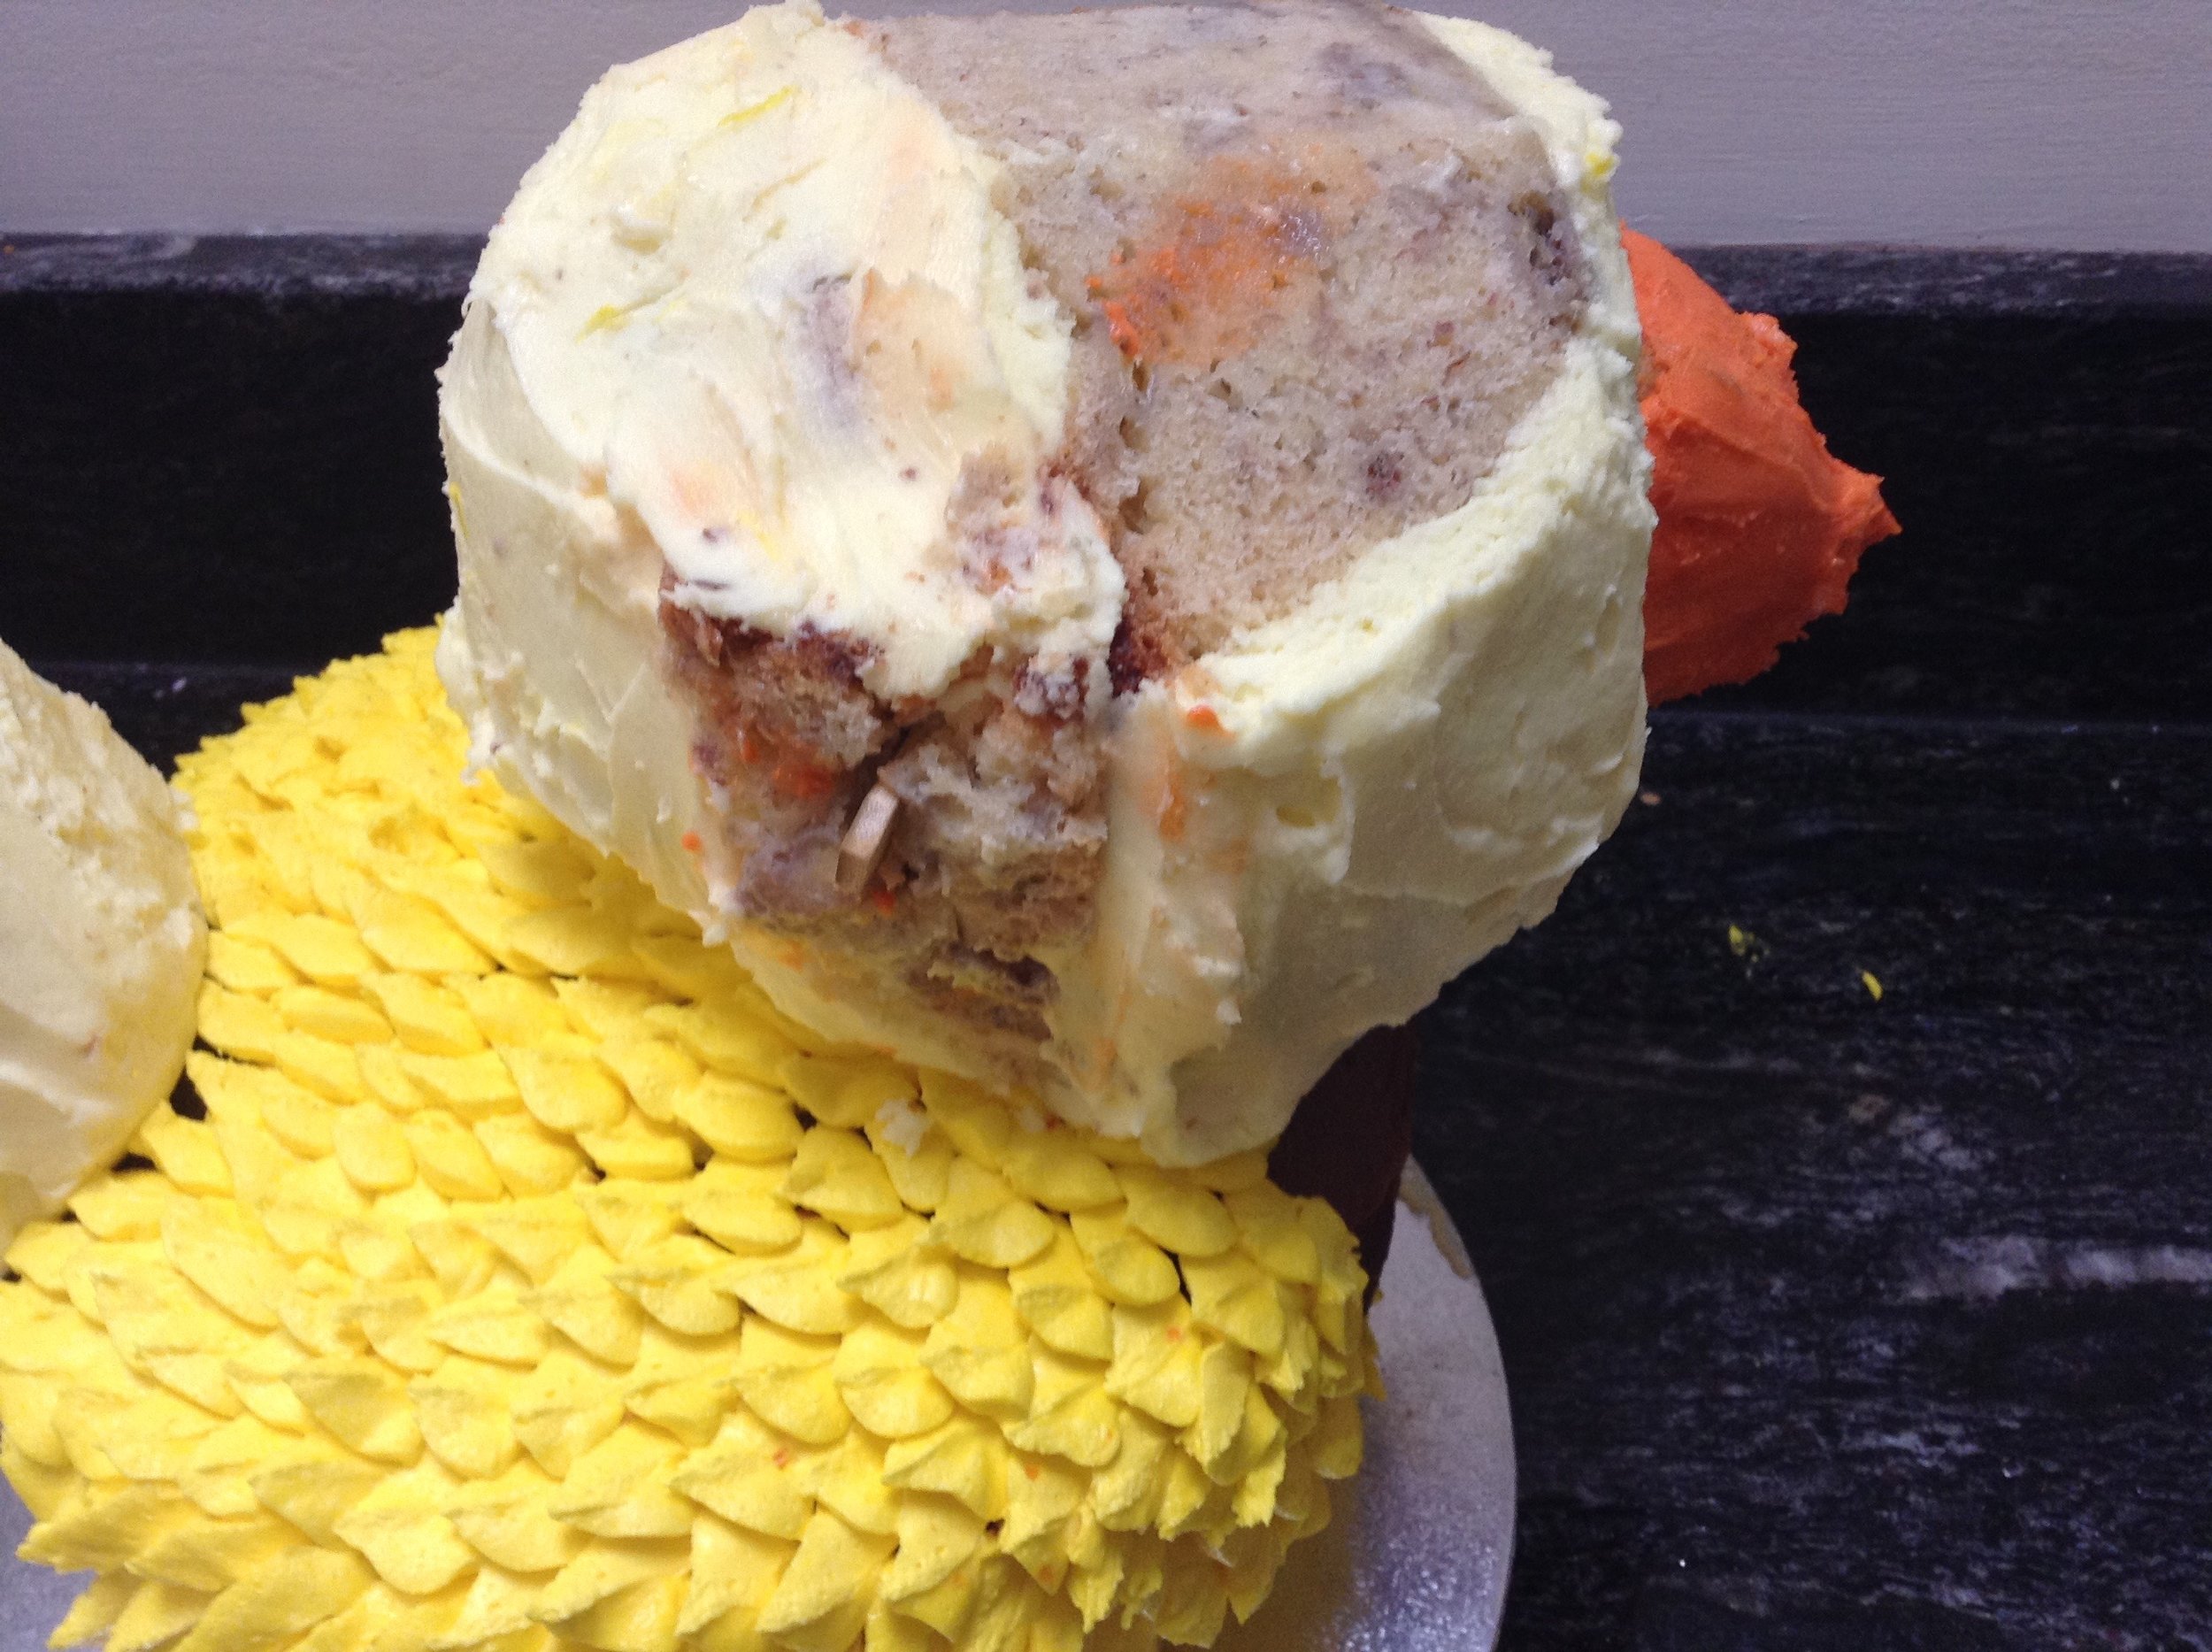
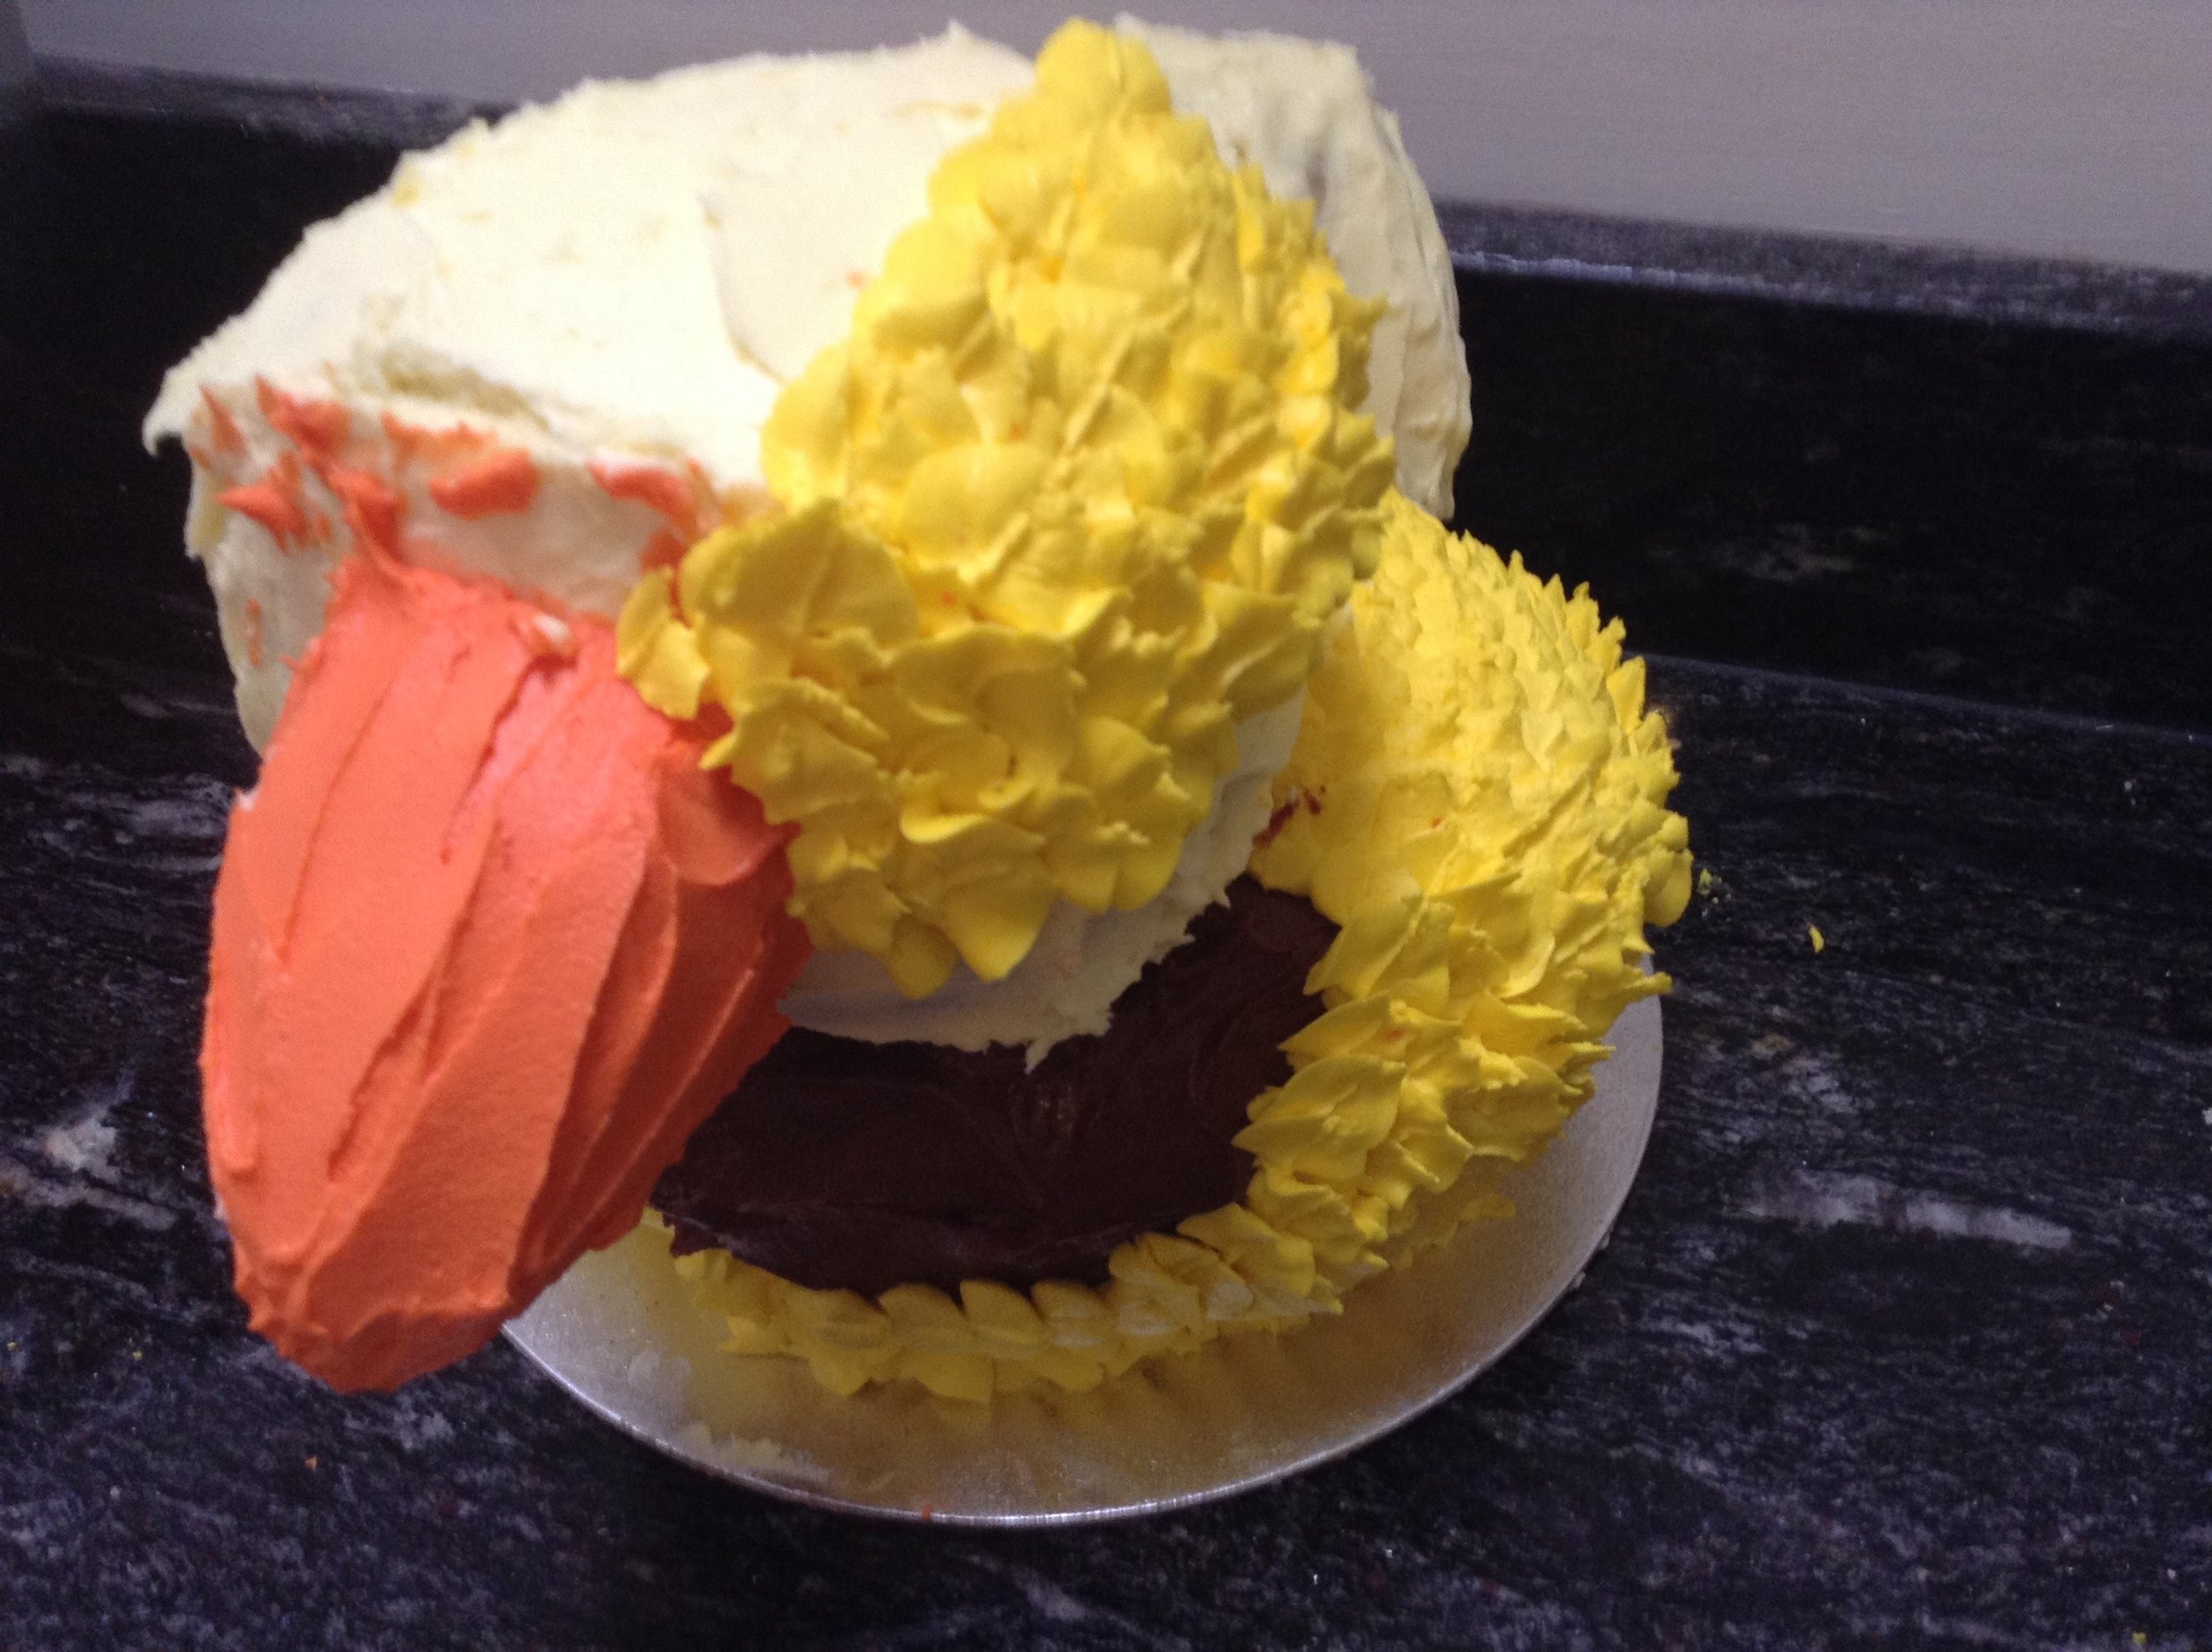
I used a 2 litre pyrex bowl for the body and a 0.5 litre pyrex bowl for the head. I distorted a few cake cases in order to make cupcakes that were suitable for a beak, flippers and tail. I carved these to make them look right. I covered the mud cake body with ganache icing and once that had set I piped on buttercream feathers using a leaf tip ( ). I covered the head and tail with white cream cheese frosting (the cake was banana flavoured) and once that was fairly dry I fixed it on to the body using flat ended skewers which you can twist once they are inserted to stay in place. As you can see from the pic at this point I realised that the head was too high so I sliced of the top third of it. Then I covered the beak and flippers with orange buttercream and covered the head and tail with yellow butter cream feathers. A couple of chocolate Minstrels made perfect eyes. I'm really pleased with how it came out and I hope you give it a try. Let me know how you get on....
If you would like to create this or something similar in a one to one private lesson with me then call- 020 3573 9135

