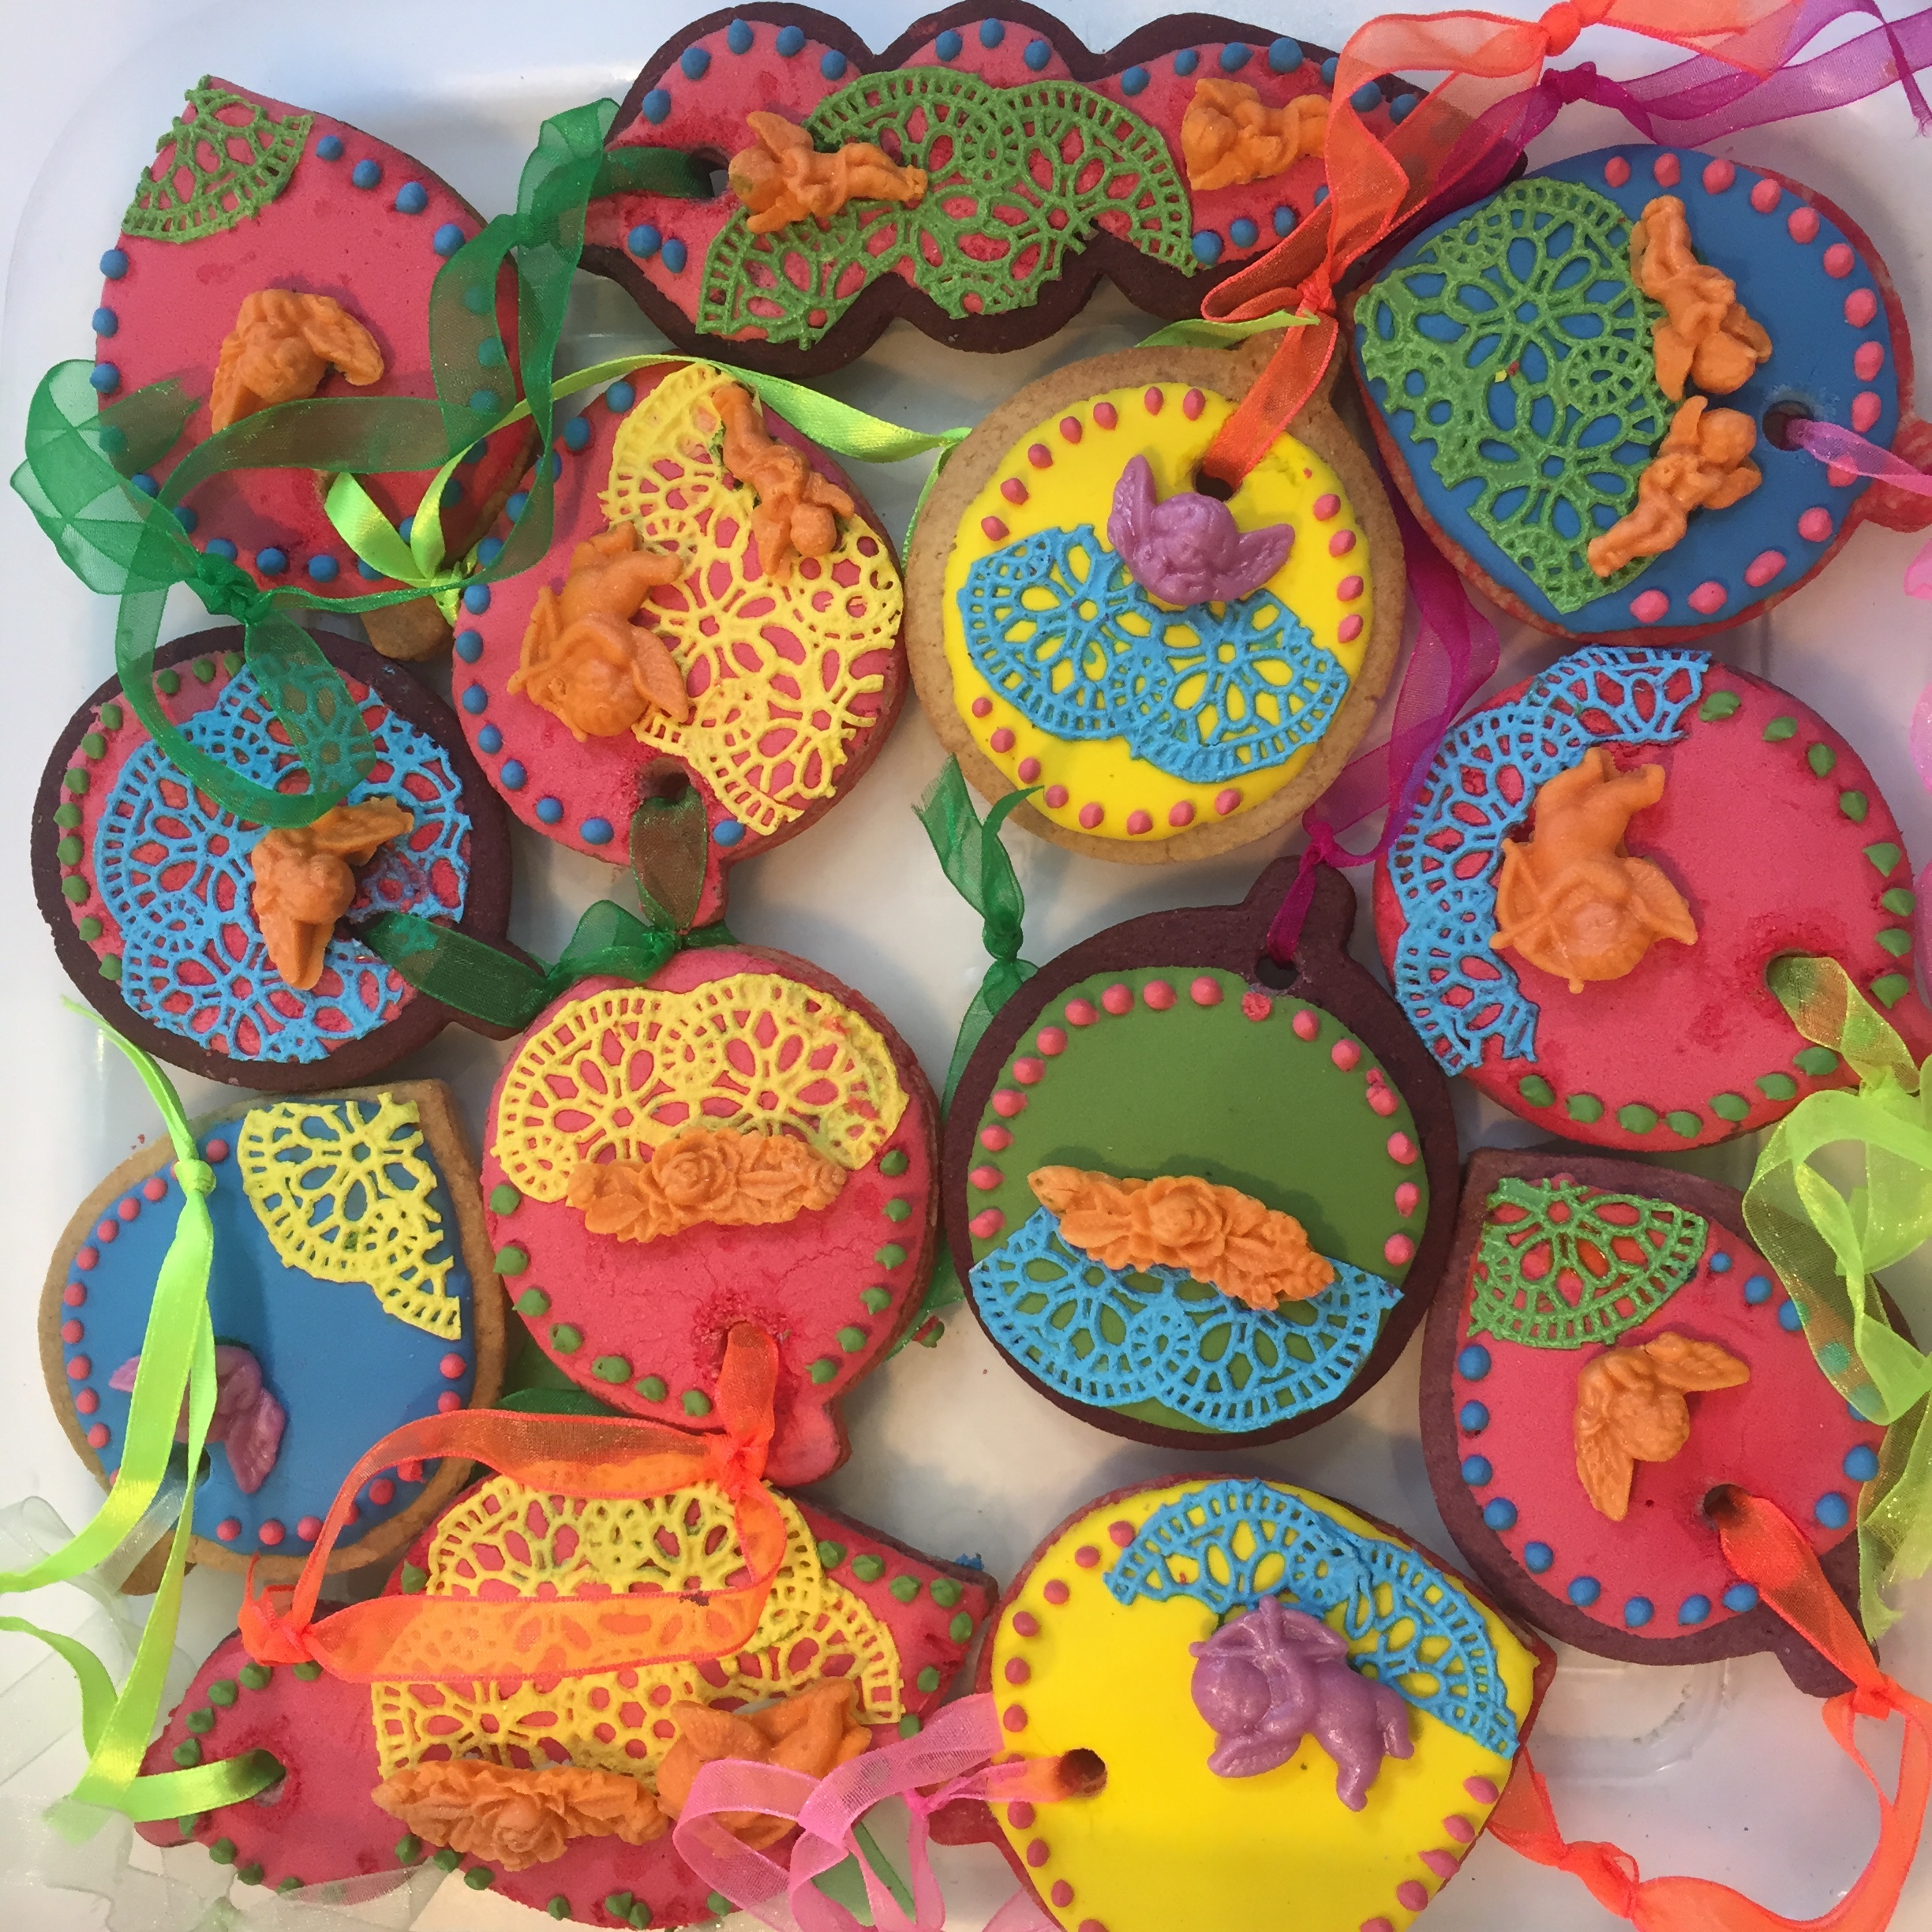
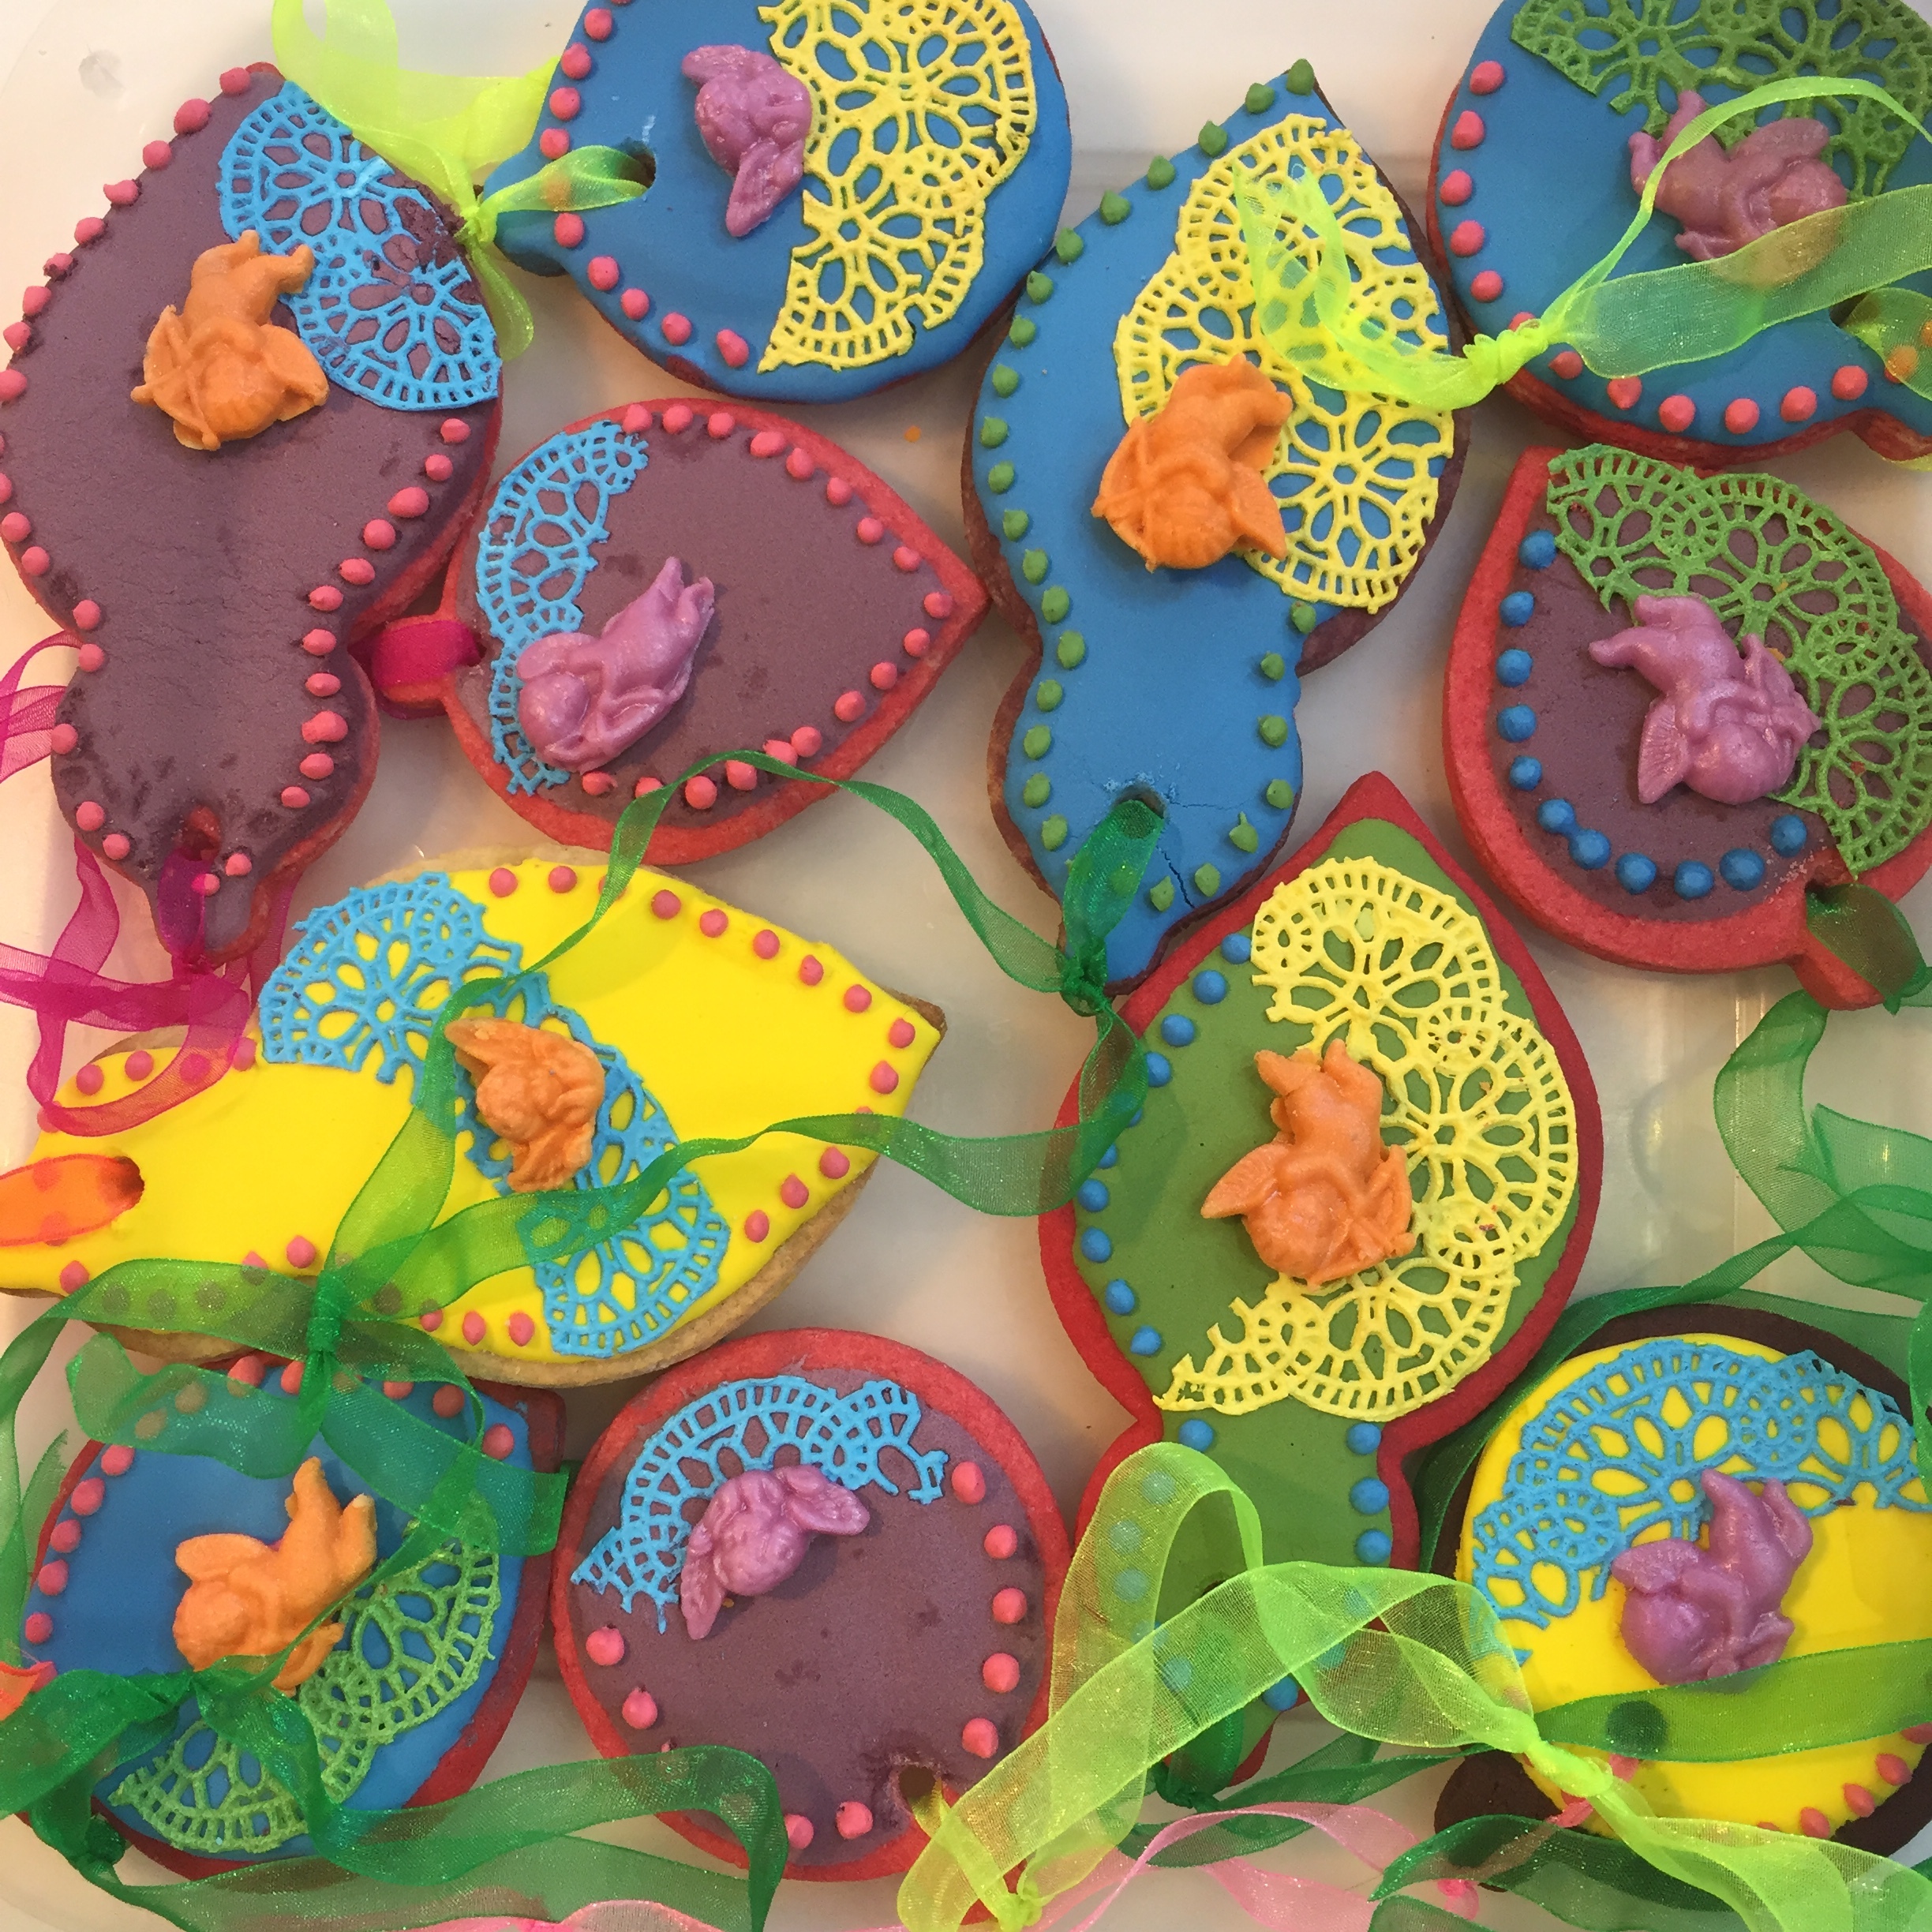
I was thrilled when Stylist Magazine got in touch to ask me to create a cookie decorating workshop for their 'Handmade Christmas' event in conjunction with Pinterest. http://www.stylist.co.uk/life/hand-make-your-christmas-with-stylist-and-pinterest. To be frank since having two small children I've felt like my profile has fallen off a cliff. The business has been ticking over but it seems like ages since I've been asked to do anything in the public eye. As I only had an hour and most attendees would be inexperienced, I knew that I had to create something that was fairly simple to get to grips with. Any of you that have worked with piping royal icing will know that it is not a skill that you can take from 'zero to hero' in an hours class. So using edible cake lace felt like a real breakthrough. Especially now you can get pre coloured mix. i also made some sugarpaste cherubs as decoration. I needed to do everything in neon colours to fit with Stylist Magazines vision of the event. They wanted to get away from traditional colours and do something really modern and funky. I'm really pleased with the way they came out.
Here's how I did it-
You will need-
Cookie Dough
Ingredients:
(makes 15 - 20)
350g plain flour
100g self raising flour
125g sugar
125g cold butter, cubed
125g golden syrup
1 large egg
Mix together the flours and the sugar. Use your fingertips to rub in the butter until it resembles breadcrumbs. Make a well in the centre and add the syrup and egg. Mix well and then turn the dough onto a clean work surface.
Pull the mixture into a ball and divide it into two even sized discs. Wrap in cling film and chill for half an hour or until ready to use it.
Once you are ready to make the biscuits first preheat the oven to 170 degrees. Then roll out each disc between two pieces of parchment (grease proof) paper until they are 5mm thick. Use your cutters to cut out a variety of bauble shapes. Space them out on a baking paper lined oven tray and cook for 15 to 20 mins. They are ready when they are golden brown. If in doubt check the cookies underneath where it should be easier to see that they are cooked.
Put the cookies onto a cooling rack and make sure they are fully cooled before you ice and decorate them. If you want to hang them on the tree then this would be the time to make the holes for the ribbon. I find the easiest way to do this is with an electric drill. Alternatively you can use a chopstick or similar to create the hole although you should do that while the dough is still soft.
Now you are ready to ice them
Icing Recipe
150ml cold water
900g royal icing mix
Whisk the water and icing sugar together with an electric for 5 minutes on a low speed. The icing should have to consistency of toothpaste. This is perfect for piping outlines but if you want to keep it simple and use a palette or butter knife to cover the cookies then add water a drop or two at a time until it is spreading consistency*.
Split the icing into smaller bowls and tint each one a different colour.
Use a palette knife to spread a layer across the biscuit and whilst still dry add on sprinkles and/or edible lace and sugar paste adornments if using. Once the icing has set you can pipe dots of contrasting colour using the thick ‘outline’ icing.
Mixing bowl/mixer
Wooden spoon
Rolling pin
Grease proof paper
Bauble cookie cutters (dotcomgiftshop.com)
Baking tray
Electric whisk
Food colour paste
Palette knife
Disposable piping bags
Neon ribbon
To decorate-
These are what I used for my cookies as I have a lot of these things amongst my stock.
If you don’t want to invest in so much then pick and chose what you ant or try something completely different-
Edible paint
edible cake lace (order on ebay or buy your own kit to make it from thecakedecoratingcompany.co.uk
Cherub moulds thecakedecoratingcompany.co.uk
Lustre dust thecakedecoratingcompany.co.uk
Tips on icing-
The easiest icing for beginners to work with is thicker than the usual ‘flooding’ consistency so you don’t have to pipe an outline. When you do want to pipe outlines you can rest your arm on the table or use one hand to steady the other.
The main problem people have with icing is getting the consistency wrong. If you want to cover the cookies withouthaving to do any piping then you want the icing to be thicker than ‘flooding’ consistency. When you take a spoonful of the ’spreading’ icing and drop it back into the bowl it should take between 10 and 15 seconds to settle back into a smooth surface. Flooding icing is thinner and will settle in 5 to 10 seconds and outlining icing should be very thick (about the consistency of toothpaste). Don’t beat your icing on high speed as this will create air bubbles. Once the icing is mixed leave in a bowl with a damp cloth over it for 15 mins to settle.
The most common reason that biscuits come out heavy is due to the dough being overworked. As soon as the ingredients are combined turn out the mixture and quickly bring it together into a ball. Handling the dough as little as possible will ensure the best results.
The easiest way to make the hole in the cookies is to use an electric drill. Make sure that you put the whole in the top part of the oven but at the widest point. If you do this to near the ‘neck’ or in the small ‘hook’ part of the bauble there is a good chance that your cookie will break. Be prepared that some of the biscuits will get broken so make a few more than you need.
Do this once the biscuits are decorated and dry. (You can speed up this process by popping the biscuits back into the oven at a low temperature (70 degrees).


